
Toasting walnuts is a magical trick that transforms them. Learn how to toast walnuts – I’ll show you 3 easy ways to do it.
Recipe Overview
Why you’ll love it: Toasting walnuts is an easy way to bring your recipes to the next level. The taste is quantumly better!
How long it takes: 3 to 10 minutes, depending on which method you choose
Equipment you’ll need: skillet, microwave, or oven
Servings: as many as you need
Today I’m going to show you how to toast walnuts three different ways. All three methods are easy and convenient. Not convinced you need to toast nuts? Do a side-by-side taste test. You won’t believe the difference! You don’t even have to taste them; just the aroma of toasted walnuts will convince you.
Why eat walnuts? Walnuts are super nutritious and can be added to everything from oatmeal to stir fries. These popular nuts boost the nutrition, flavor, and texture of almost any dish.
A handful of walnuts makes a great snack, too. Since a one ounce serving (about a quarter cup) of walnuts contains 4 grams of protein, you won’t suffer that downward plunge of energy that comes after a sweet snack filled with empty calories.
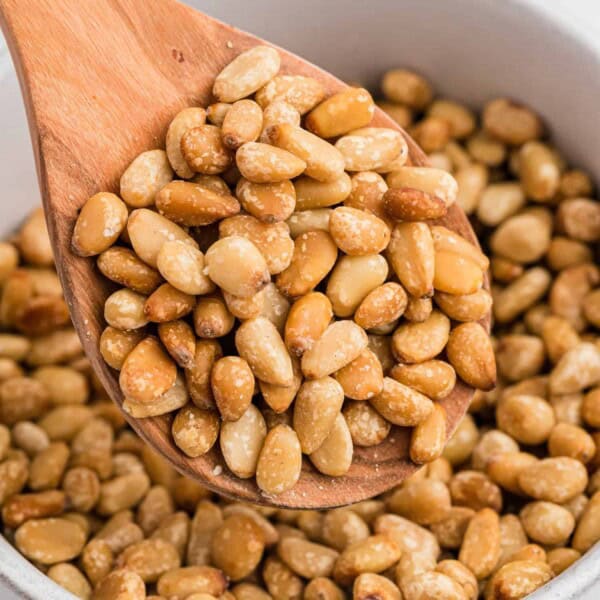
These three methods will work for almost any type of nut or seed. If you prefer more specific instructions, take a look at How to Toast Pecans, How to Toast Almonds, and How to Toast Pine Nuts. I’ll be adding more How To posts in the future.
Are Walnuts Good For You?
According to Healthline, walnuts may be the most nutritious nut there is. Most nuts are good for you, but walnuts have the highest level of antioxidants and omega-3s, which promote good heart health, weight loss, and a healthy gut, among other things. Walnuts are a good source of healthy fat, protein, and fiber.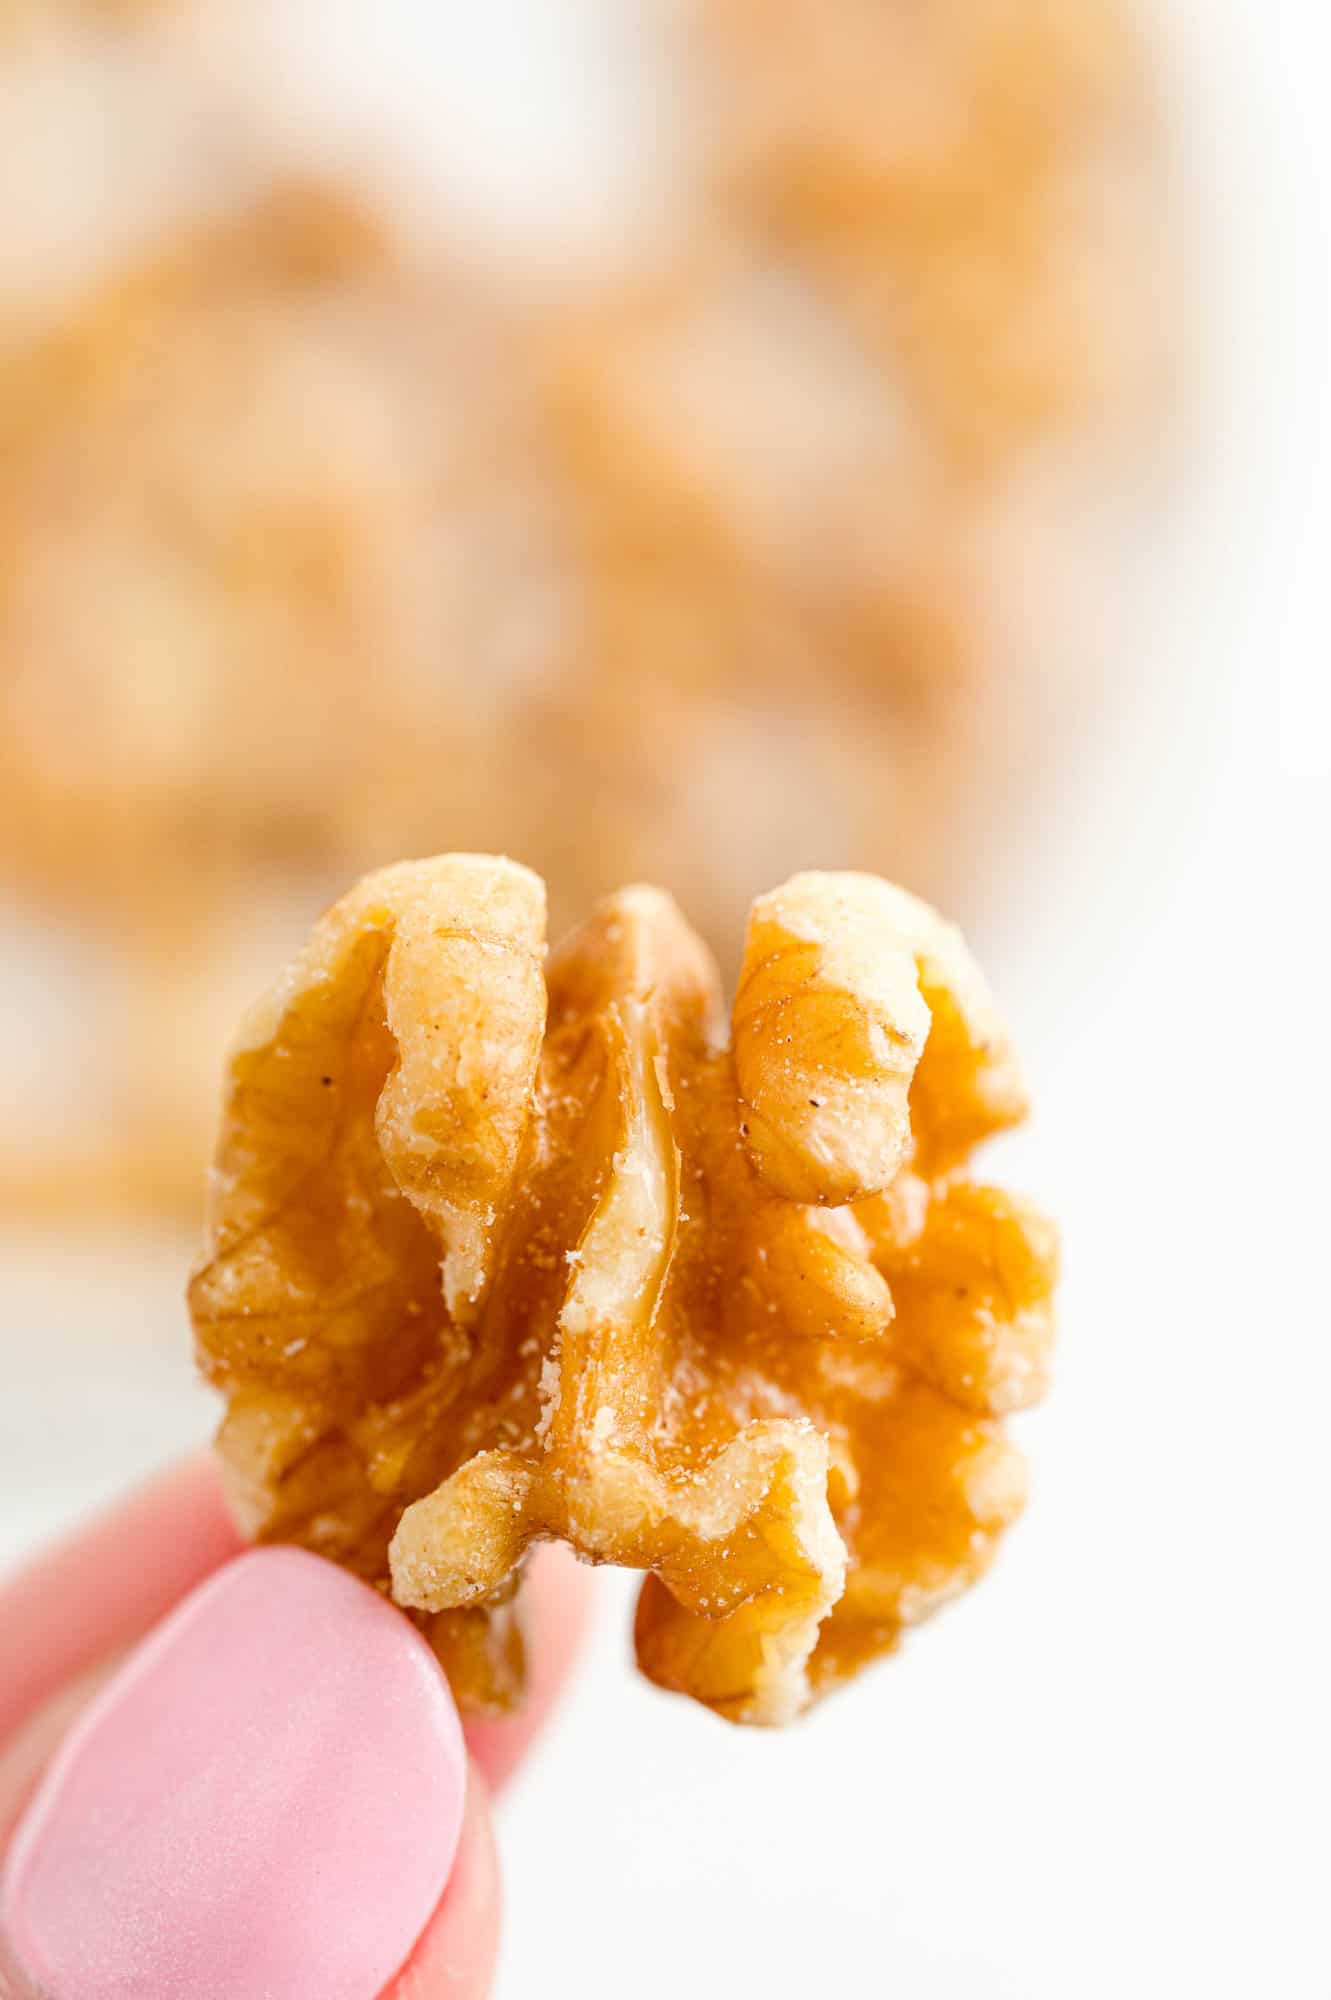
Three Easy Methods
Choose the method that works best for you. Time needed varies from a couple of minutes to 10 minutes. Refer to the recipe card below for more specific instructions.
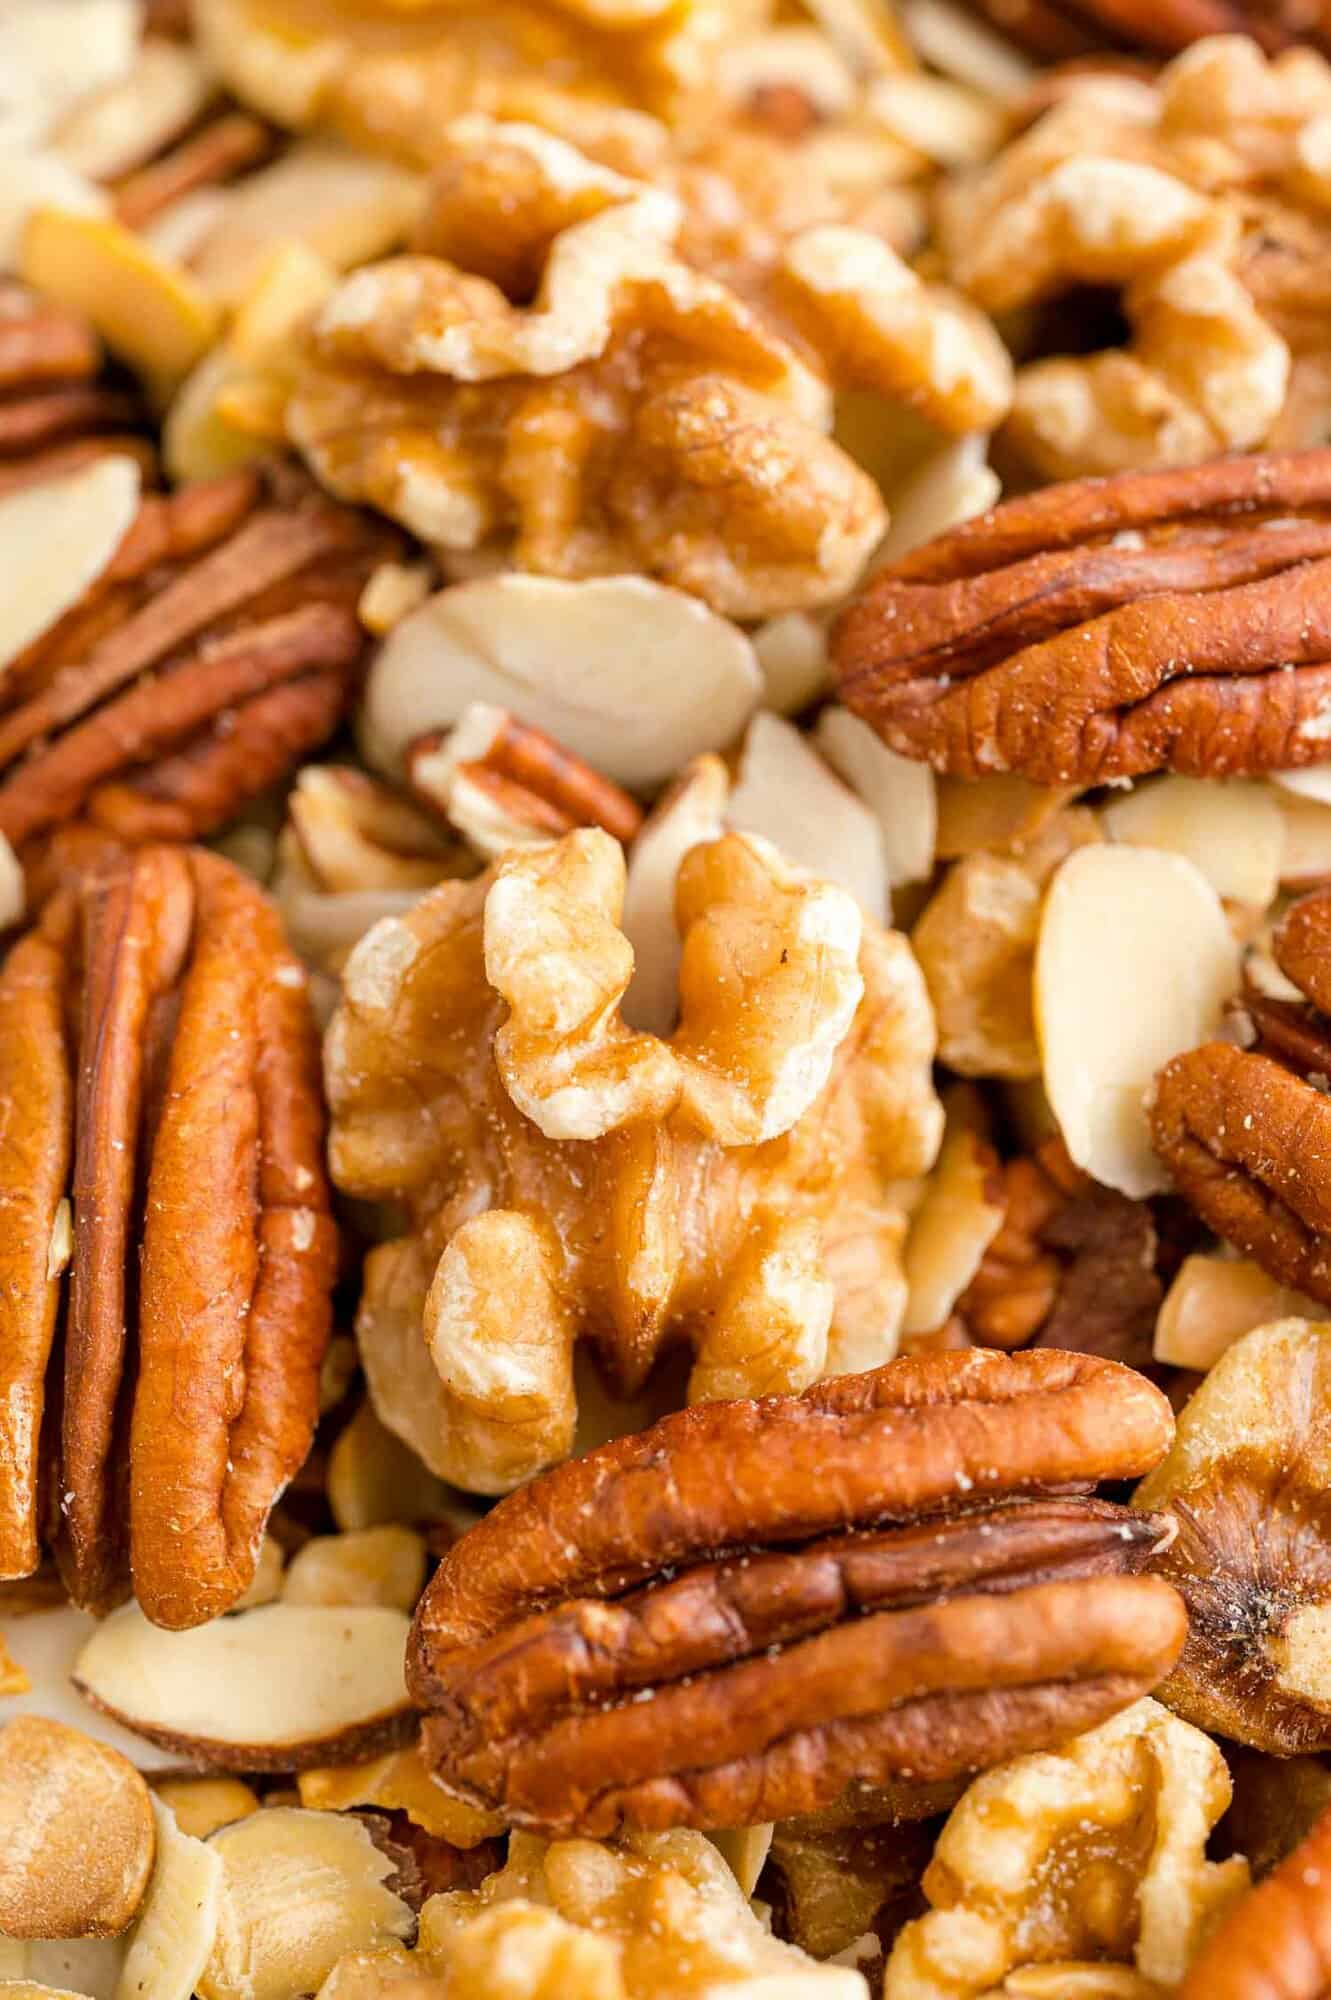
Although some of the photos show a blend of walnuts, pecans, and almonds, I recommend toasting different kinds of nuts separately because they may not require the same amount of time to become golden brown.
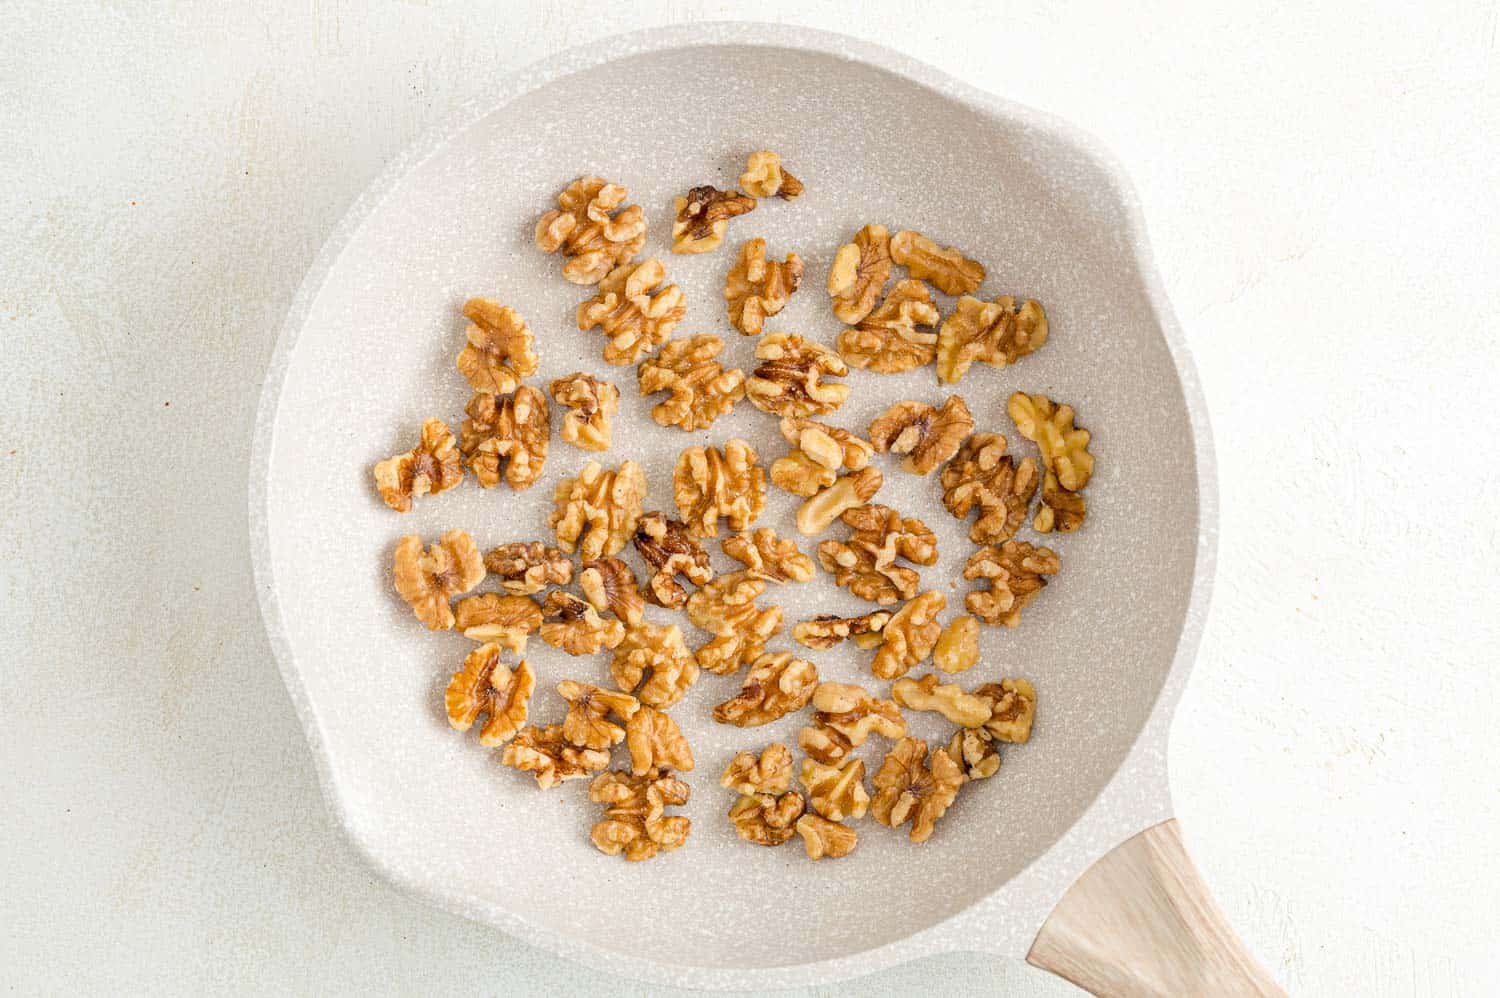
In a skillet on the stove:
Choose a skillet that is large enough to accommodate the walnuts in a single layer.
Turn the heat to medium-low and toast the walnuts until they are golden brown and smell heavenly, stirring frequently, about three to five minutes.
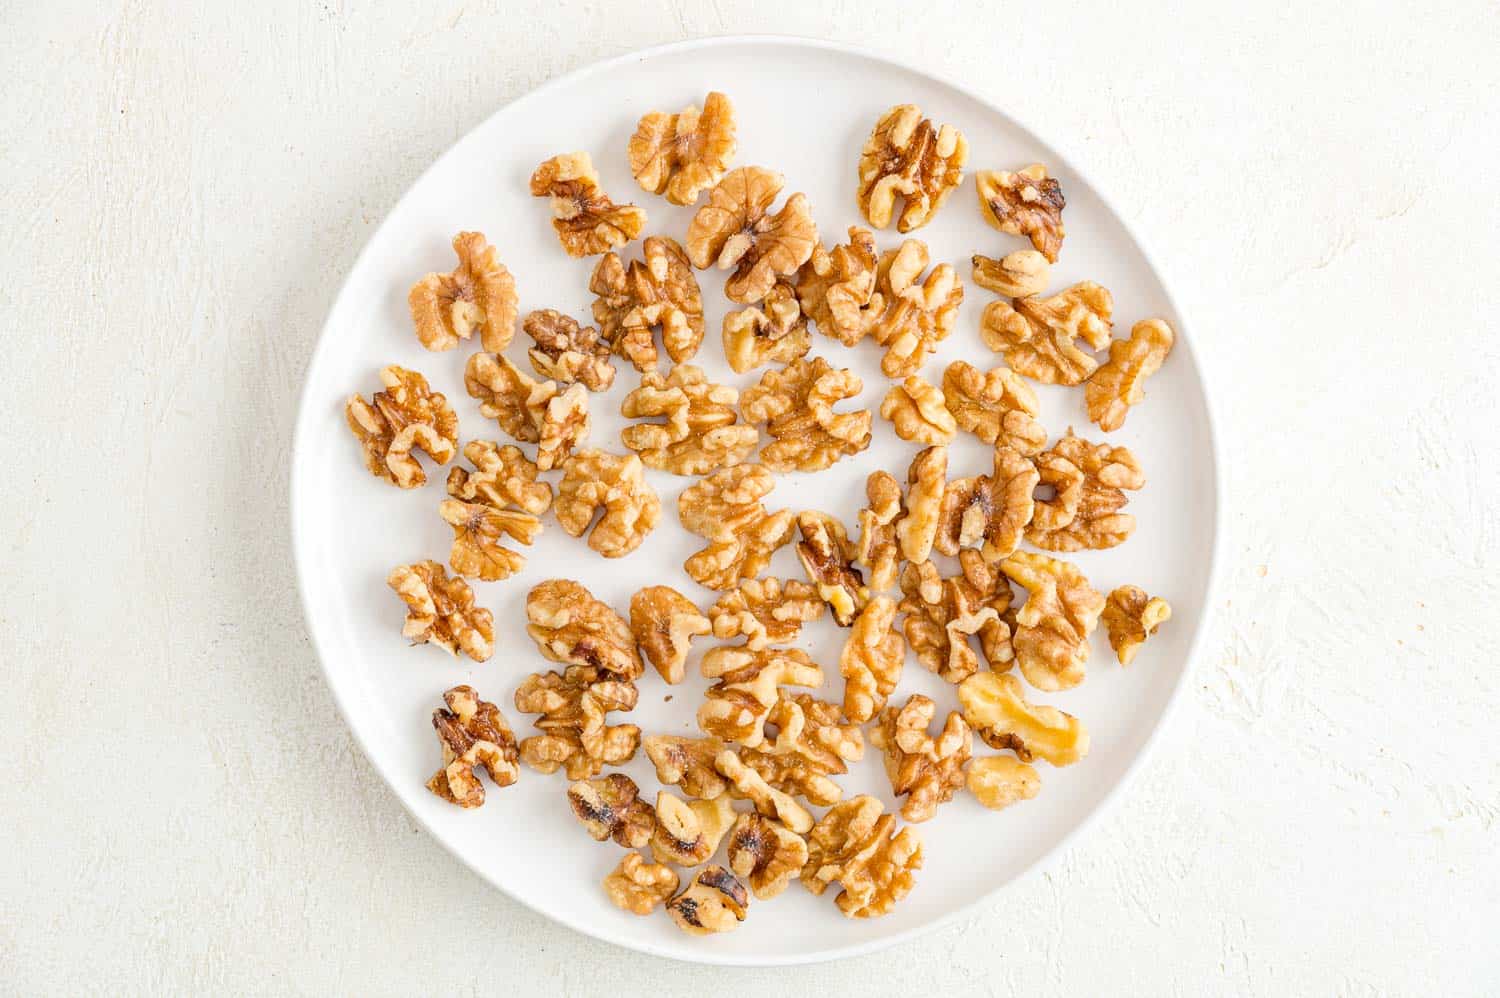
Immediately transfer the walnuts to a plate, arranging them in a single layer to cool completely. Don’t leave them in the hot skillet because they will continue to toast and may burn.
Cool completely before using or storing the toasted walnuts.
In the microwave:
This may be the easiest method and works best for smaller quantities.
Arrange the walnuts in a single layer on a microwave safe plate.
Microwave the walnuts, beginning with 1 minute at full power (100%), stir, then microwave in 30-second increments, stirring each time, until the walnuts are golden.
It’s essential to stir the walnuts each time because the microwave tends to heat them unevenly and they may scorch.
Transfer the walnuts to another plate to cool completely.
In the oven (or in the toaster oven):
If you have a larger quantity of walnuts to toast, the oven is the best method simply because there is more room to spread the walnuts out in a single layer. The walnuts also toast more evenly in the oven which is best when you have a lot of them.
To roast walnuts in the oven, preheat the oven to 350ºF. Allow enough time for the oven to preheat. If you put the walnuts in the oven before it’s completely preheated, they may burn on the bottom.
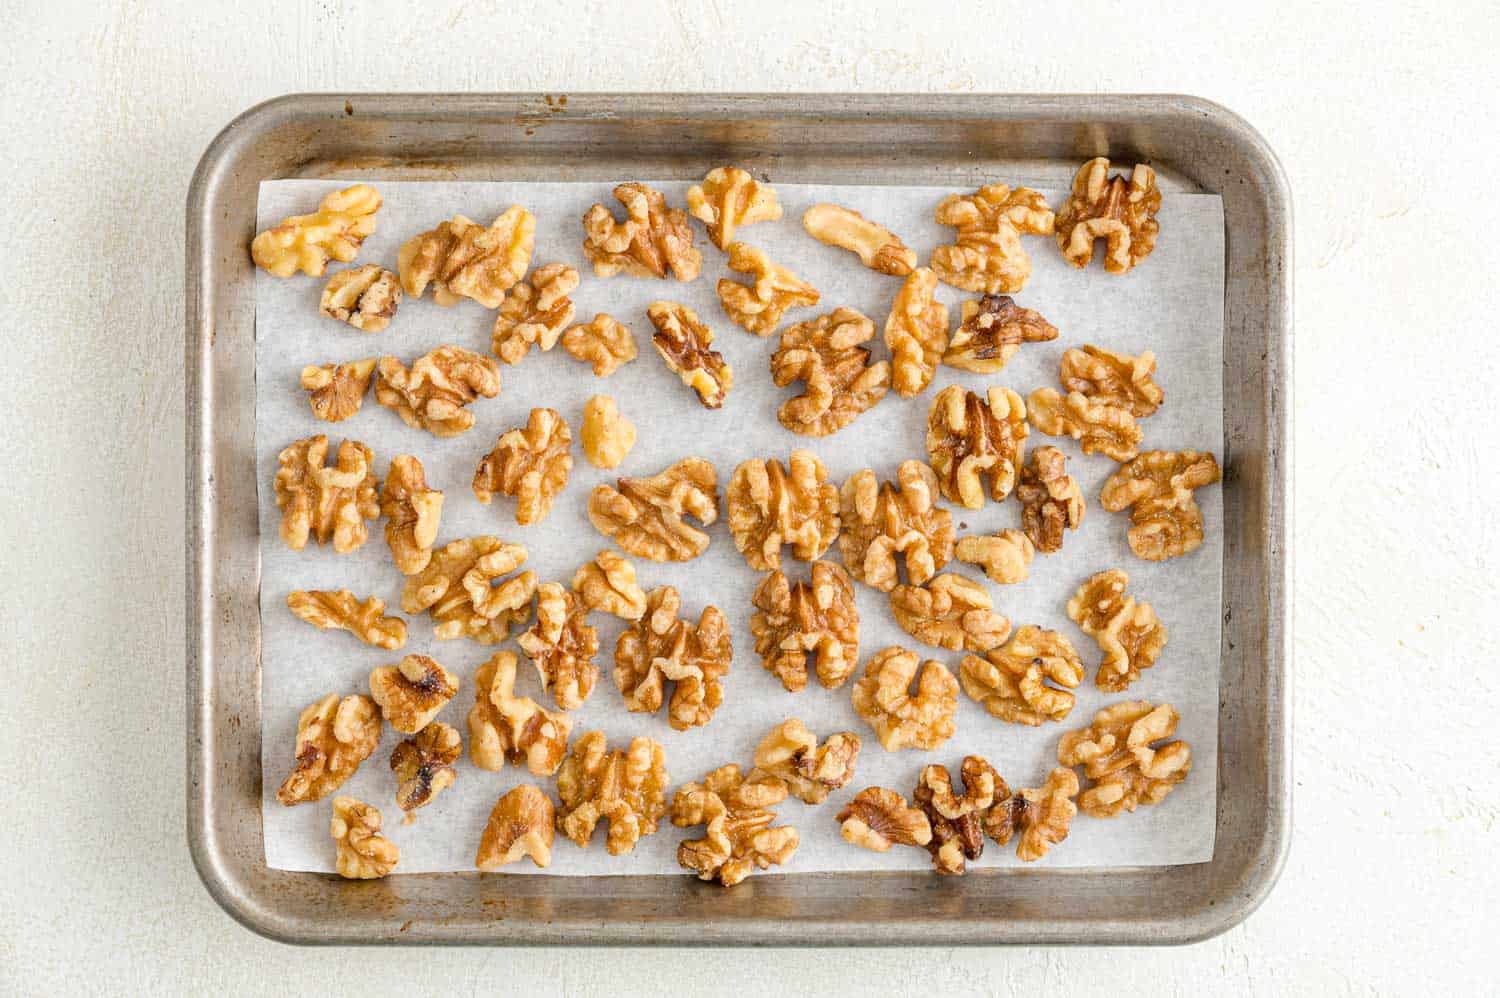
Spread the walnuts in a single layer in a rimmed baking pan, such as a small sheet pan. For easy clean-up, line the pan with foil or parchment paper first.
Bake the walnuts for seven to ten minutes, stirring at least once and watching closely. The walnuts on the edges of the pan will brown more quickly so it’s important to move the walnuts around.
When the walnuts are golden brown and smell toasted, remove them from the oven. Transfer them to a plate, arranging them in a single layer so they cool quickly.
Don’t leave them in the pan to cool. The hot pan will continue to toast the nuts and they may scorch.
Can you toast walnuts in the air fryer?
Because nuts and seeds are small, they tend to fly around in the air fryer. There’s a surprising amount of air flow inside the air fryer. I don’t recommend toasting walnuts in the air fryer for that reason.
How to use toasted walnuts
Toasted walnuts can be used in a variety of ways. Here are a few ideas:
- Breakfast Topping: Top granola, yogurt, or oatmeal with toasted walnuts. Sprinkle chopped walnuts on whole wheat banana pancakes topped with maple syrup.
- Soup Topping: Add toasted walnuts to creamy soups: crockpot pumpkin soup, kabocha squash soup, or carrot ginger soup.
- Salad Topping: Embellish salads with toasted walnuts. Think beyond a classic Waldorf salad with celery, apples, and walnuts. Add walnuts to roasted vegetable salads, like this warm kale salad or roasted cauliflower salad with arugula. Toasted nuts are wonderful with grain salads, like quinoa salad with orange & grapes. Walnuts go well with a shredded Brussels sprouts salad or my favorite Mediterranean green bean salad.
- Chicken Salad: Enhance chicken salad with toasted walnuts. Try my curried chicken salad or chicken salad with grapes.
- Baking: Add toasted walnuts to baked goods, such as whole wheat banana bread or banana streusel muffins.
- Pesto: Make pesto with toasted walnuts instead of pine nuts. Walnuts are usually cheaper than pine nuts and work quite well in pestos.
- Stir-Fry Protein Boost: Add a handful of toasted walnuts to stir fries. Try this easy beef stir fry with vegetables or shrimp and broccoli stir fry.
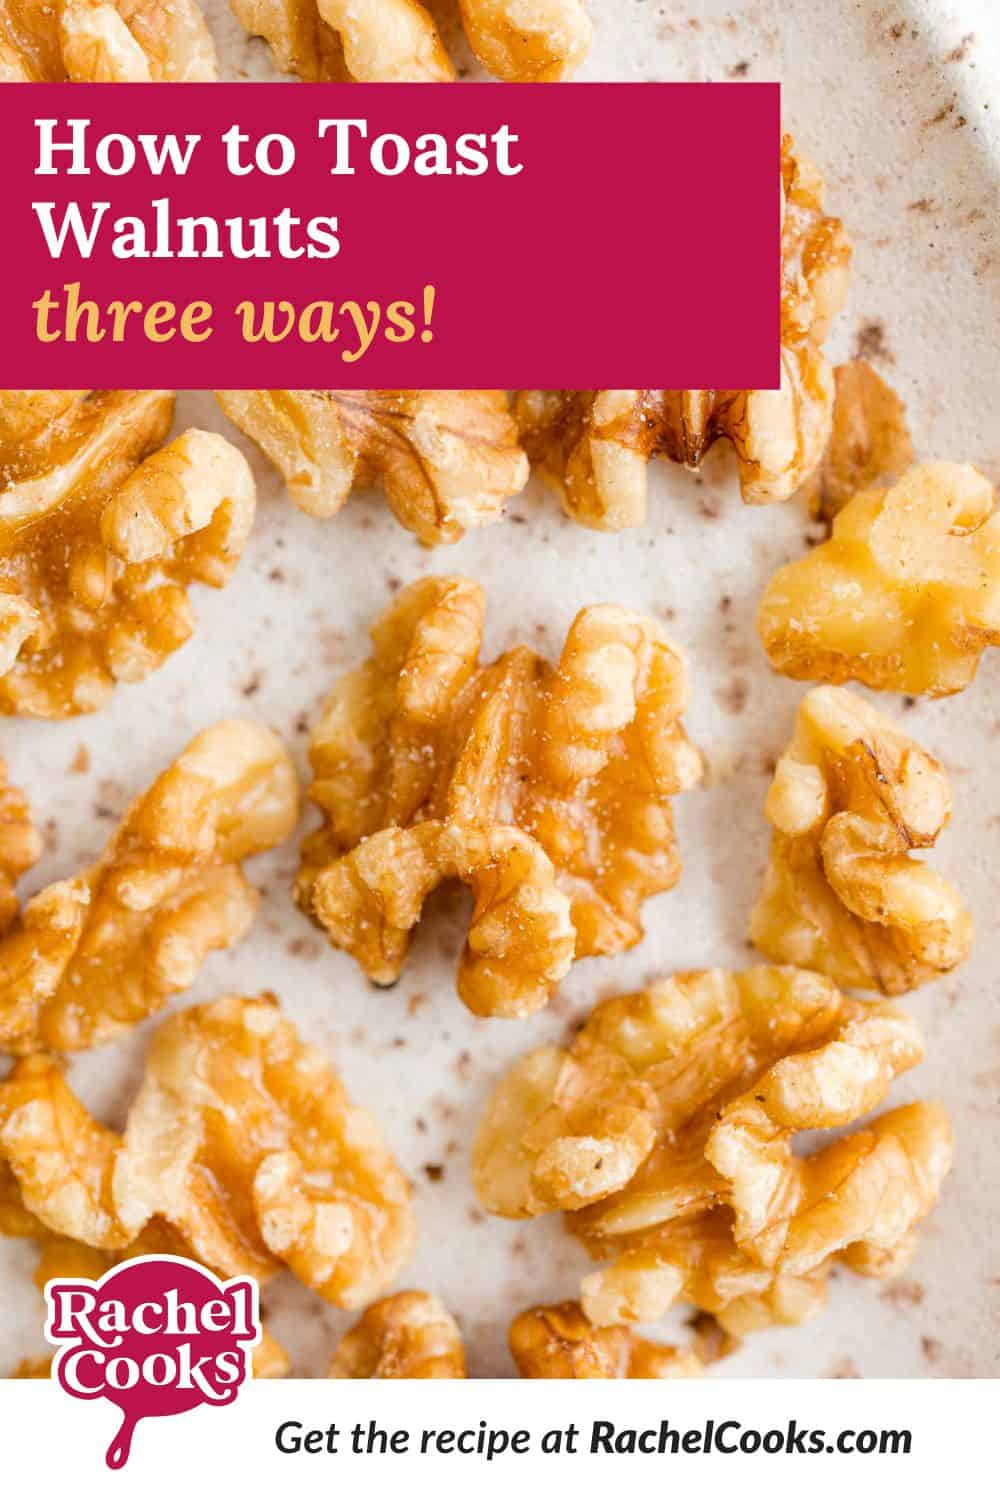
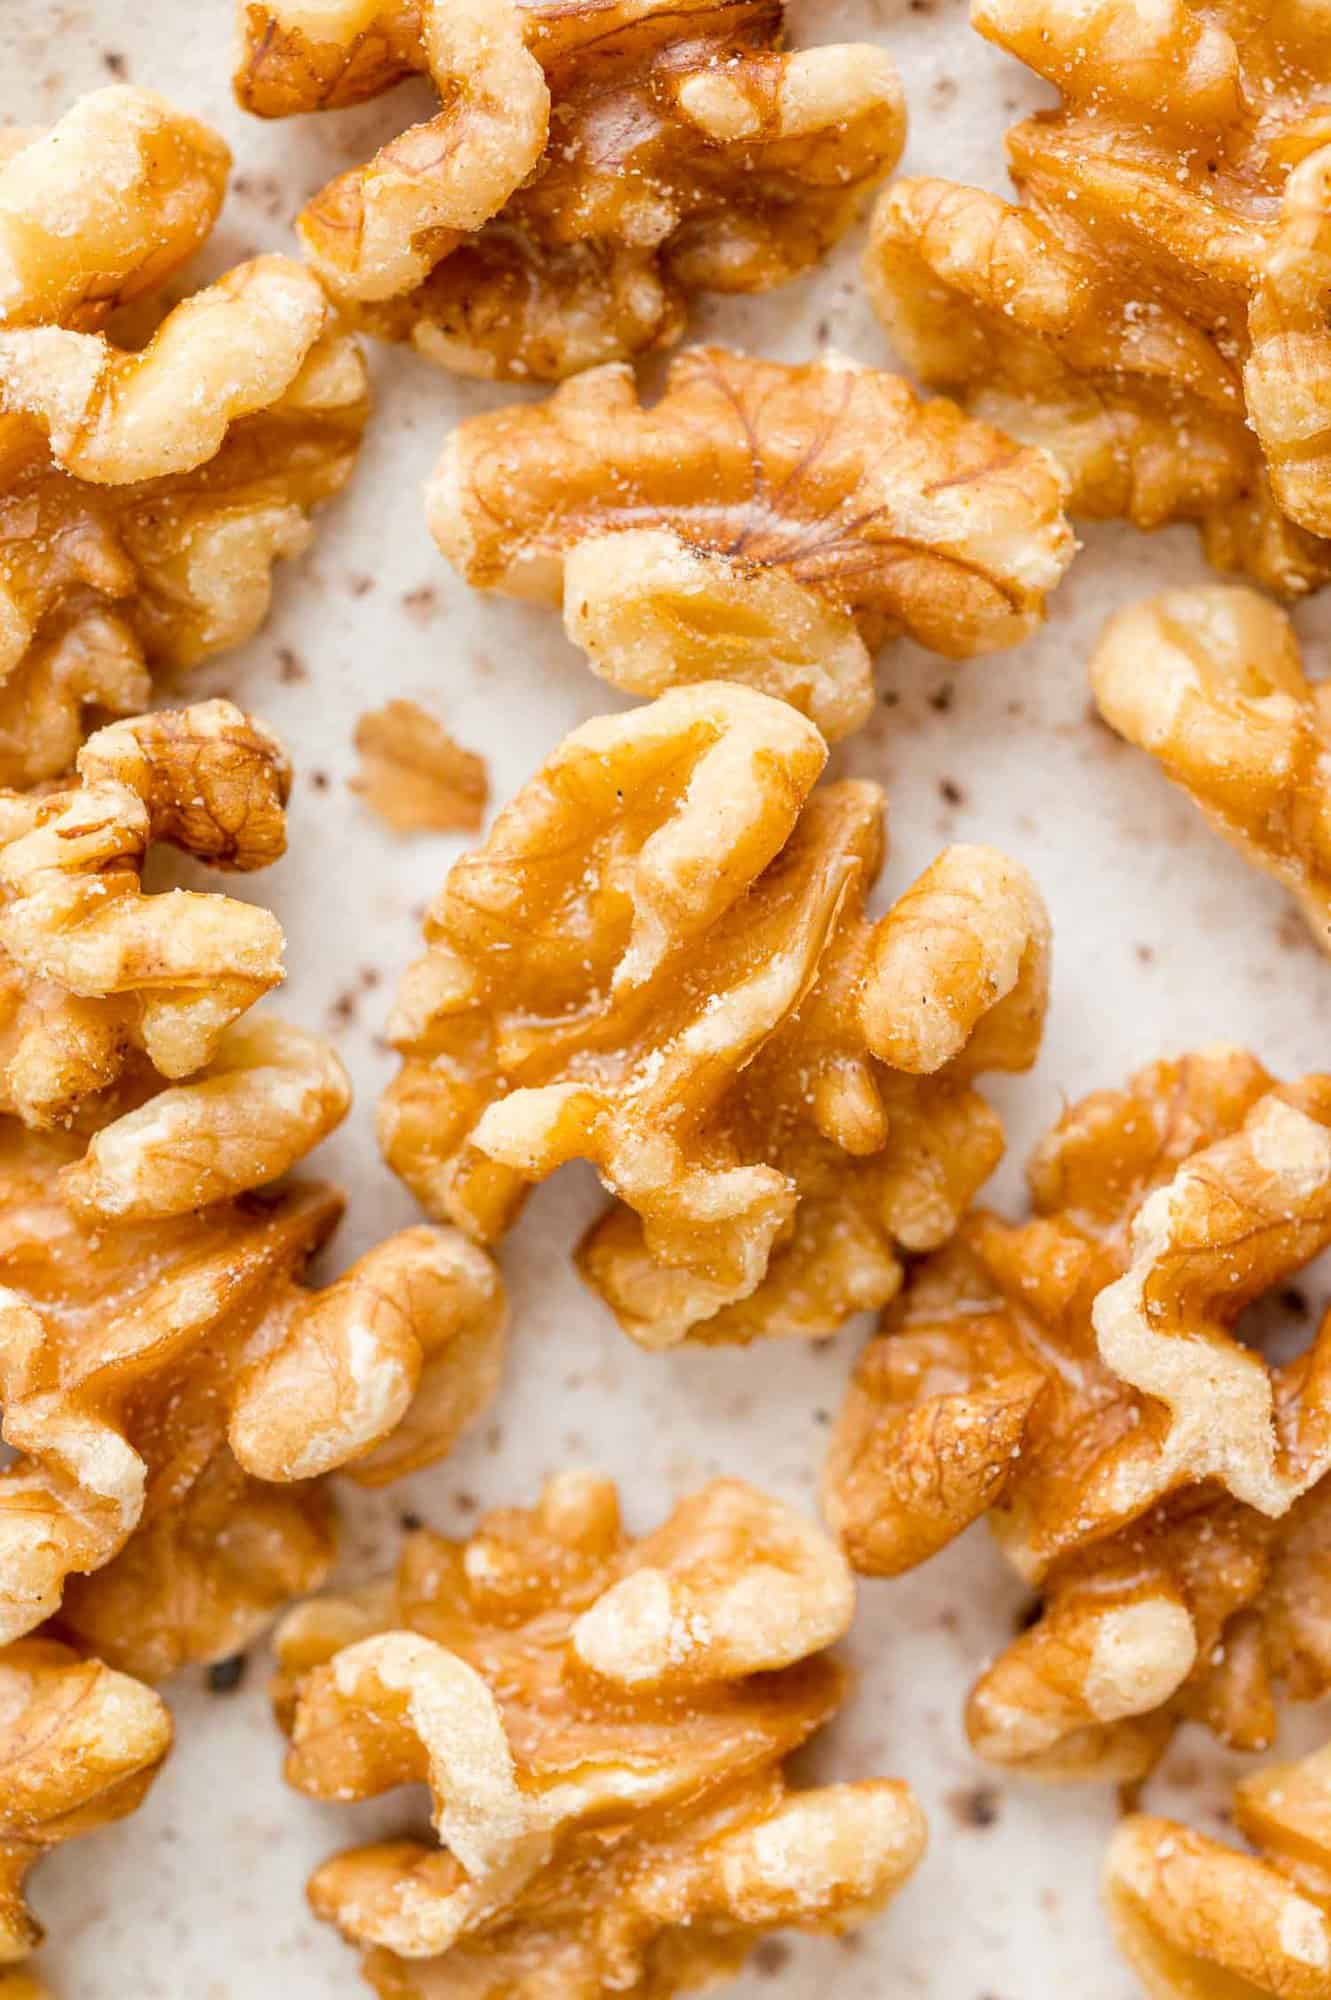
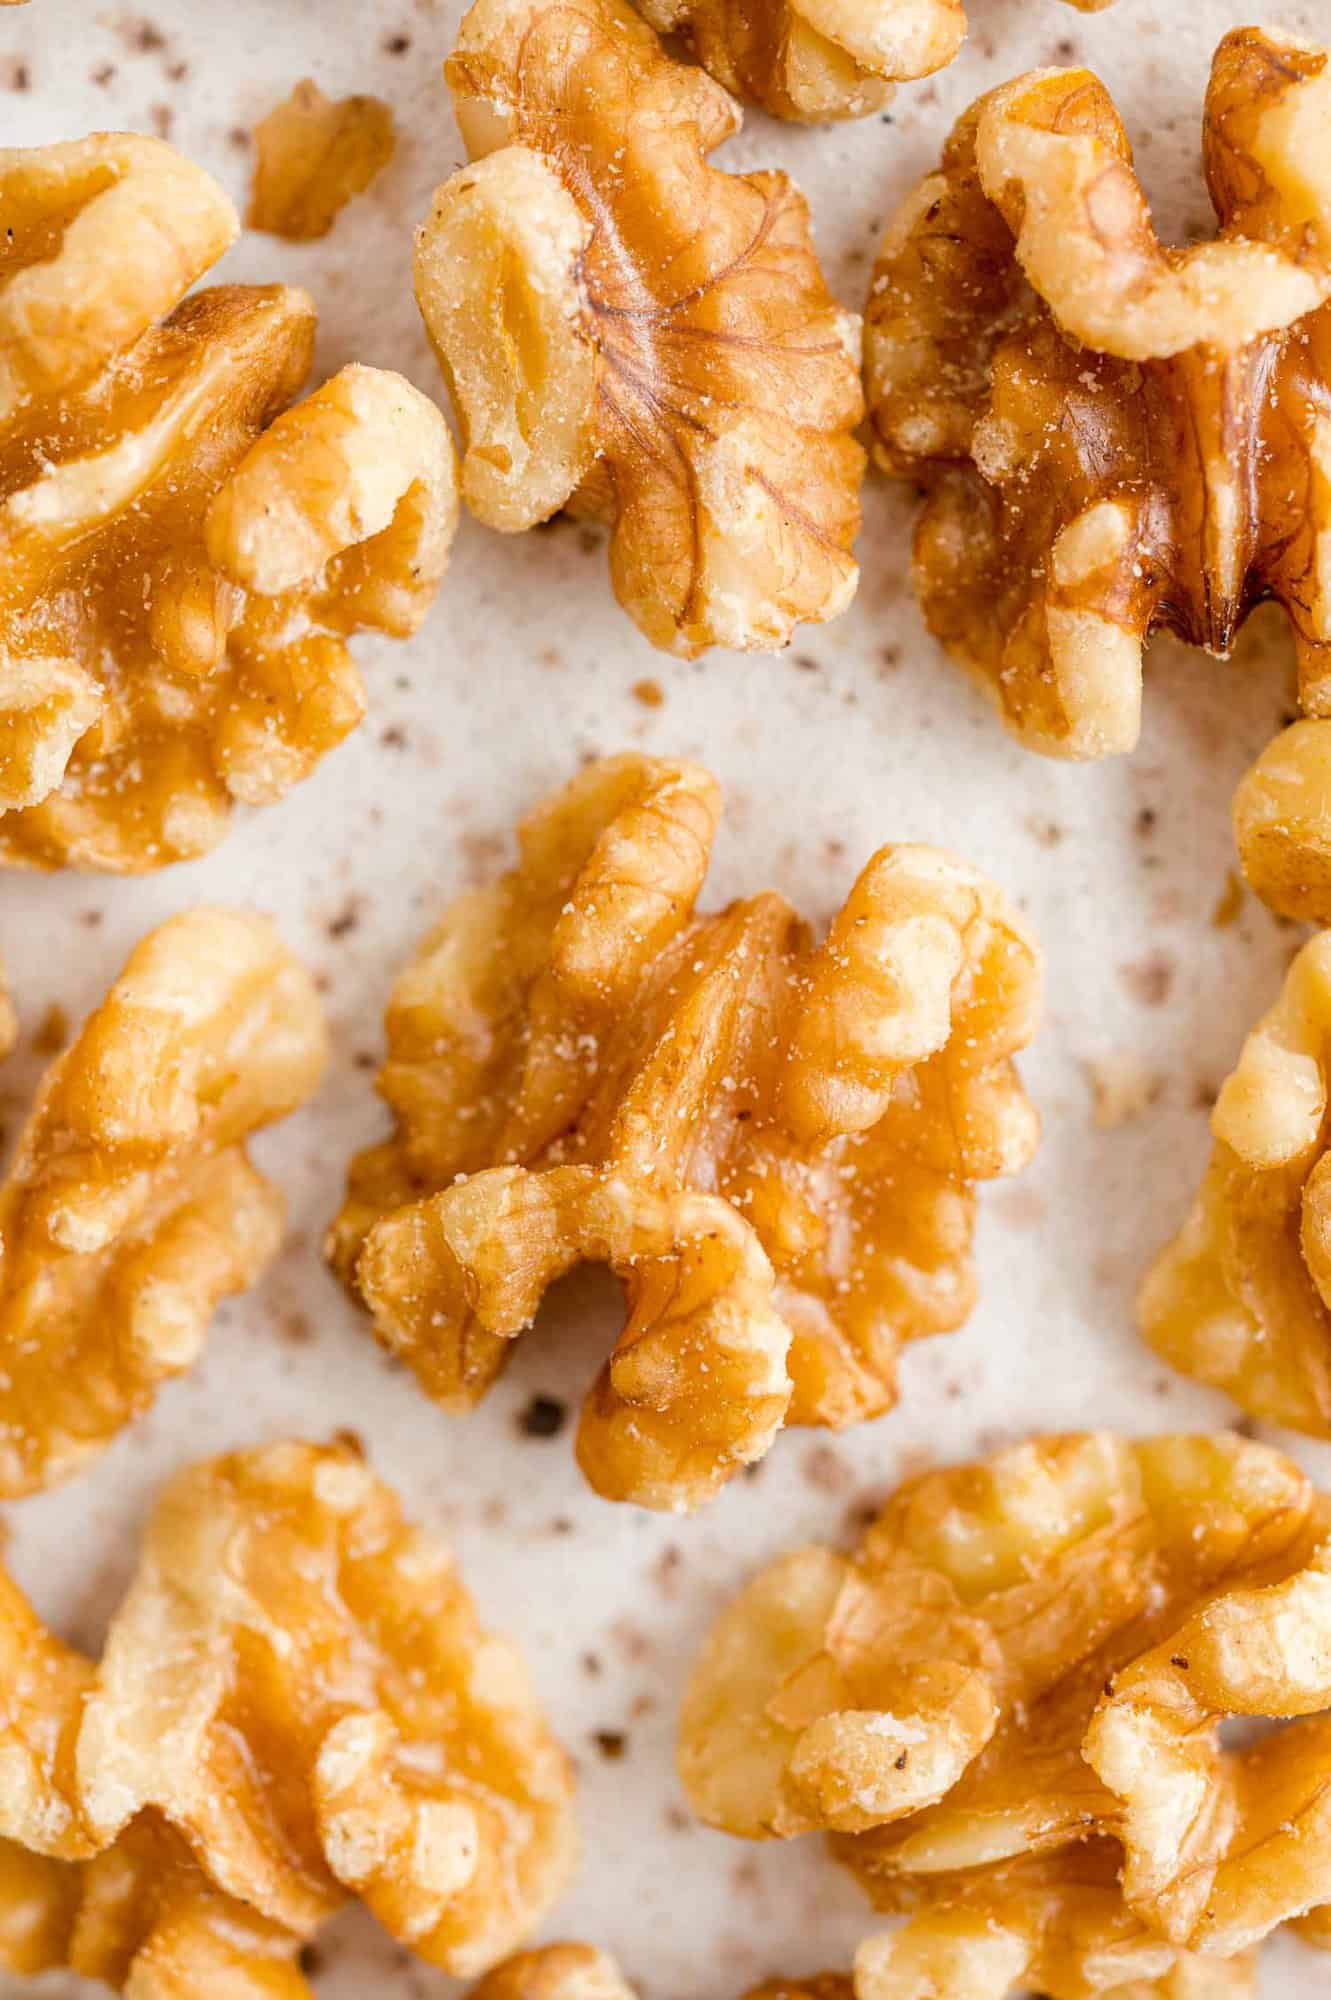
Try it and see! Even before you put a roasted walnut in your mouth, you’ll be able to see and smell the difference. A raw walnut has a rather pale tan appearance; when roasted, it turns a golden brown. Raw walnuts can smell bitter, almost astringent; when roasted, they have a warm, earthy, nutty smell. Once you taste a roasted walnut, you’ll definitely be convinced.
You might assume that when walnuts are baked in breads, muffins, cookies or cakes, they’ll be toasted during the baking time. However, the walnuts are buried inside a wet batter which prohibits the air flow and radiant heat that is needed to properly toast them. They simply steam.
One exception: If the walnuts are simply sprinkled on top of the batter, they shouldn’t be toasted first. In that case, there is sufficient air flow and heat to toast the nuts as the bread bakes.
Variations
- Embellish the walnuts: By adding a little sugar and spice, you can transform the walnuts into a lovely snack. Try pumpkin spice candied walnuts. Try toasting them with a little olive oil and top with salt.
- Toast different kinds of nuts. These same methods will work for most types of nuts and seeds. Adjust the cooking time for size, i.e. smaller nuts and seeds will toast more quickly and larger nuts will take longer. Always watch closely to ensure they don’t burn.
What’s the best way to store walnuts?
According to the California Walnuts, walnuts should be stored in an airtight container in the refrigerator, either shelled or in-shell, for up to a month. For longer storage, freeze the walnuts in an airtight freezer-safe container. Chopped or ground walnuts do not keep as well as walnut halves.
How long do toasted walnuts last?
Toasted walnuts should last as long as raw walnuts. They should be stored the same way, either in the refrigerator or freezer. Be sure to cool them completely before putting them into an airtight container to avoid condensation forming. Moisture will cause the walnuts to spoil quickly.
How do you know when walnuts have gone bad?
The best way to tell if walnuts have gone bad is to smell them. They should smell nutty and somewhat sweet. When walnuts go rancid, they will have a strong chemical odor, almost like paint thinner. Roasting will not “refresh” walnuts; once they’ve gone bad, you should discard them.
More Nuts & Seeds

![A scattering of pepitas on grey background. Text Overlay reads Pumpkin Seeds [pepitas] 8 ways.](https://www.rachelcooks.com/wp-content/uploads/2011/10/pumpkin-seeds-redo-562x600.jpg)
How To Toast Walnuts – three methods!

Ingredients
- 1 cup raw walnut halves (see note)
Instructions
Stove Top Method:
- Place the walnuts in a dry skillet in a single layer. There’s no need to add oil or water.
- Turn the heat to medium-low and toast the walnuts for about 3 to 5 minutes, or until fragrant and golden brown. Stir frequently and watch the walnuts closely. They can burn quickly once they get going.
- Immediately transfer the hot walnuts to a plate to cool in a single layer. This stops them from cooking further and possibly scorching.
Microwave Method:
- Spread walnuts on a microwave-safe plate, in a single layer.
- Microwave on full power (100%) for 1 minute, stir, and then continue to microwave in 30 second intervals, stirring each time, until golden brown and fragrant. Watch them closely because they can burn quickly. The microwave may heat unevenly so stir the walnuts frequently.
- Transfer the walnuts to another plate to cool, arranged in a single layer.
Oven Method (or toaster oven):
- Preheat oven to 350ºF.
- Spread walnuts in a single layer on a rimmed baking sheet, lined with parchment paper or foil for easy cleanup.
- Bake 7 to 10 minutes, stirring every few minutes, or until golden brown. Watch the nuts closely; they burn easily. The walnuts near the edge of the pan brown more quickly than the ones in the middle of the pan, so it’s important to move them around.
- Immediately spread the toasted walnuts on a plate in a single layer to cool. If you leave them in the hot pan, they may scorch because of the residual heat.
Notes
- Chopped walnuts will toast a bit more quickly than walnut halves.
- Toast as many walnuts as you need. If you toast more than 1 cup at a time, the oven method works best.
- Store both raw and toasted walnuts in either the refrigerator or freezer.
- All 3 methods can be used to toast other types of nuts and seeds, too.
Video
Nutrition
Nutrition information is automatically calculated, so should only be used as an approximation.