Learn how to make easy poached chicken: tender, juicy, and so versatile. Once you know how to poach chicken, you’ll wonder how you ever lived without it!
Recipe Overview
Why you’ll love it: Poached chicken is invaluable. You can use it to make salads, sandwiches, casseroles, burritos, and more. It freezes well, too!
How long it takes: 35 minutes
Equipment you’ll need: shallow pan with cover, stove, instant read thermometer (optional)
Servings: 4 (easily doubled or tripled!)
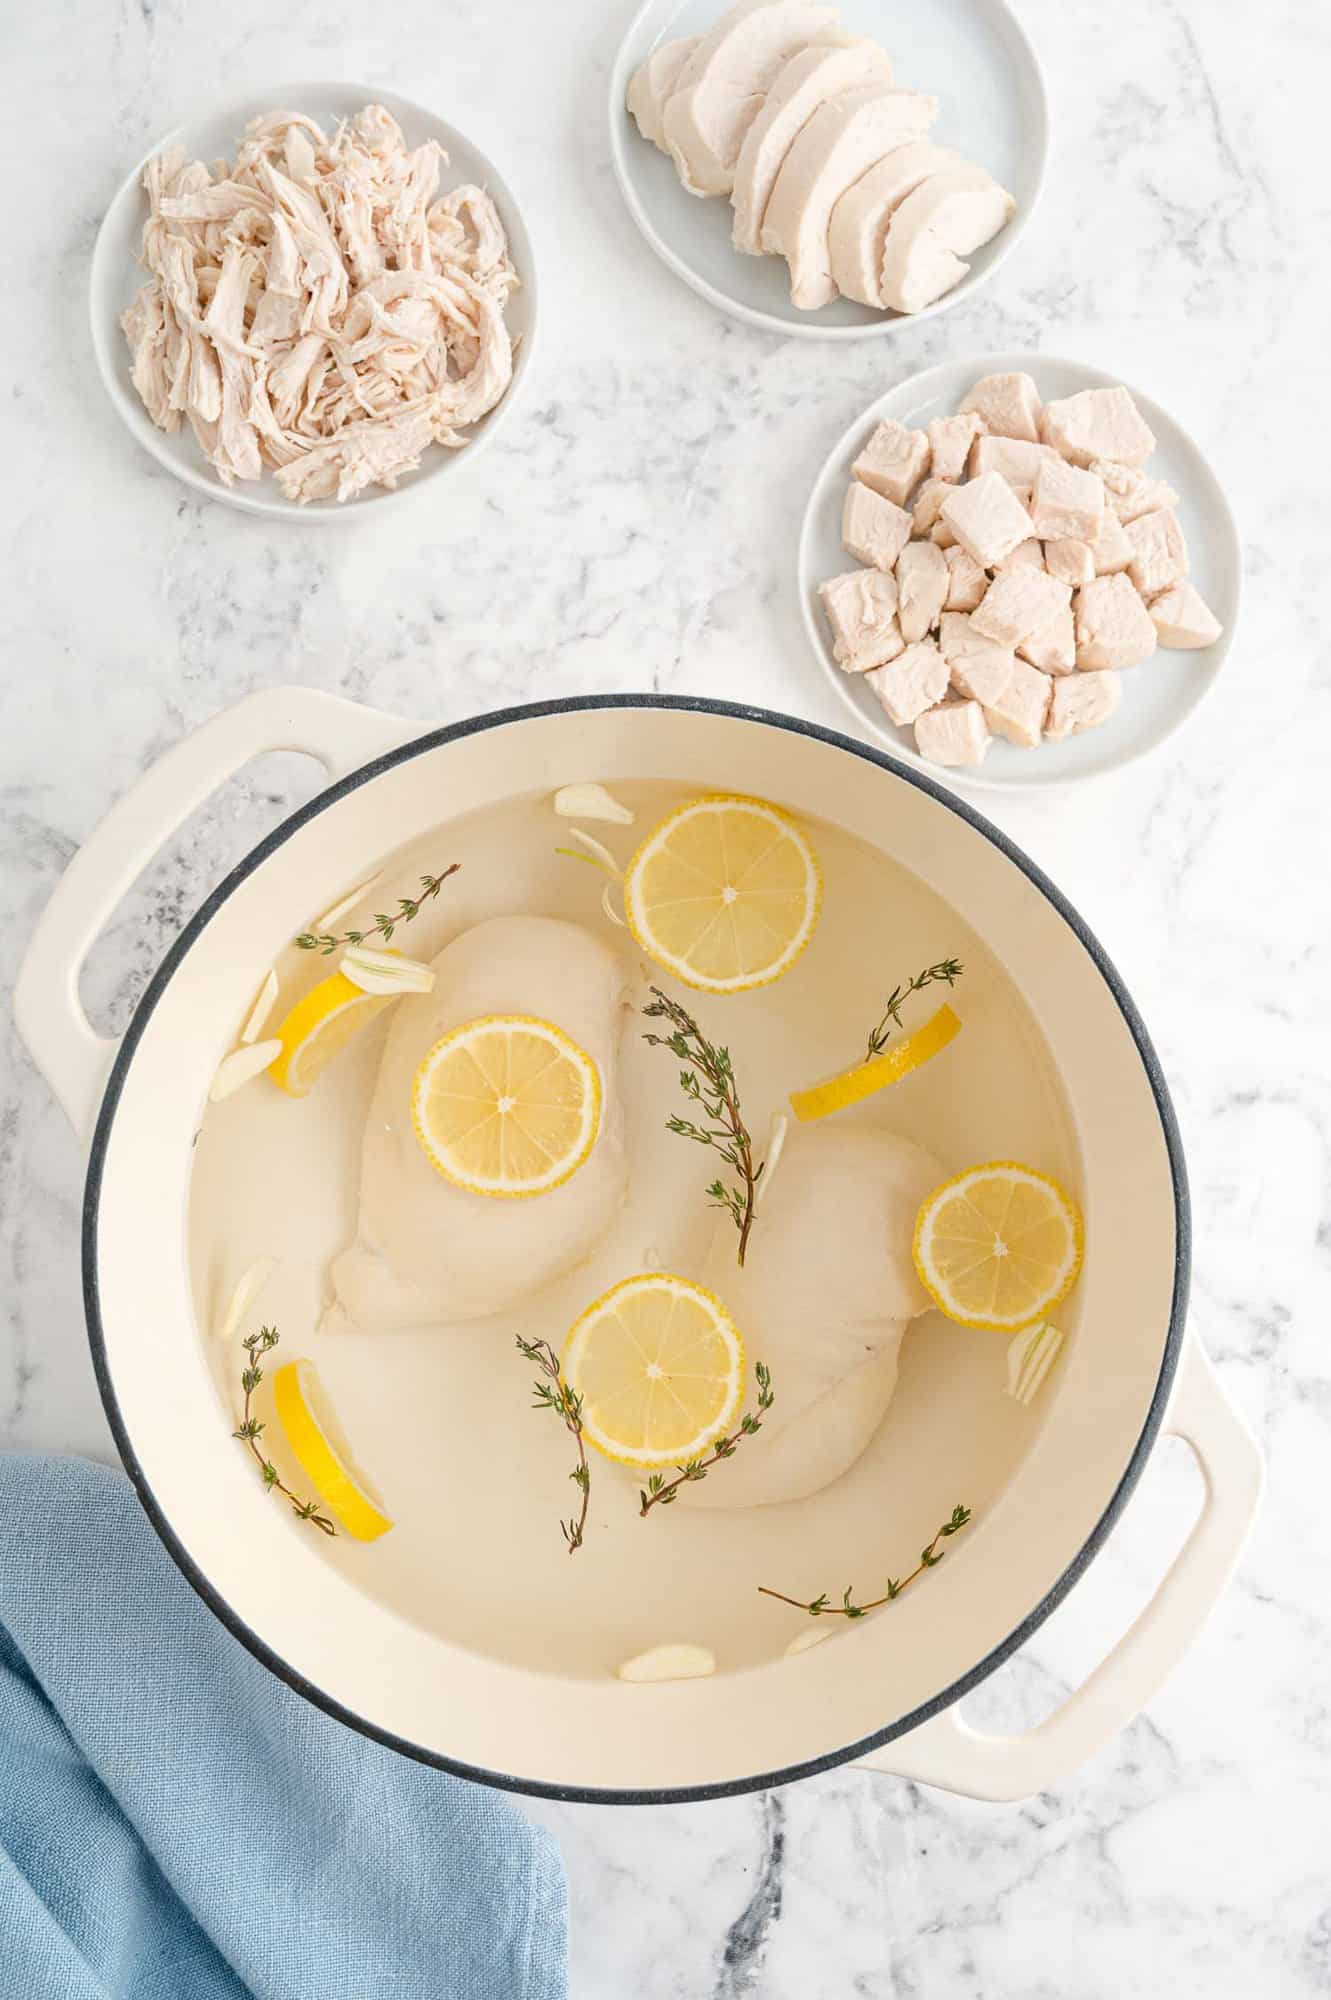
Tender, juicy, perfectly cooked chicken breasts all ready to use for weeknight meals – sound too good to be true? It can be so hard to come up with quick meals when you get home from work tired and hungry, maybe even a bit “hangry!”
Delicious pre-cooked chicken comes to the rescue! There’s no need to splurge on pricey, over-seasoned rotisserie chicken. Make your own low-sodium, low-calorie, and nutritious chicken (20 grams of protein!). It’s easy, convenient, and economical.
Buy a family-size package of boneless skinless chicken breasts and cook them up to use for several meals later on in the week. It takes about thirty-five minutes and you’ll only have to use one pan that is easy to wash. Basically, all you need is chicken and broth, or even plain water.
And when dinner time rolls around? All you have to do is put together a simple salad, add sliced chicken and your favorite homemade salad dressing (or bottled dressing!) and dinner is ready. Or make a pan of nachos, add the chicken, and bake until warm and crispy. Add the chicken to a bun with barbecue sauce, coleslaw, and a few slices of avocado. Make a barbecue chicken pizza! Or stuff it into a tortilla with some salsa, guacamole, and cheese. Add the chicken to canned vegetable soup for a really easy meal (or better yet, homemade vegetable soup). Stir it into a jar of pasta sauce (or again, homemade spaghetti sauce) and serve over spaghetti.
I have lots more ideas for you further down in the post so be sure to take a look at those!
About this Recipe
It’s very easy to poach chicken. Just follow the recipe and it will turn out perfectly every time. After a couple times, you probably won’t even need the recipe because it’s so simple. It’s really more of a “how to”. Once you learn the simple technique, you’ll use it over and over again.
The recipe is written for four servings. It’s easy to double if you have a large enough pan, so you can make a lot of cooked chicken that will last all week. It freezes well, too.
I’ll run you through the basics here and give you a few extra tips.
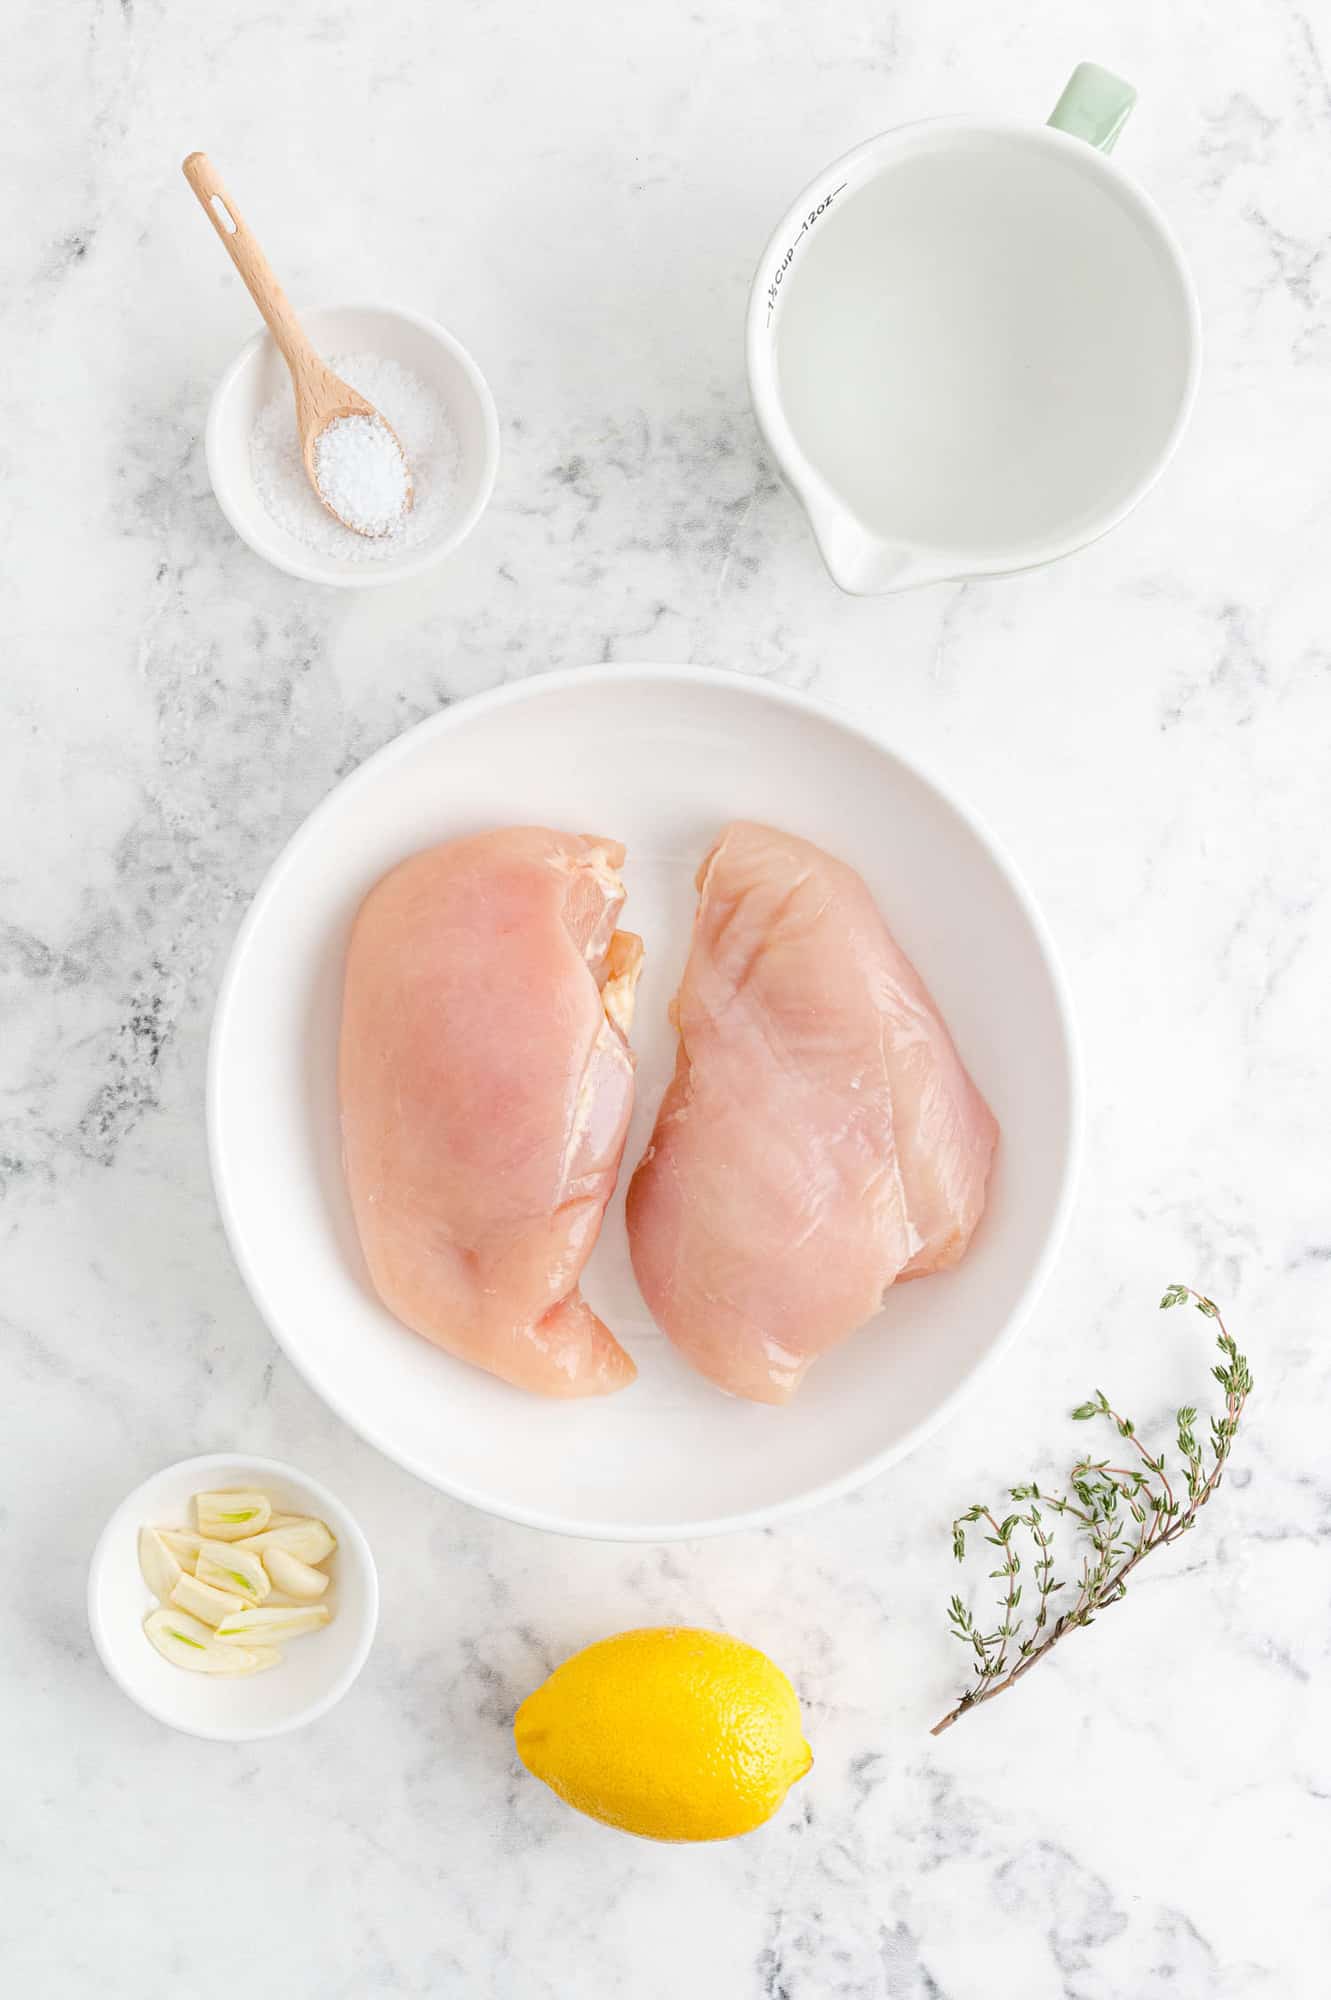
What you’ll need
- Boneless Skinless Chicken Breasts: The recipe is written for two chicken breasts but it’s easy to add more if you like, as long as you have a large enough pan for them to cook in a single layer. You’ll also find instructions on the recipe card for bone-in breasts, boneless skinless thighs, and bone-in thighs.
- Water or Broth: You’ll need enough water or broth (or a combination) to completely submerge the chicken.
- Kosher Salt: Salt is optional but it does season the chicken.
- Optional Flavorings/Aromatics: If you’d like to flavor the chicken, add one or more of the following: lemon slices, bay leaf, garlic cloves, fresh herbs, shallots, or white wine.
How to make This Recipe
Poaching chicken is really very easy and is mostly hands-off cooking. The most important thing to remember is “low and slow.” Keep the heat low and cook the chicken slow.
Choose a wide, shallow pan that has a lid. There should be enough room for the chicken to mostly fit in a single layer. If some of the thinner edges overlap a little, that’s fine. Place the chicken in the pan.
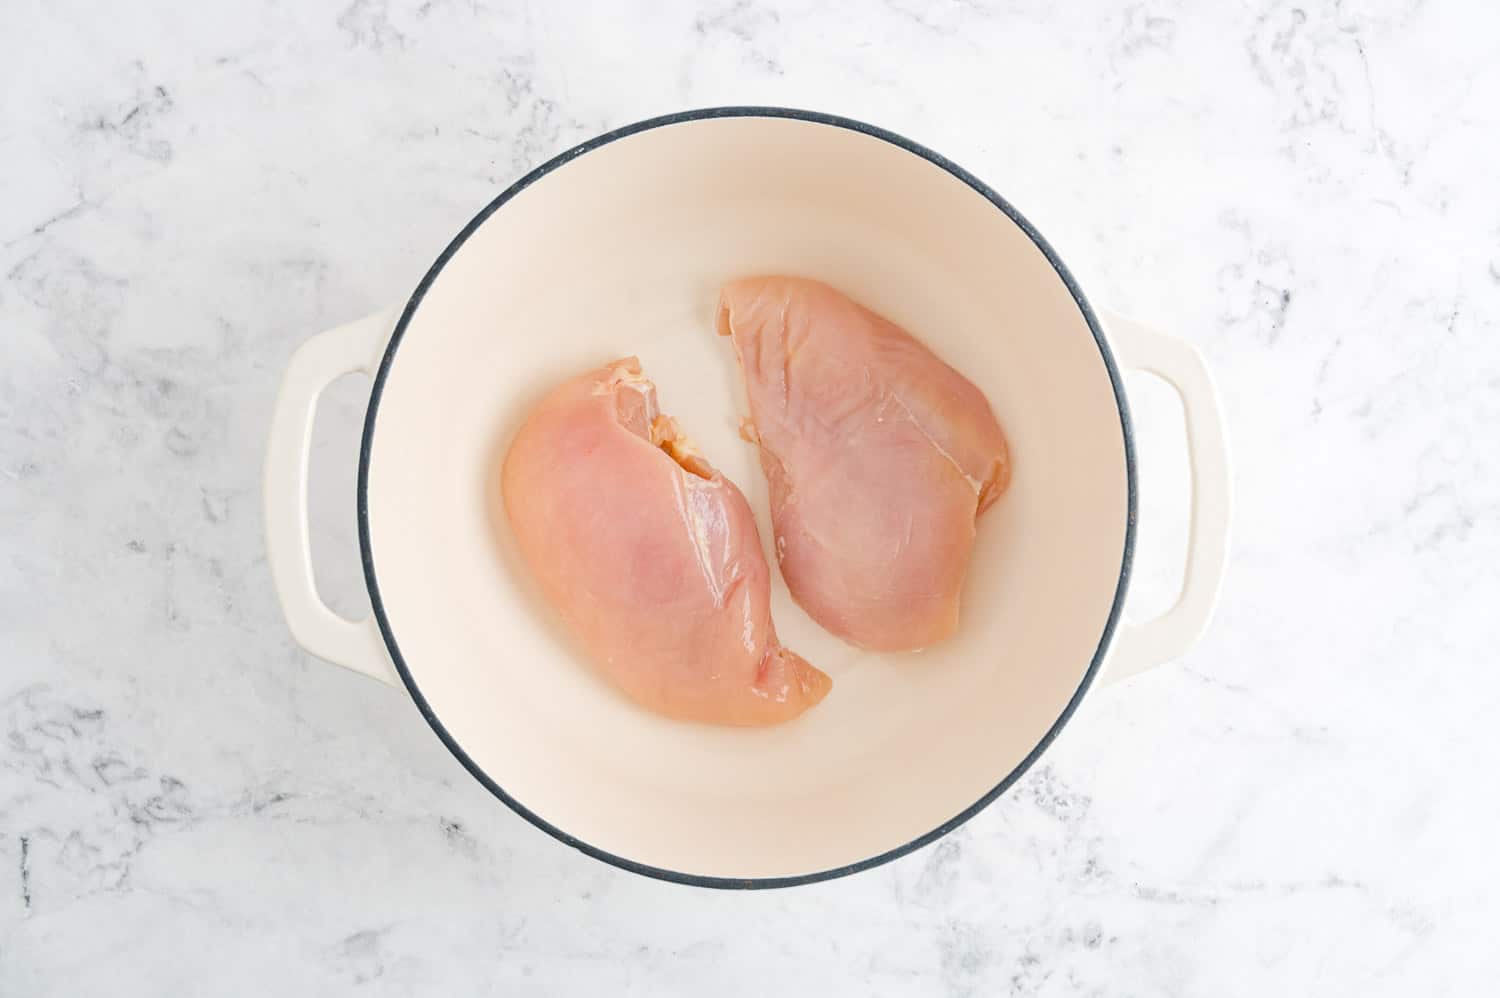
Pour enough water or broth over the chicken so that it’s completely covered. I’ve given you a ballpark figure of about how much liquid you’ll need but it really depends a lot on the size of your pan and the size of the chicken breasts.
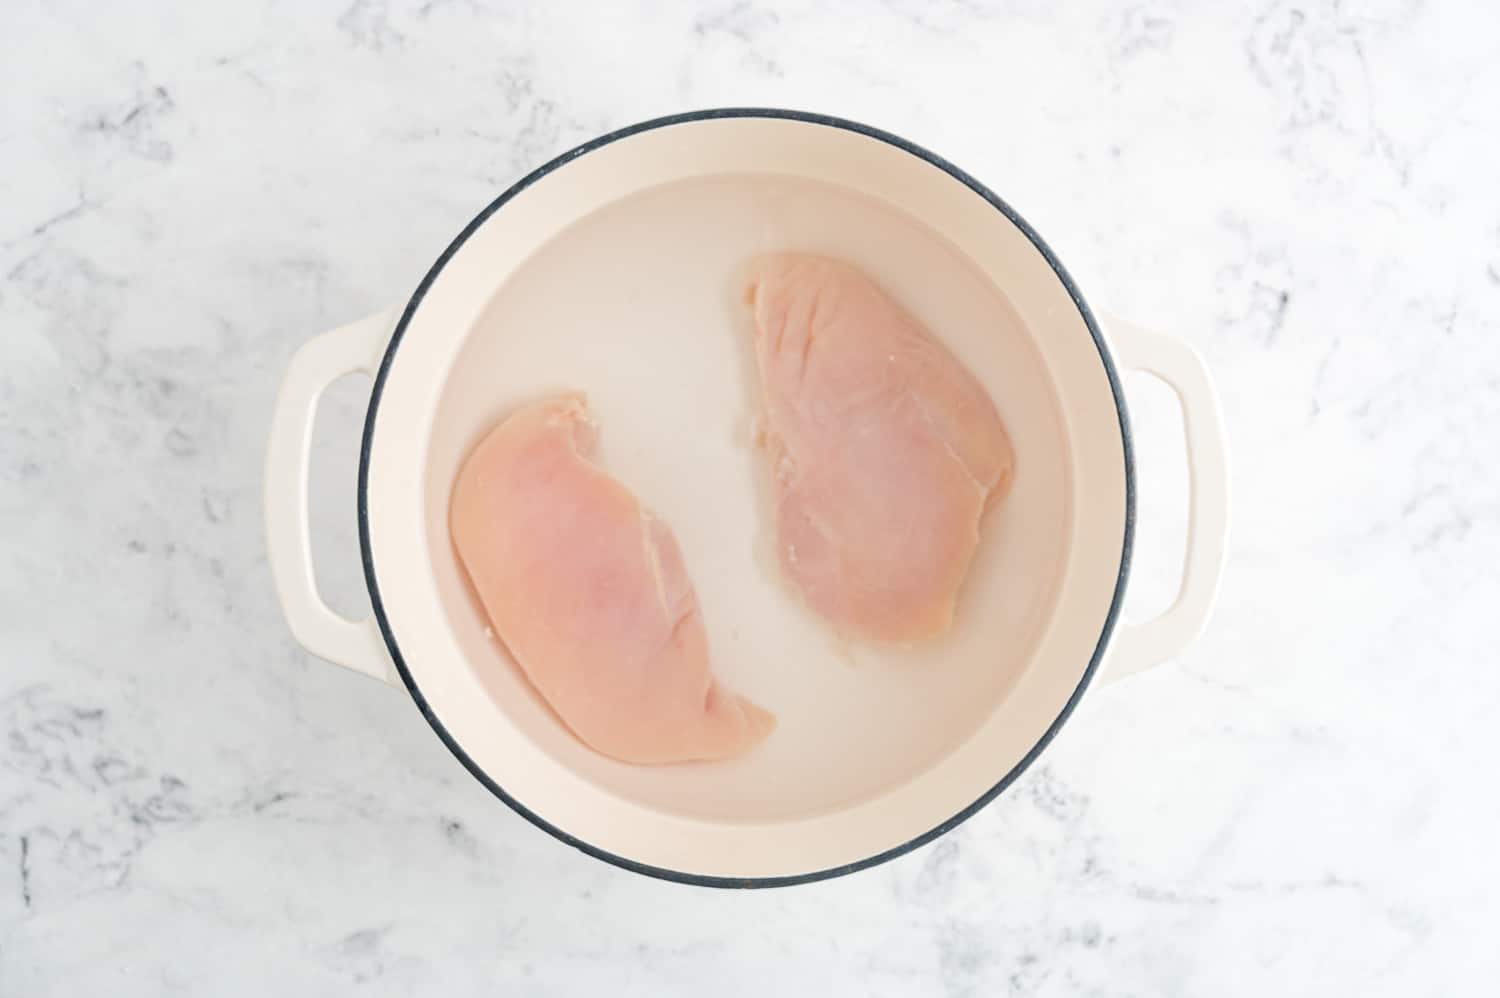
Don’t be tempted to hurry things along by using hot water. It’s best to start with cool water right out of the tap or room temperature broth.
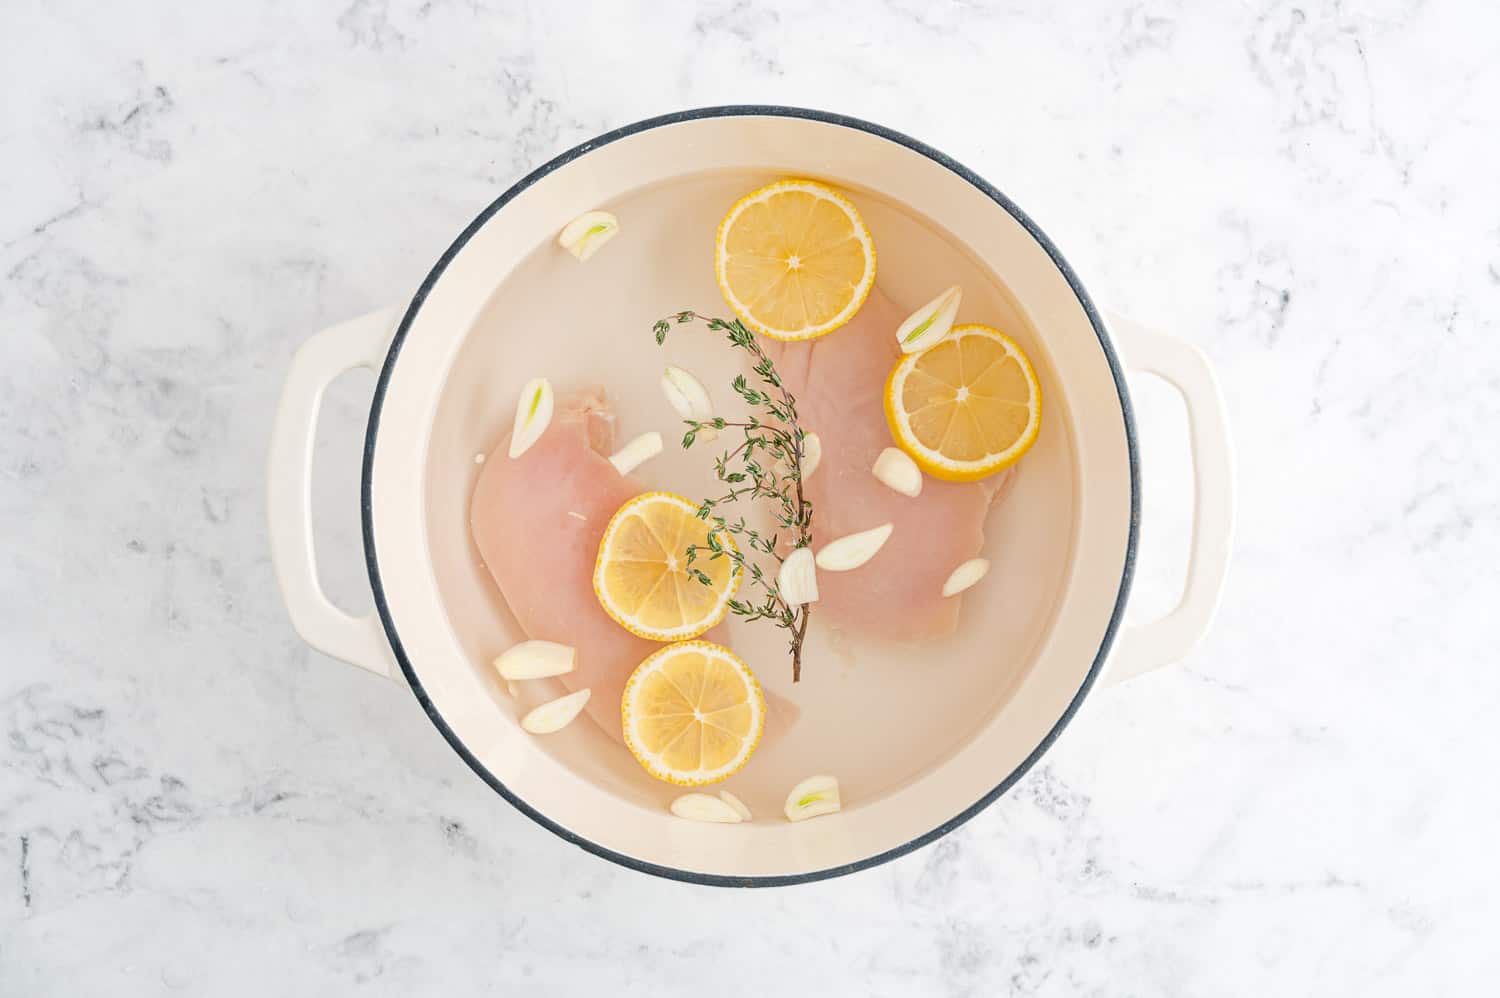
Add salt and any aromatics you’d like to flavor your chicken. For the photos, we used lemon, garlic, and fresh thyme.
Turn the heat to medium. Again, don’t try to hurry things along by turning the heat way up. Remember, low and slow! Bring the contents of the pan to a gentle simmer. This should take about fifteen minutes but will depend on your pan and how much chicken is in it.
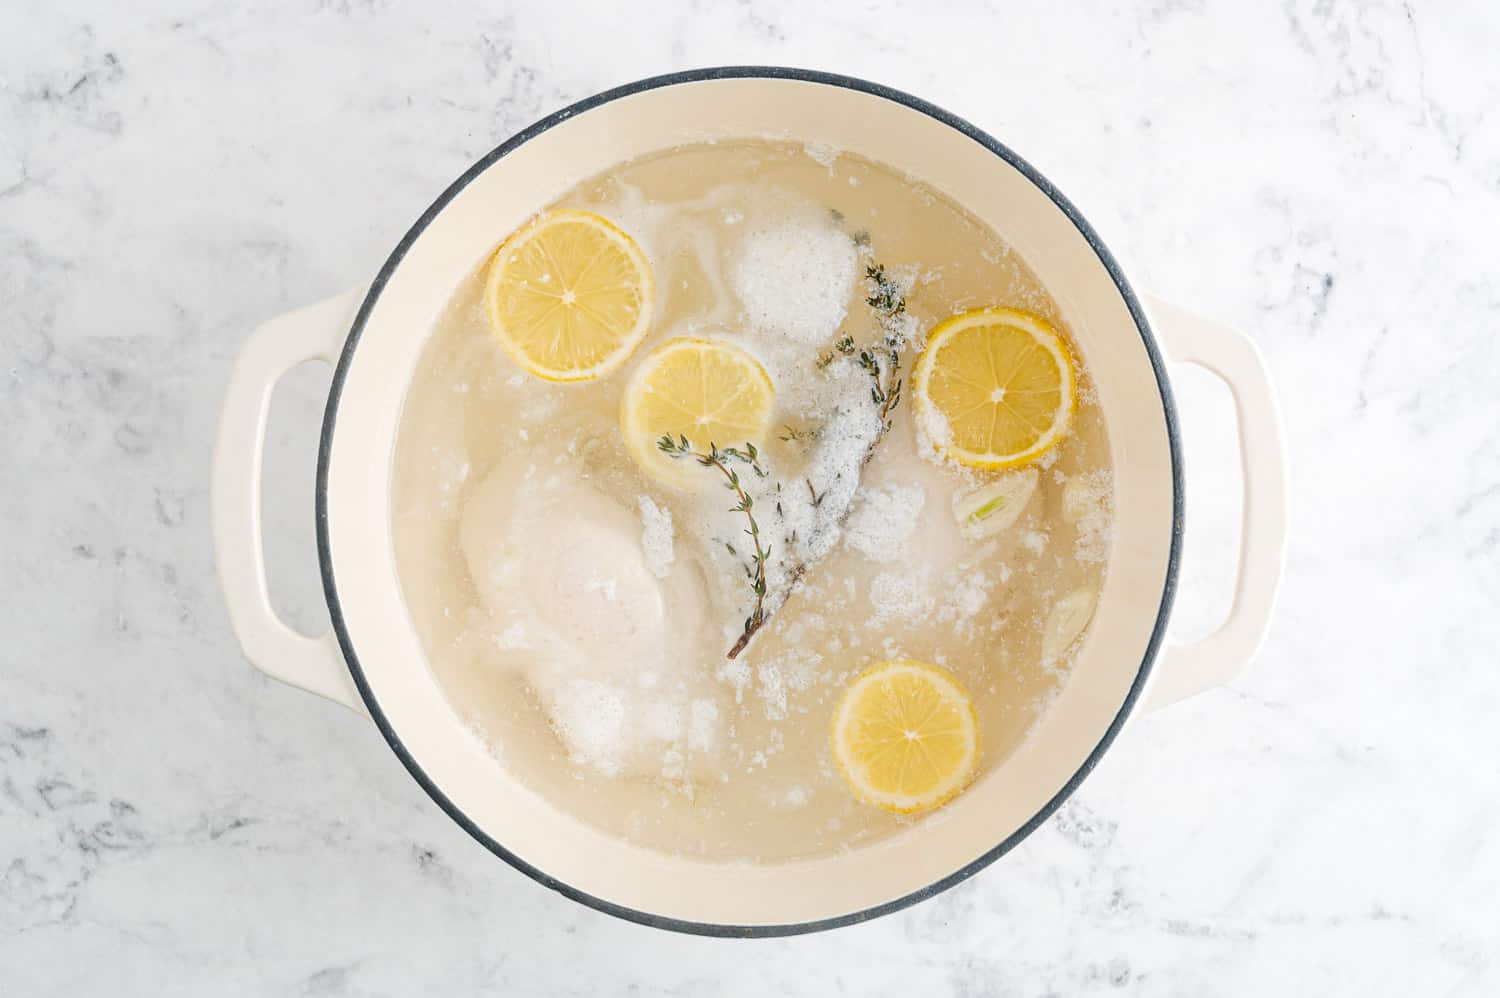
Boil, Simmer, Poach
What’s the difference? It’s all a matter of temperature. Boiling is the hottest, at 212°F. You’ll see large steaming bubbles coming to the surface. Simmering is next hottest, with a temperature of 185°F to 205°F. There will be tiny continuous bubbles rising. Poaching requires the coolest temperature, just 160°F to 180°F. There may be some movement or shimmer in the liquid but not bubbles.Once the chicken comes to a simmer, reduce the heat to low and cover the pan.
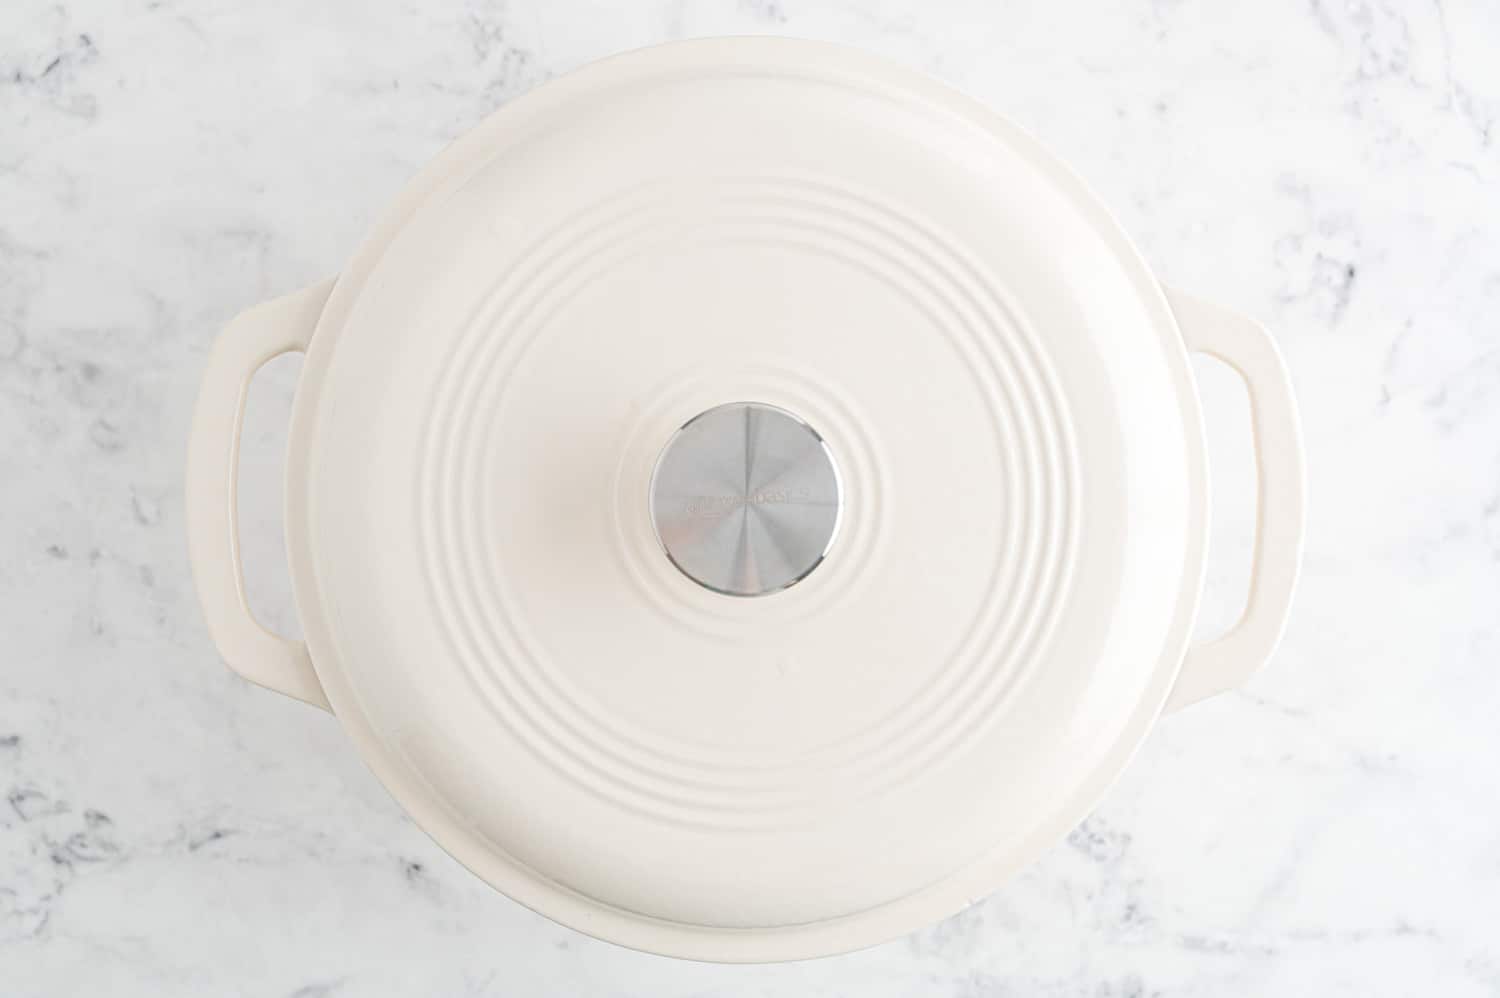
After about 10 minutes, check the internal temperature of the thickest portion. If it’s 165ºF, hurray! it’s done. If not, continue cooking a couple of minutes.
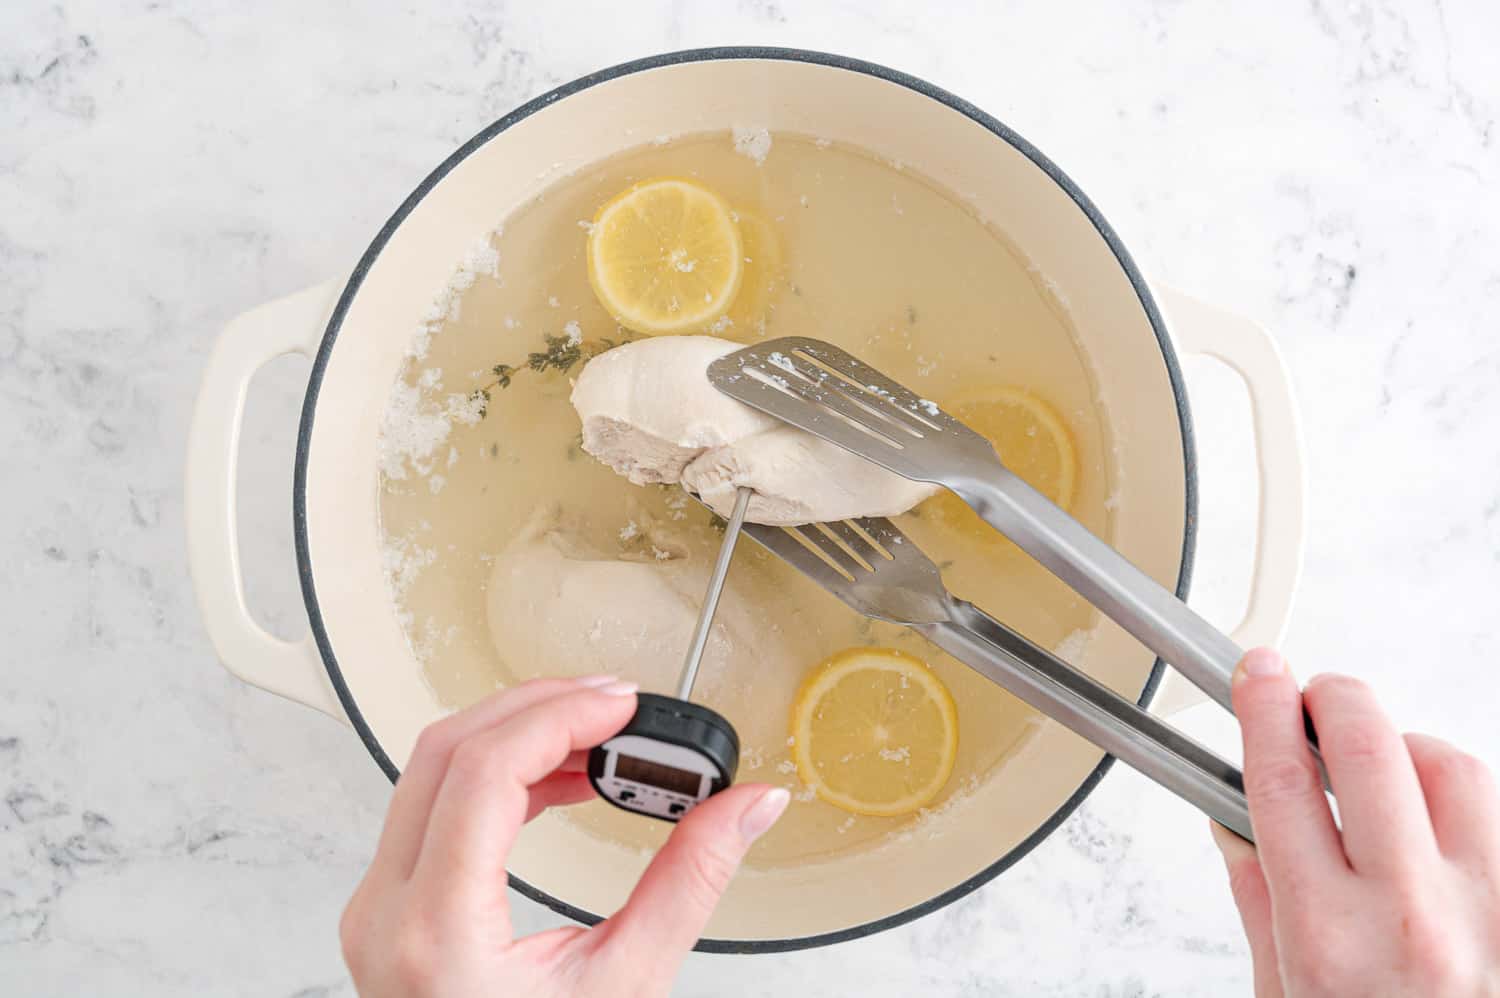
Once it’s cooked, remove the chicken from the pan using tongs and set it on a cutting board or platter. Allow it cool for 5 minutes or so before slicing, cubing, or shredding.
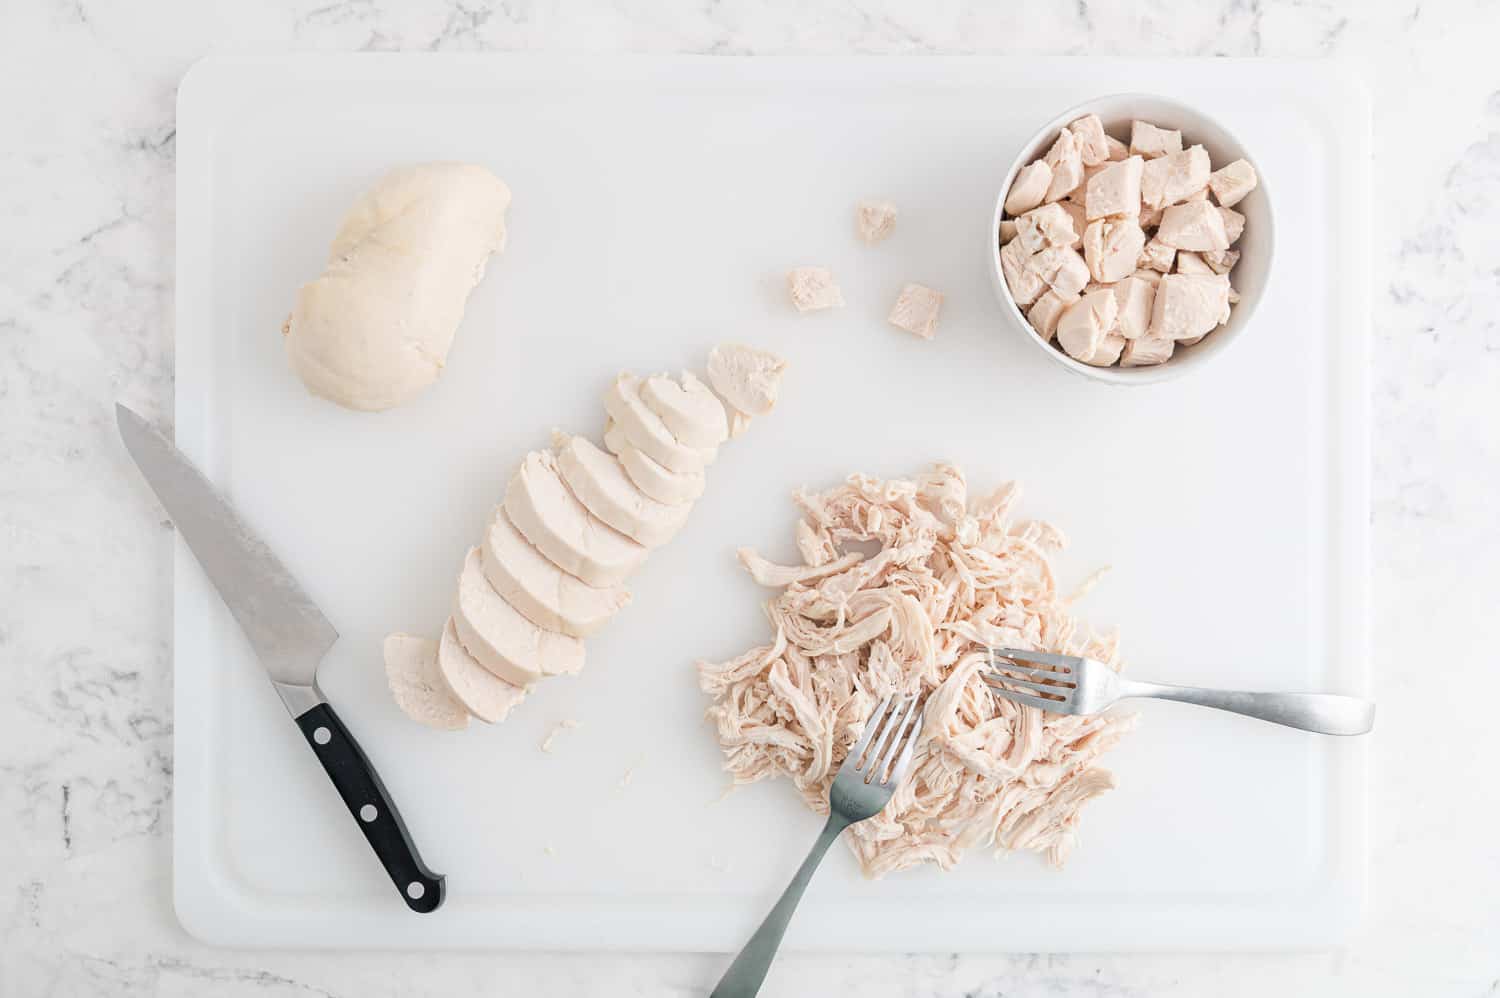
While both methods involve cooking chicken in water or broth, there is a big difference between the two. Poaching is done at a much lower temperature than boiling. It’s a gentler way of cooking chicken and the results are much better: juicy tender chicken as opposed to tough dry chicken. Just remember “low and slow” and you’ll have tender, perfectly cooked chicken.
The best way to determine if the chicken is fully cooked is to use an instant read thermometer. Insert it into the thickest part of the chicken. The internal temperature should be 165ºF or more.
If you don’t have an instant read thermometer, slice into the chicken to determine if it’s done (however,, this isn’t ideal since it doesn’t allow the chicken to rest). The chicken should be firm, opaque, and with no pink in the center. If it isn’t quite done yet, put it back into the poaching liquid for a couple more minutes.
Yes, especially if you added aromatics (herbs, shallot, etc.). The cooking liquid will be like a very light chicken broth and is good for soups or cooking grains. Strain out any solids using a fine mesh strainer and refrigerate or freeze until you need it. It will keep for a week in the refrigerator or up to 6 months in the freezer.
Make It Your Own
Since this is more of a cooking technique than a recipe, it’s pretty basic. You can vary it by adding the aromatics listed above, or other flavorings you might have in mind.
- Rather make chicken in your Instant Pot? Try this easy recipe for Instant Pot shredded chicken.
- Use your oven. Try roasted bone in chicken breasts. They are really delicious as an entrée or to use later in recipes like the ones listed below.
- Make chicken in your air fryer. Try air fryer chicken breasts, air fryer chicken thighs, or air fryer drumsticks.
How to Use Poached Chicken
Here are a few ideas for you but the list is by no means complete.
- Southwestern BBQ Chicken Salad (best chopped salad!)
- Healthy Curried Chicken Salad
- Dill Chicken Salad
- Southwest Chicken Salad Recipe
- Healthy Chicken Salad with Walnuts and Grapes – with video!
- Chicken Fajita Stuffed Spaghetti Squash
- The Best Cauliflower Nachos
- Southwestern Quinoa Bowl with Chicken
- BBQ Chicken Burrito Bowls
- Creamy Chicken Rice Soup
Poaching chicken is a wonderful food prepping tool. It’s very easy to do and keeps really well. Store it in the fridge or freezer for many nutritious meals in the future. I almost always have poached chicken on hand.
Lunchbox Idea: Deli meat is expensive (9-10$ a pound!) and has added preservatives and lots of sodium. Why not replace it with homemade chicken breast slices? So much more economical and much better for you! It makes a hearty sandwich. Simply add mayonnaise, mustard, or your sandwich favorite toppings.
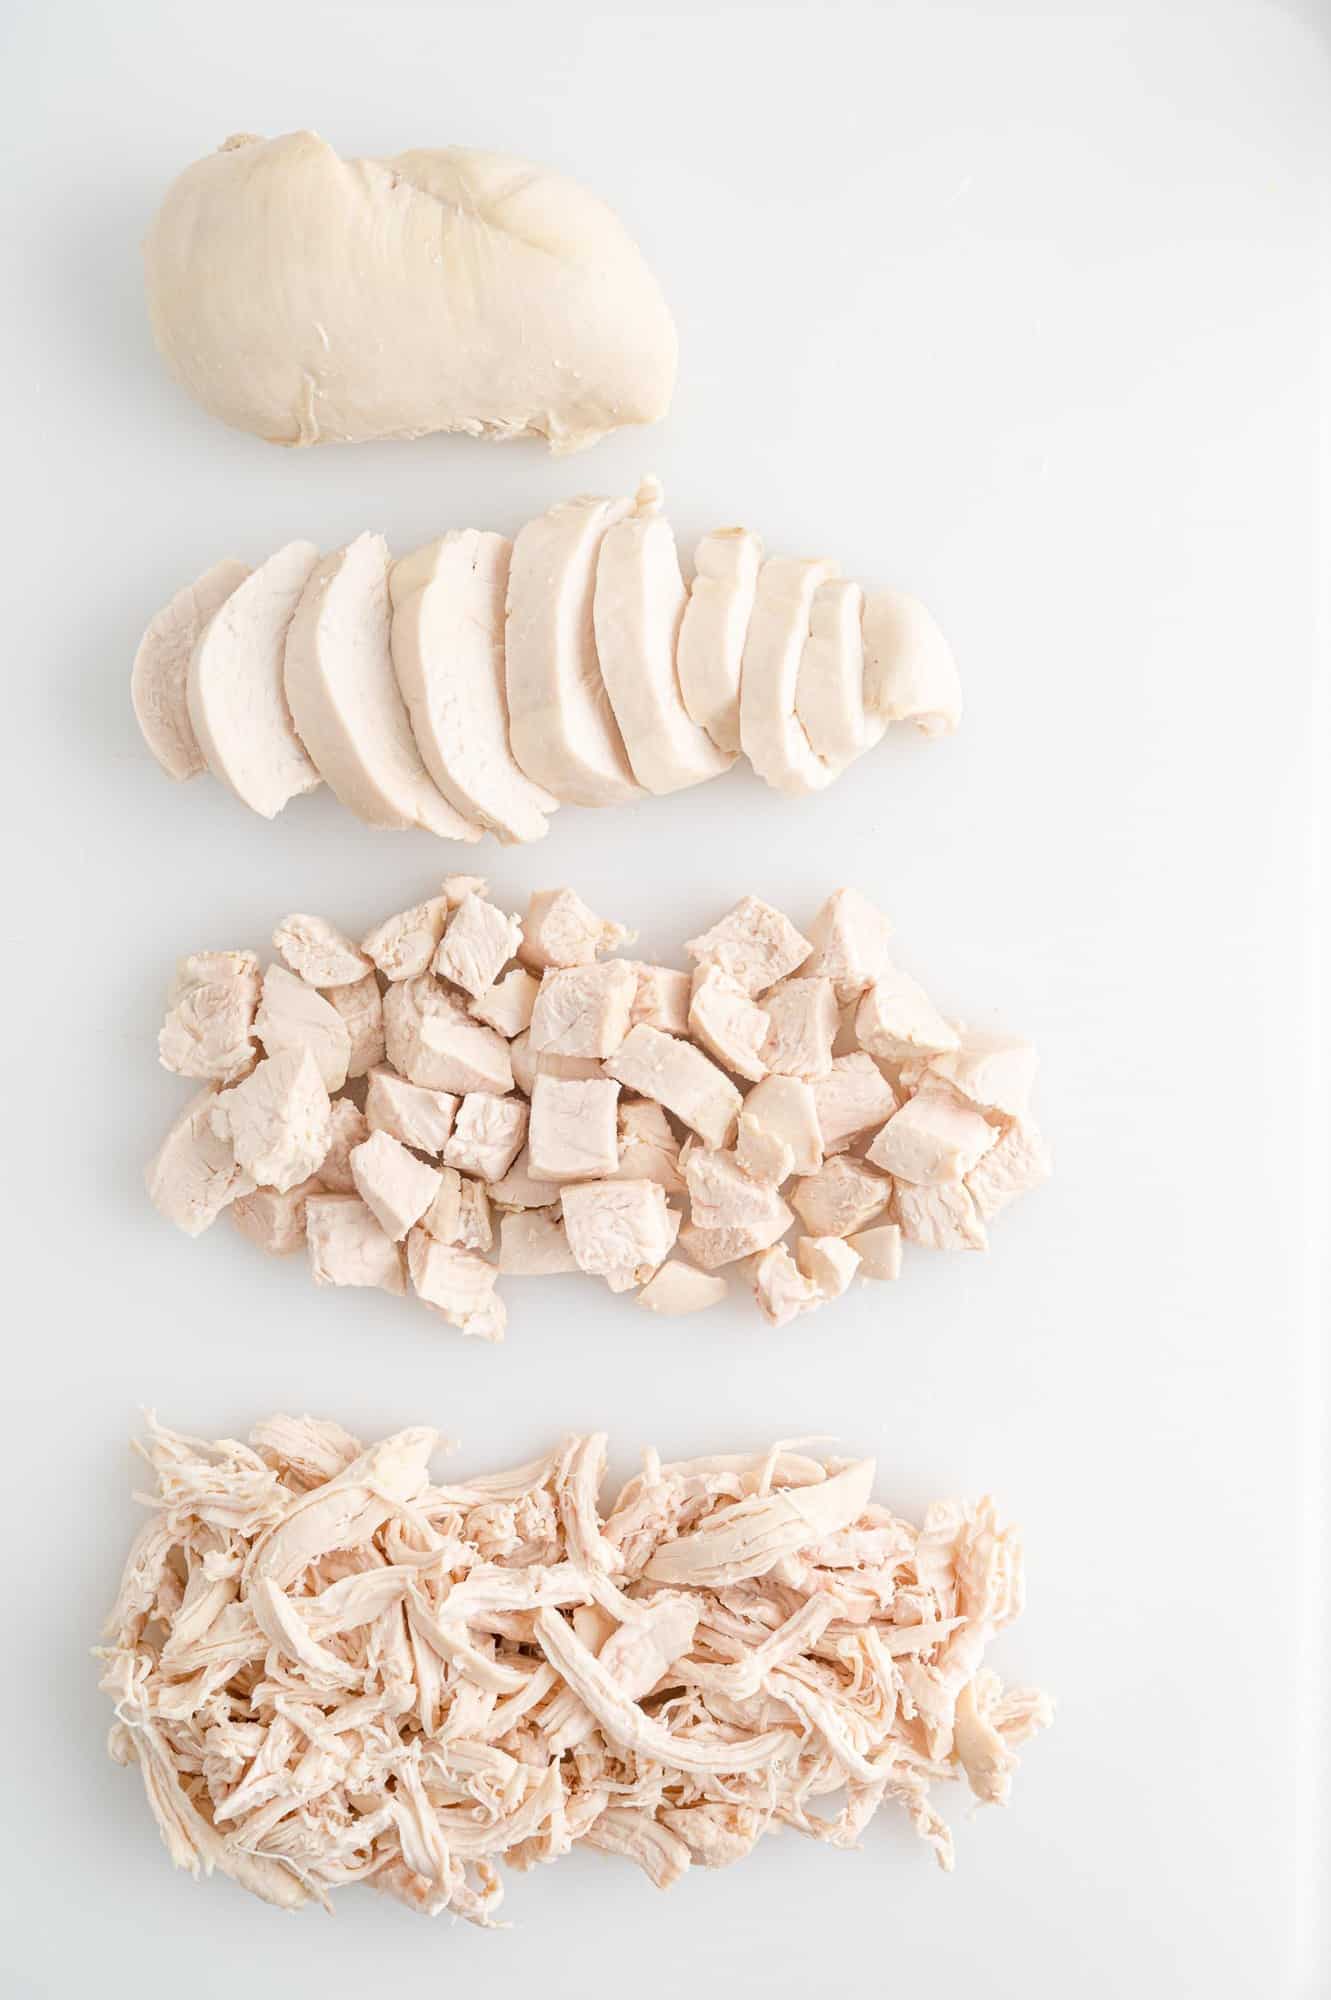
Cool poached chicken for a half hour or so before refrigerating or freezing in a tightly covered container or resealable bag. It will keep up to four days in the fridge or 4 months in the freezer.
More Chicken Recipes
Poached Chicken – How To Poach Chicken

Ingredients
- 2 boneless skinless chicken breasts, about 8 oz. each (see notes)
- 6 cups water or chicken broth (more or less as needed)
- 2 teaspoons kosher salt (reduce to 1 teaspoon if using low-sodium broth, 1/2 teaspoon if using full-sodium broth)
Optional flavorings:
- 1 lemon, cut into slices
- 1 bay leaf
- 2 cloves garlic, sliced
- fresh herbs (sprig of rosemary, fresh thyme, or fresh parsley)
- 2 shallots, peeled and cut in quarters
- 1 cup dry white wine
Instructions
- Pick a wide pan with a lid that is large enough for the chicken to fit in a single layer and be fully submerged in water or broth.
- Place chicken breasts in pan and cover with cold water or broth. The amount of liquid you need will depend somewhat on your pan and how much chicken you're cooking. Add salt and desired optional flavorings.
- Place over medium heat and bring to a simmer. This should take about fifteen minutes but will vary depending on your stove and pan. Don’t rush this step!
- When it comes to a simmer, flip each piece of chicken over, reduce the heat to low and cover pan.
- After about 10 minutes, check the temperature of the chicken using an instant read thermometer placed in the thickest part of the meat. When the chicken reaches an internal temperature of 165ºF, remove from heat and transfer chicken to a cutting board.
- Let chicken rest for 5 minutes before cutting or shredding.
Notes
- Although the amount of sodium looks rather high in the nutrition information, keep in mind that most of it is in the cooking liquid. Very little sodium is actually absorbed by the chicken.
- To Store: Cool poached chicken for a half hour or so before refrigerating or freezing in a tightly covered container or resealable bag. It will keep up to four days in the fridge or 4 months in the freezer.
To poach different cuts of chicken:
The process will be similar but the cooking times will vary. Remember that chicken pieces vary widely in size. Smaller pieces will be done more quickly than larger ones.- Bone-in skin-on breasts (about 16 oz. each): After water comes to a simmer, poach for 20 minutes.
- Boneless skinless thighs (about 4 oz. each): After water comes to a simmer, poach for 8-10 minutes.
- Bone-in skin-on thighs (about 7 oz. each): After water comes to a simmer, poach for 13 minutes.
Video
Nutrition
Nutrition information is automatically calculated, so should only be used as an approximation.








Great instructions on how to poach chicken. I especially love the notes to taking a slow approach. I actually cooked 6 breasts, covered immediately and let them come to a simmer for 20+ minutes. Just used salt and water and the chicken was absolutely tender and shredded really well when I used my hand mixer. Was so impressed because most often my poaching is dry. This was tender!
I’m so happy it was helpful!
Do you have to cut the breaststroke up? Can you just leave them whole?
You can definitely leave them whole!