No Bake Peanut Butter Bars
This post may contain affiliate links. Please read my disclosure policy.
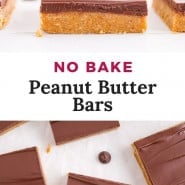
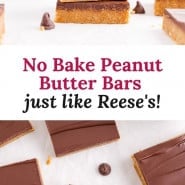
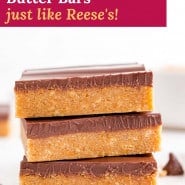
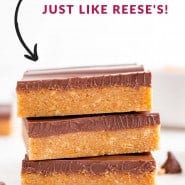
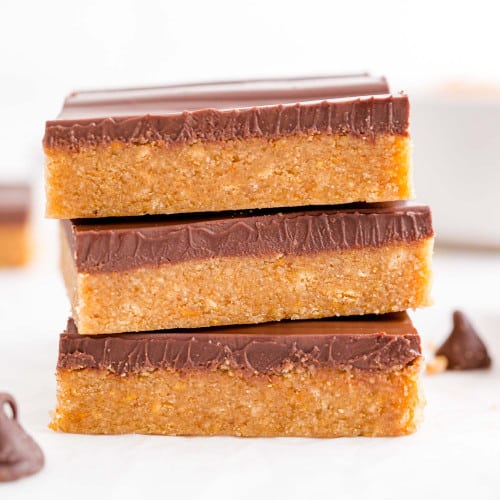
No bake peanut butter bars are the perfect treat. They are easy to make and taste just like Reese’s peanut butter cups!
Recipe Overview
Why you’ll love it: These bars are dangerously good!
How long it takes: 15 minutes hands-on; an additional 1 ½ hours to chill
Equipment you’ll need: saucepan, 9 x 13 inch pan
Servings: 24 bars (generously sized)
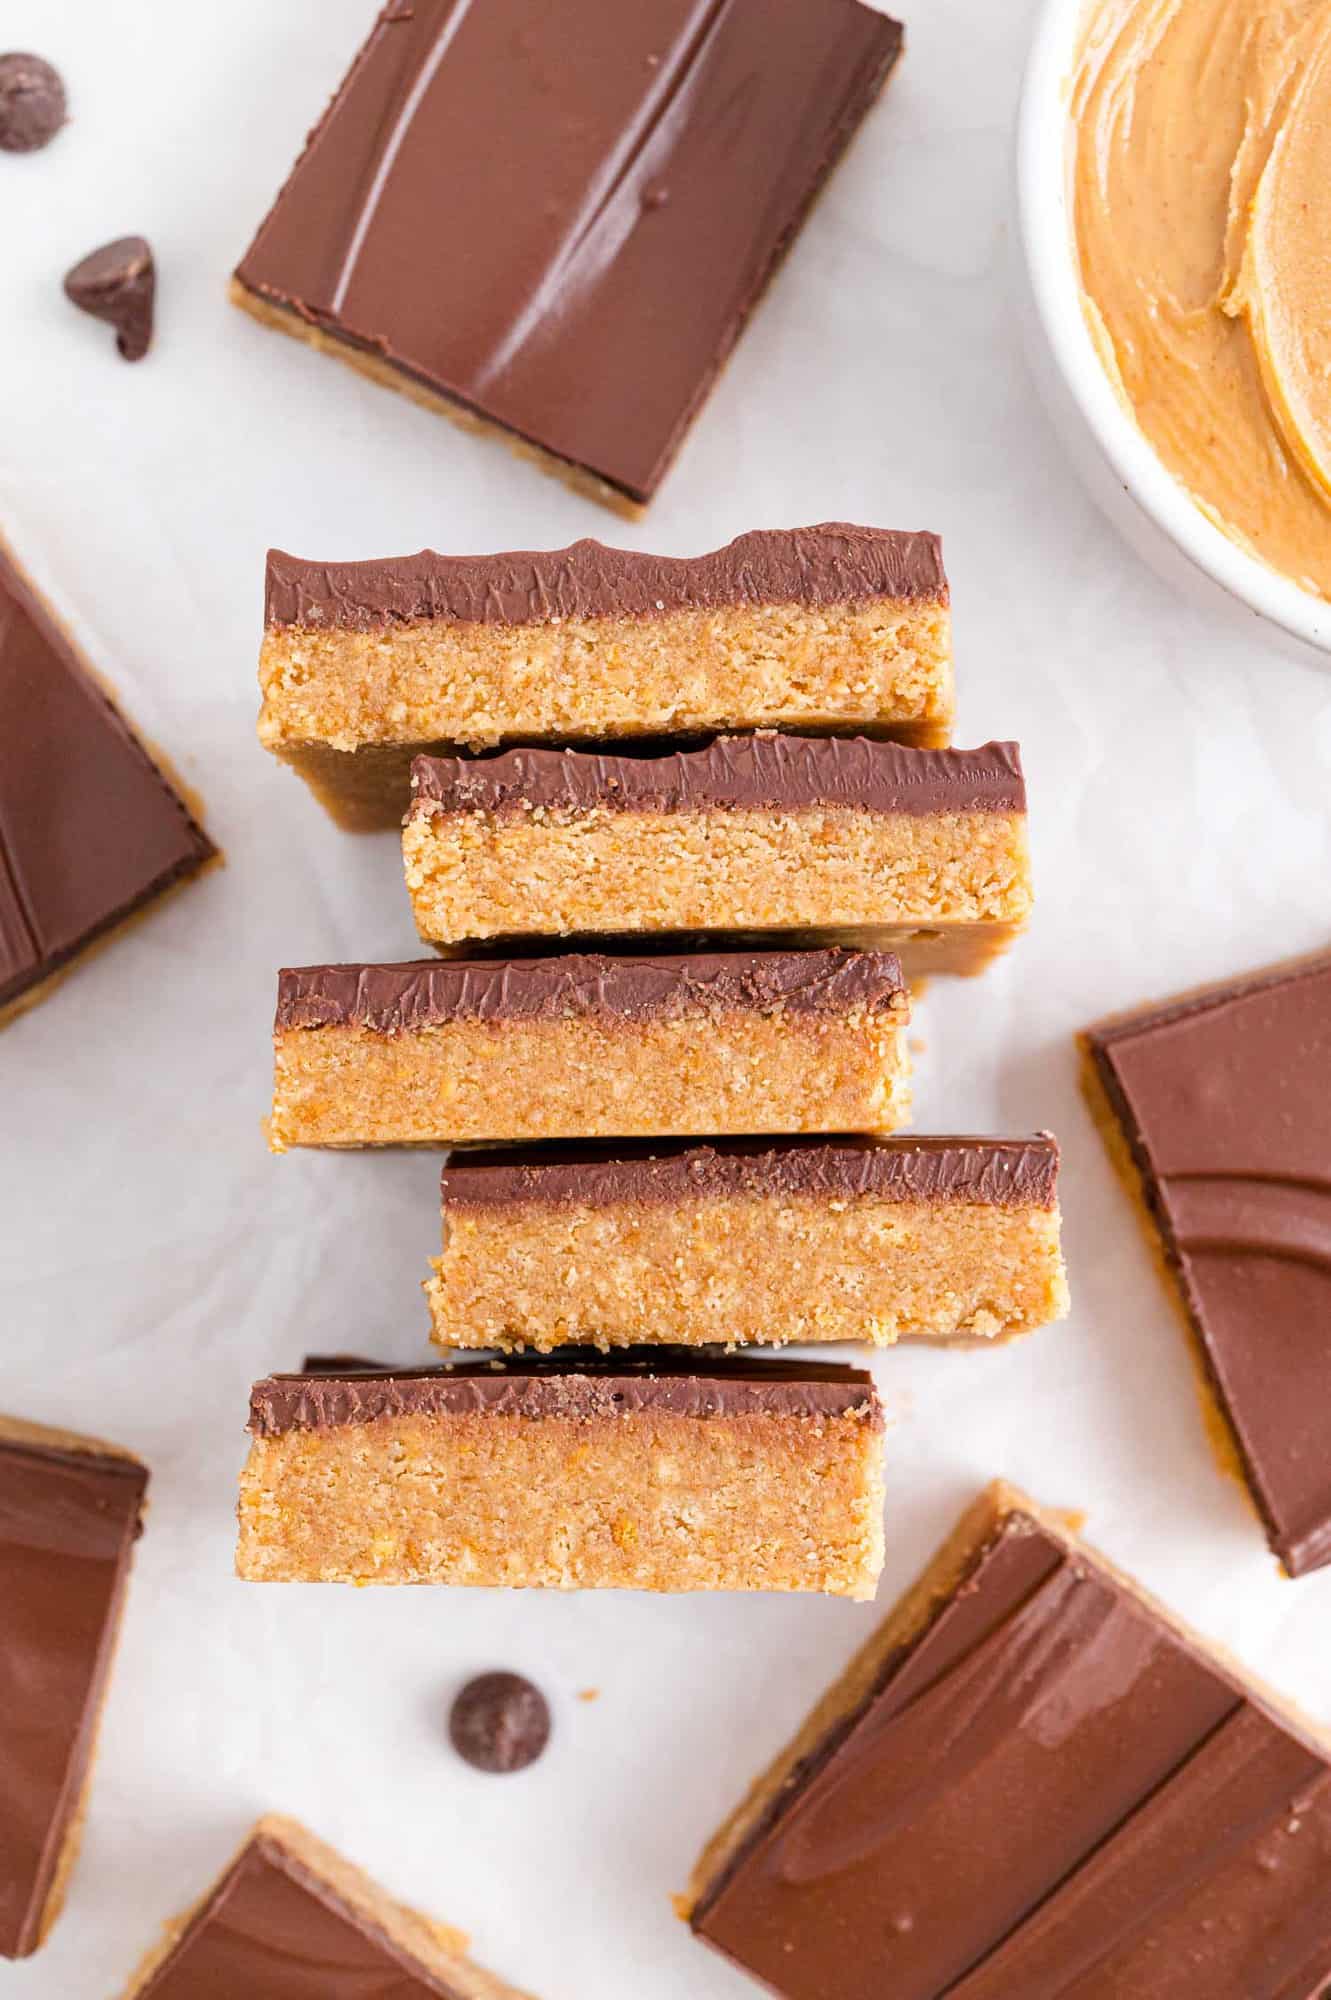
Peanut Butter. Chocolate. No-bake. Just like Reese’s. Sounding pretty great, right?
These no-bake peanut butter bars couldn’t be any easier to make, either. You don’t even have to turn the oven on (hence the “no bake,” in case you haven’t had your coffee yet today).
These bars are good. So good! If you make these for any event, your friends and family are going to absolutely rave about them.
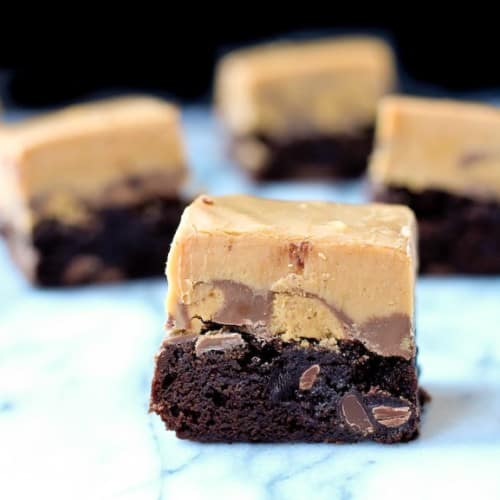
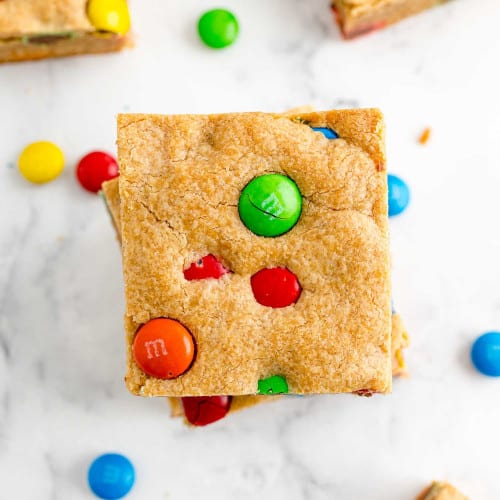
If you like the peanut butter and chocolate combination (and I’d guess that most of us do!), try Buckeyes, Oh Henry bars, peanut butter fudge brownies, peanut butter cookie bars (only 5 ingredients!) or drink it in this peanut butter chocolate banana milkshake.
If Oreo cookies are more your thing, try frosted Oreo cookie bars. If you like Oreo cookies AND peanut butter with chocolate, you won’t want to miss my chocolate peanut butter pie (no bake!).
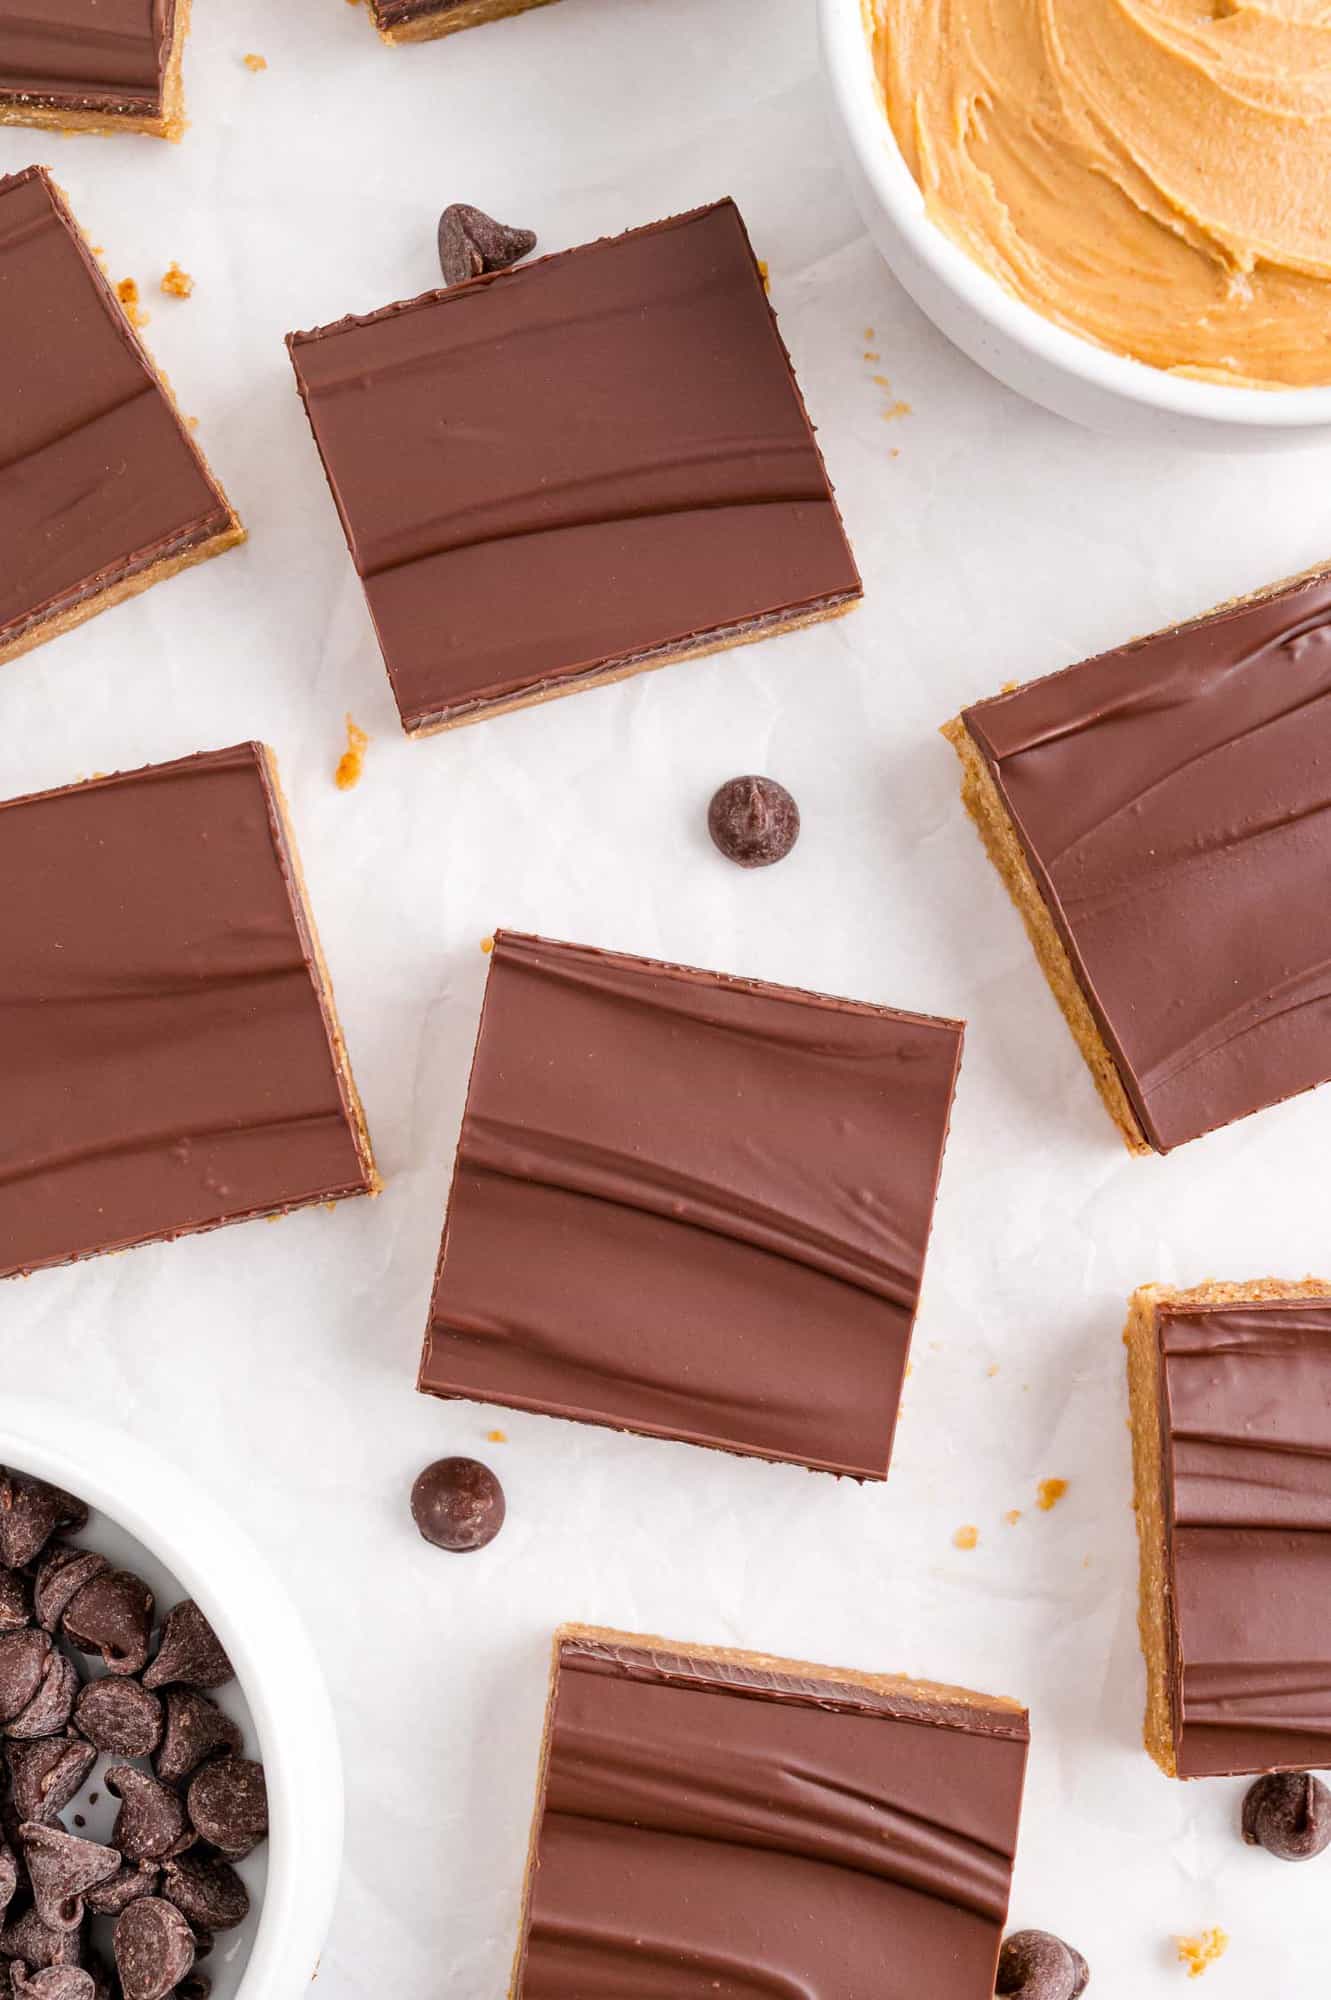
About These no Bake Peanut Butter Bars
Just the right texture! There’s a secret ingredient which gives the bars the signature texture of Reese’s peanut butter cups, slightly grainy but in a good way.
Easy to make. You’ll only need about 15 minutes to whip up these bars; however, factor in another one and a half hours to chill the bars. The bars have two layers; each layer needs time to chill before you cut the bars. So even though it looks like it takes a long time to make these bars, most of it is time spent in the refrigerator. The bars, that is, not you.
Let’s get rolling on these no-bake bars! I’ll walk you through the recipe here and give you lots of helpful tips. You can also refer to the step-by-step photos and the recipe card below for specific instructions.
Ingredient List
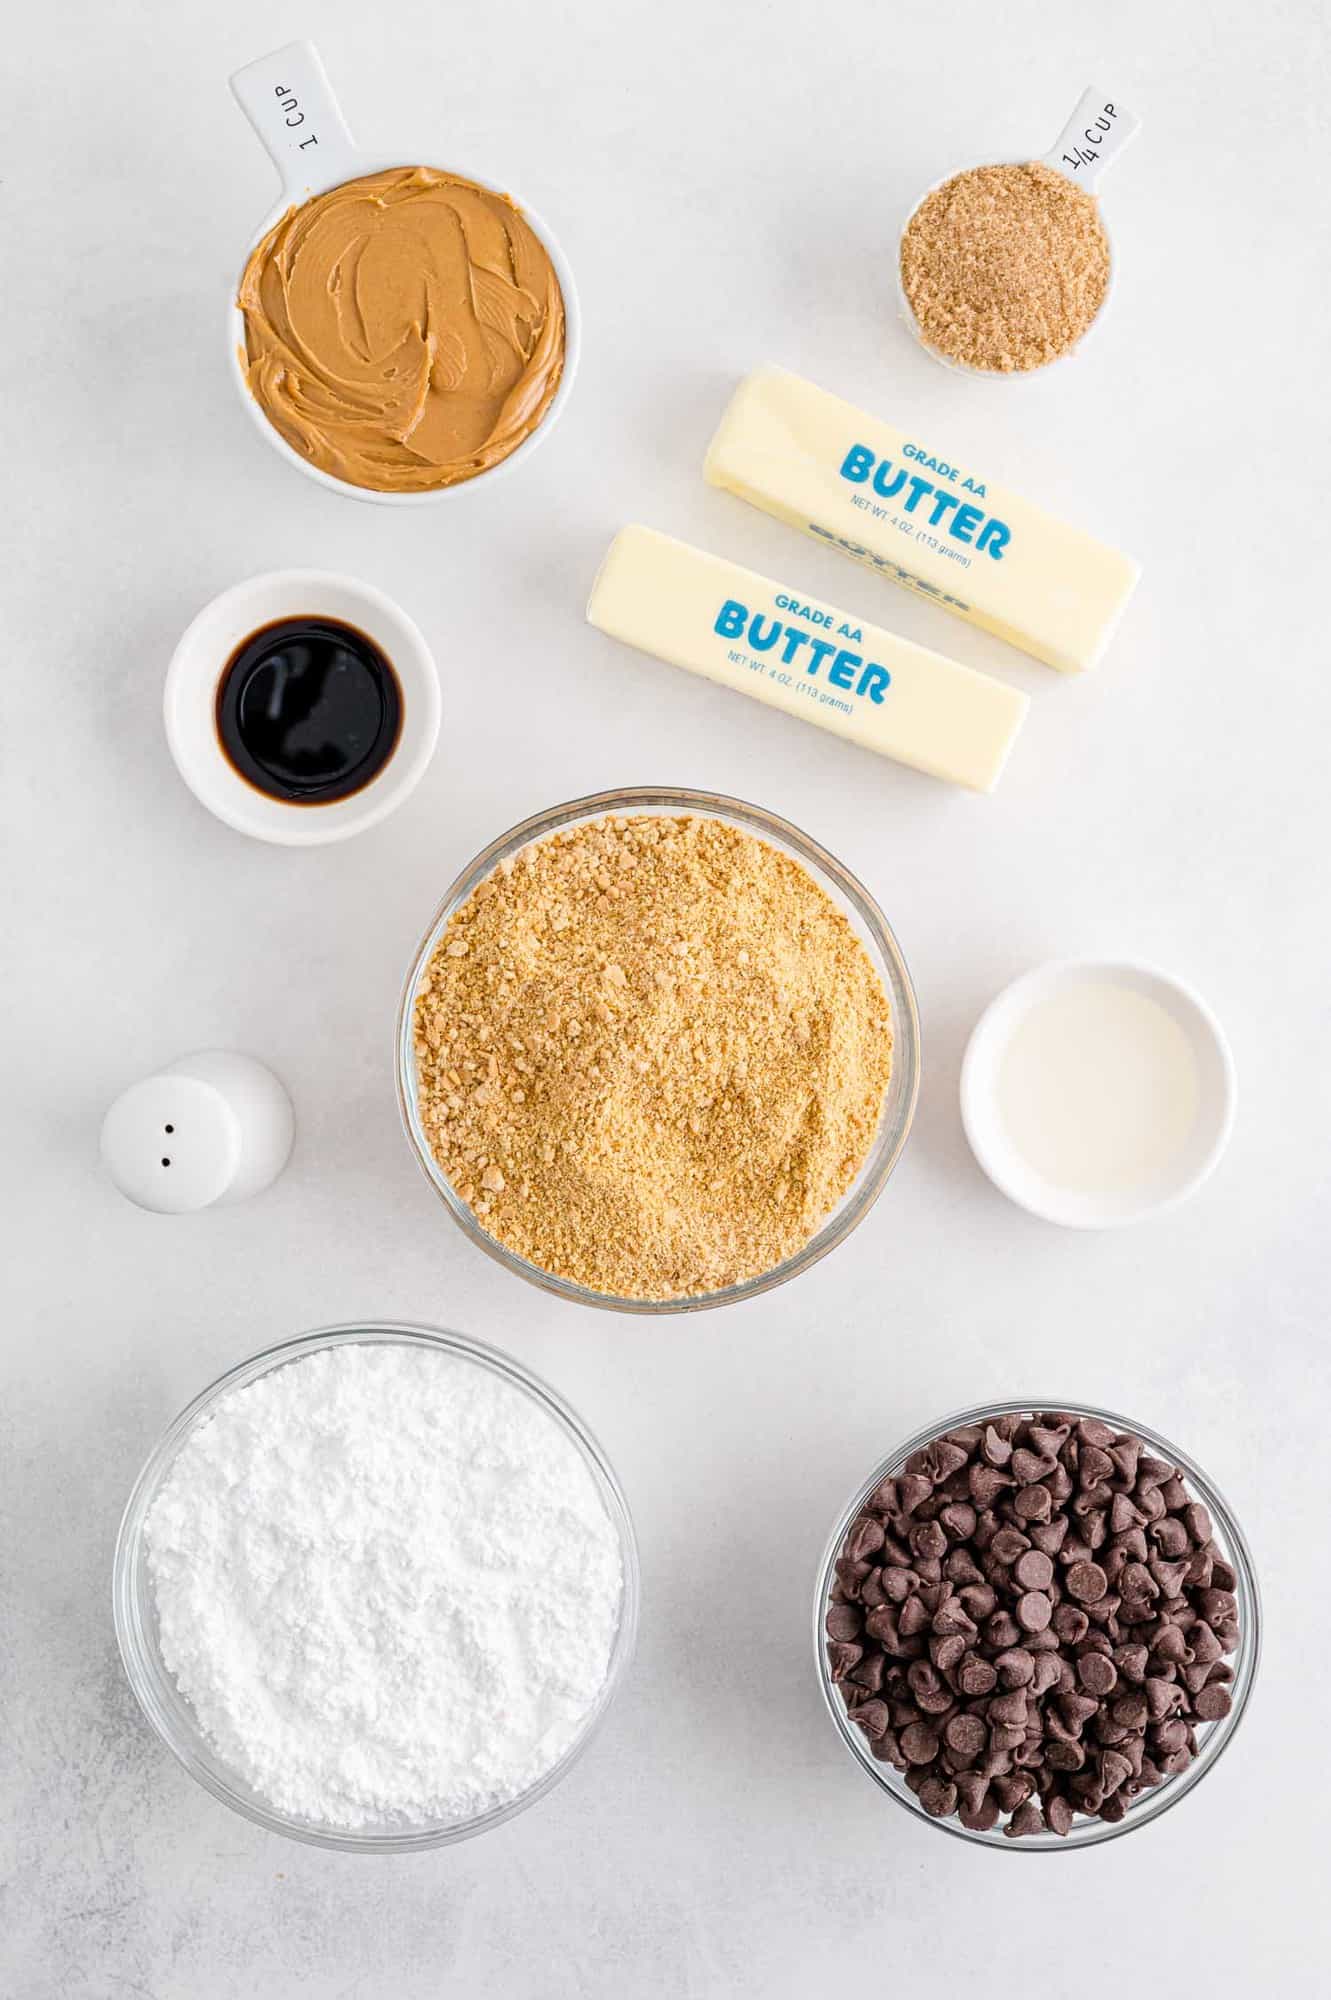
- Butter: Use unsalted butter if you can. You’ll need two sticks. It’s not necessary to soften it for this recipe but it’s a bit easier to make the bars if the butter isn’t rock hard.
- Brown Sugar: While most of the sugar in this recipe is powdered sugar, a bit of brown sugar adds a deeper caramel flavor to the peanut butter layer.
- Powdered Sugar (Confectioner’s Sugar): This finely textured sugar gives the bars the signature creamy filling.
- Peanut Butter: Use a creamy peanut butter like Jif or Skippy, not a natural old-fashioned peanut butter for best results. Crunchy peanut butter is fine.
- Pure Vanilla Extract: Vanilla lends a wonderful flavor that can’t be replicated.
- Graham Crackers: You’ll need 14 whole crackers to make 2 cups of crumbs. Crush them in a resealable bag with a rolling pin or wine bottle. They should be pretty finely crushed for the best texture. Buy pre-made graham cracker crumbs if you prefer. (In case you’re wondering, this is the secret ingredient!)
- Chocolate Chips: Use semi-sweet chocolate chips or milk chocolate chips, whichever you like best. You’ll need a 12 oz. bag.
- Vegetable Oil: Just a teaspoon of oil is added to the chips so they melt smoothly and spread well.
how To Make These Peanut Butter Bars
Prep the pan. To get started, line a 9 x13 -inch pan with parchment paper. I like to spray the pan lightly with cooking spray so the paper stays put. Leave wings on at least two sides so you’ll be able to lift the bars out to cut. You’ll find that most bars are much easier to cut into squares when they are on a flat surface and not in the pan.
Crush the graham crackers. Before you get started on this layer, make sure your crackers are crushed so they’ll be all ready to go.
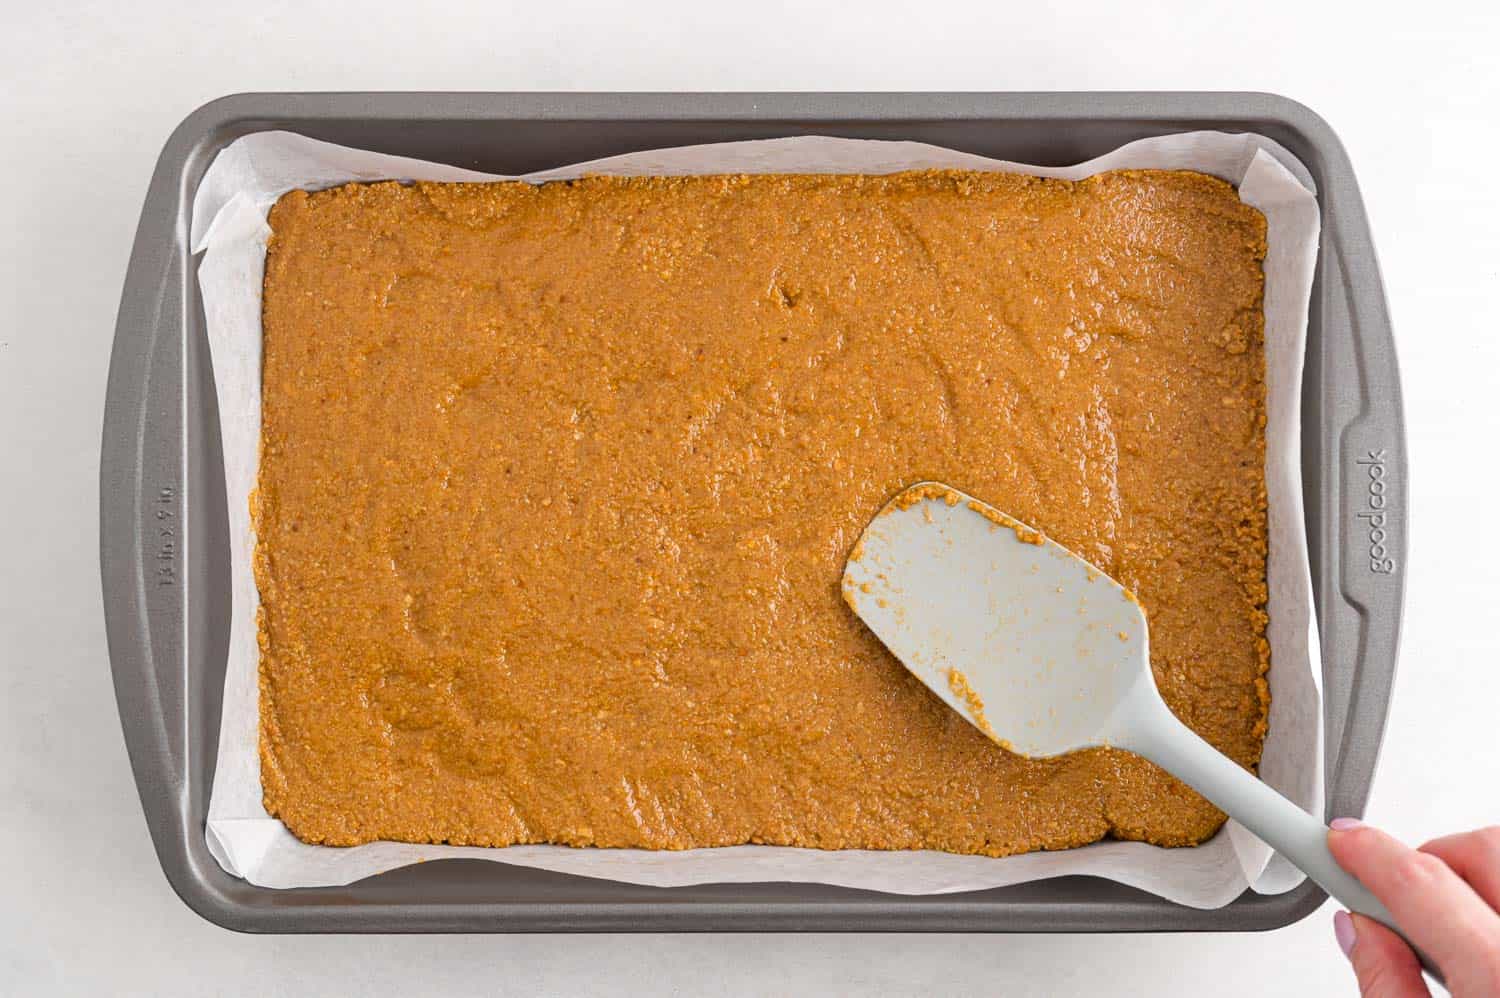
Make the 1st layer. You’ll need a medium to large sauce pan. Add the butter, brown sugar, confectioner’s sugar, peanut butter, vanilla, and salt to the pan. Over medium low heat, cook and stir the mixture until it’s well combined. The butter and peanut butter should be completely melted and the sugars incorporated into the mixture. Remove the pan from the heat and stir in the crumbs.
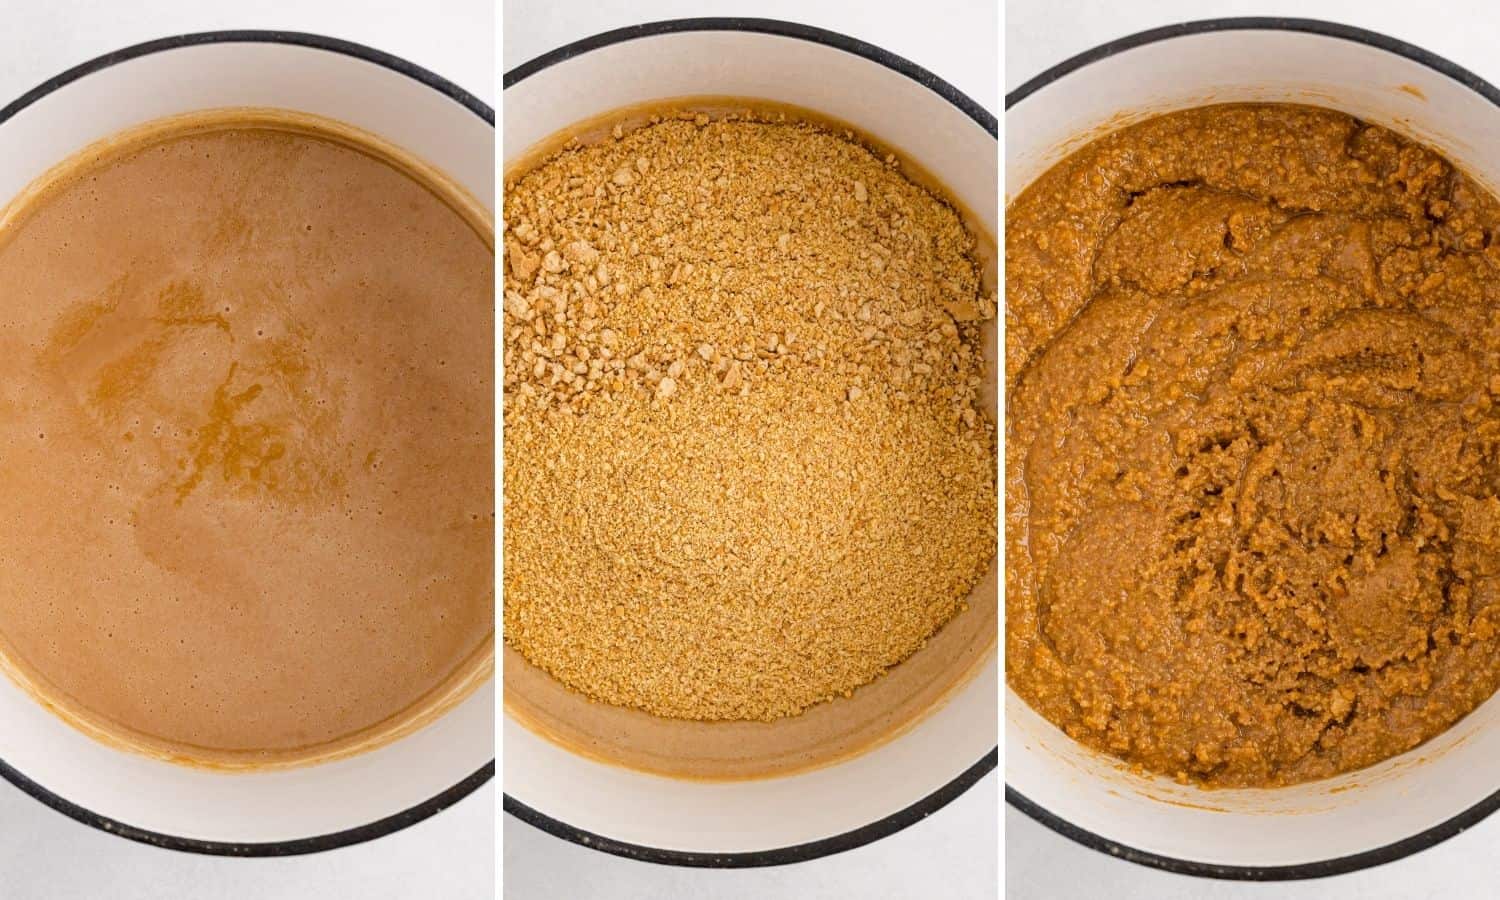
Chill for 30 minutes. Spoon the contents of the sauce pan into the prepared pan and spread the mixture out evenly. Tap the pan on the counter to smooth everything out. Put the pan into the refrigerator and chill the first layer at least 30 minutes. It doesn’t matter if it goes longer.
Make the 2nd layer. Melt the chocolate chips with the oil. There are a couple of ways to do this. You can do it in the microwave in a bowl. Heat the chocolate in 15 to 30 second increments, stirring well between each time interval. Don’t overheat the chocolate. Often the residual heat from the bowl will continue to melt the chocolate as you stir it.
If you prefer to melt the chocolate slowly in a double boiler, that’s a perfectly fine way to do it too.
Okay, once your chocolate is melted, remove the pan from the fridge and pour it on the peanut butter layer. Spread it to the edges and again, a sharp tap on the counter will remove any air bubbles and smooth out the chocolate layer.
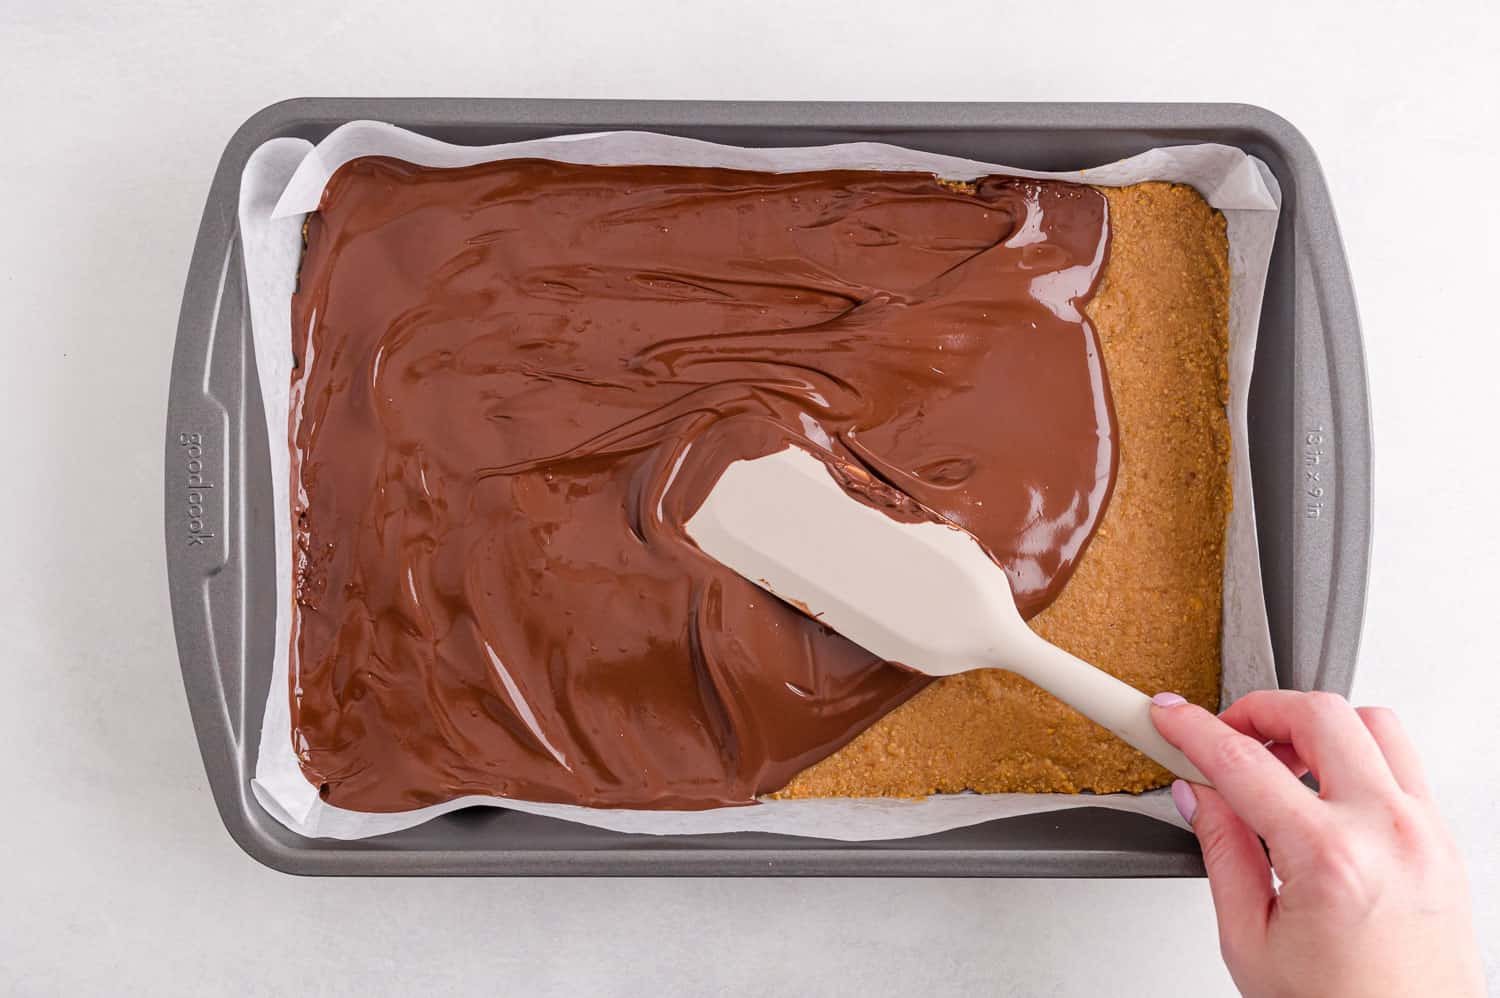
Refrigerate for 1 hour. Back into the refrigerator it goes. This time you’ll want to chill it for at least an hour. Be patient, my friends! I know you’re dying to try one. Trust me, the bars will be much easier to cut into squares if they are cold.
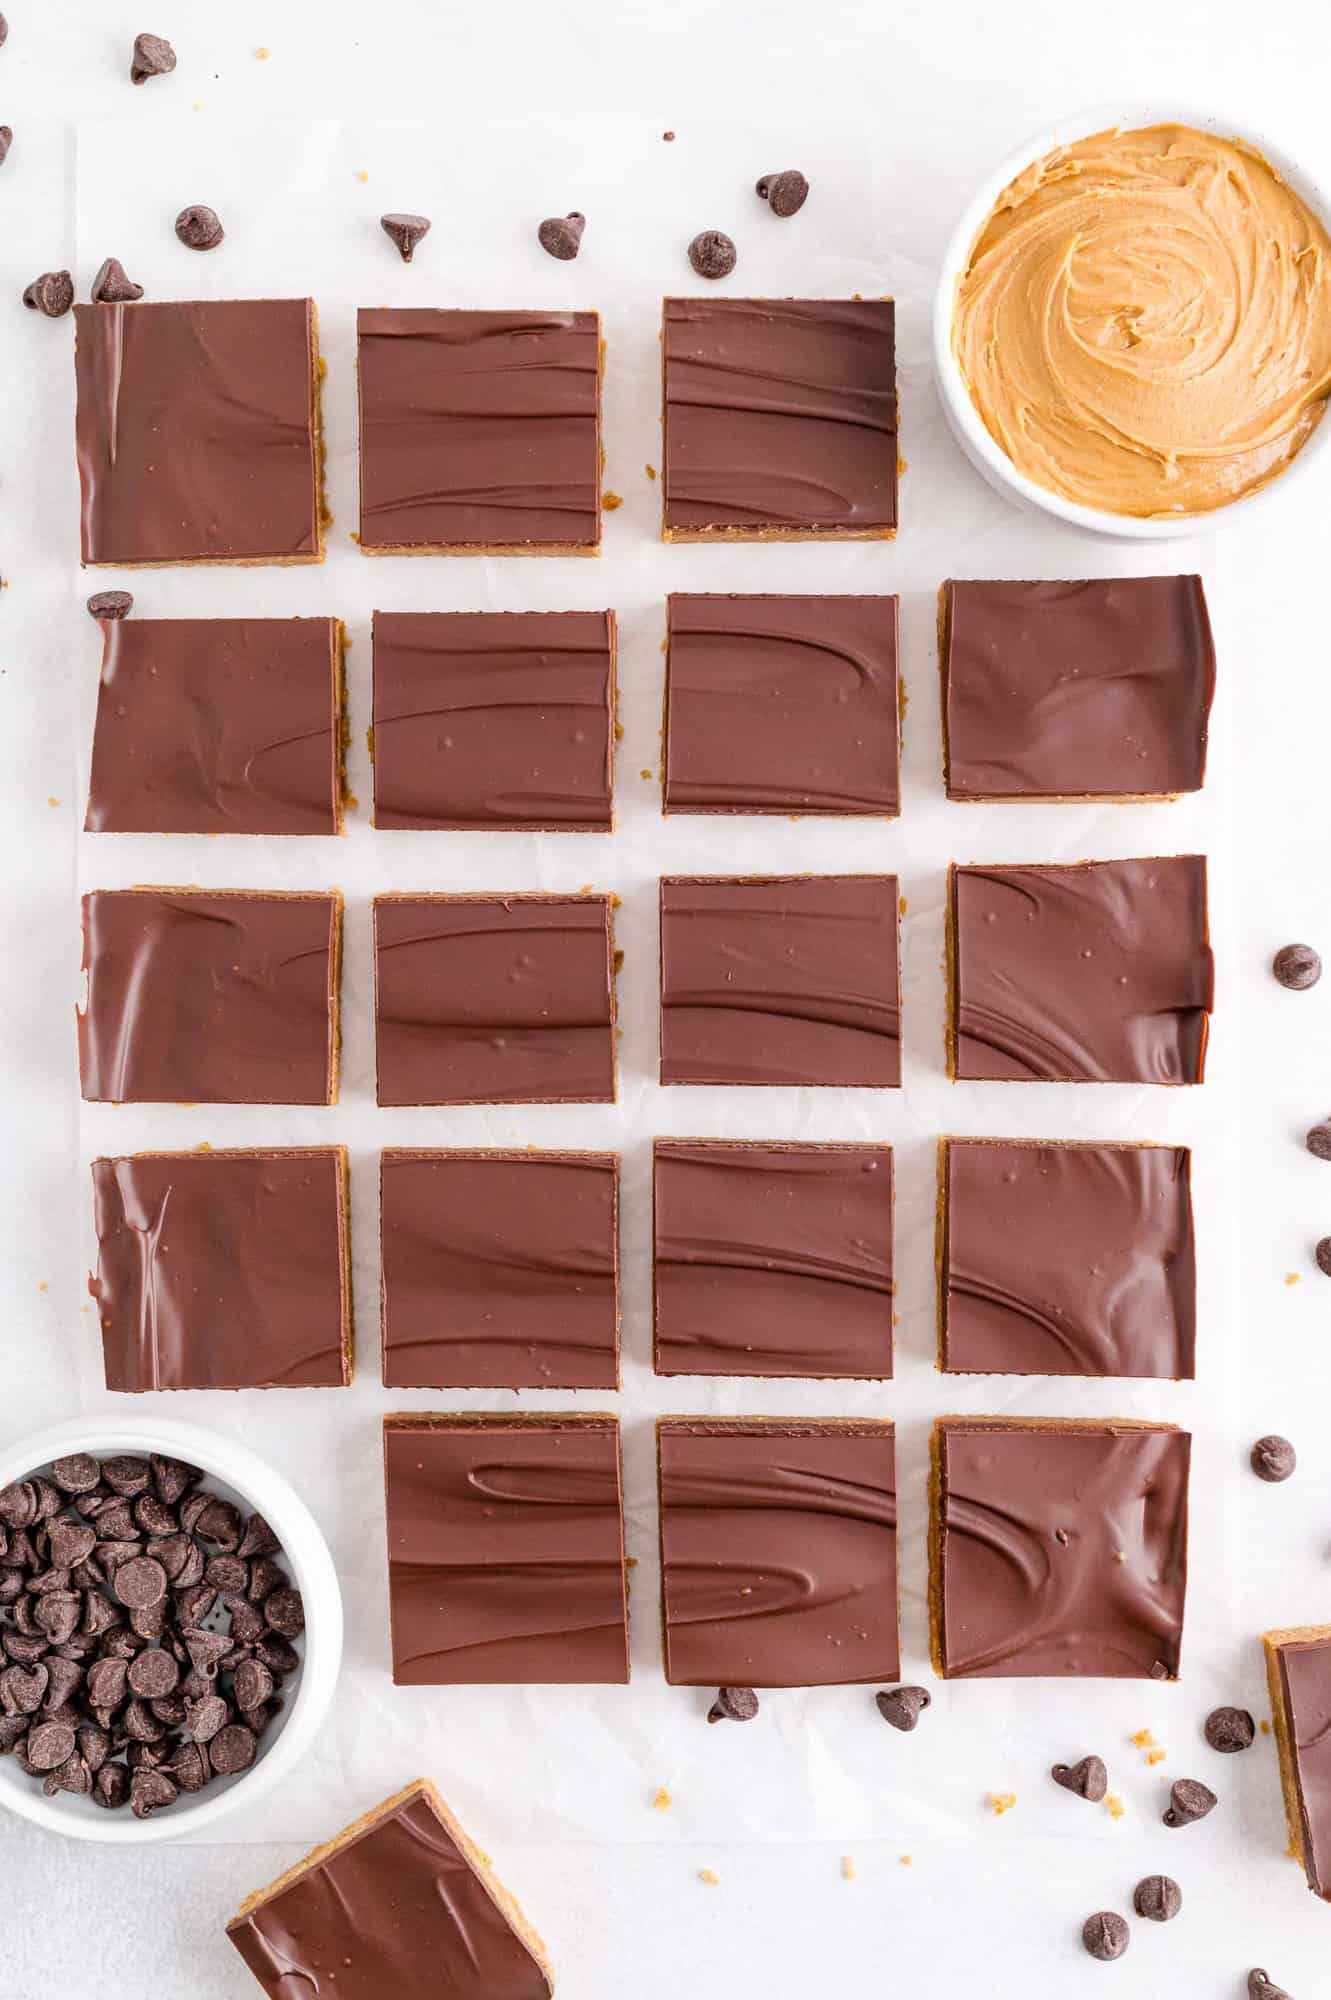
Cut into bars. It’s up to you how large you want to cut the squares. I’ll admit, mine are pretty large. If you want to make them closer to bite-sized, that’s perfectly acceptable but admit it, then you’ll probably want to have at least two.
Make These peanut Butter Bars Your Own
Since writing this post, my son has been diagnosed with a peanut allergy (amongst other food allergies), and seeing these photos reminds me of how much I loved peanut butter. Thankfully he is able to enjoy sunflower seed butter!
- Nut-free option: If peanuts are a no-no, make these bars with sunflower seed butter (sun butter) instead of peanut butter.
- Use milk chocolate: If you’re not a fan of dark chocolate, substitute milk chocolate for the semi-sweet chocolate chips.
- Add more crunch. Use crunchy peanut butter instead of creamy. Stir chopped peanuts into the chocolate layer or on top.
Storage Tips
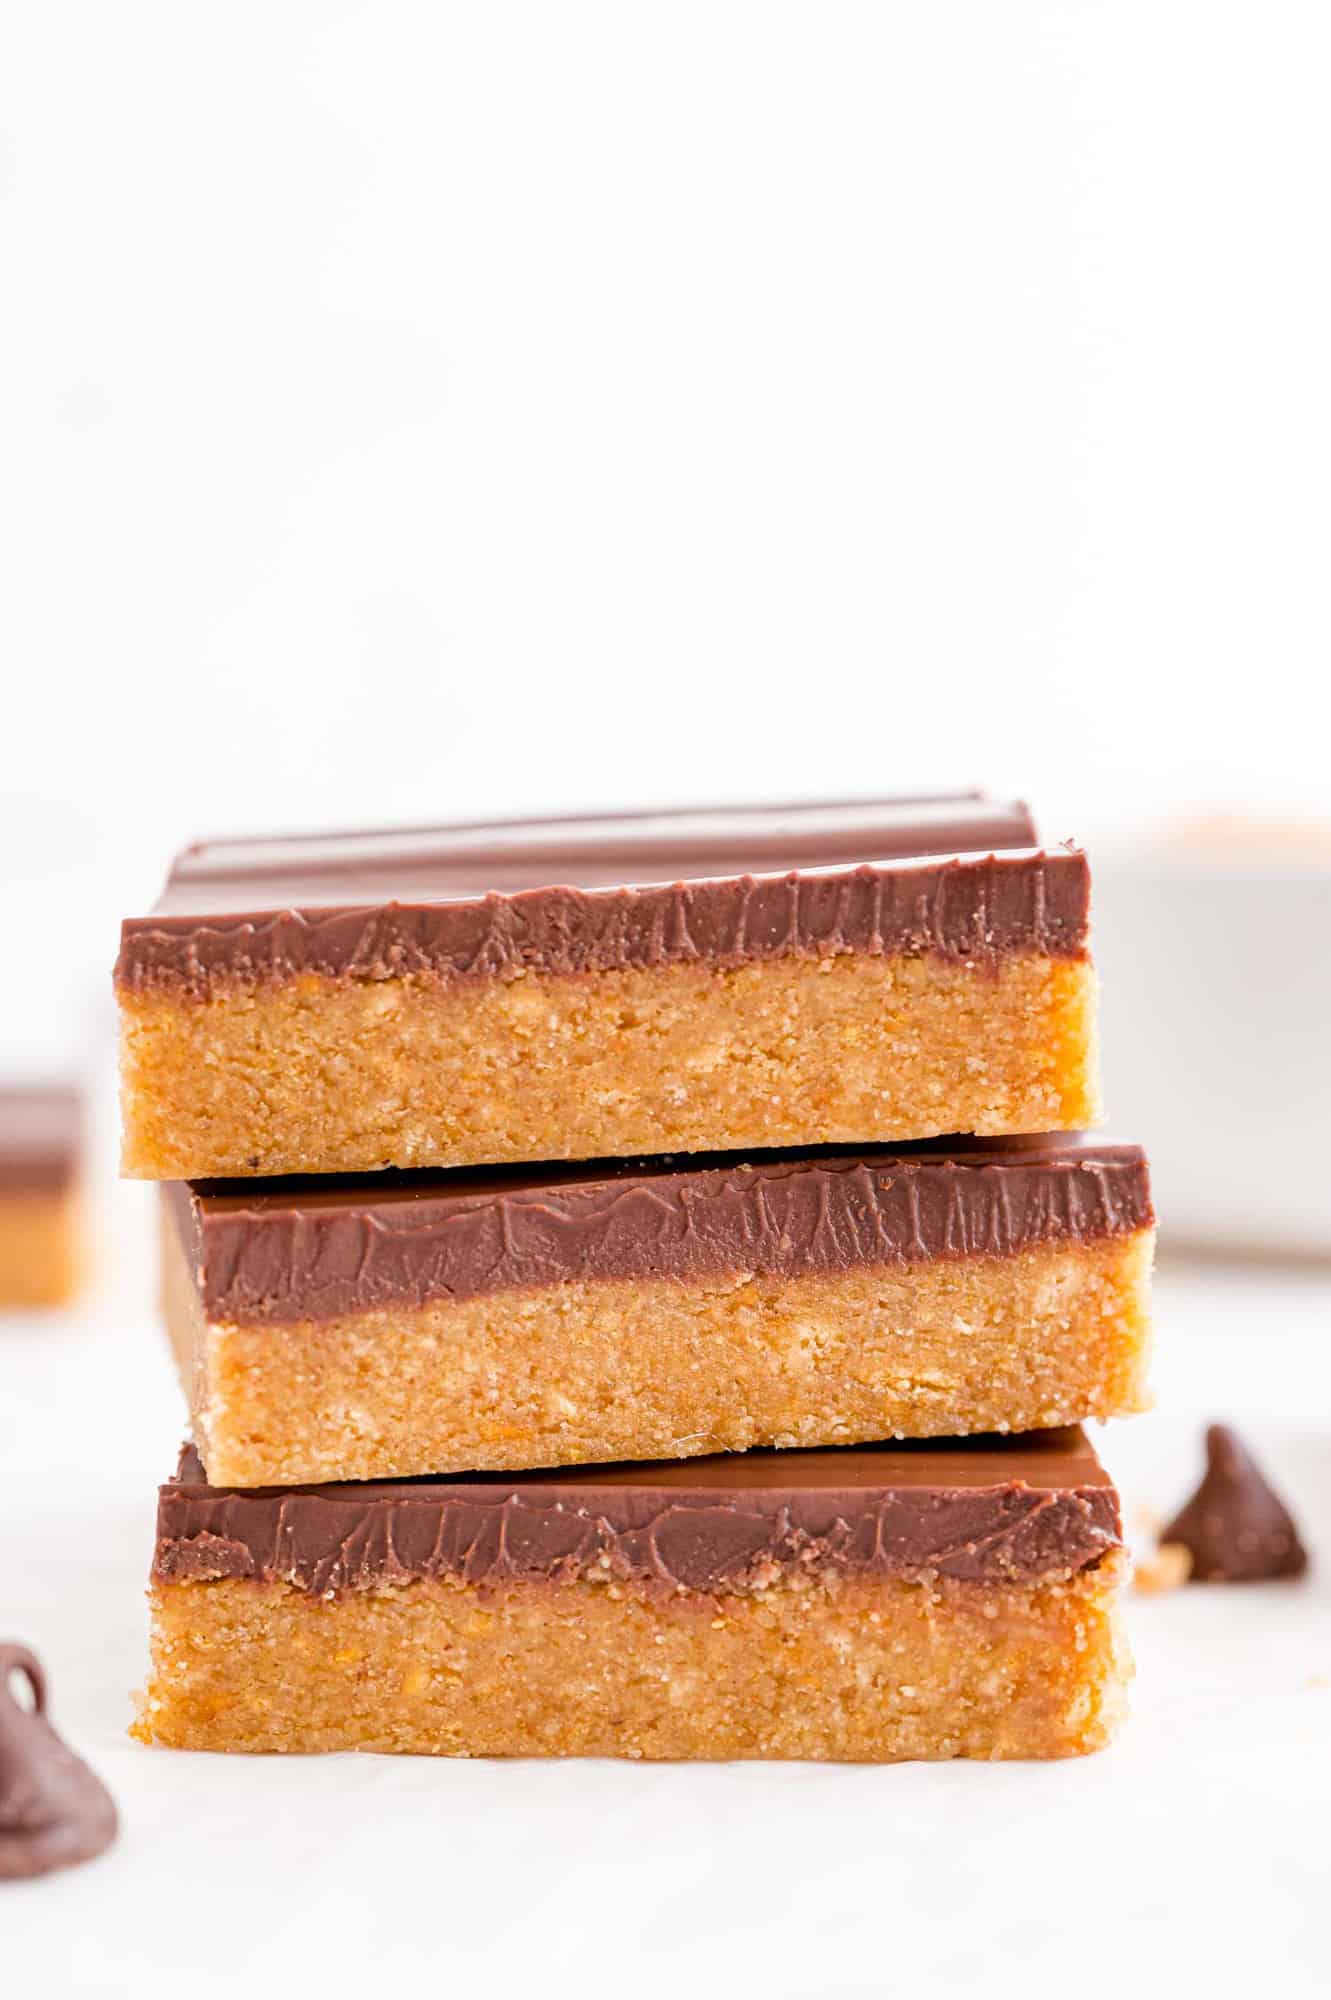
Refrigerate/Freeze: Once you’ve cut the bars into squares, put them into an airtight container with parchment paper or waxed paper between the layers. They definitely need to be kept in the refrigerator or someplace cool because they get quite soft at room temperature. They will keep for at least a week or up to 3 months in the freezer.
More No-Bake Treats
- No Bake Lemon Berry Cheesecakes — one of my favorites!
- Easy Strawberry Trifle Recipe
- Pink Lemonade No-Bake Mini Cheesecakes
- Cappuccino Mousse Cups
- Classic Rice Krispie Treats (my recipe is the best!)
- Fruity Pebbles Bars — kids love these!
- Chocolate Tart Recipe – NO BAKE – 4 Ingredients!
Did you make this? Be sure to leave a review below and tag me @rachelcooksblog on Facebook, Instagram, or Pinterest!
Ingredients
- 1 cup unsalted butter (2 sticks)
- ¼ cup packed light brown sugar
- 1 ¾ cups powdered sugar (confectioner's sugar)
- 1 cup smooth peanut butter (such as Jif or Skippy)
- 1 teaspoon pure vanilla extract
- pinch of salt
- 2 cups graham cracker crumbs (see note)
- 2 cups semisweet chocolate chips (12 oz. bag)
- 1 teaspoon vegetable oil
Instructions
- Line a 9 × 13 inch pan with parchment paper, leaving wings on the side, and set aside.
- In a saucepan over medium-low heat, combine butter, brown sugar, powdered sugar, peanut butter, vanilla and salt. Stir frequently until butter is melted and all ingredients are combined.
- Remove from heat and stir in graham cracker crumbs. Spread into prepared pan, tapping down on counter to level it out. Place in fridge for at least 30 minutes.
- Gently melt chocolate chips and oil in microwave in 30 second intervals, stirring well in between each interval until smooth. Don't overheat the chocolate. Spread the chocolate over the peanut butter mixture, tapping down on the counter again to smooth out and get rid of any air bubbles.
- Chill for at least one hour. Cut bars into squares after they have chilled. Lift bars out of pan using parchment paper wings.
Notes
- You’ll need approximately 14 whole graham crackers (rectangles) to make 2 cups of crumbs.
- These are pretty generously sized squares. If desired, cut into 32 squares.
- Bars can be frozen up to three months in airtight container.
- If desired, substitute sunflower butter or crunchy peanut butter for the creamy peanut butter. Milk chocolate chips can be substituted for the semi-sweet chips.
- Store leftover bars in the refrigerator or freezer in an airtight container with parchment or waxed paper between layers.
Nutrition Information
This website provides approximate nutrition information for convenience and as a courtesy only. Nutrition data is gathered primarily from the USDA Food Composition Database, whenever available, or otherwise other online calculators.
Barbara | Creative Culinary says
Over the years I’ve left behind most of the treats that are available at eye level to consumers in the grocery store…the candy bars they all hope we will HAVE TO HAVE. Except Rolos and Peanut Butter Cups. I want to make these bad; I will have to make sure someone else is in the house to squirrel them away from ME!
Rachel Gurk says
Just eat the whole pan. :) It’s pretty much what I did.
Kayle (The Cooking Actress) says
OMG dangerous is right!!!!
Rachel Gurk says
Sooooo dangerous.
Marjory @ Dinner-Mom says
These look delish. Will have to try them with SunButter due to peanut allergy.
Rachel Gurk says
Let me know how they turn out!
amy @ fearless homemaker says
Ooh, these look SO good! Peanut butter + chocolate is such an amazing combo + the fact that these are no-bake makes them even better. =)
Rachel Gurk says
Thanks Amy!
Jennie @themessybakerblog says
No-bake is music to my ears! Your right, these would be totally dangerous to keep in my house. I don’t even think they would make it to the freezer.
Rachel Gurk says
haha! Yeah…they were waaaay too good.
Erin @ Dinners, Dishes and Desserts says
I have made these before – definitely addicting, and so good!
Rachel Gurk says
Sooo addicting!
Mercedes says
Say no more, I’m in! These bars look super deliciously dangerous, just the way you described them! I have seen recipes for peanut butter cup-ish things that incorporate graham crackers and have been curious and this will be the recipe that cures my curiosity!
Rachel Gurk says
Yay! Let me know what you think of them!
Mackenzie {SusieFreakingHomemaker} says
These are trouble!!
Rachel Gurk says
Yes, yes they are.
The Candid RD says
These look perfect!! It’s like a buckeye candy, in a bar…what’s not to love?! I think I would have to give them away pretty fast too, or else I’d eat them endlessly (my obsession is chocolate and peanut butter)
Rachel Gurk says
Love buckeyes!
claire @ the realistic nutritionist says
You deliver right? Because I want some immediately.
Rachel Gurk says
hehe! I wish!
Amy J says
Mmm…these look and sound amazing! Love.Love.Love chocolate and peanut butter together! Going to make these “for the kids” (yea right…hubby and I will be chowing down after the kids go to bed…) but I’ll try using ground oats in place of the graham crackers so I can keep them GF for me :-) Thanks for sharing!
Rachel Gurk says
oooh let me know how it goes with ground oats! What a great idea!
Averie @ Averie Cooks says
I love these bars. I add Nutella to mine, too! The more nut butters/spreads I can pack into 1 bar, the better. I even put something similar in my cookbook! I bet your family loved you for these :)
Rachel Gurk says
Mmm…Nutella would be great! My family? I was supposed to share? ;)
Laura @ The Rookie Cook says
Yum, these look amazing! We have a college study gathering on Monday nights and I might have to make these for them soon!
Rachel Gurk says
I bet they would be devoured! What are you studying?
Laura @ The Rookie Cook says
We’re studying the Cross Centered Life by c.j. mahaney. It’s a great little super short book – good for mothers of young children!! :)
Rachel Gurk says
Sounds awesome! I’ll have to look into it!
cassie says
These are perfect! It’s warming up again here today too and I love no-bake desserts for that reason. I love PB/chocolate too!
Rachel Gurk says
Thanks Cassie! It’s sooo hot here too.
Sarah Dayton says
In my neck of the woods (Ohio)–they used to serve these at school (before they realized they should serve healthier options)–and they are called Hollywood Squares. A local candy place will sell a 9×13 of Hollywood Squares for $38.00!! How crazy for something so simple and cheap to make! My husband and sister could LIVE on these (and do!)
Rachel Gurk says
38 bucks? I’m in the wrong business!
Sarah Dayton says
http://www.sugar-luv.com/Hollywood-Squares-Whole-Pan_p_202.html
They are yummy—and this shop is amazing! But these are just too simple to make–buying them would be insane!