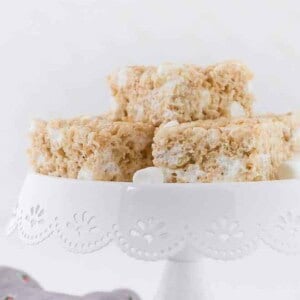
Crispy but still soft and chewy, these are the best Rice Krispies treats thanks to two important secrets!
Recipe Overview
Why you’ll love it: I have a couple of little hints to make your Rice Krispie treats really stand out.
How long it takes: 15 minutes
Equipment you’ll need: large pot, 9 x 13 inch pan
Servings: 24 bars

I haven’t found many people in life who don’t love a classic Rice Krispies treat. They’re sweet, chewy, and popular at parties, potlucks, and picnics,
Maybe one of the biggest reasons Rice Krispies treats are so popular is because they are SO easy to make but they also are super satisfying, they don’t need to be refrigerated, and they’re not messy to eat.
I mean, that’s an all-around win, right?
About the BEST Rice Krispies Treats
Perhaps you’re thinking calling my recipe the best Rice Krispies treats is a bold claim (and I know I’m not the only one on the internet making this claim).
So I’ll be real with you. They are the best. The absolute best. Don’t listen to ANYONE ELSE. I’m joking a little, but I have tested, retested, and made these Rice Krispie bars a thousand times and I do think they are the best. I’ll let you make the final decision for yourself.
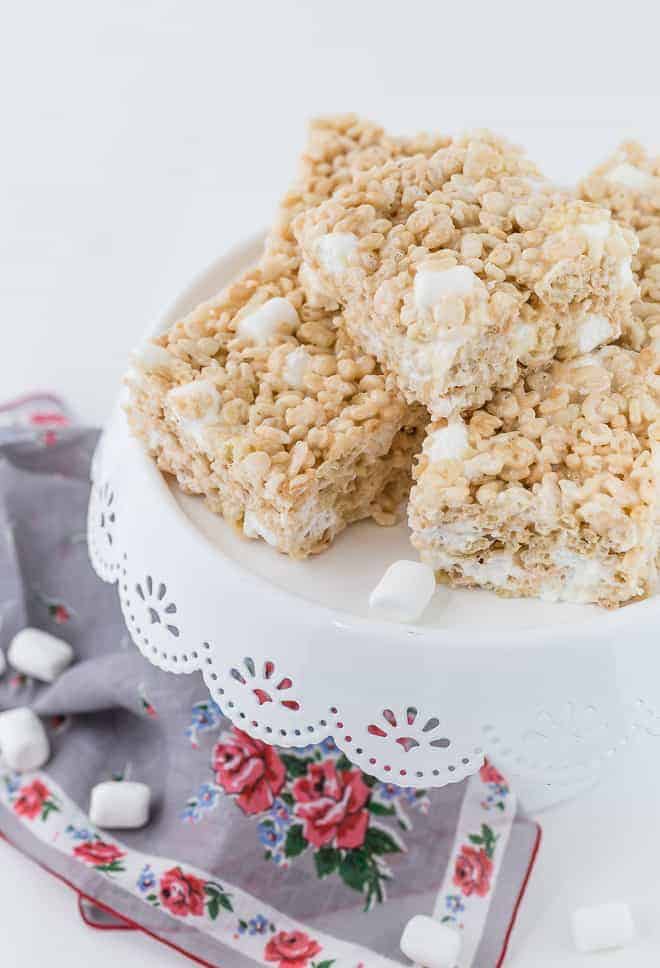
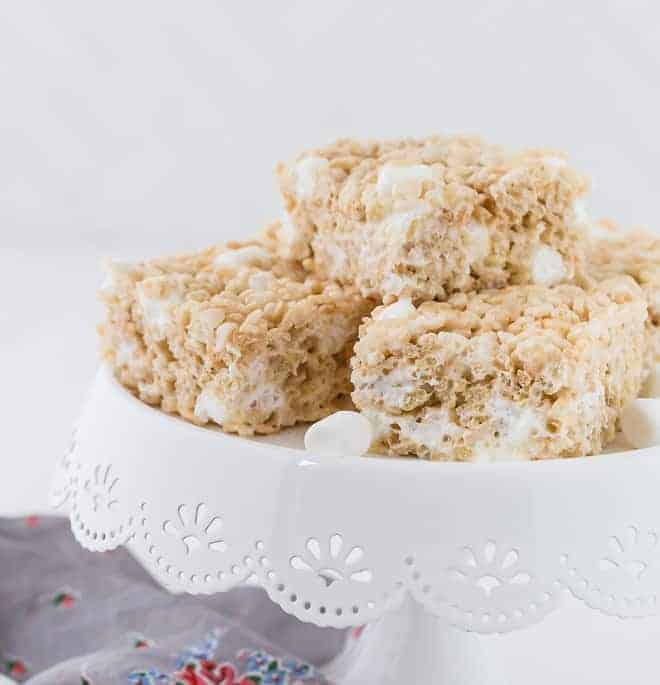
These bars have the basic Rice Krispies ingredients (Rice Krispies cereal, marshmallows, butter) but my tips will make the yummiest, softest bars.
two secrets for the best Rice Krispies treats
- Extra marshmallows. I put a few extra marshmallows in the melted marshmallow mixture but I also stir in more marshmallows with the cereal. This makes them extra fluffy and soft, plus those extra little bits of marshmallow are so fun!
- Light pressure. When you press the Rice Krispies down into the pan, do so gently. This prevents the bars from turning into dense bricks. They’ll be light, fluffy, and so perfectly soft and chewy.
Another Tip For Success
Be sure to heat the marshmallows and butter over LOW heat, stirring constantly, and remove the pan from the heat as soon as the marshmallows have melted. This will prevent your Rice Krispies treats from becoming too hard. Don’t try to hurry things along by cooking the mixture on high.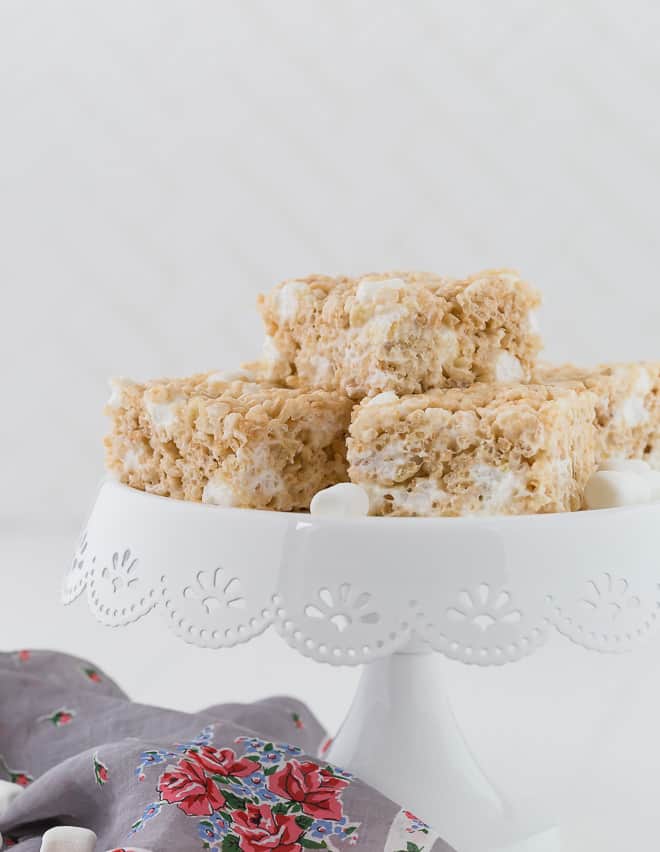
How to make these Rice Krispies treats your own
There are lots of ways to enhance Rice Krispie treats. While this recipe is the classic version, here are a few variations:
- Sprinkles! We almost always add colored sprinkles to the top of the bars for fun color. Be sure to do it right away after you press the cereal mixture into the pan or the sprinkles won’t stick.
- Add chocolate to the marshmallow mixture. Add ¼ cup of cocoa powder for irresistible chocolate Rice Krispies treats (or use Cocoa Krispies, or both!).
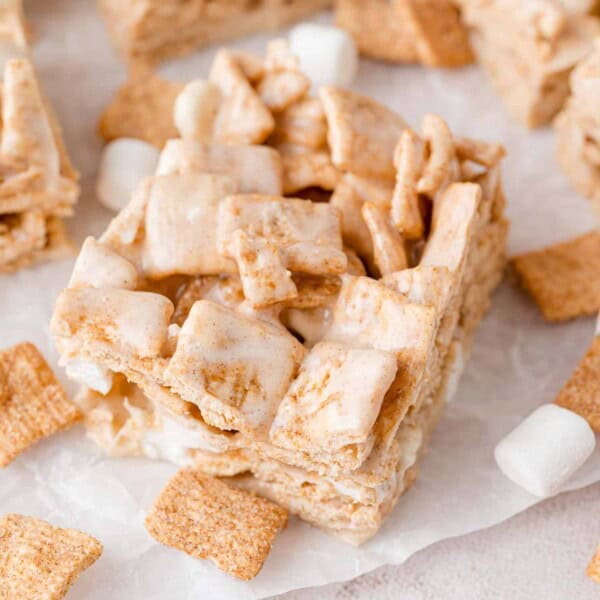
- Fruity Pebbles! Try my fun Fruity Pebbles bars!
- Add food coloring. That’s what you’ll do if you want to make my easy green Christmas tree Rice Krispies treats, but you can add any color you like to match any occasion. Add the food coloring to the marshmallow mixture before you stir in the cereal.
- Add a pretty chocolate drizzle. Melt 1 cup of chocolate chips with 1 tablespoon coconut oil in 30 second intervals in the microwave, stirring well between each interval. Use a spoon to drizzle the warm chocolate over the bars. Let the chocolate firm up completely before cutting.
Rice Krispies treats are best if you eat them the day they are made. They’ll still be good the next day (up to a week) but they’ll get drier and harder as time passes.
To store the bars, cool them completely before putting them into an airtight container. Use wax paper or parchment paper between layers of bars to prevent the bars from sticking to each other. Store at room temperature.

The Best Rice Krispies Treats
Ingredients
- 4 tablespoons unsalted butter
- 7 cups mini marshmallows, divided
- 7 cups Rice Krispies Cereal
Instructions
- Spray a 9 x 13 inch pan with nonstick cooking spray, or rub with butter. Measure out Rice Krispies; set aside.
- In a large pot, melt butter and 5 cups mini marshmallows over medium-low heat, stirring constantly, until mixture is completely smooth, with no discernible bits of marshmallow.
- Remove pan from heat and immediately stir in cereal and remaining 2 cups mini marshmallows, until all cereal is coated with melted marshmallows. The mini marshmallows you add in will stay relatively whole.
- Scrape the mixture into the prepared pan and press down lightly into an even layer. Let cool at least 10 minutes before cutting into squares. For best taste and texture, serve the same day.
Notes
- Be sure to press down lightly for the best texture! Spray your hands with nonstick spray, or use a piece of wax paper, or the butter wrapper to prevent the mixture from sticking to your hands.
- If desired, you can skip the extra 2 cups of marshmallows.
- Storage: After cooling bars completely, store in an airtight container at room temperature for up a week. The bars will become a bit drier and harder as time goes on.
Nutrition
Nutrition information is automatically calculated, so should only be used as an approximation.