Why you’ll love it: With this easy recipe you can make your own creamy hummus. Homemade hummus is delicious and much more economical. Make it just the way you like it!
How long it takes: 5 minutes
Equipment you’ll need: food processor, rubber spatula
Servings: 16 (2 tablespoons per serving)
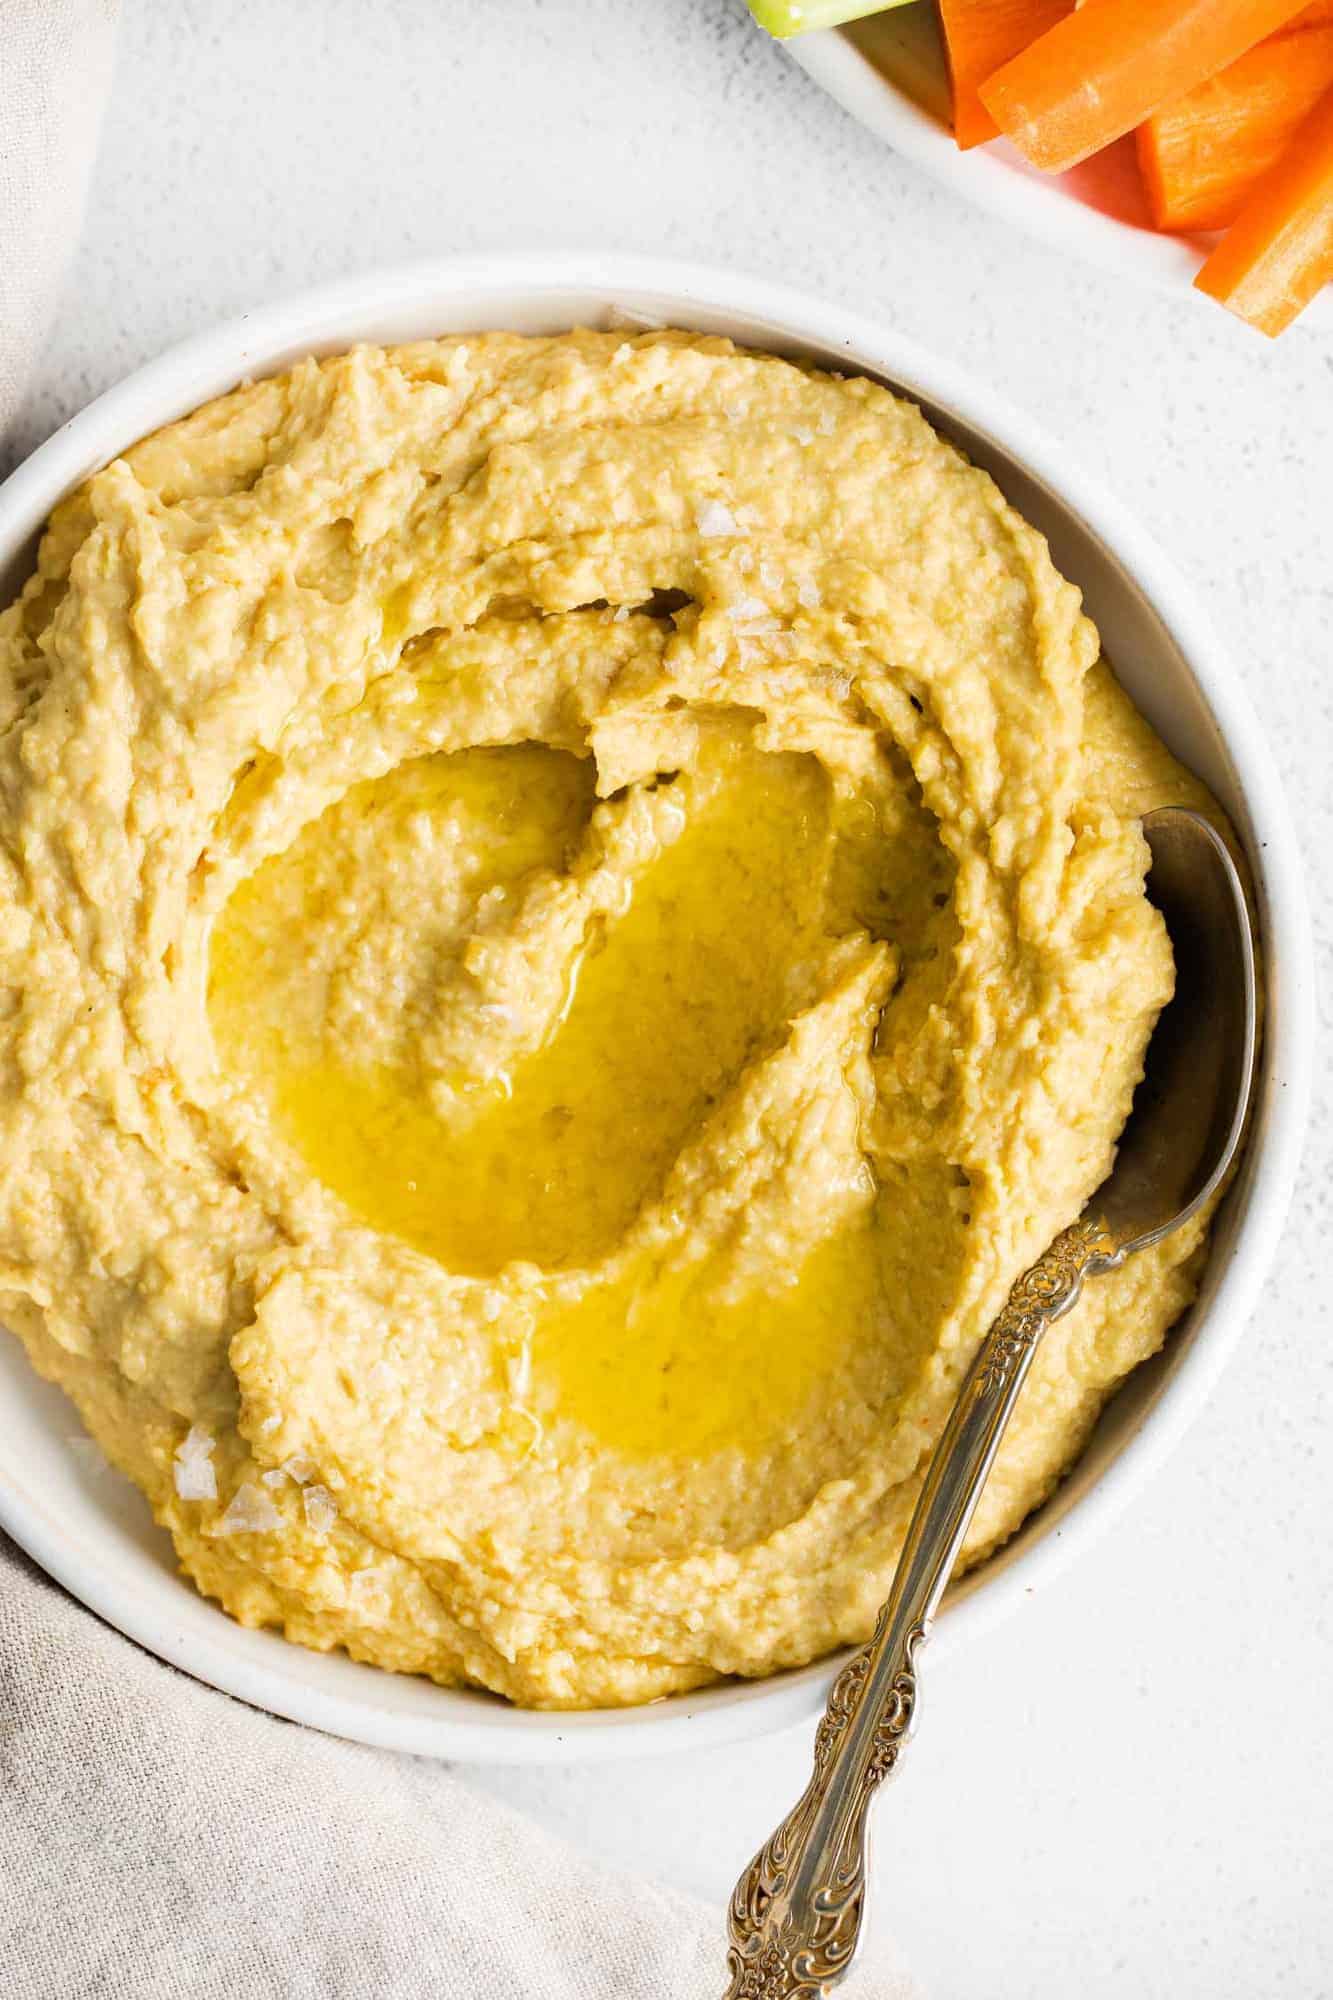
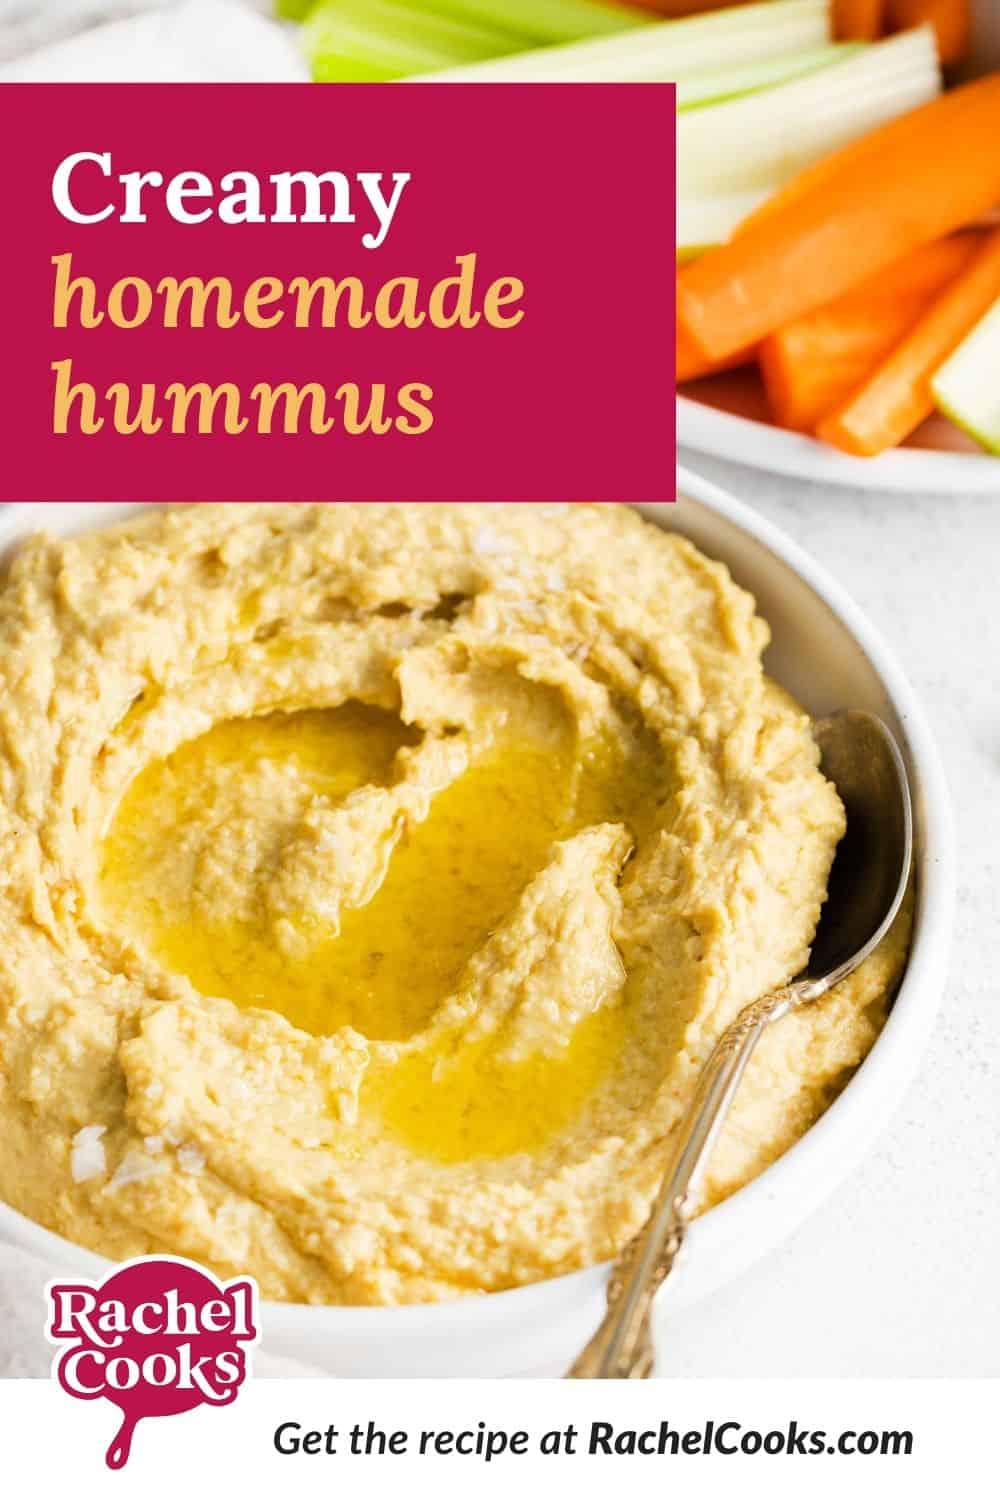
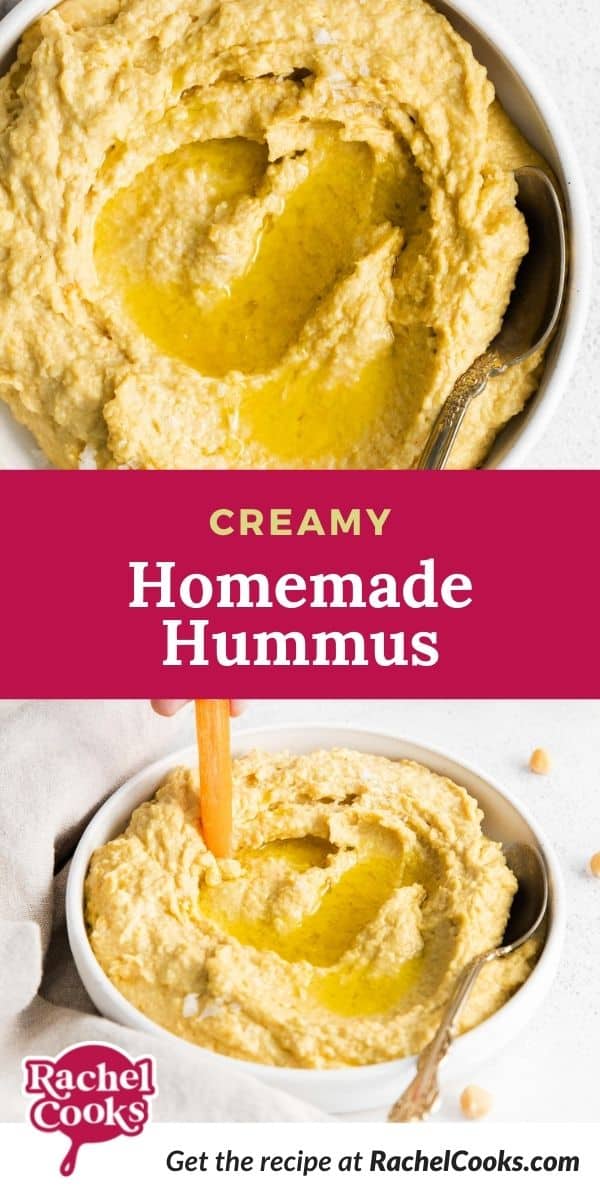
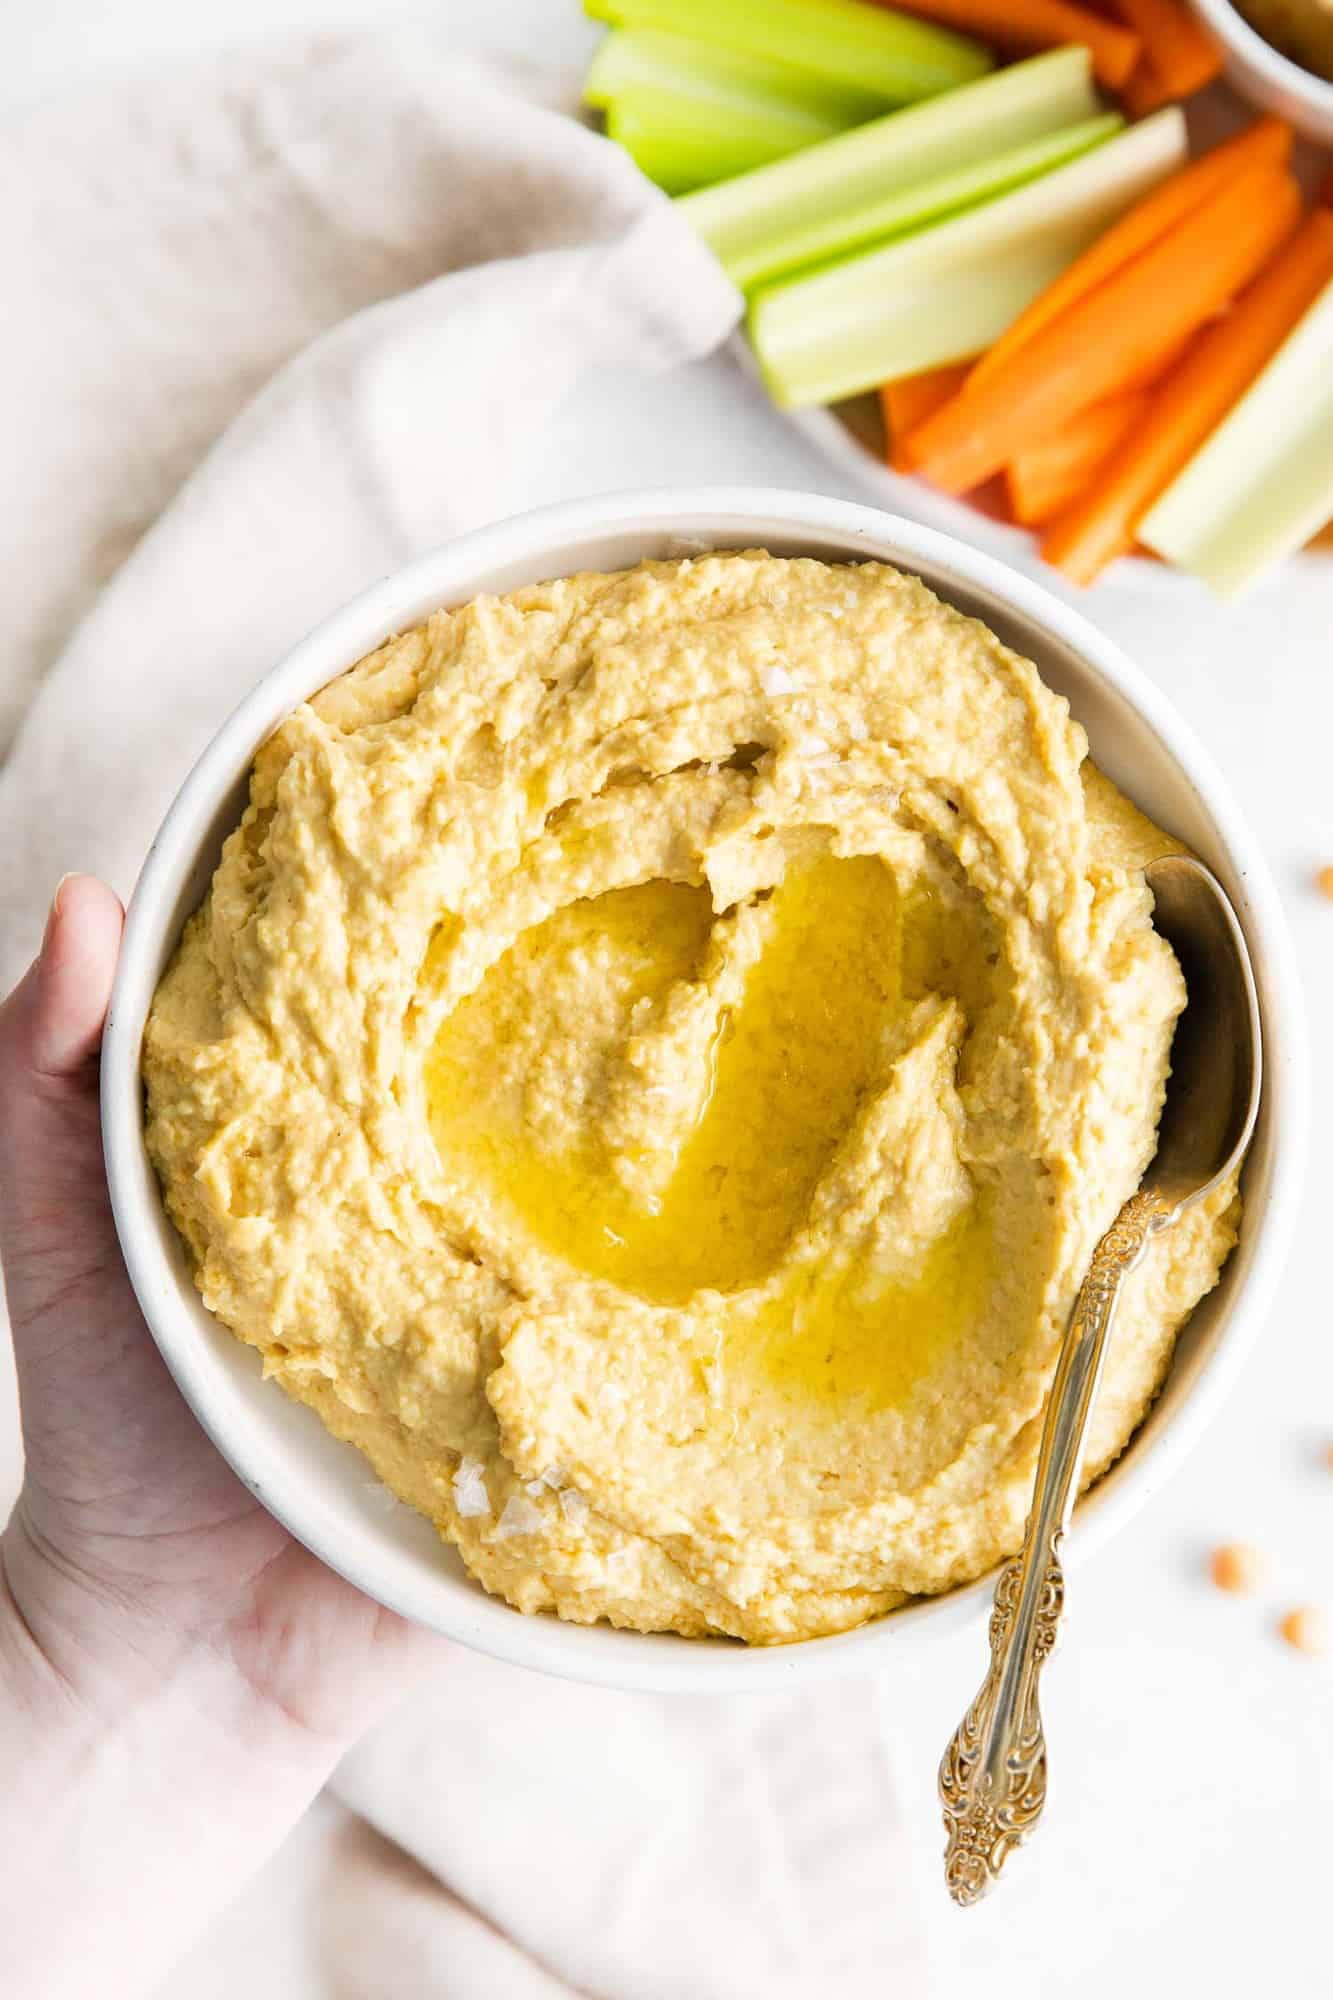
Homemade Hummus
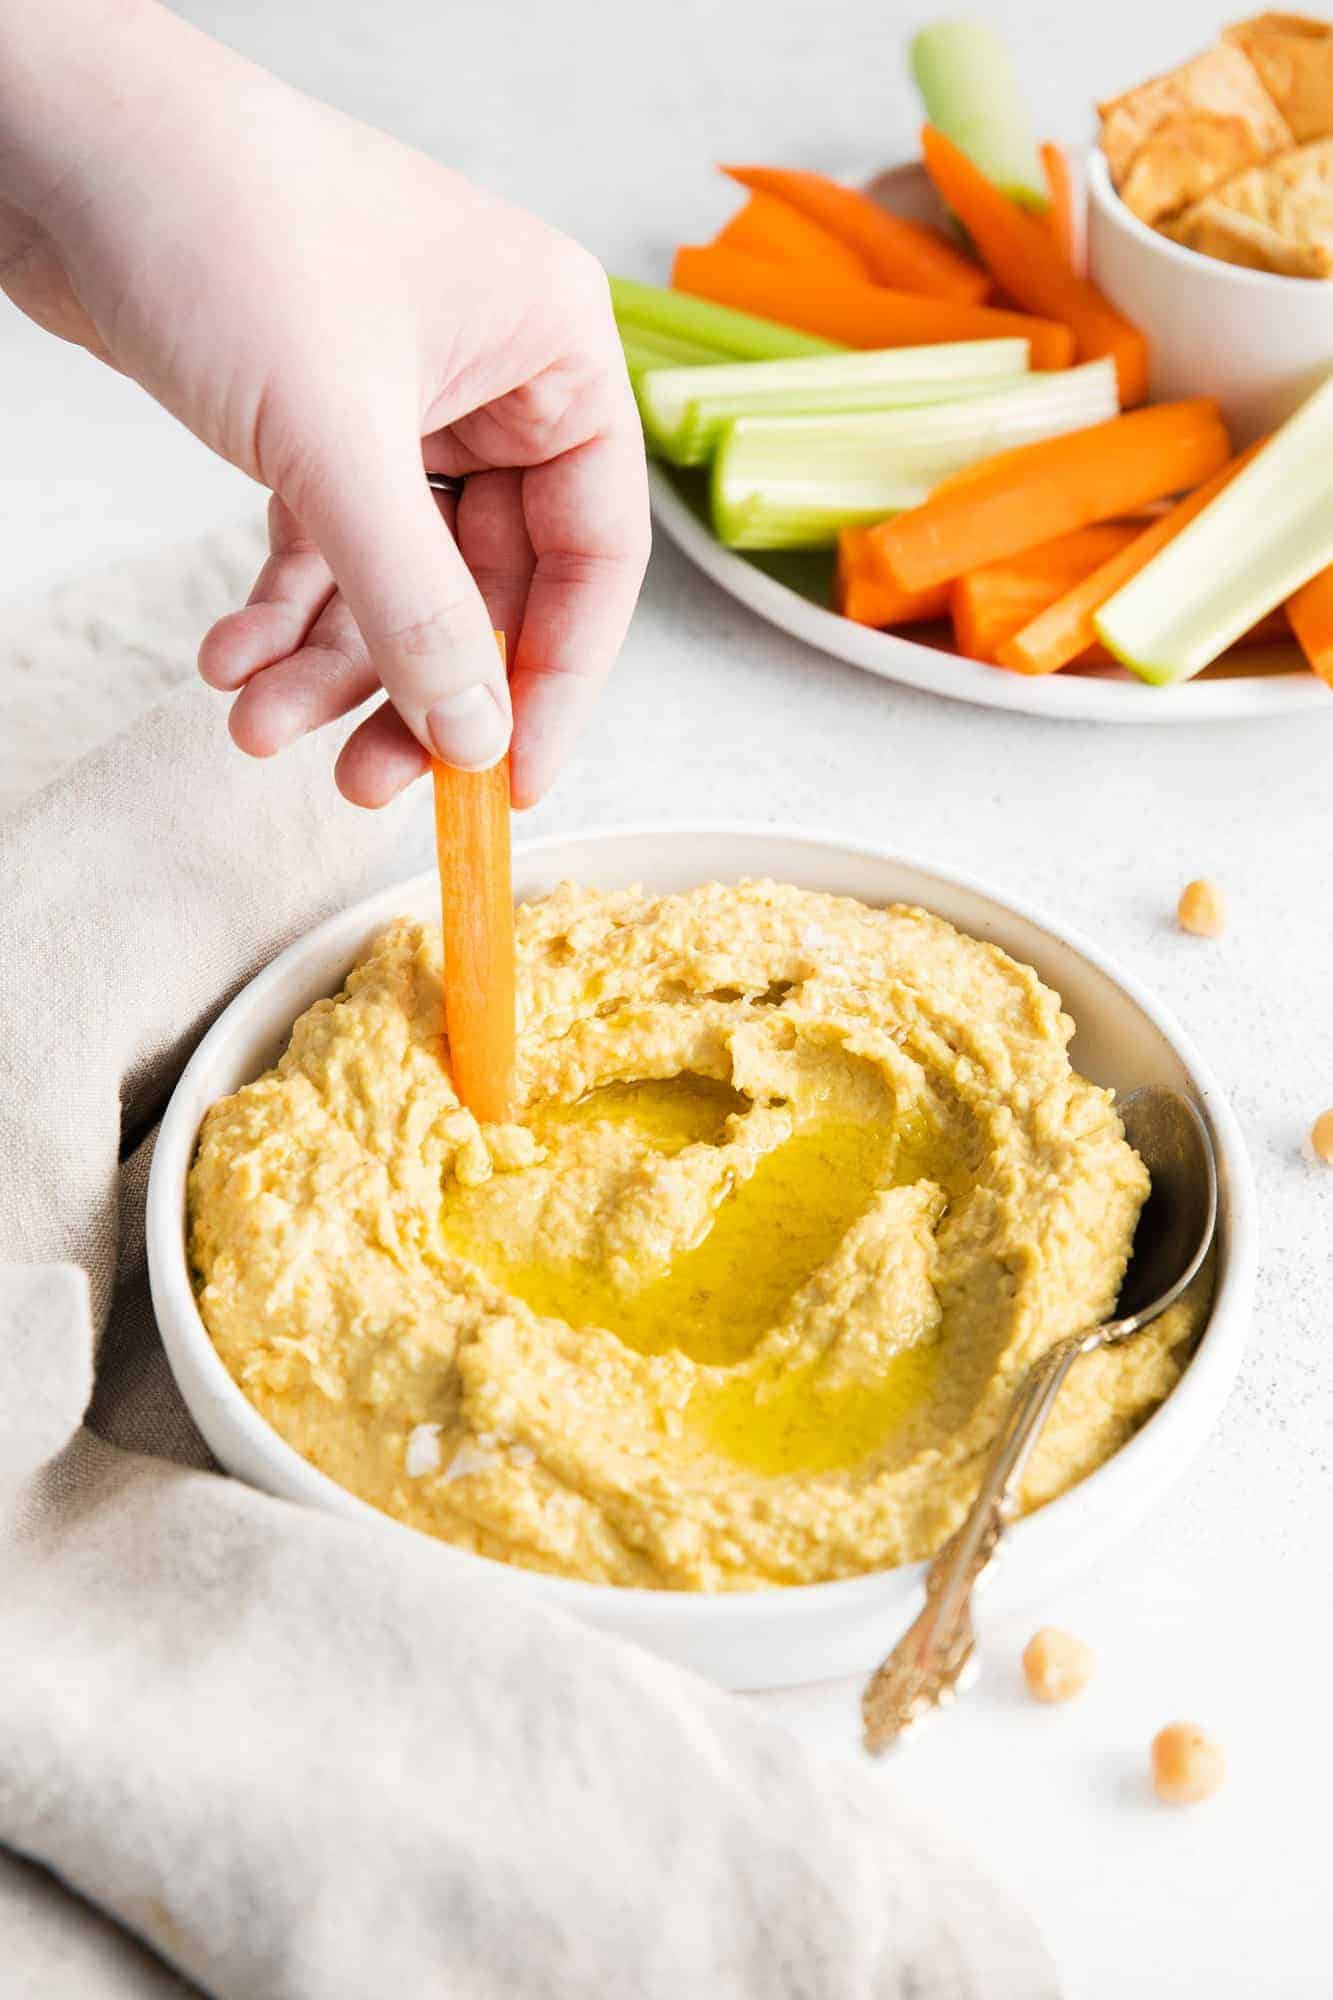
Hummus is really just so delicious! It’s creamy, smooth, rich and satisfying. Enjoy it as a guilt-free dip for vegetables or pita wedges, or spread it on sandwiches as a tasty alternative to mayonnaise.
Hummus is a healthy food. Hummus is packed with vitamins and minerals. Healthline informs us that eating hummus has impressive health benefits, including fighting inflammation, controlling blood sugar, aiding digestion and weight loss, and reducing heart disease. Isn’t it great that you can eat a healthy snack full of protein without feeling guilty about it?
Hummus is easy to make, with only five ingredients (not counting water, salt, and pepper). For really smooth hummus, you’ll need a food processor. You can whip this hummus recipe up in just five minutes. Five minutes! Isn’t that kind of crazy? You’re just a few minutes away from all that deliciousness and healthy eating.
You can make it without tahini. This recipe is a staple in our house. It’s made with tahini but because of my family’s severe sesame allergies, tahini is a no-no. I love that I can “make it my own” and leave the tahini out. Many people don’t realize that tahini is sesame seed paste which is deadly for my children. I would never consider buying pre-made hummus because it isn’t worth the risk. When you make homemade hummus, there are no worries.
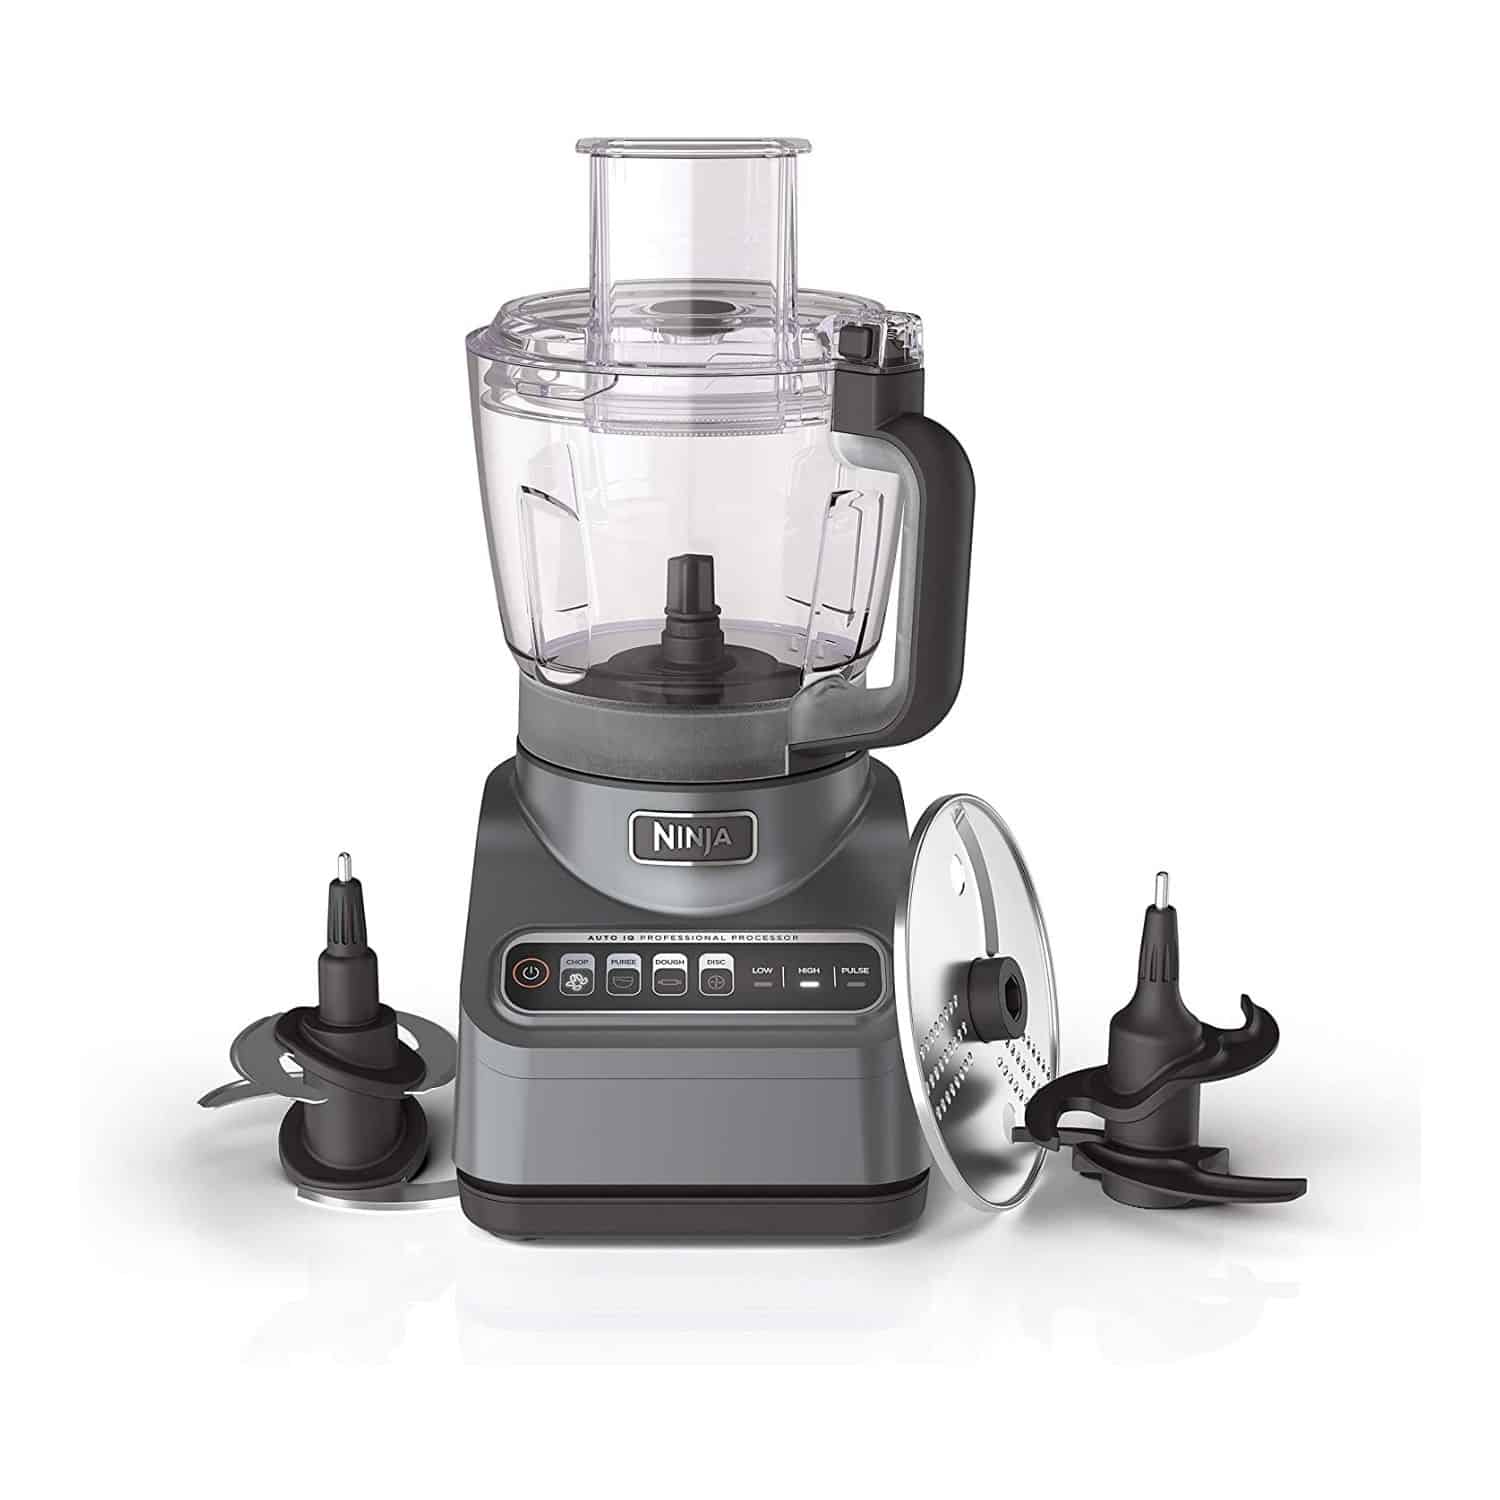
Need a Food Processor?
Ninja is a great brand for food processors and blenders. This food processor is a quality piece of equipment, but still fairly inexpensive.
Ingredient Notes
This is a quick overview to show you how easy it is to make homemade hummus. Be sure to check the recipe card below for measurements and instructions.
- Canned chickpeas: aka, garbanzo beans. Full of plant protein and fiber, chickpeas are economical and flavorful. Some recipes call for removing the skins but I’ve found that the food processor pretty much takes care of any coarseness. If you feel strongly about it, check out this method by Cooks Illustrated.
- Tahini: This smooth sesame seed paste adds creaminess and flavor. Like I mention above, this hummus can be made without tahini but if allergies aren’t an issue in your household, I would definitely add it. If you have tahini left over, try my homemade tahini sauce with lemon and garlic.
- Lemon Juice: Use freshly squeezed lemon juice for a nice tart flavor.
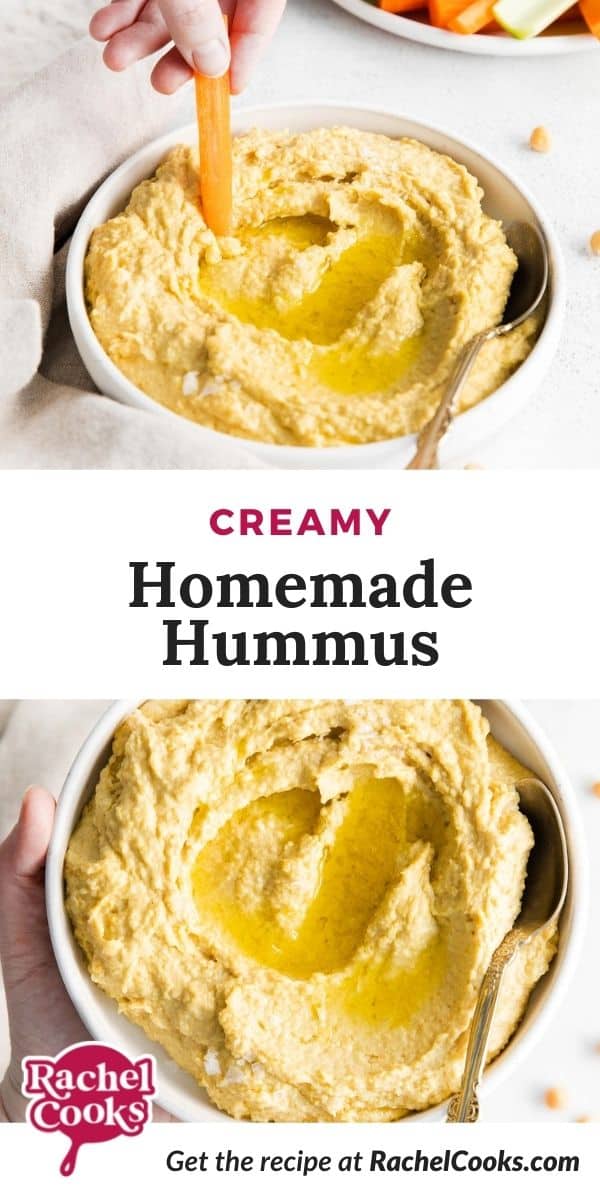
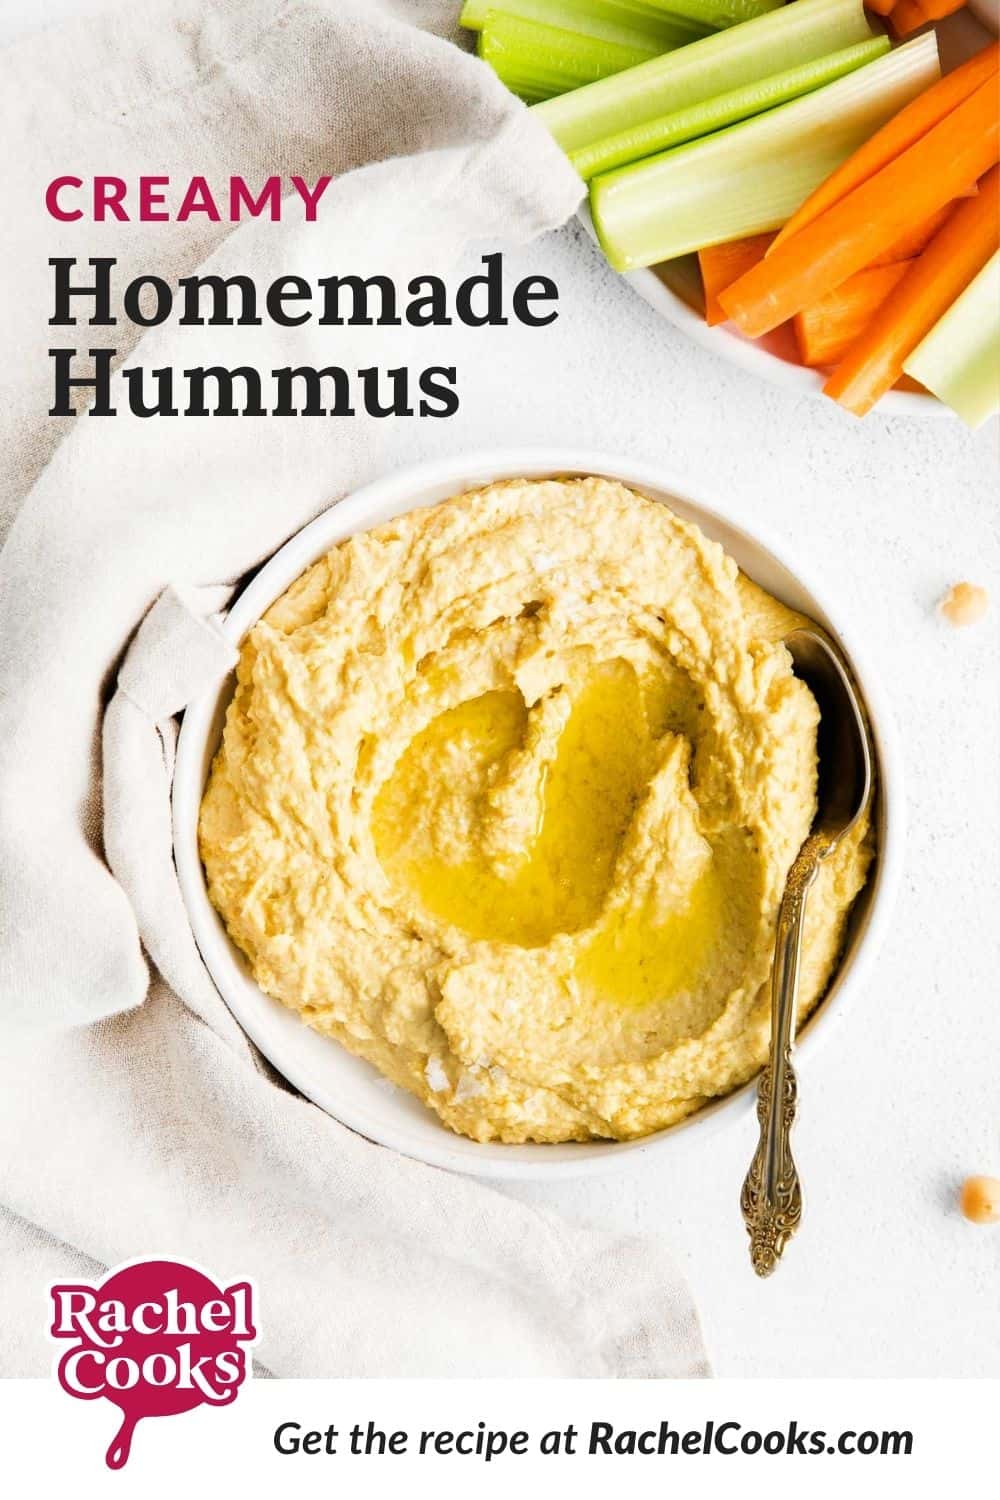
- Olive Oil: Extra virgin olive oil lends its fruity pungent flavor to the hummus, along with velvety smoothness. Try drizzling a bit more on the hummus before serving, particularly if you’re serving it as a dip.
- Fresh Garlic: Add a clove of garlic to the hummus for classic flavor. If you don’t care for garlic, go ahead and leave it out. It’s your hummus! I often omit the garlic because my husband isn’t a huge fan.
- Salt and Pepper: All the seasoning you need for classic hummus.
- Water: Use plain tap water or reserve some of the liquid from the canned chickpeas (called aquafaba) and use that instead of water.
How To Make Hummus
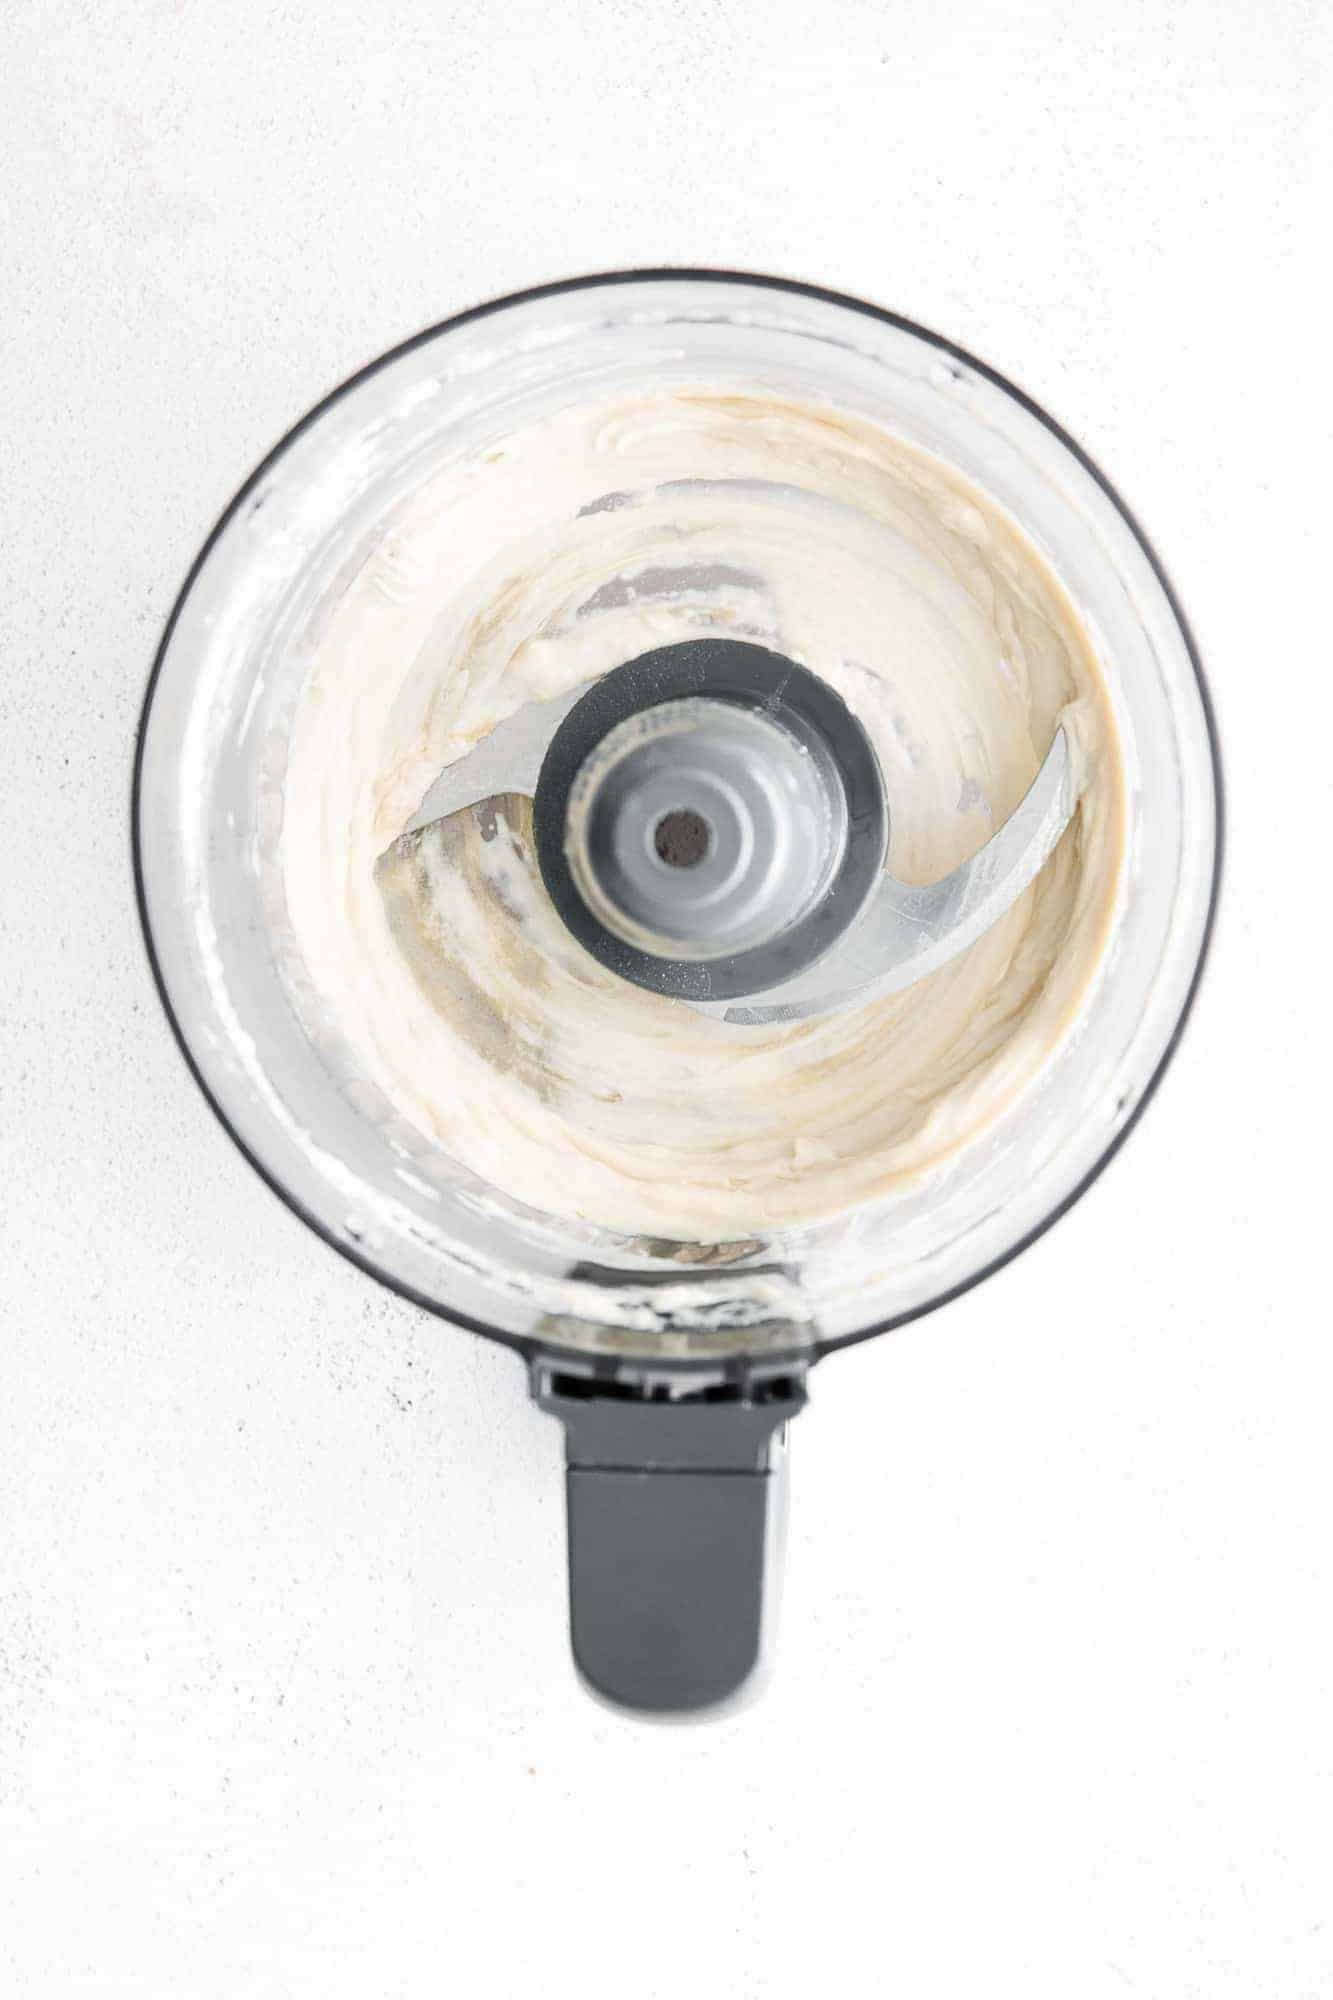
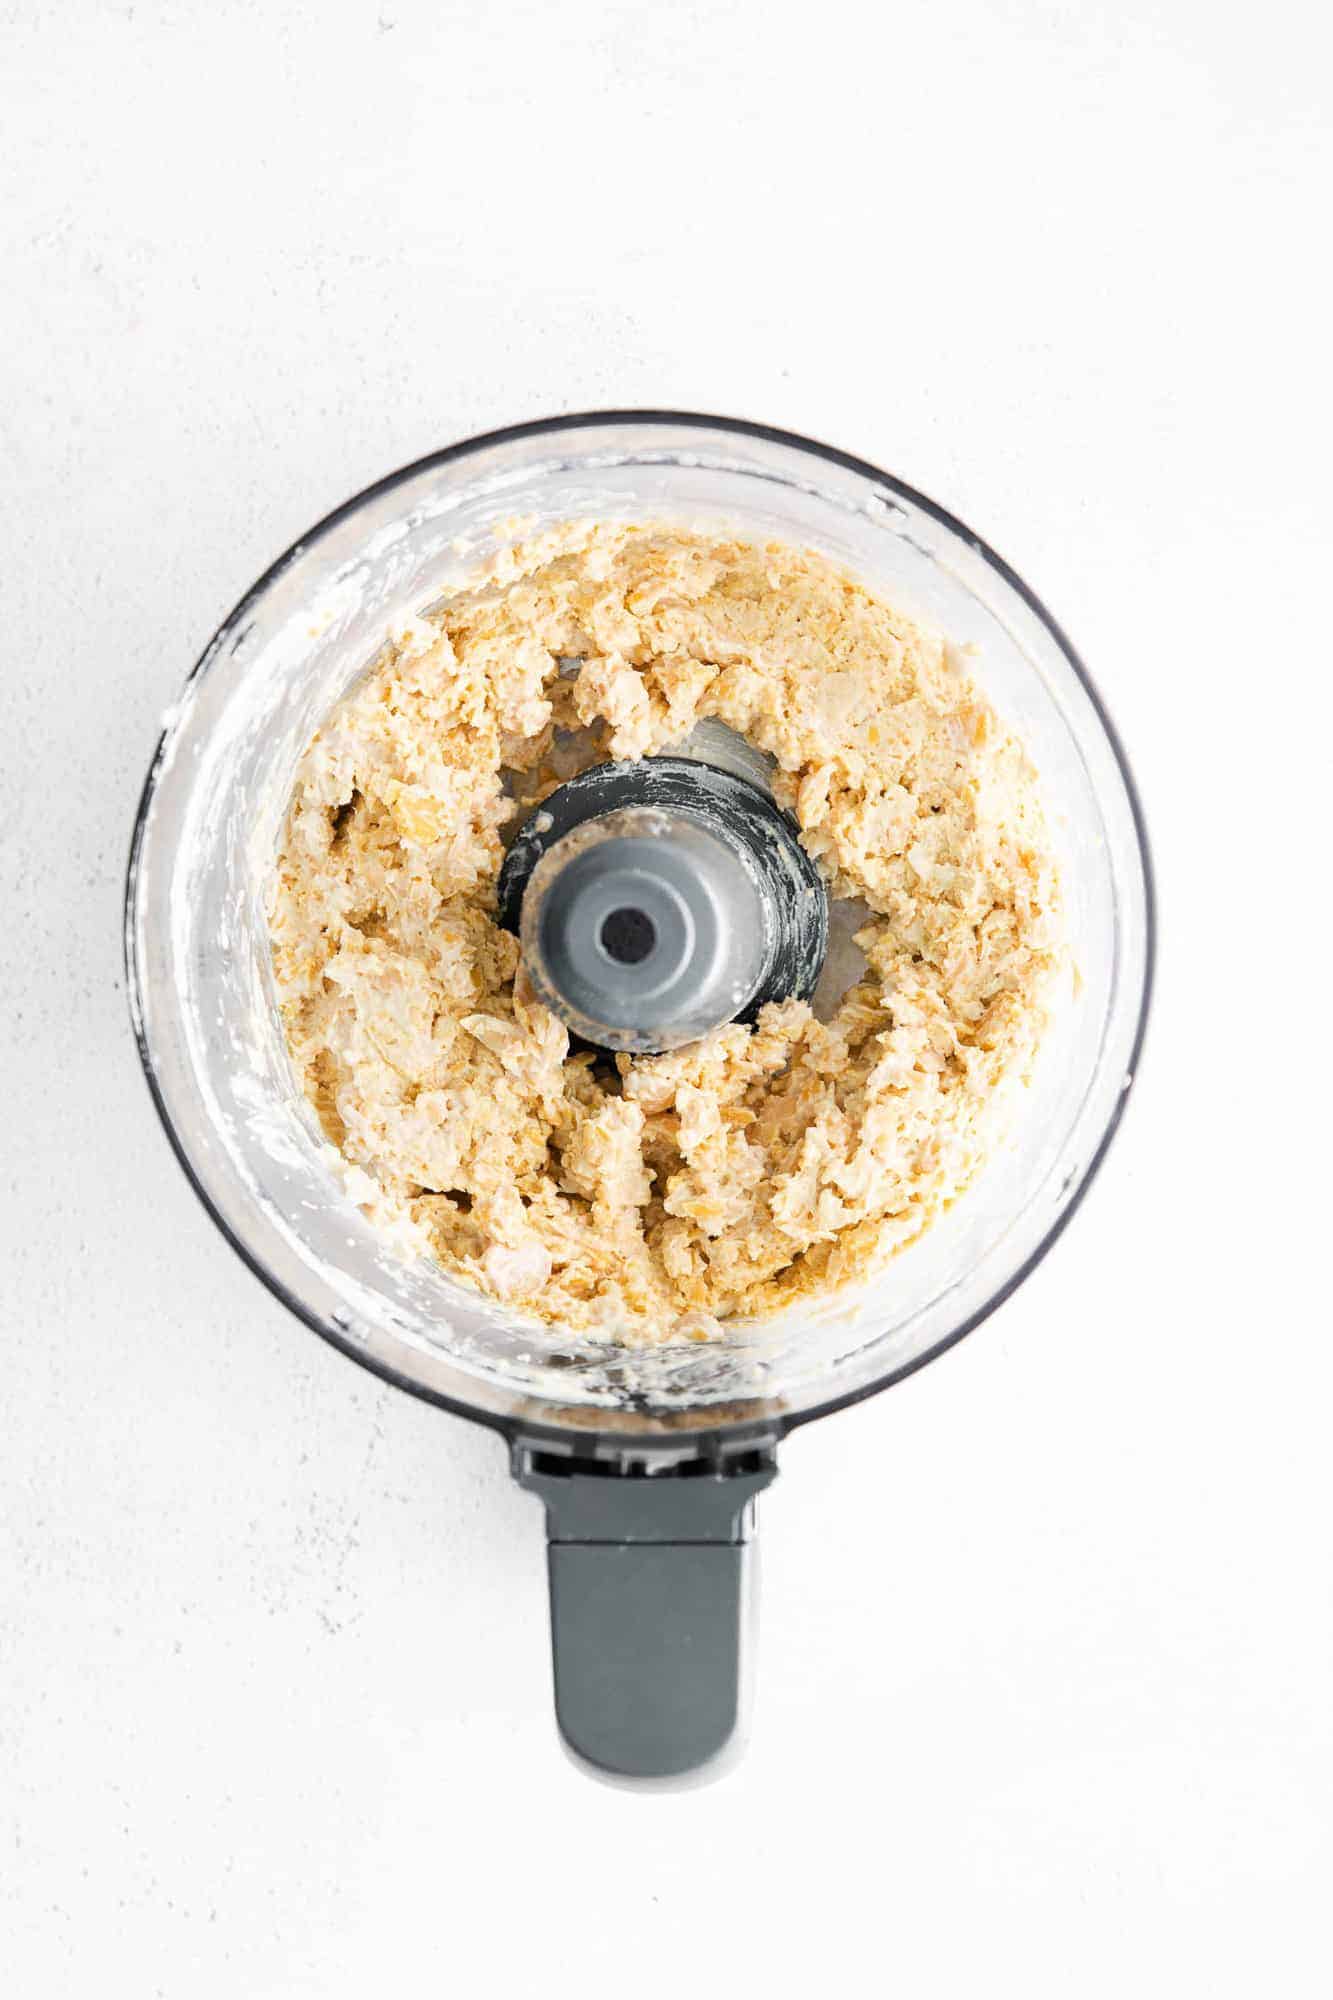
Add tahini, lemon juice, and water to the bowl of your food processor. Pulse for about thirty seconds until the mixture is light and whipped. If you’re making a tahini-free version, just skip this step and add the lemon juice and water to the chickpeas.
Next, add the drained chickpeas and garlic to the bowl and pulse a few more times. The chickpeas will be coarsely ground.
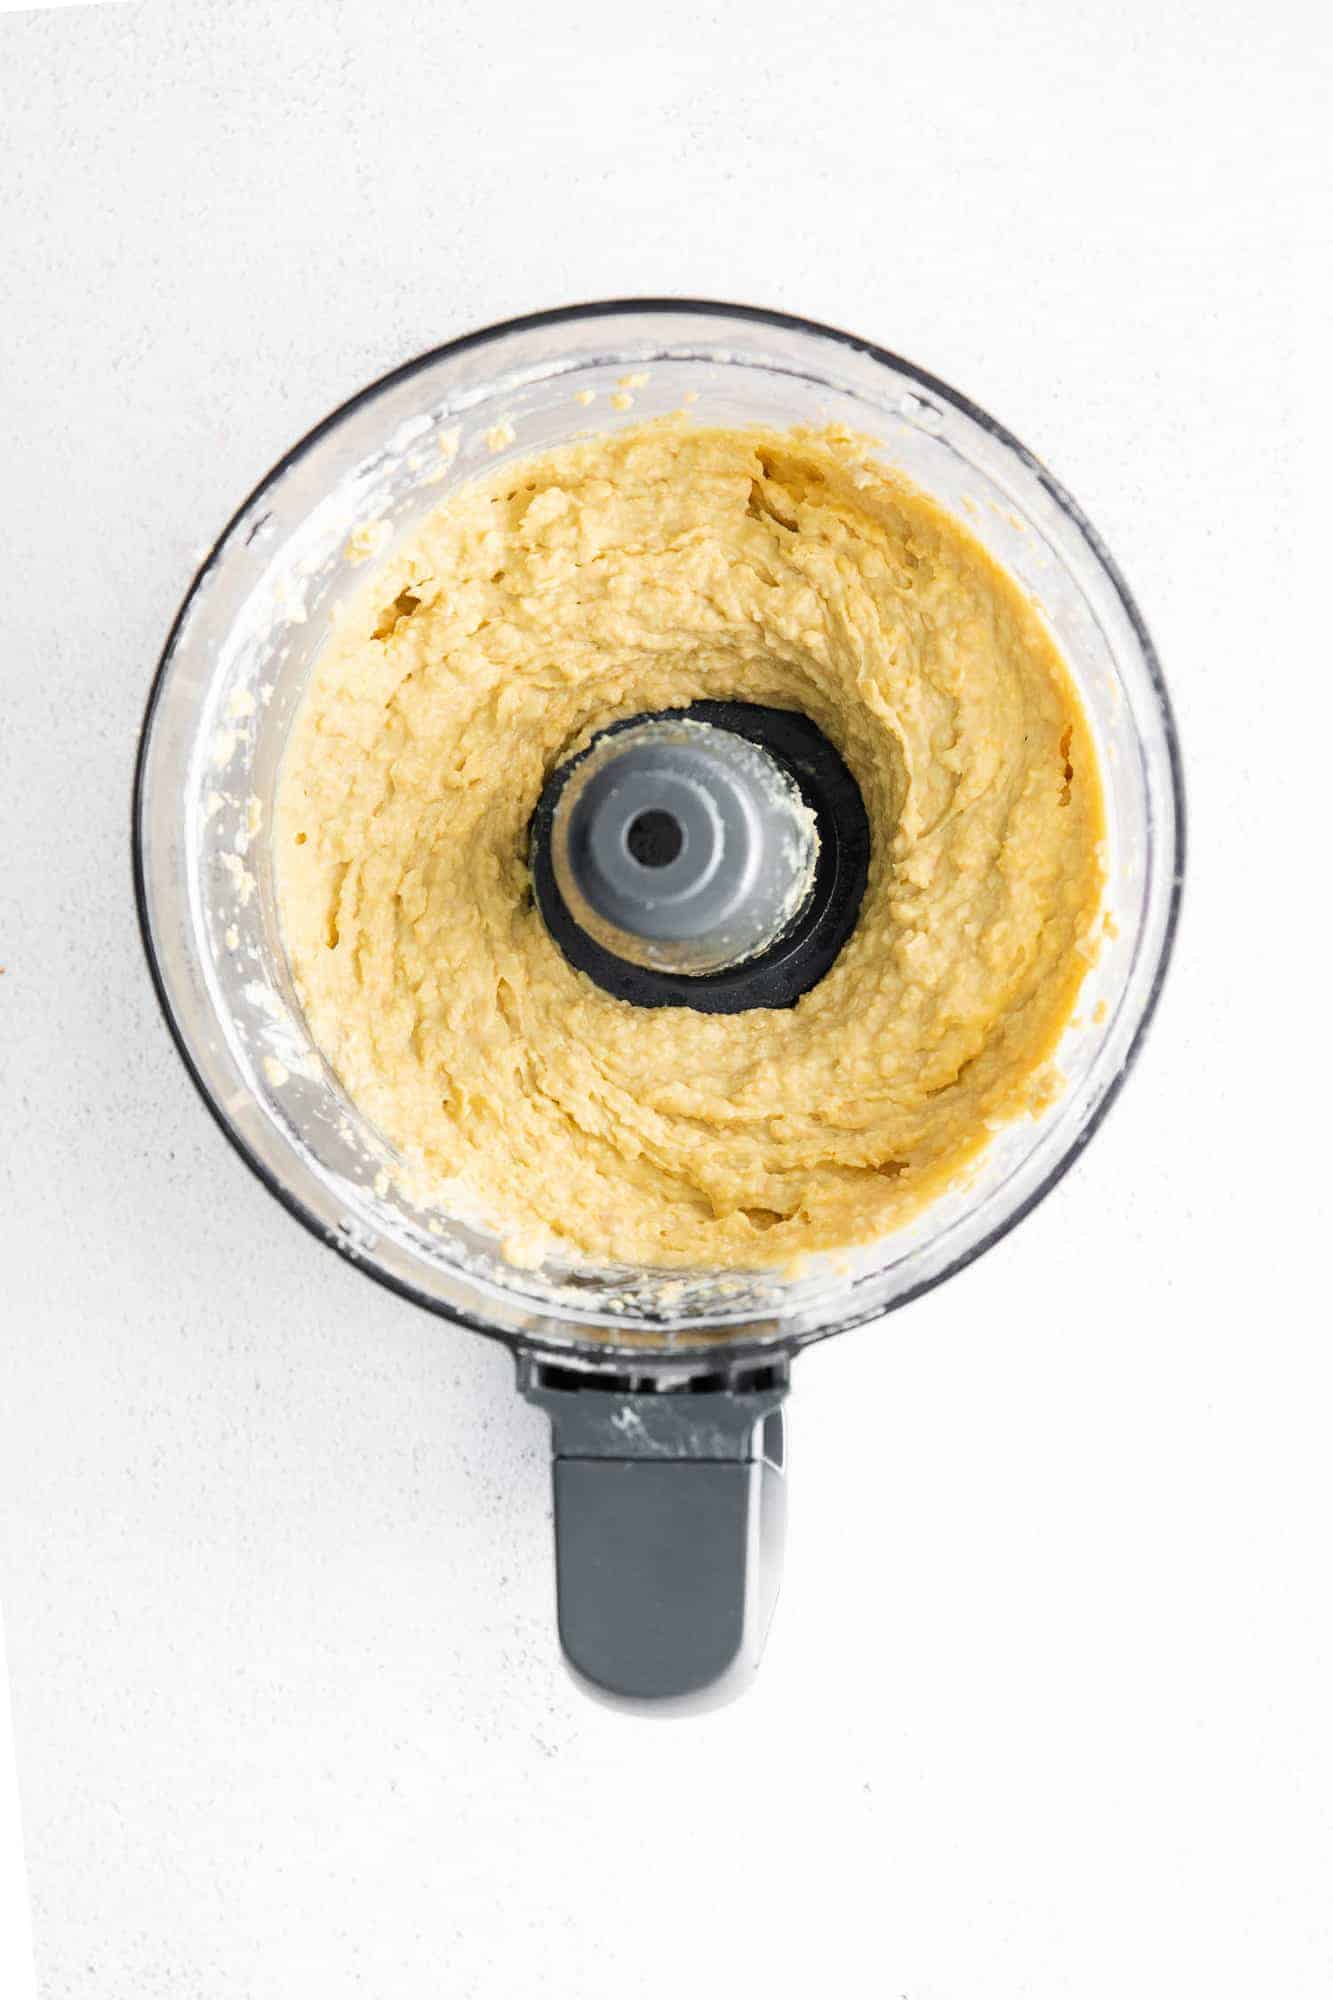
Okay, final step! With the food processor running, slowly add the olive oil, processing until your hummus is smooth and creamy. If it seems too thick, add a bit more water or olive oil. Season with salt and pepper, and your hummus is ready to enjoy.
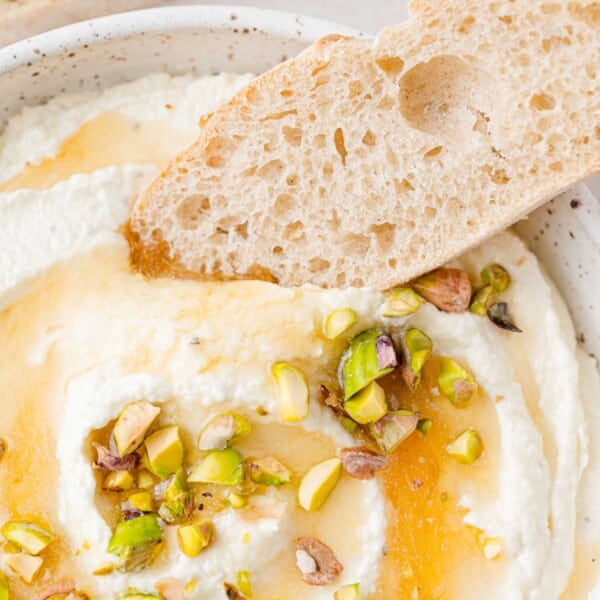
Garnishes
If you want, you can fancy it up. Don’t you love how store bought hummus often has a nice little garnish on top? Toasted pine nuts are my favorite garnish. I could eat those by the handful! Roasted red pepper strips, a sprinkle of chopped paprika, parsley, olives, pickled red onions, or pickled sweet peppadew peppers make nice toppers, too. Bright pink strips of pickled turnips are a classic topping for hummus.Perhaps you’re not processing it long enough. Try adding a minute or two to the processing time. Adding a bit more tahini, or substituting the liquid from the canned chickpeas for water, will increase the creaminess as well. You can also peel the chickpeas, but I’ve found that extra tahini makes the most difference in increasing creaminess.
You can simply omit the tahini if you like. Good substitutes are sunflower seed butter or a nut butter, such as cashew or almond butter. Another alternative is Greek yogurt. The flavor of your hummus will be affected, but not in a bad way.
- Omit or increase the garlic. One of the best aspects of homemade hummus is that you can make it exactly how you like. There’s no need to add garlic if you don’t want garlic breath the rest of the day. Or maybe you love garlic so much that you want to add two or three cloves, instead of one. Totally fine! Try roasting the garlic before adding it to the hummus.
- Add spices or herbs. Ground cumin is commonly added to hummus. Start with a half teaspoon, unless you really love cumin. Experiment with other spices, if you like. Add a dash of cayenne to give it a little heat. Add a teaspoon of chopped fresh rosemary.
- Make roasted red pepper hummus. Add ¾ cup chopped roasted red peppers to the food processor.
- Make chocolate hummus. It’s really good with pretzels, graham crackers, or fruit dippers.
- Sesame-free options: See the FAQ above for tahini substititutes. Parsley hummus is the most beautiful shade of green. Edamame dip is sort of a hummus but made with frozen, shelled edamame instead of chickpeas.
- Love chickpeas but not crazy about hummus? Try roasting the chickpeas for a crispy snack. Here’s a few recipes: roasted chickpeas (in the oven), air fryer chickpeas, or cinnamon roasted chickpeas.
Refrigerate: Hummus is a great make-ahead dip. It keeps well in the fridge for up to five days.
Freeze: You can even freeze hummus! For a healthy lunchbox treat, simply put hummus into individual size storage containers and freeze. It will keep for up to six months in the freezer. It may separate slightly when thawed but just give it a little stir and it will be fine. If you freeze a larger sized container, for best results, thaw it overnight in your fridge.
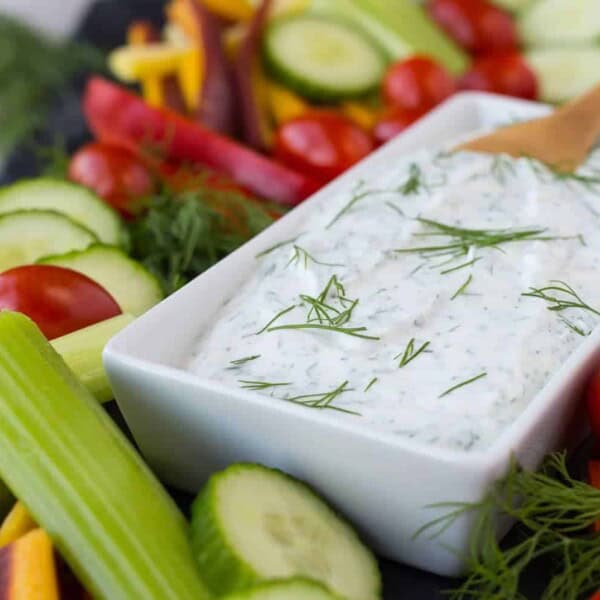
Dips don’t have to be a splurge or guilty pleasure. I already mentioned my edamame dip and parsley hummus but here are more dip recipes you may enjoy.
More Dip Recipes
Hummus Recipe

Ingredients
- 1 can (15 ounce) chickpeas rinsed and drained
- ¼ cup tahini (sesame paste)
- 2 tablespoons water
- 2 tablespoons freshly squeezed lemon juice
- 1 clove garlic minced
- ¼ teaspoon kosher salt more to taste
- ¼ cup olive oil
- ground black pepper more to taste
Instructions
- In a food processor, combine the chickpeas, tahini, water, lemon juice, garlic, and salt and pulse until combined — about 1 minute.
- With the food processor on, slowly drizzle in the olive oil and continue processing until the hummus is smooth and creamy. The longer you process, the smoother it will be.
- Taste and season with salt and pepper.
- Enjoy immediately or store in an airtight container in the fridge for up to 5 days.
Notes
- Makes about 2 cups of hummus.
- If you prefer, omit the tahini. Just skip step 1, directly adding the water and lemon juice to the chickpeas and garlic, and processing. Consistency of hummus won’t be quite as smooth and rich without tahini. Or substitute cashew, almond or sunflower butter, or Greek yogurt.
- Hummus can be frozen for up to 6 months.
- For extra creamy hummus, remove the peels from the chickpeas prior to adding to food processor.
Video
Nutrition
Nutrition information is automatically calculated, so should only be used as an approximation.


easy-peasy and delicious!
Yup! So good!
” I still can’t get it as smooth as it comes to the table at our favorite restaurants though. How do they do that?”
I had a conversation with a packaged hummus provider at a San Jose farmers’ Market. I asked hi the same thing. He told me they use a homogenizer (as in dairy).
Personally, I get nearly as smooth by using chana dal (a very small variety of chick pea that comes split and hulled) and boil it (low flame sealed pot – the way you would for brown rice) for 3 to 4 hours – and yes, run in the food processor for a good few minutes.
Great tips Bob!
I’m going to have to try this hummus recipe because I have yet to find one that turns out right for me. (Sad, right?!) This one looks delicious!
According to the fabulous Deb from Smitten Kitchen, the key to ethereally smooth hummus (http://smittenkitchen.com/blog/2013/01/ethereally-smooth-hummus/) is to take the skins off the chickpeas. It feels a little weird and takes a couple minutes, but it does seem to make a difference. (By the way, who knew that they have skins on? Not me, that’s for sure.)
I have heard that! I might be too lazy. ;)
Ok, how can we help the hubby to love garlic? Seriously. This is an emergency
I know! It’s hopeless.