


Recipe Overview
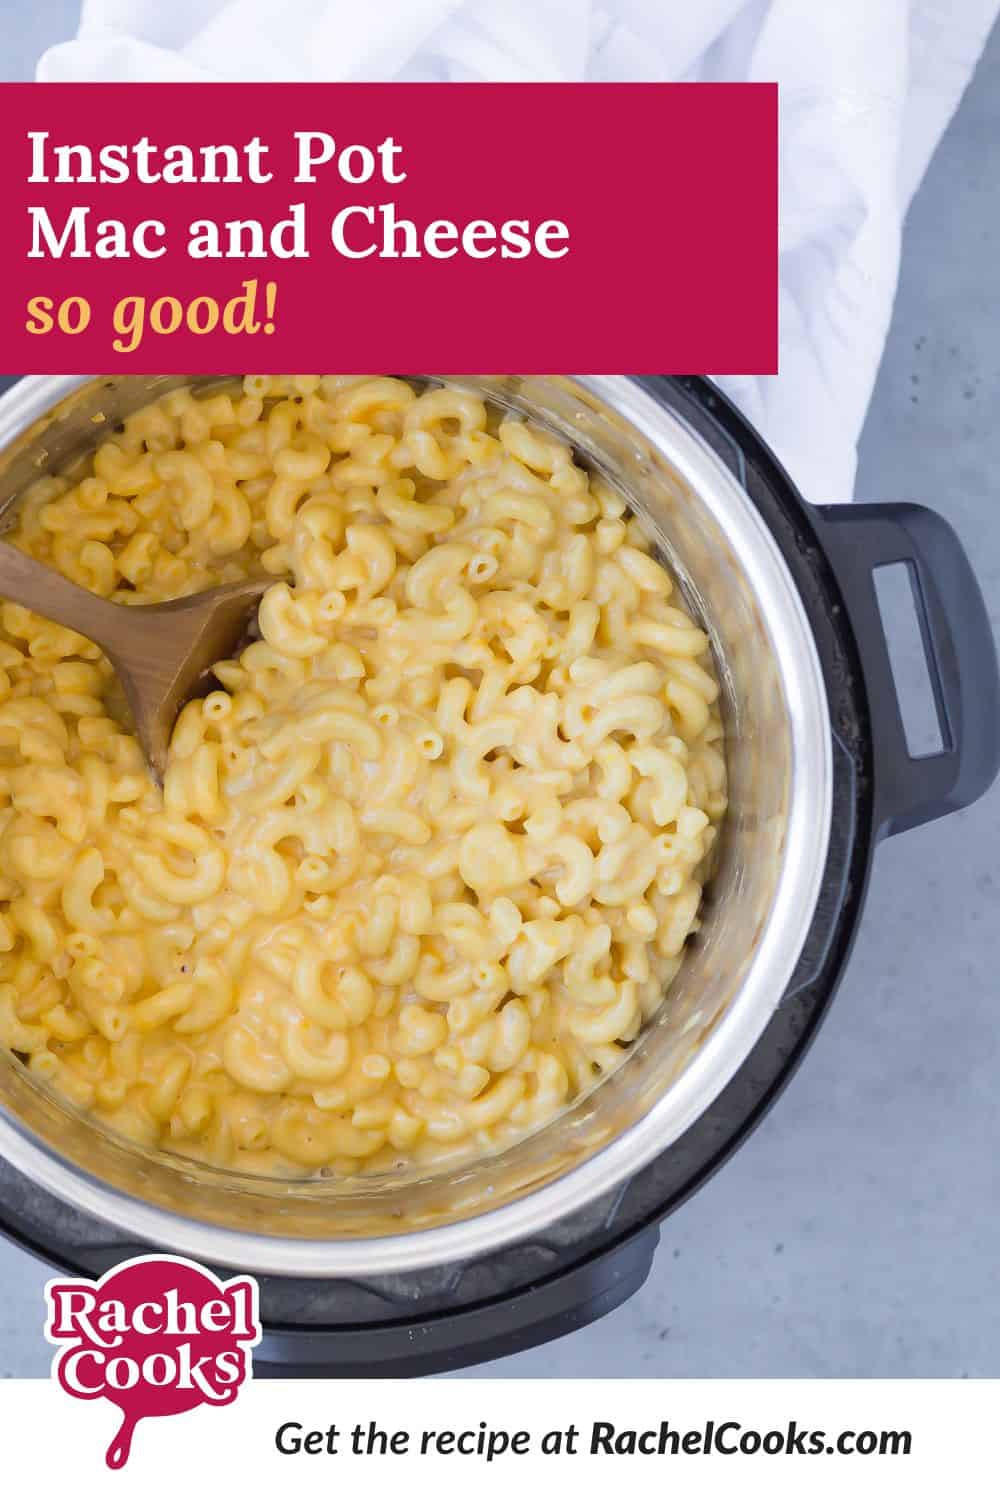
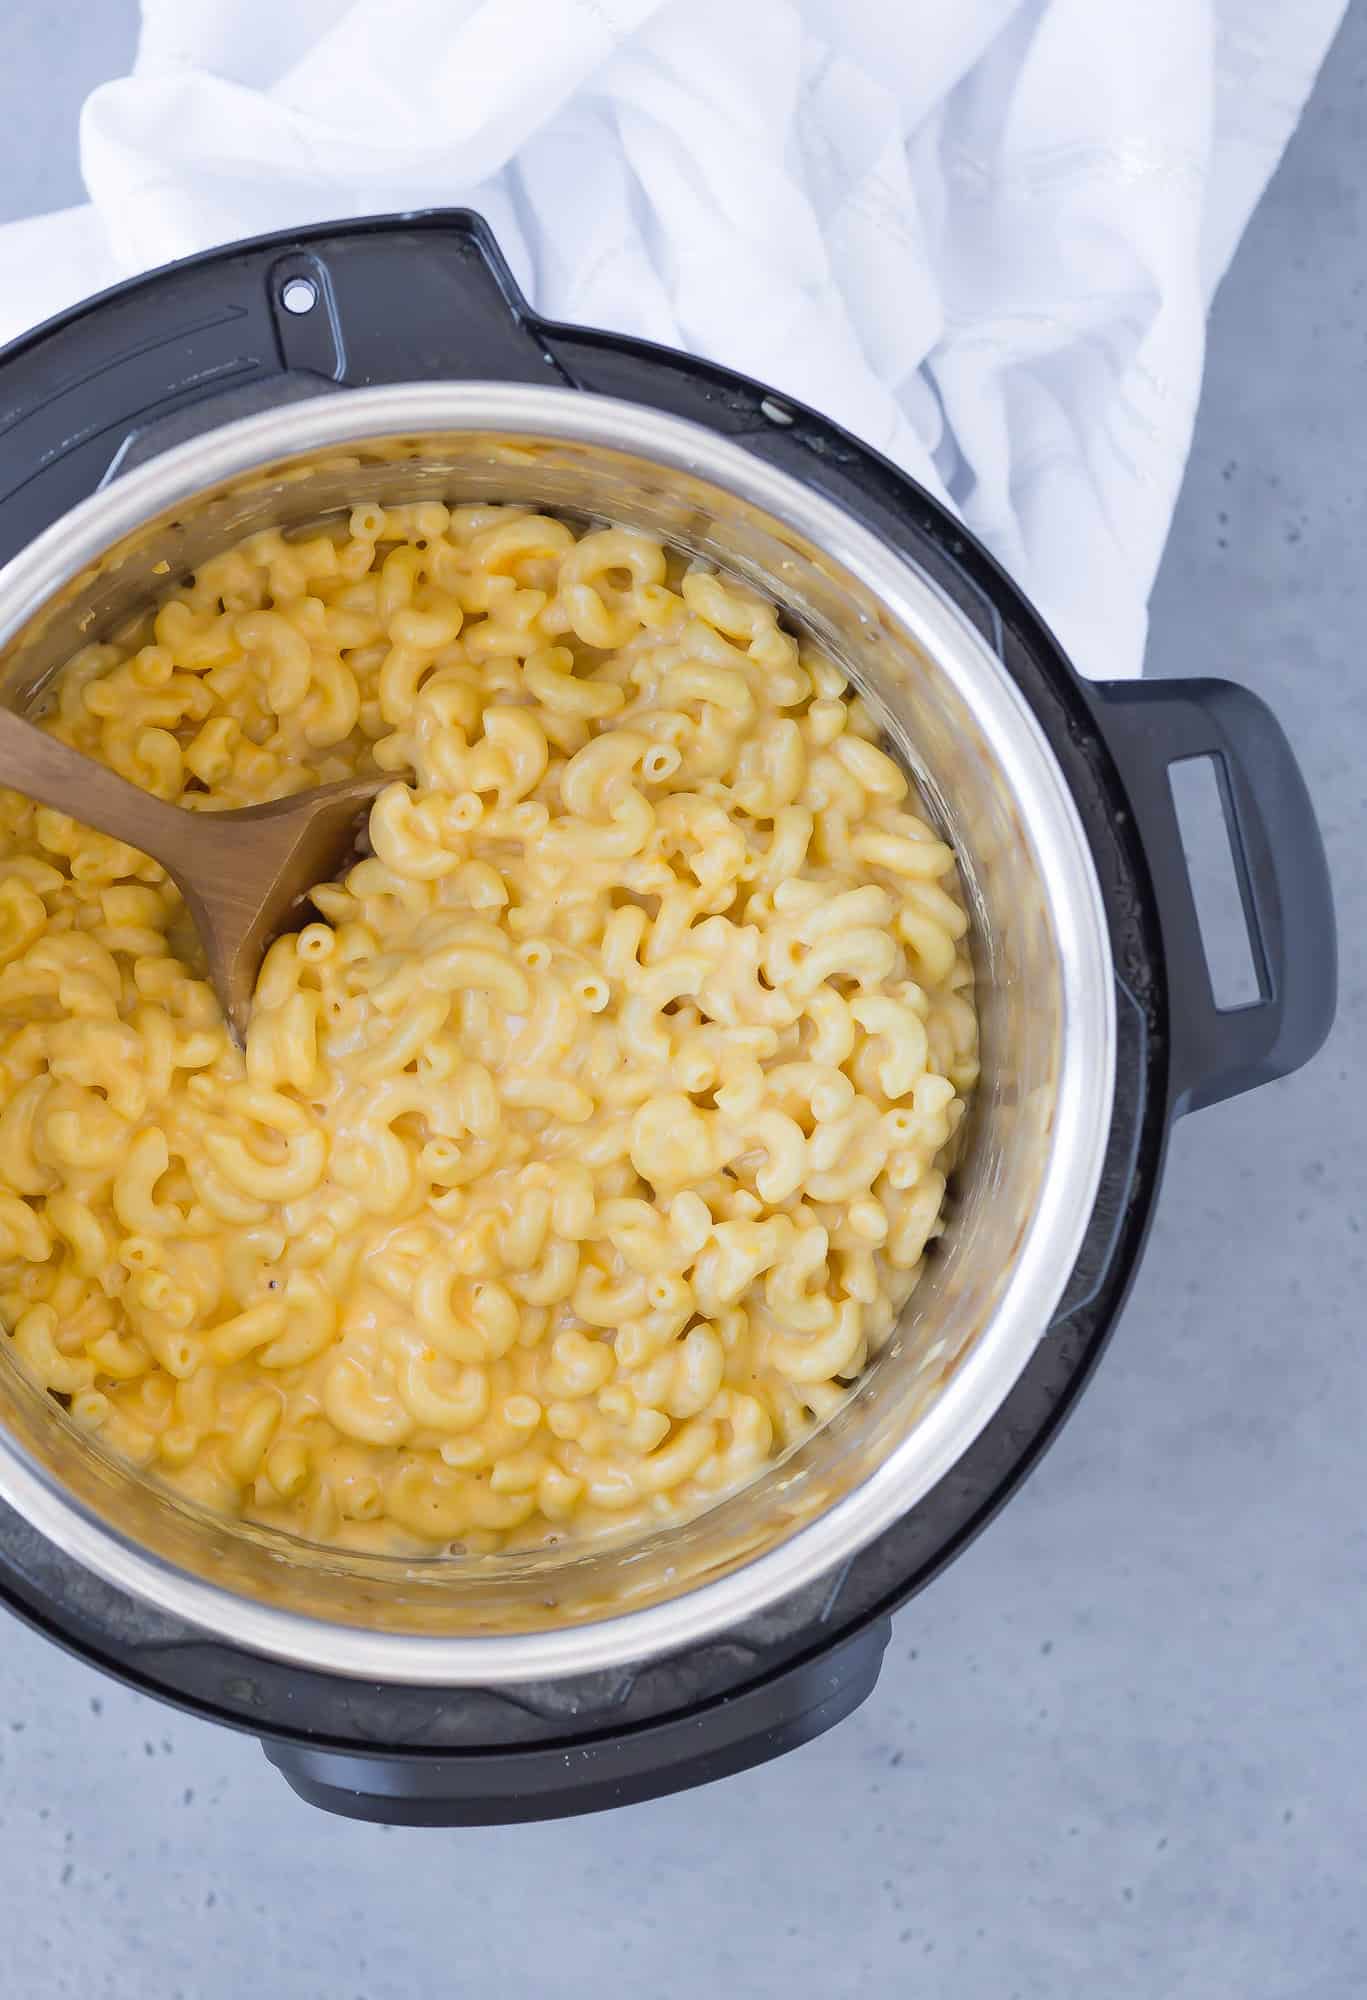
Why you’ll love it: Instant Pot mac and cheese is creamy and cheesy, basically everything you want from macaroni and cheese. The dry macaroni and the cheese sauce cook right in your Instant Pot so this is a one pan meal!
How long it takes: less than a half hour
Equipment you’ll need: Instant Pot
Servings: 8

Mac & Cheese Love
Macaroni and cheese probably falls directly behind freshly popped buttered popcorn on my list of weaknesses. There’s just something about creamy, cheesy pasta that I cannot get enough of.
Truth be told, I’m not all that discerning when it comes to macaroni and cheese. Boxed macaroni and cheese, frozen mac and cheese, restaurant mac and cheese, whatever, if it has pasta and cheese, I’m a happy gal.
With that being said, this Instant Pot recipe is really good mac and cheese! Do you believe me after my “I’ll eat any and all mac and cheese” speech? Maybe I should rethink that intro, but I’m all about honesty.
I’ll eat any kind but given the choice between this homemade mac and cheese, and the blue box? I bet you know which one I’d choose.
This isn’t the first macaroni and cheese recipe on Rachel Cooks (check out the other recipes below) but it’s the first recipe for Instant Pot Mac and Cheese. I love my Instant Pot recipes, but I bet you already know that, especially if this isn’t your first visit to my little corner of the internet.
Easy Instant Pot Mac and Cheese
One pan! I love, love, love how easy this recipe is. Everything is made in your pressure cooker and there’s no need to cook and drain the pasta separately. It’s quick, easy, and almost completely hands-off. There’s less cleanup, too, with no colander to wash.
Super easy to make. This Instant Pot macaroni and cheese starts with water and pasta, just like any macaroni and cheese recipe. It cooks under pressure for 4 minutes before you release the pressure. After that, all that’s left to do is stir in the seasonings, evaporated milk, and two types of cheese. Stir, stir, stir until it is melted, and then EAT!
“Thank you for making my Thanksgiving cooking a breeze. The kids and grandkids loved it … I am now the grandma that makes the best mac and cheese!”
Ingredient Notes
- Elbow Macaroni: The recipe makes a pretty large batch, with a 16 ounce box of macaroni, which is about 4 cups of dry pasta. You can use whole wheat macaroni if you prefer. I’ve made it with either type, and it always turns out well.
- Evaporated Milk: Look for canned evaporated milk in the baking aisle. Evaporated milk is regular milk that has had some of the water removed. It’s shelf-stable which means you can keep a can or two in your pantry all ready for recipes like this one.
- Seasonings: I add ground mustard (which won’t make your macaroni and cheese taste like mustard, I promise!), a hint of garlic powder (it’s optional), and salt.
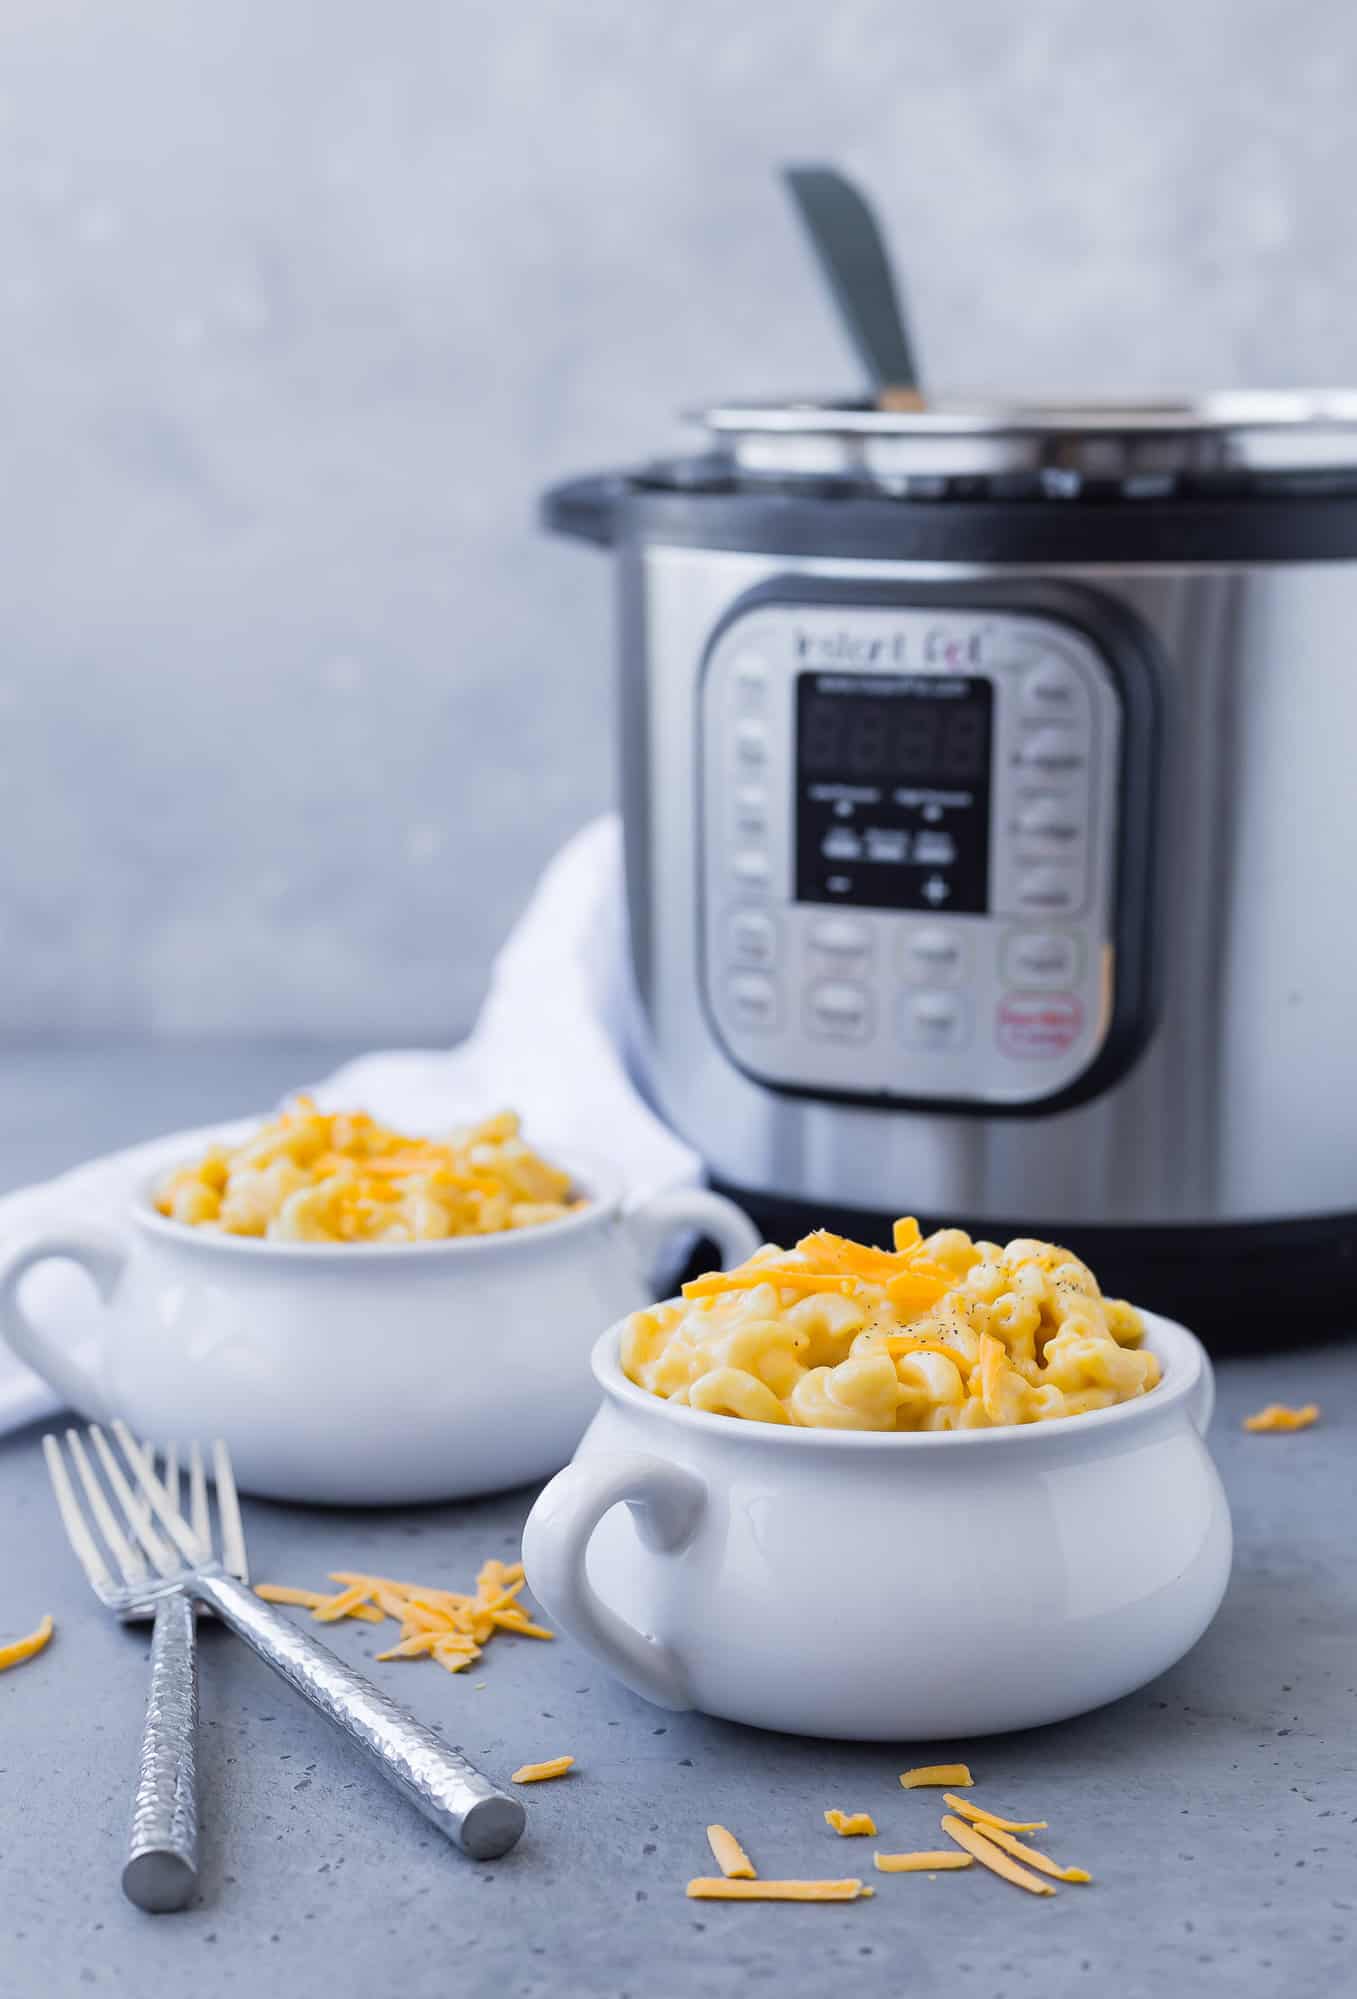
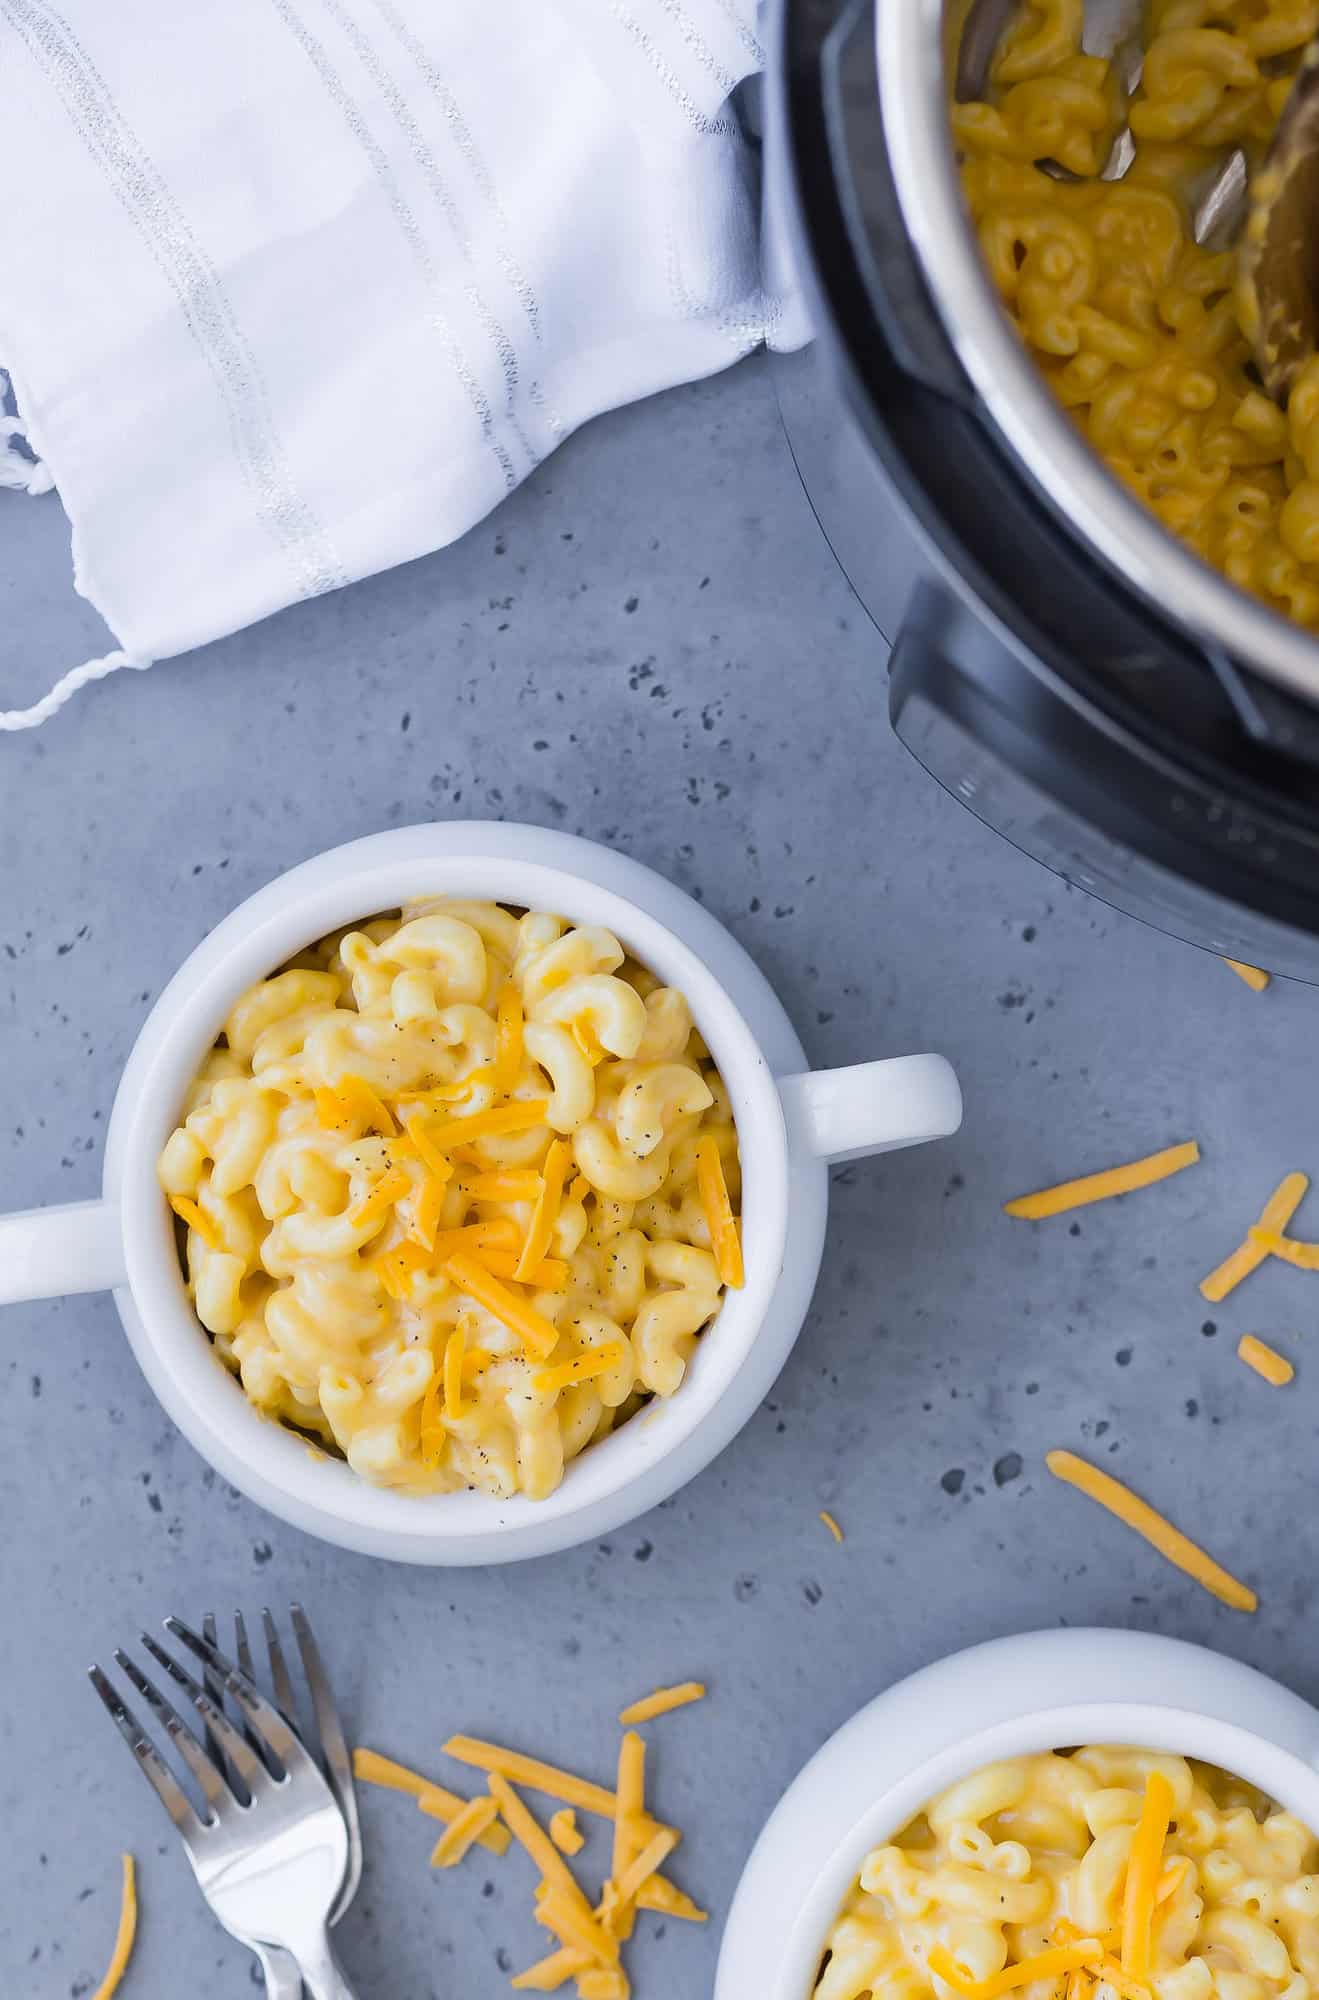
- Sharp Cheddar Cheese: Buy a block of cheese and shred your own for the best results. Pre-shredded cheese has additives which prevent the cheese from clumping in the package but which also prevents it from melting smoothly.
- Shredded Parmesan Cheese: With two types of cheese, there’s plenty of cheesy goodness in this recipe.
Should I Shred My Own Cheese?
I’ve made this recipe both ways: with packaged shredded cheese and with cheese I shredded myself. I’m happy to say both ways work. My preference is to grate the cheese yourself. It yields a slightly creamier end result with a better overall consistency BUT the difference is pretty minimal. I’m all about a shortcut here and there so if all you have time for is store-bought shredded cheese, go for it!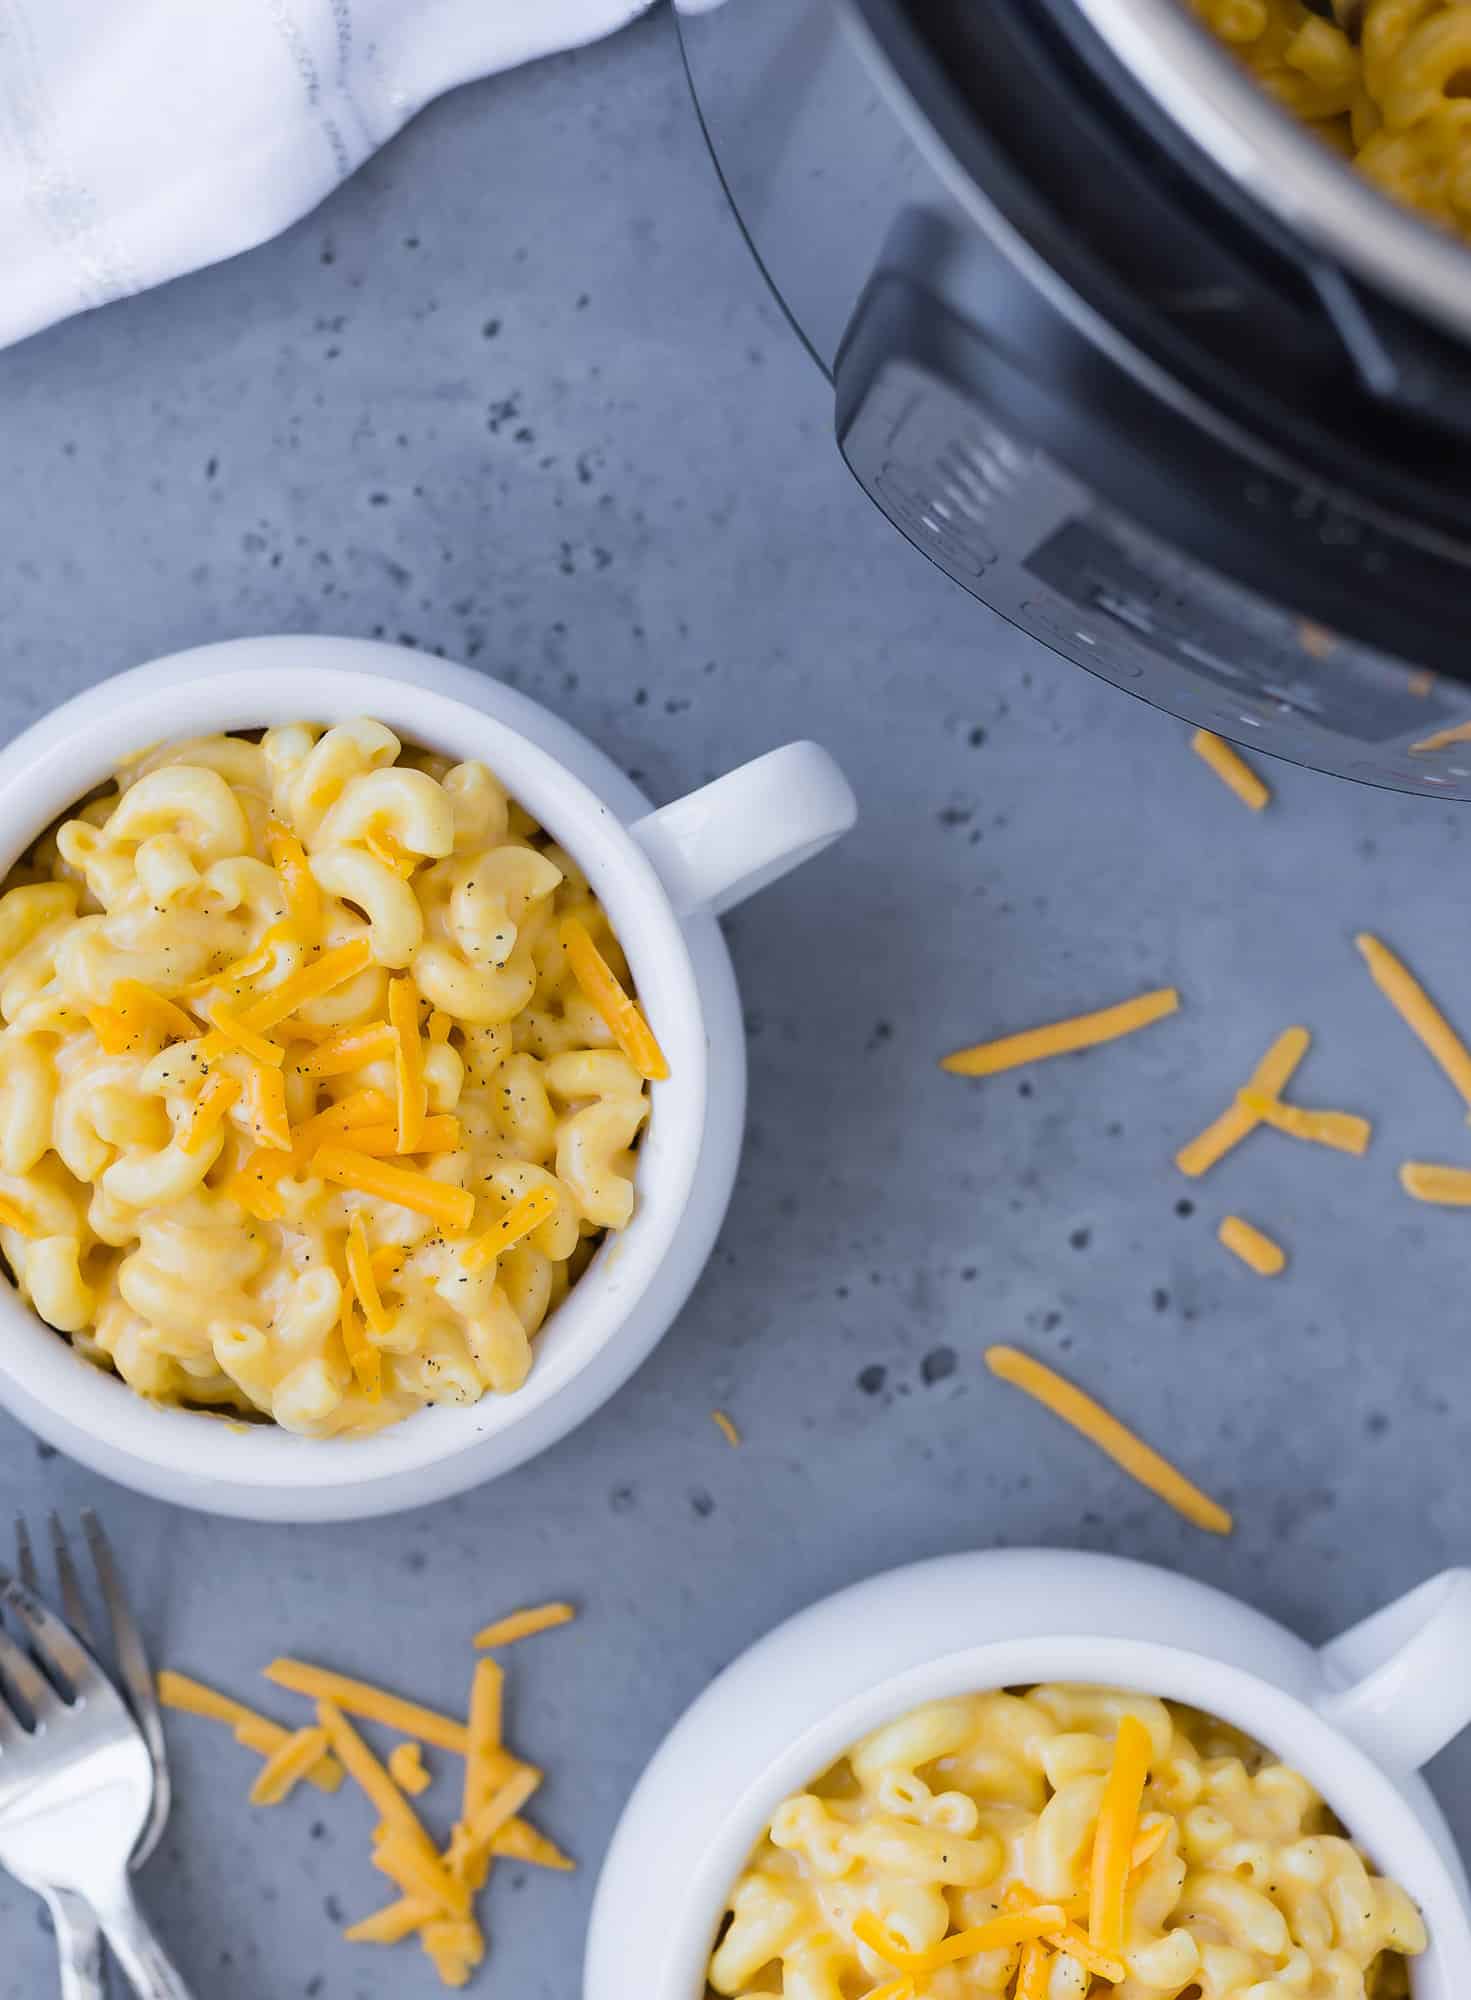
Recipe Variations
Bake the mac and cheese. I often get asked if you can bake this mac and cheese. The answer is yes! I have baked this mac and cheese after it’s cooked, and it’s super delicious. This is usually how I reheat the leftovers. Be sure to grease your baking dish with nonstick spray, and sprinkle the top with extra cheese, crushed crackers, or buttered bread crumbs for good measure. If you have quite a lot left over (6 cups), you’ll definitely want to try my macaroni and cheese pizza recipe.
Use different varieties of cheese. Yes, go wild, sister. Or brother. I love the flavor of sharp cheddar in macaroni and cheese, but you could also use Colby Jack for a more mild mac, or you could get fancy with Gruyère, or spice it up a little with pepper Jack cheese.
What To Serve with Mac and Cheese
As a main dish. If you’re serving mac and cheese as a meatless main dish, a simple green salad or a citrus salad rounds the meal out nicely.
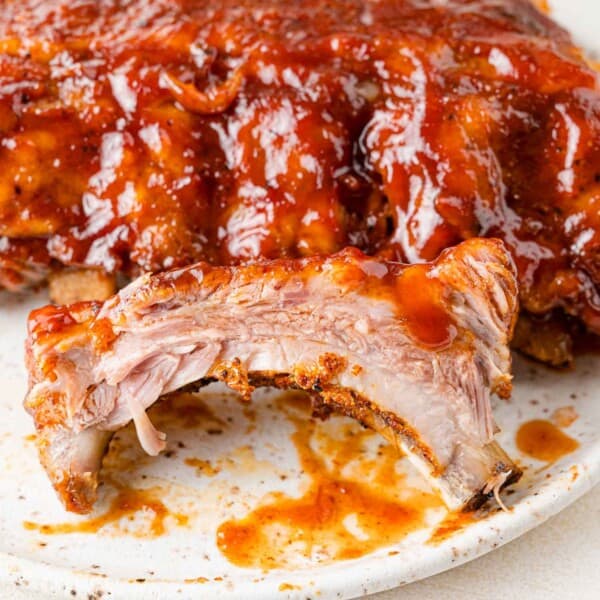
As a side. Macaroni and cheese goes well with grilled chicken or grilled salmon. We like it with air fryer chicken tenders or air fryer chicken nuggets. One of my favorite combos is mac & cheese with tender melt-in-your-mouth ribs and tangy homemade coleslaw!
More Mac and Cheese Recipes
- Instant Pot Mac and Cheese with Broccoli (cook healthy green broccoli in your mac and cheese, all in one pot!)
- Easiest Ever Baked Macaroni and Cheese
- Stovetop Mac and Cheese
- Panera Copycat Mac and Cheese
- Green Chile Mac and Cheese
- Mac and Cheese Pizza
- Crockpot Mac and Cheese
- Microwave Mac and Cheese (like Easy Mac, but so much better!)
Instant Pot Mac and Cheese

Ingredients
- 16 ounces uncooked elbow macaroni (whole wheat macaroni works well, too)
- 4 cups water
- 1 tablespoon kosher salt
- 1 can (12 ounces) evaporated milk (shake well before opening)
- ½ teaspoon ground dry mustard
- ¼ teaspoon garlic powder, optional
- 3 cups shredded sharp cheddar cheese (see note)
- ½ cup shredded Parmesan cheese
- coarsely ground black pepper, to taste
Instructions
- Add macaroni, water, and salt to the Instant Pot and stir, making sure that all macaroni is submerged in the water.16 ounces uncooked elbow macaroni, 4 cups water, 1 tablespoon kosher salt
- Secure lid of Instant Pot, making sure valve is turned to seal. Set on Pressure Cook (or Manual high pressure, depending on your model) for 4 minutes. It will take about 15 minutes to come to pressure.
- When cooking has finished, quick release pressure (see note). When valve lowers, carefully remove cover and stir in evaporated milk, mustard powder, and garlic powder if using.1 can (12 ounces) evaporated milk, ½ teaspoon ground dry mustard, ¼ teaspoon garlic powder, optional
- One cup at a time, stir in cheddar and Parmesan cheese. Taste and season with ground black pepper, as desired.3 cups shredded sharp cheddar cheese, ½ cup shredded Parmesan cheese
- Serve immediately.
Notes
- Shredded cheese: I prefer to grate my own cheddar cheese. I find it yields a smoother, velvety result. (Plus it’s cheaper!). I have used pre-grated, though, and it also works. It doesn’t stay quite as smooth as it cools, though.
- Doing a quick release: The valve tends to sputter a little when you release the pressure. You can place a towel over the valve to prevent a mess. Just be careful when removing towel because it may be hot.
- Baking instructions: Place cooked mac & cheese in greased baking dish. If desired, top with additional cheese, cracker crumbs, or buttered bread crumbs. Bake at 350ºF for 20 to 30 minutes or until golden brown and a little crispy on the top.
Video
Nutrition
Nutrition information is automatically calculated, so should only be used as an approximation.


Thank you for making my thanksgiving cooking a breeze. The kids and grandkids loved it, I added each of their favorite additions after it was done and a bit more cheese. When I have left overs I simply put a couple of pats of unsalted butter and reheat.I am now the grandma that makes the best Mac and cheese on a whim!
I’m so glad to hear it! This comment made me smile. :)
I’m pretty sure it’s gonna taste great, but the consistency is like milk soup. Followed the recipe to the letter, then added another cup and a half of cheese to thicken more. Very soupy.
Hmm, I haven’t had that experience. It thickens up quickly after you add the cheese. How did it end up turning out?
Delicious!
Thank you so much!
Oooooh, super intrigued by this recipe! Question — which size can of evaporated milk? Because it comes in the larger 12 ounce cans, and also the smaller ones (that I think are 5 ounces)? I’m guessing you mean the 12 ounce, but just wanted to be sure…
Yes! Thank you for pointing out that omission. I have revised the recipe to reflect this, but yup…12 ounce can!
Can I substitute the evaporated milk for 2% milk?
I haven’t tested it that way, but let me know if you give it a try!
sounds yummy. I would add a little bit of paprika, but that’s just me.