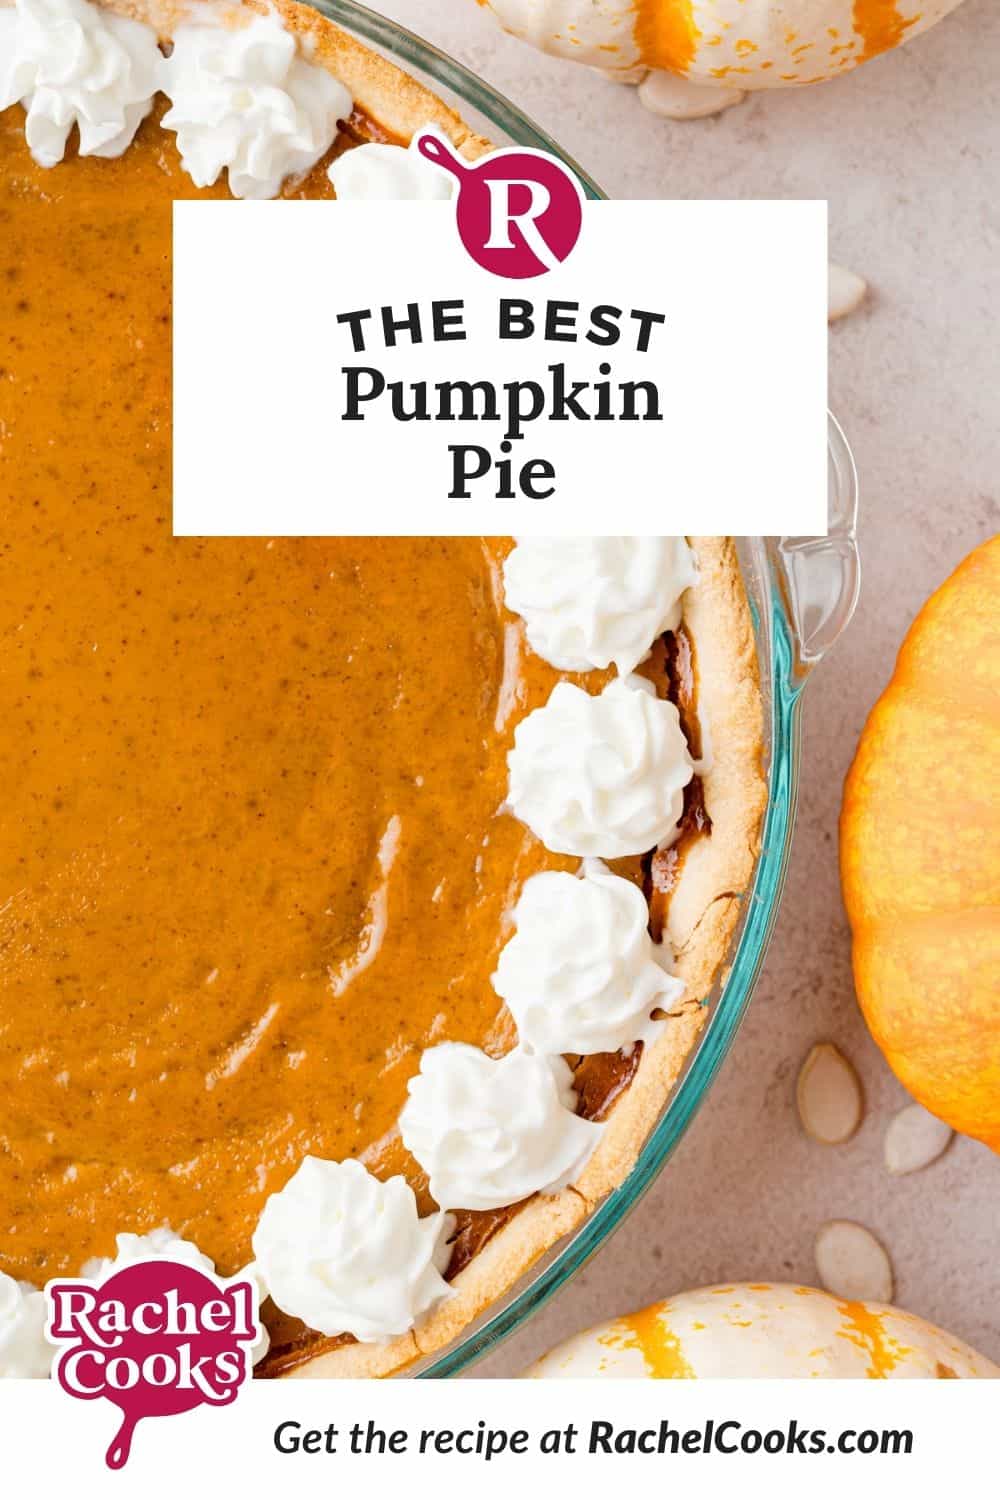
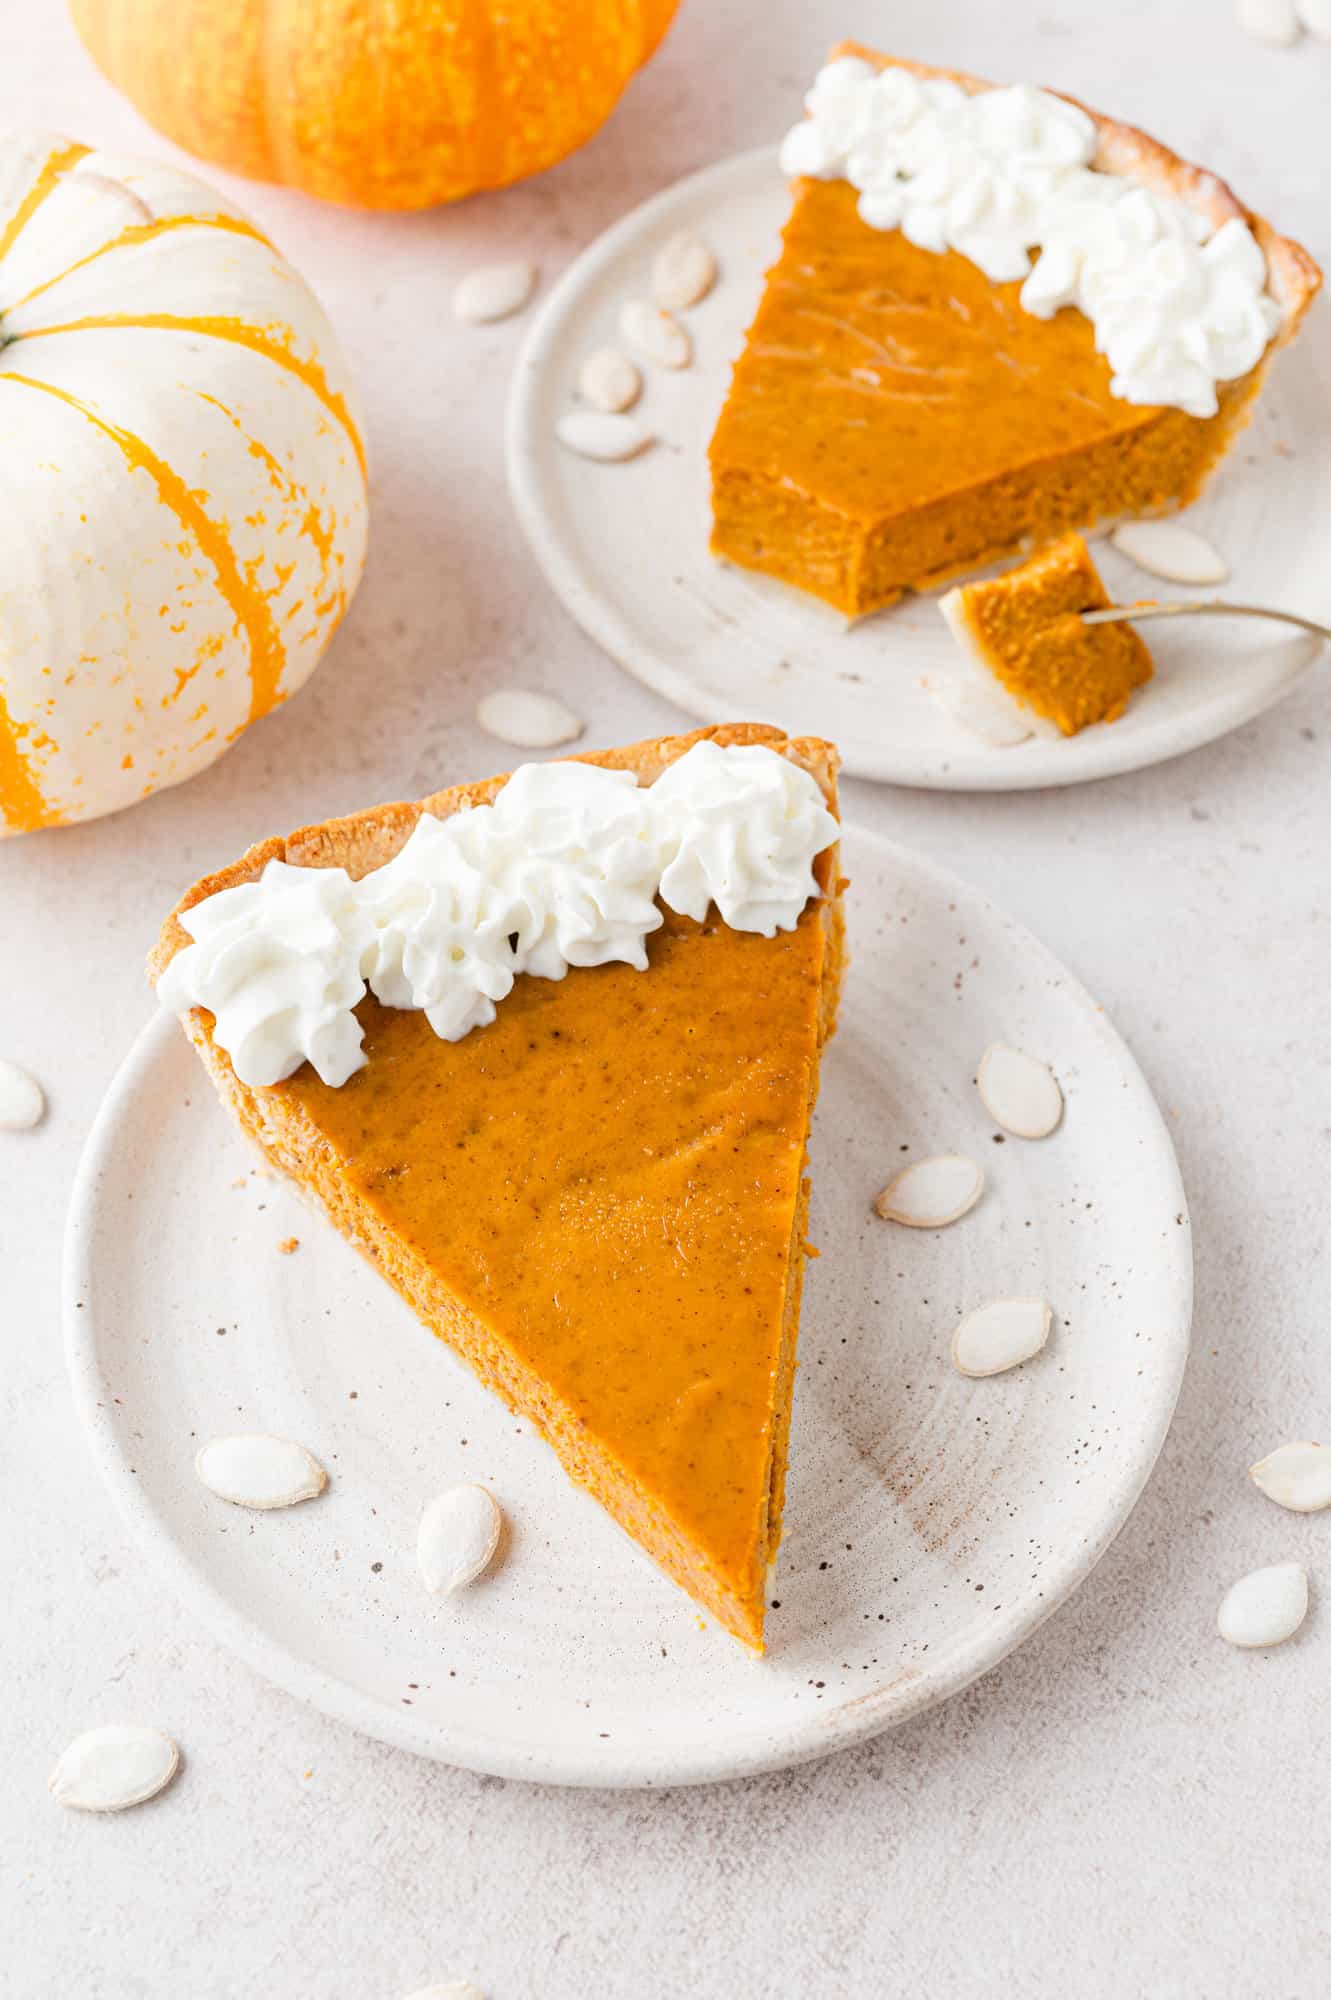
Homemade pumpkin pie is a Thanksgiving staple but this recipe is so simple, you’ll be tempted to make it all year long! With perfectly spiced pumpkin filling baked into a flaky crust, this pie is so much better than store-bought.
Recipe Overview
Why you’ll love it: Pumpkin pie is a holiday classic but if you really want to have your guests running to the table, you can’t do any better than this homemade pumpkin pie recipe.
How long it takes: 10 minutes of prep time, plus an hour of baking; allow 2 hours to cool the pie before serving
Equipment you’ll need: Pie plate, whisk, mixing bowl
Servings: 8
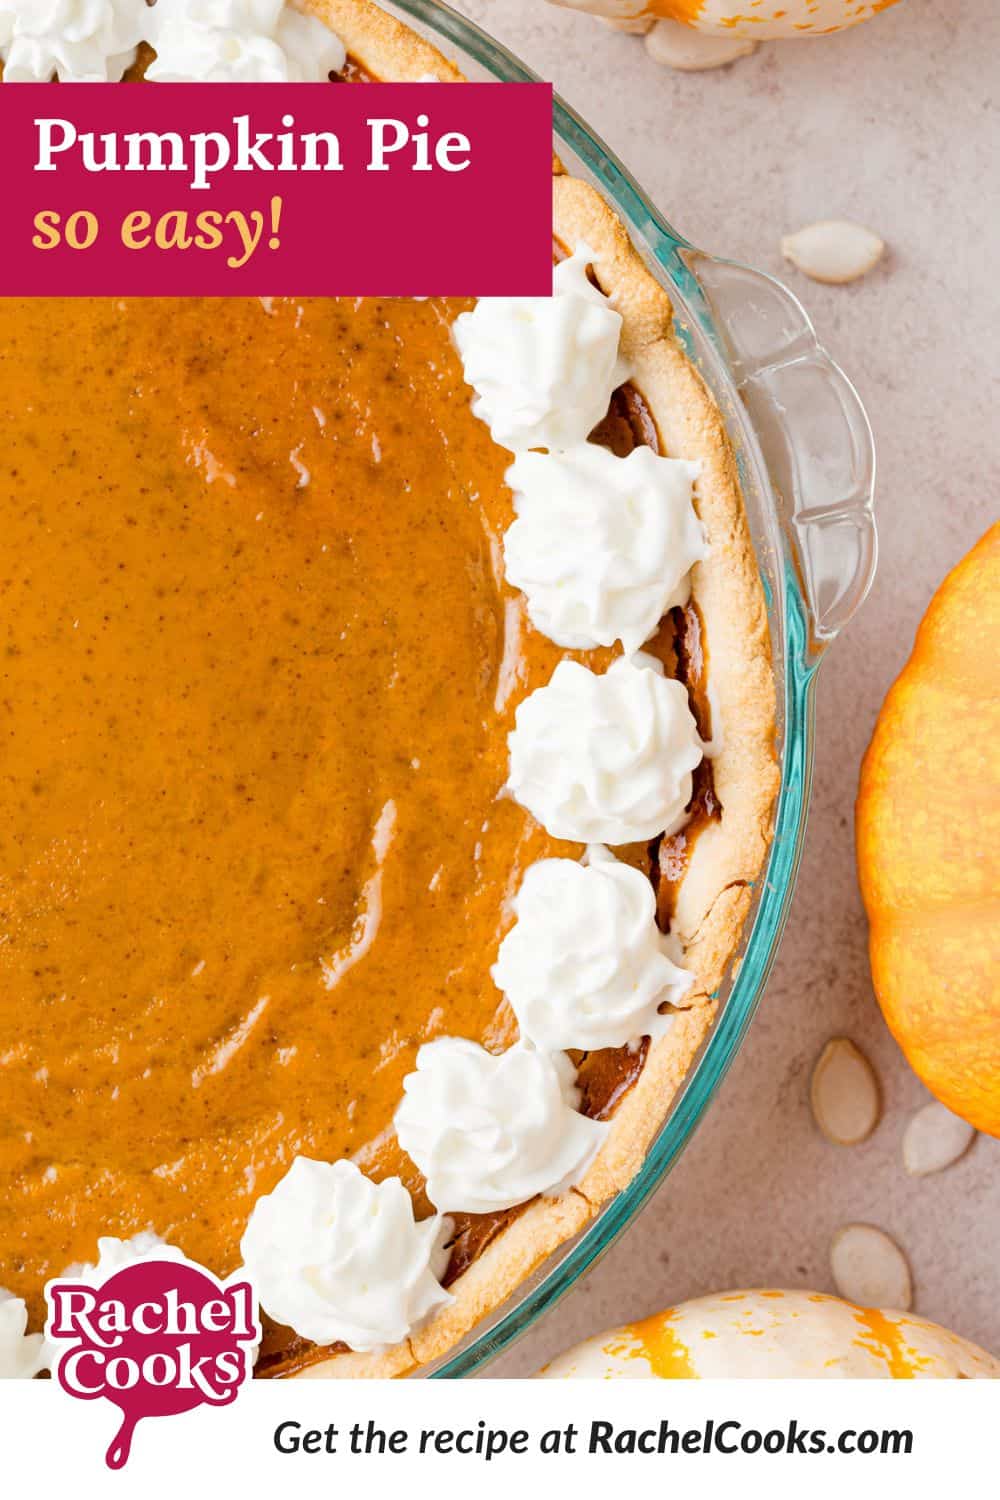
This pumpkin pie recipe is a cinch to whip up. Start with your favorite pie crust or a refrigerated crust, and then it’s just a matter of whisking together the filling ingredients. No special equipment needed, not even a mixer!
About this Homemade Pumpkin Pie
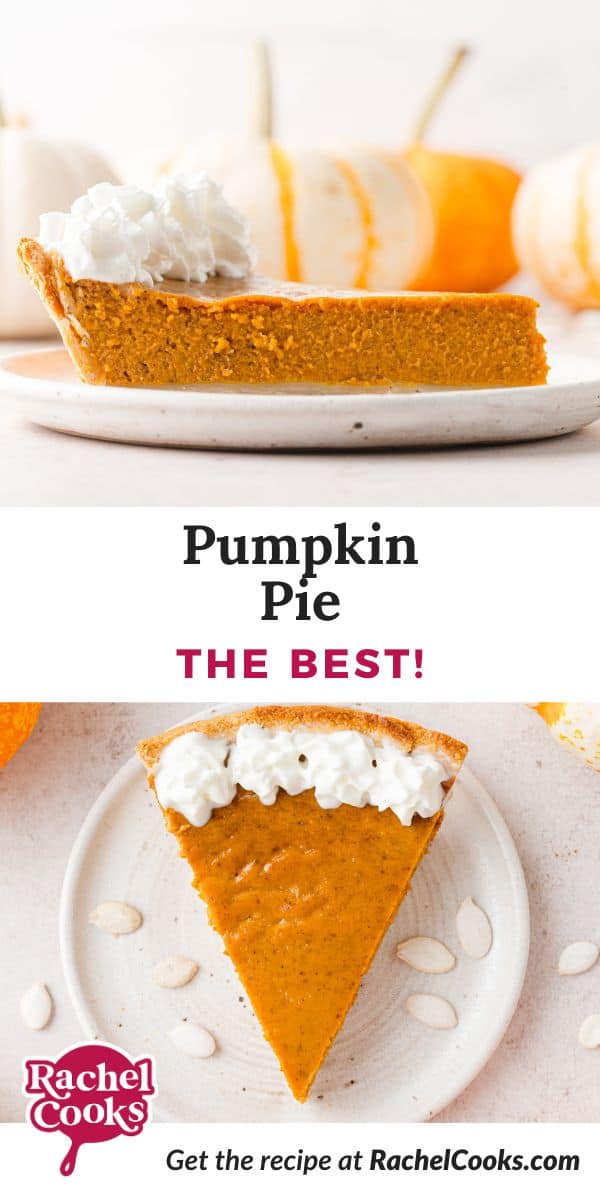
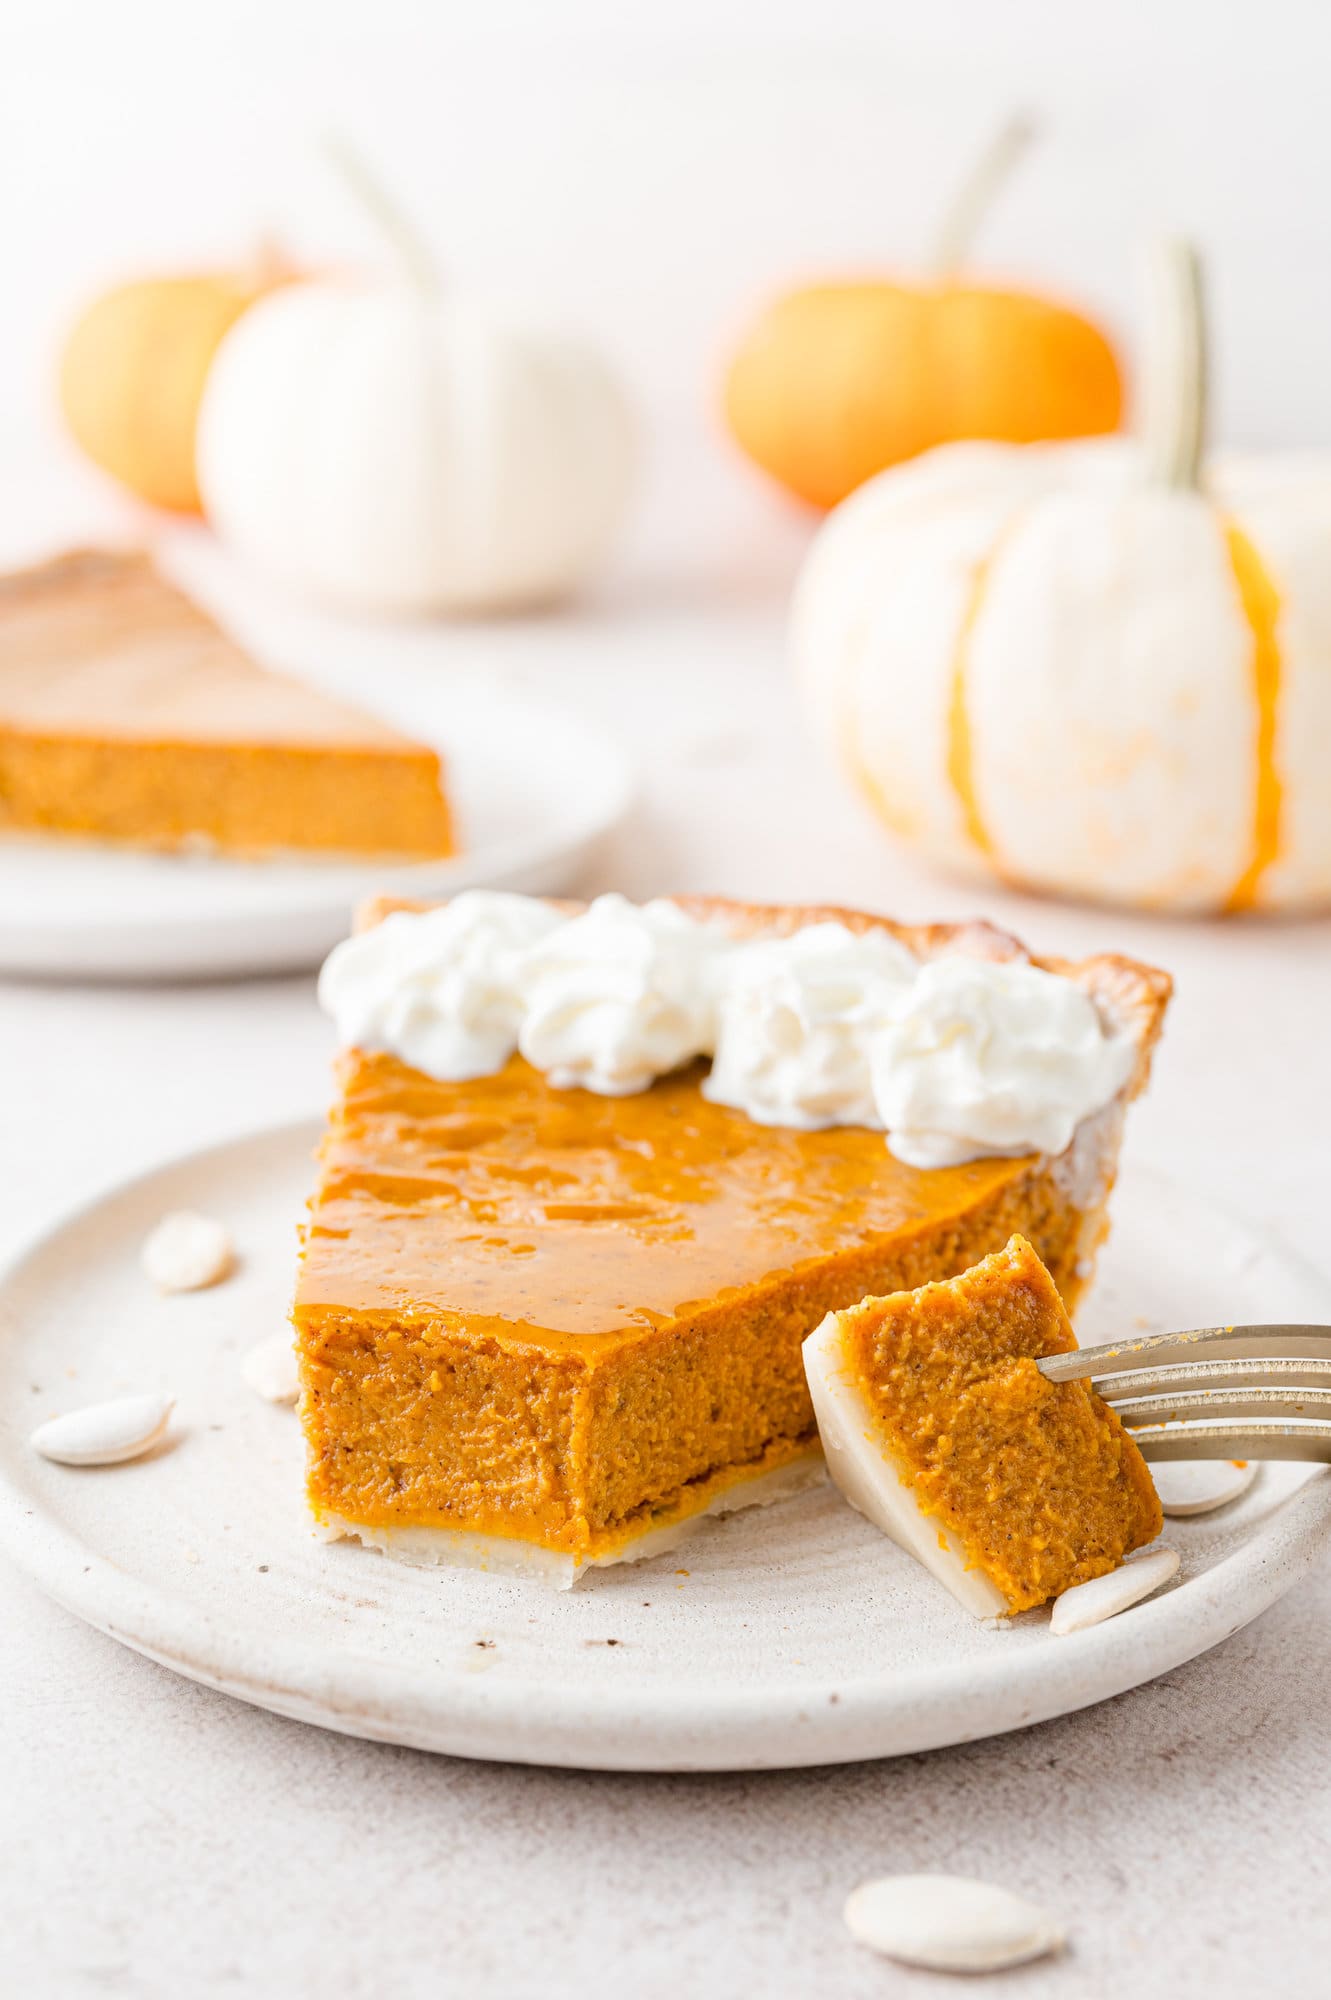
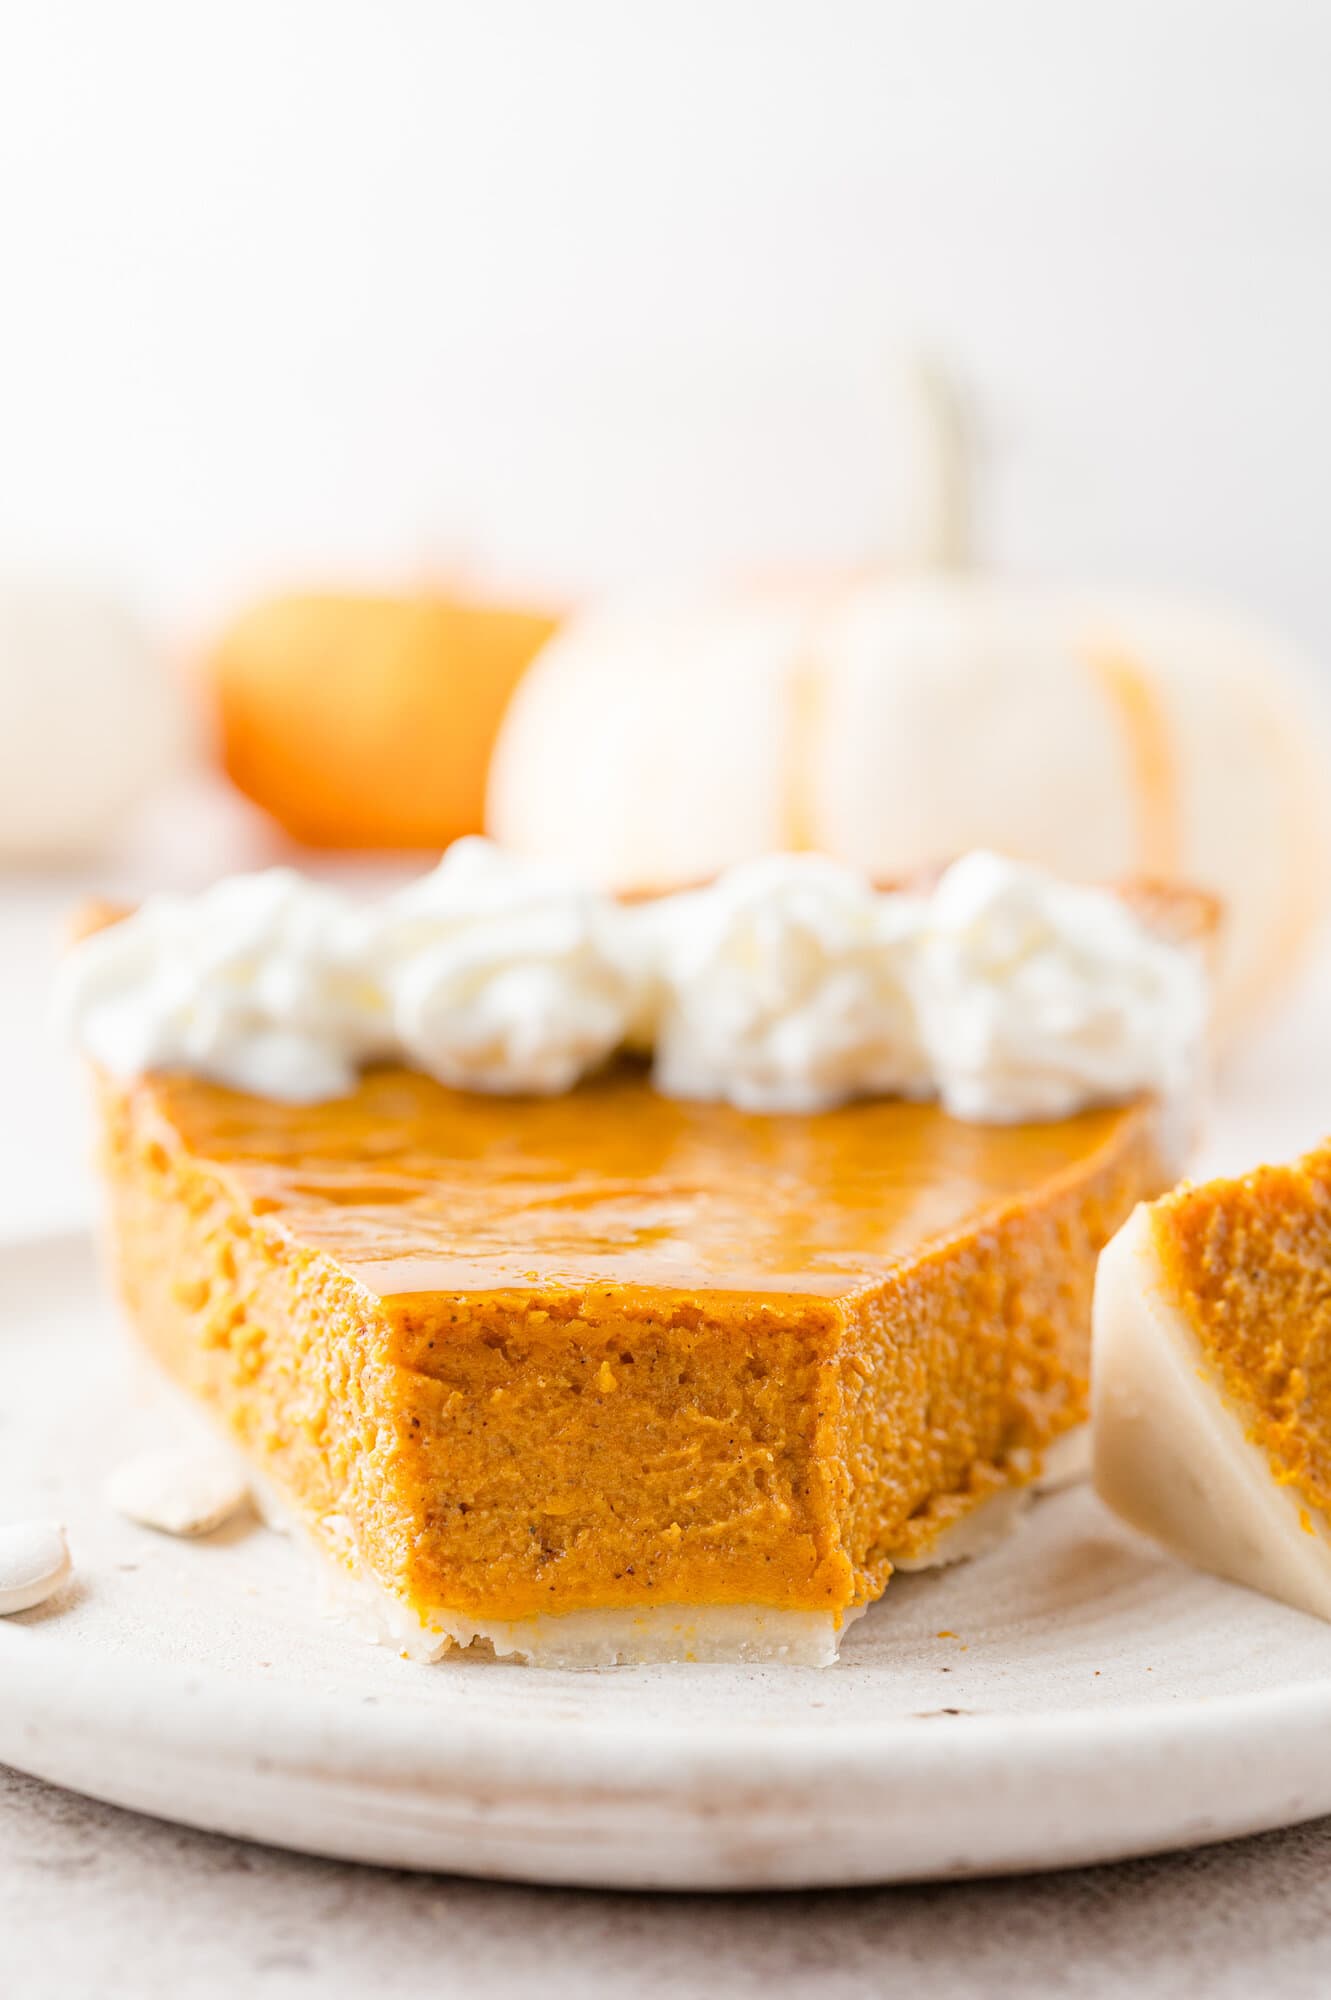
- Perfect custard texture. Homemade pumpkin pies have a texture that’s almost… bouncy, for lack of a better word. (You know what I mean, right?!) That’s because the filling is custard-based. A lot of grocery store pies are formulated for an extended shelf-life and the texture suffers as a result.
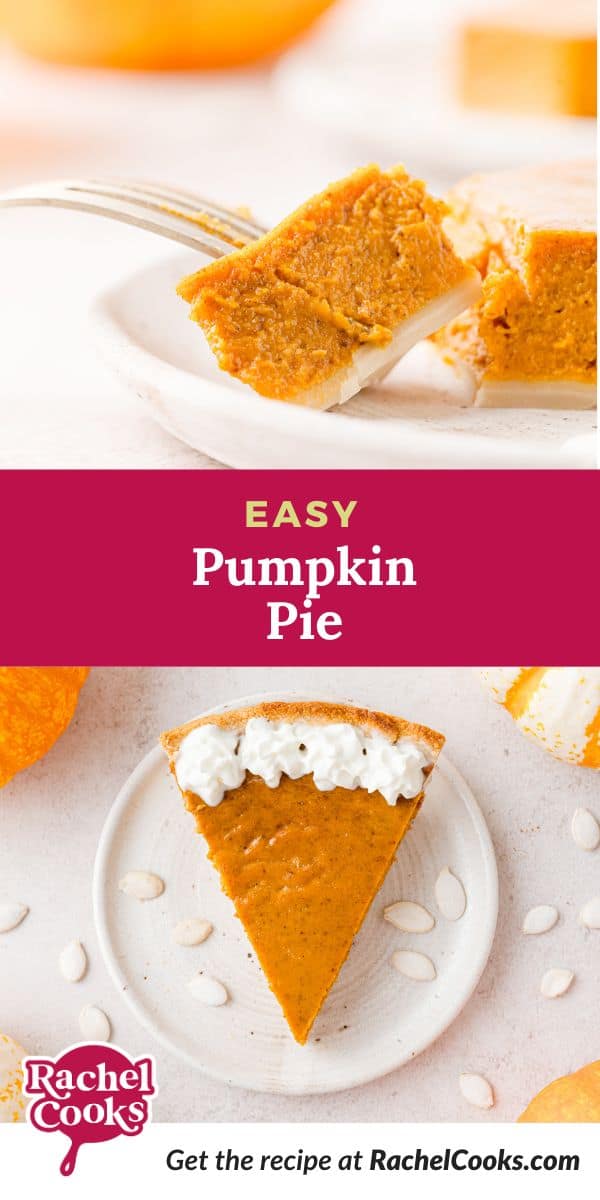
- Easy to make. It takes just 10 minutes of effort to make this pumpkin pie if you use store-bought crust. Which means you’ll still have plenty of time to make mashed red potatoes, cranberry sauce, stuffing, sweet potato casserole, and all your other favorite Thanksgiving recipes.
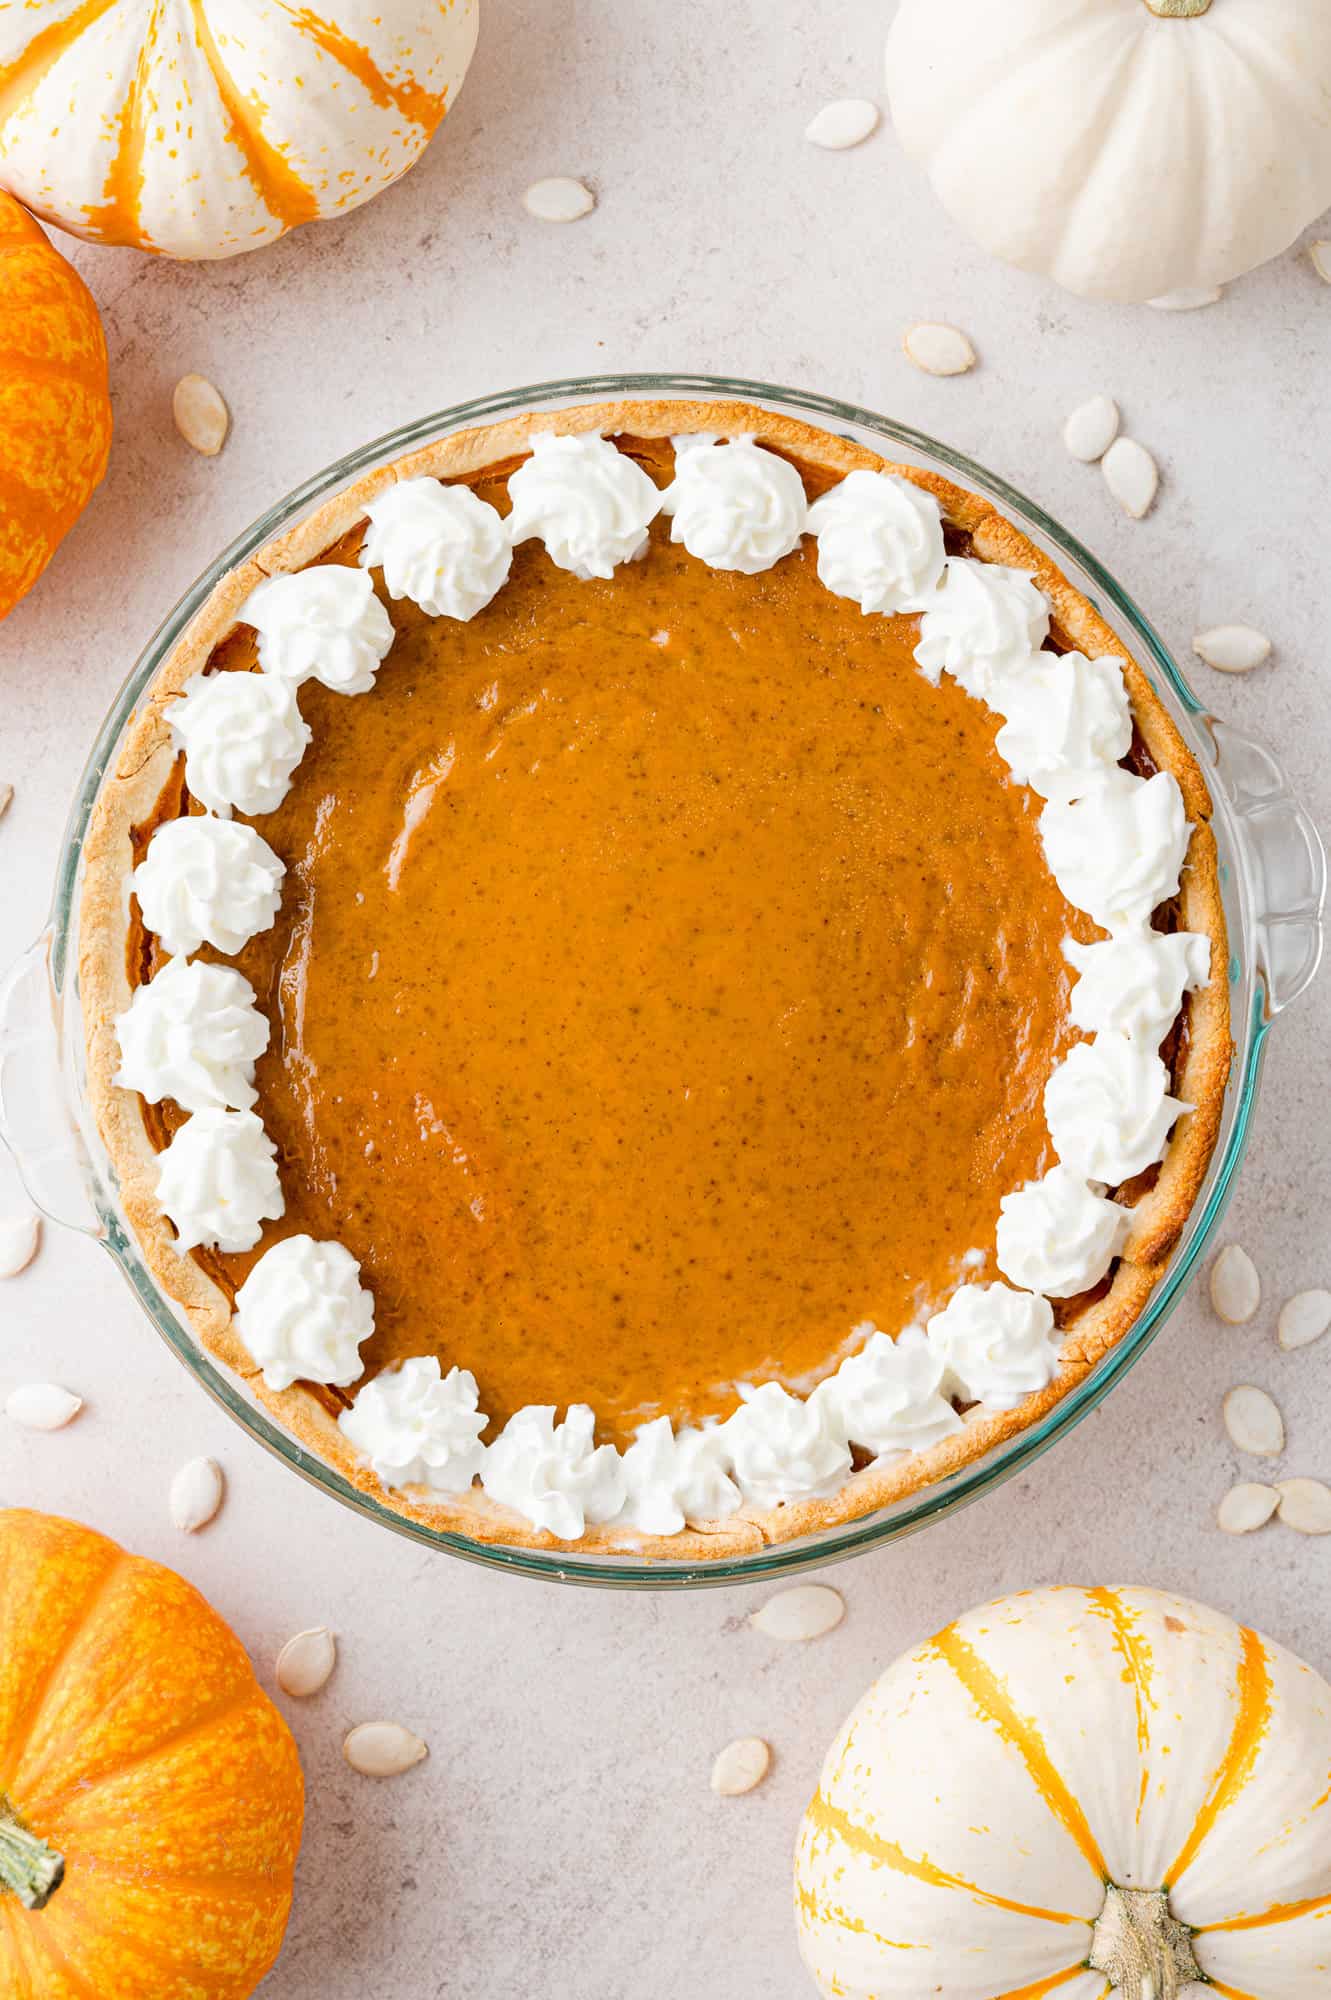
- A Thanksgiving staple. Is it even possible to end Thanksgiving dinner without a slice of pumpkin pie and a dollop of whipped cream? I don’t think so! This is your quintessential pumpkin pie recipe—nothing experimental or weird here, just a classic, old-fashioned homemade pie. (But if you do want to switch things up, I’ve got some ideas later in this post!)
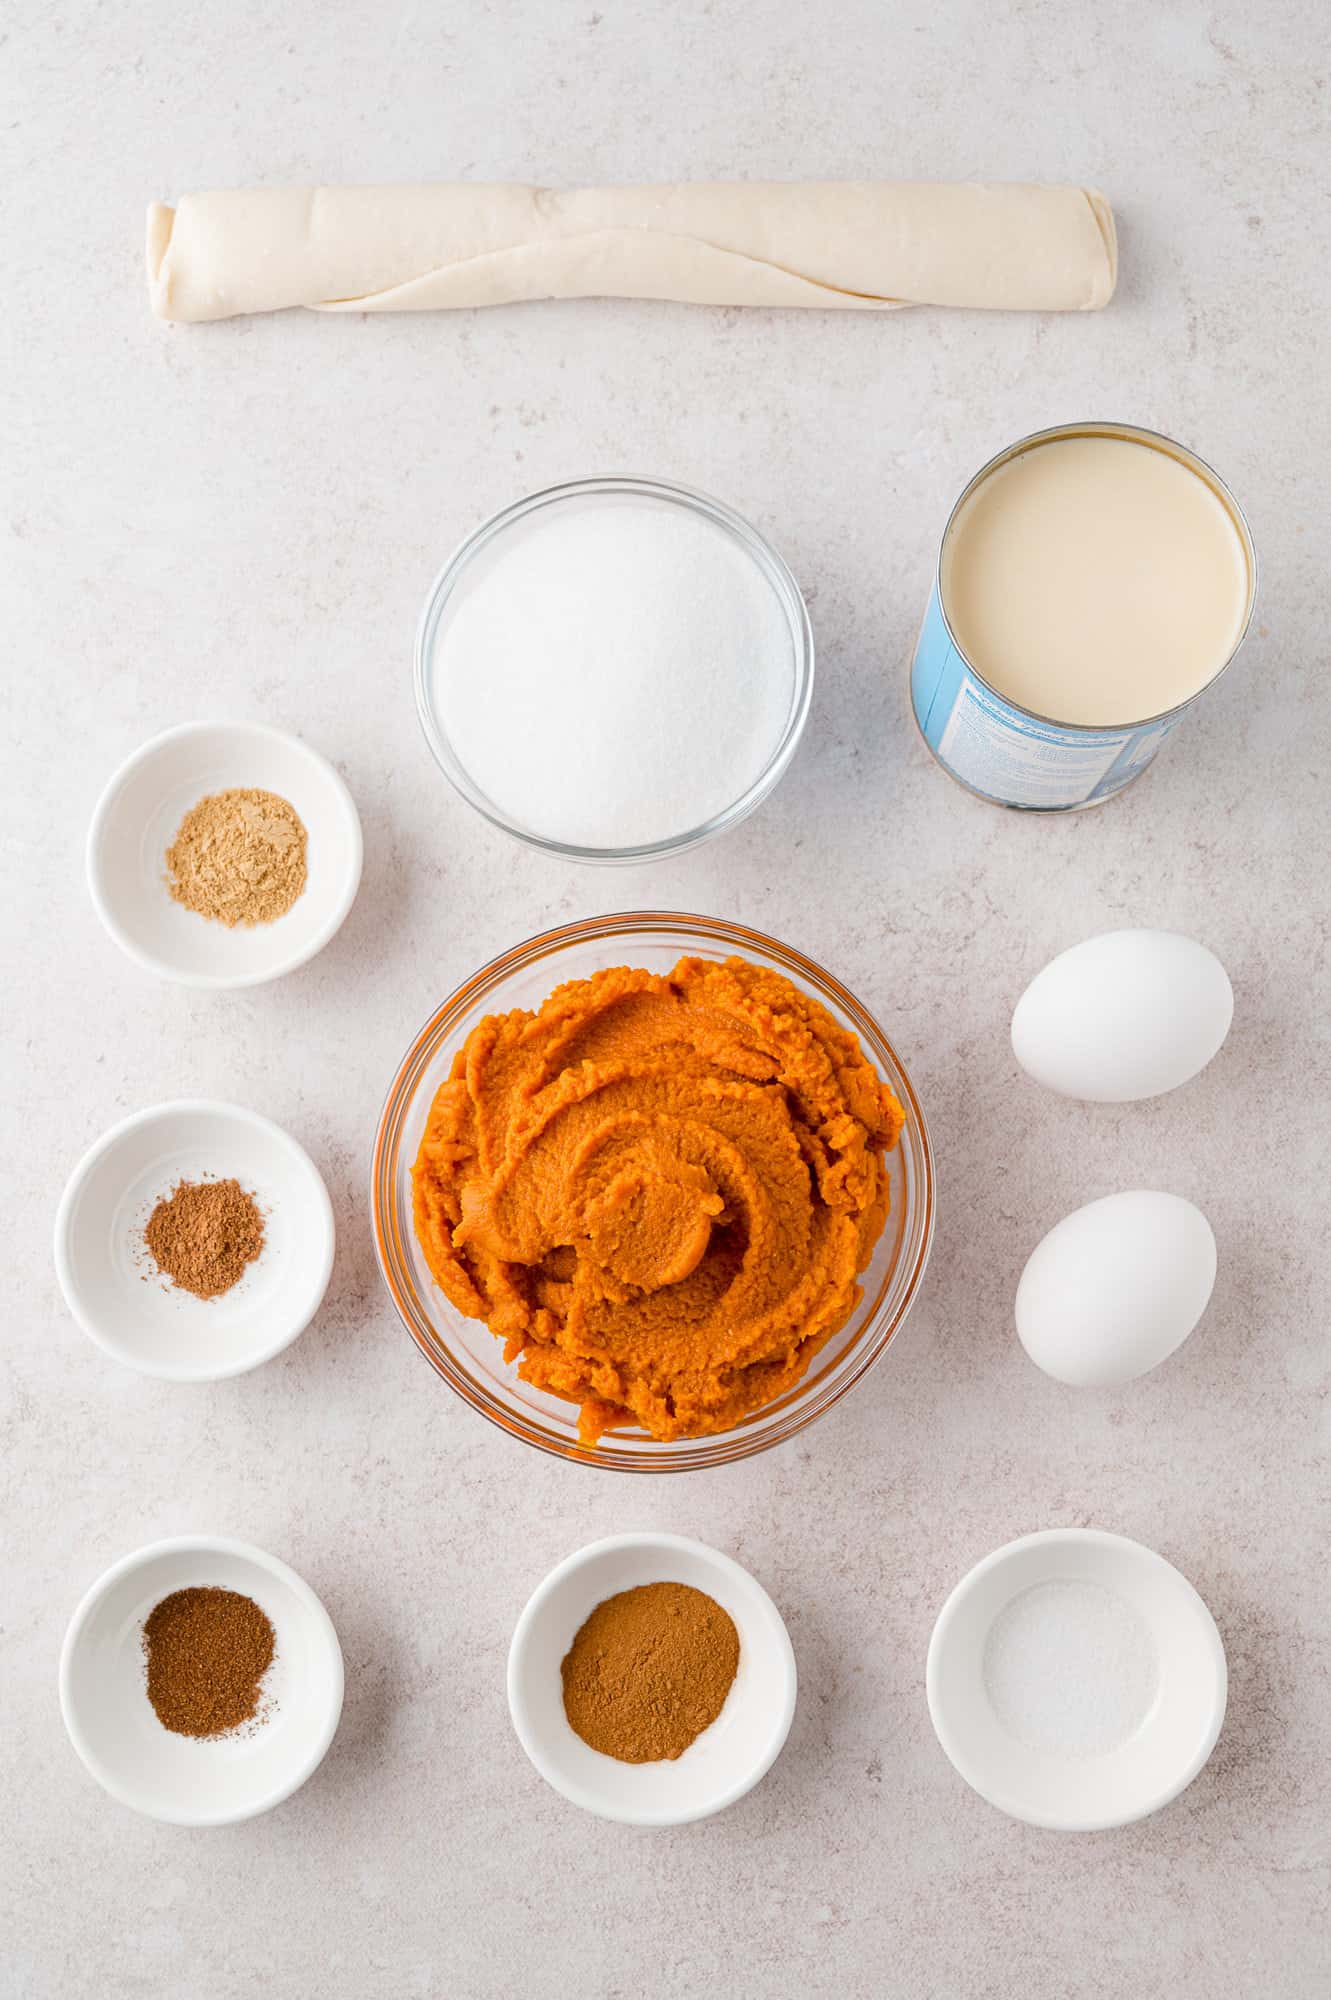
Ingredients You’ll need
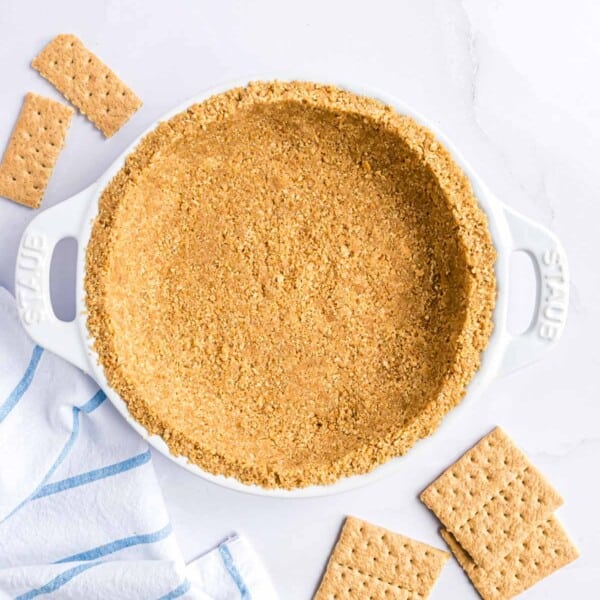
- Pie Crust – Either store-bought or your favorite homemade crust.
- Eggs – The filling of pumpkin pie is a custard, which means you’ll need eggs.
- Pure Pumpkin Purée – Make sure you don’t buy pumpkin pie mix! It’s often sold right next to the cans of 100% pumpkin purée, but pumpkin pie mix has spices and sweetener added.
- Granulated Sugar – Pumpkin has some natural sweetness, but not enough to carry a dessert.
- Spices – Ground cinnamon, ginger, nutmeg, and cloves bring all the coziness. If you prefer, substitute homemade pumpkin pie spice.
- Salt – In a sweet recipe like this homemade pumpkin pie, salt brings a little balance and enhances the overall flavor.
- Evaporated Milk – Not to be confused with condensed milk, which is sweetened.
- Whipped Cream – Use store-bought or go the extra mile and make your own. (Or go the extra-extra mile and make cinnamon whipped cream.)
What If I Can’t Find Pumpkin Purée?
In the past, there have been pumpkin purée shortages right around the holidays. Don’t panic! You can easily substitute canned butternut squash purée instead. You likely won’t even notice a difference in the flavor of your pie since butternut squash is closely related to the pumpkin variety used to make canned purée.
How to make Homemade Pumpkin PIe
Preheat your oven to 425°F. If you are using a refrigerated pie crust, let it come to room temperature.
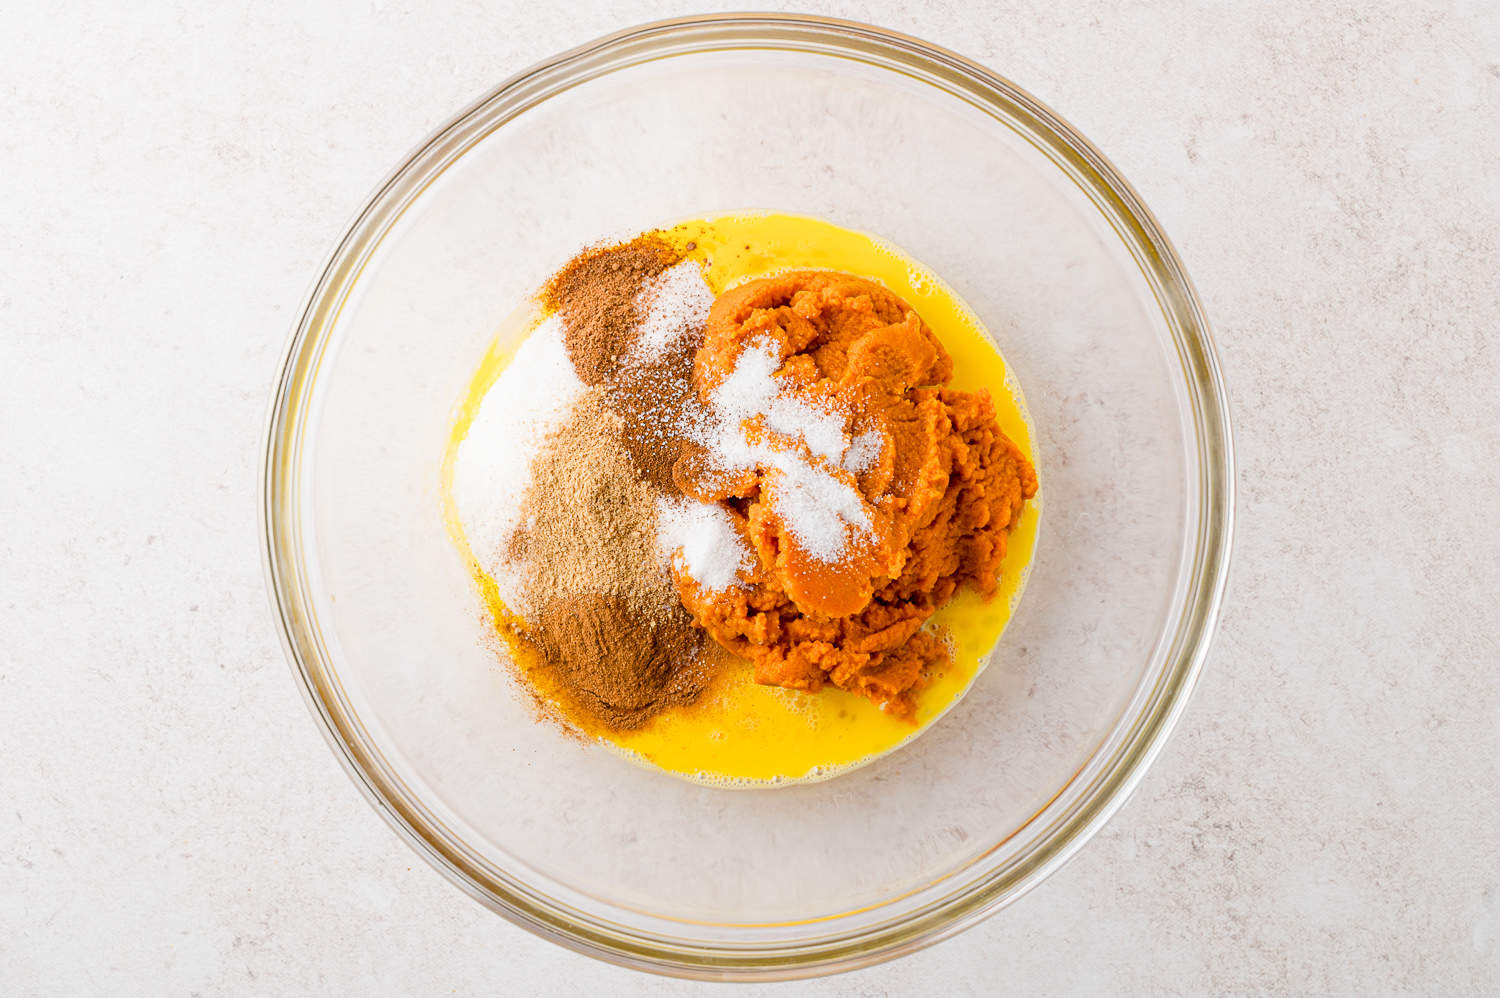
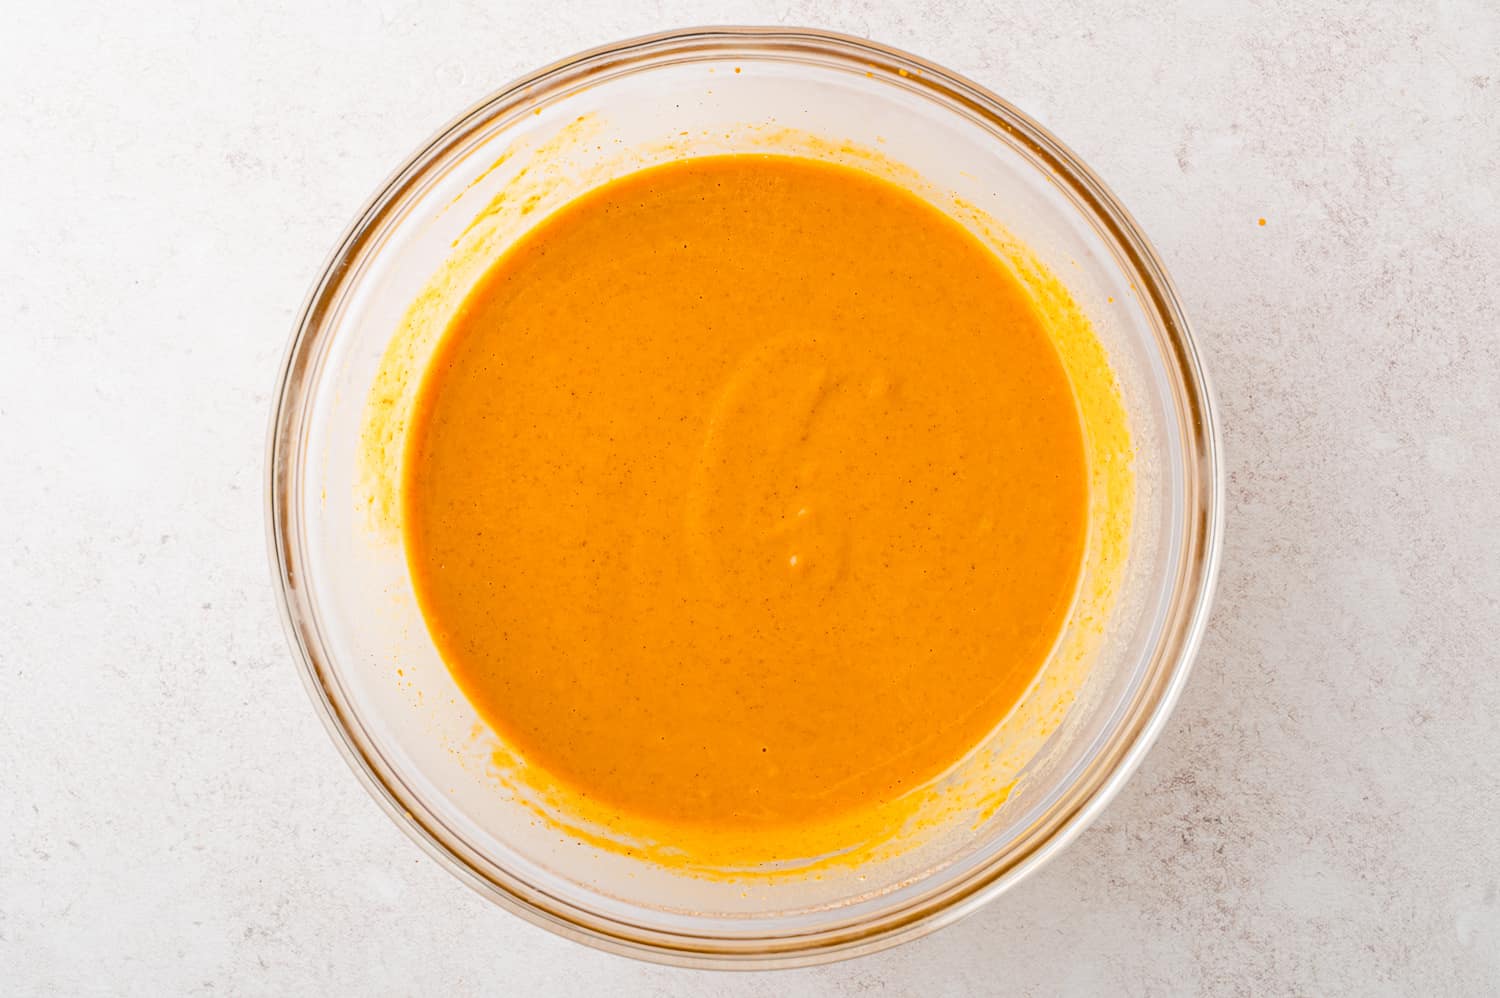
Whisk the eggs in a large mixing bowl until they’re blended, then whisk in the pumpkin purée, sugar, spices, and salt.

Stir in the evaporated milk and continue to stir until the filling mixture is smooth and blended completely.
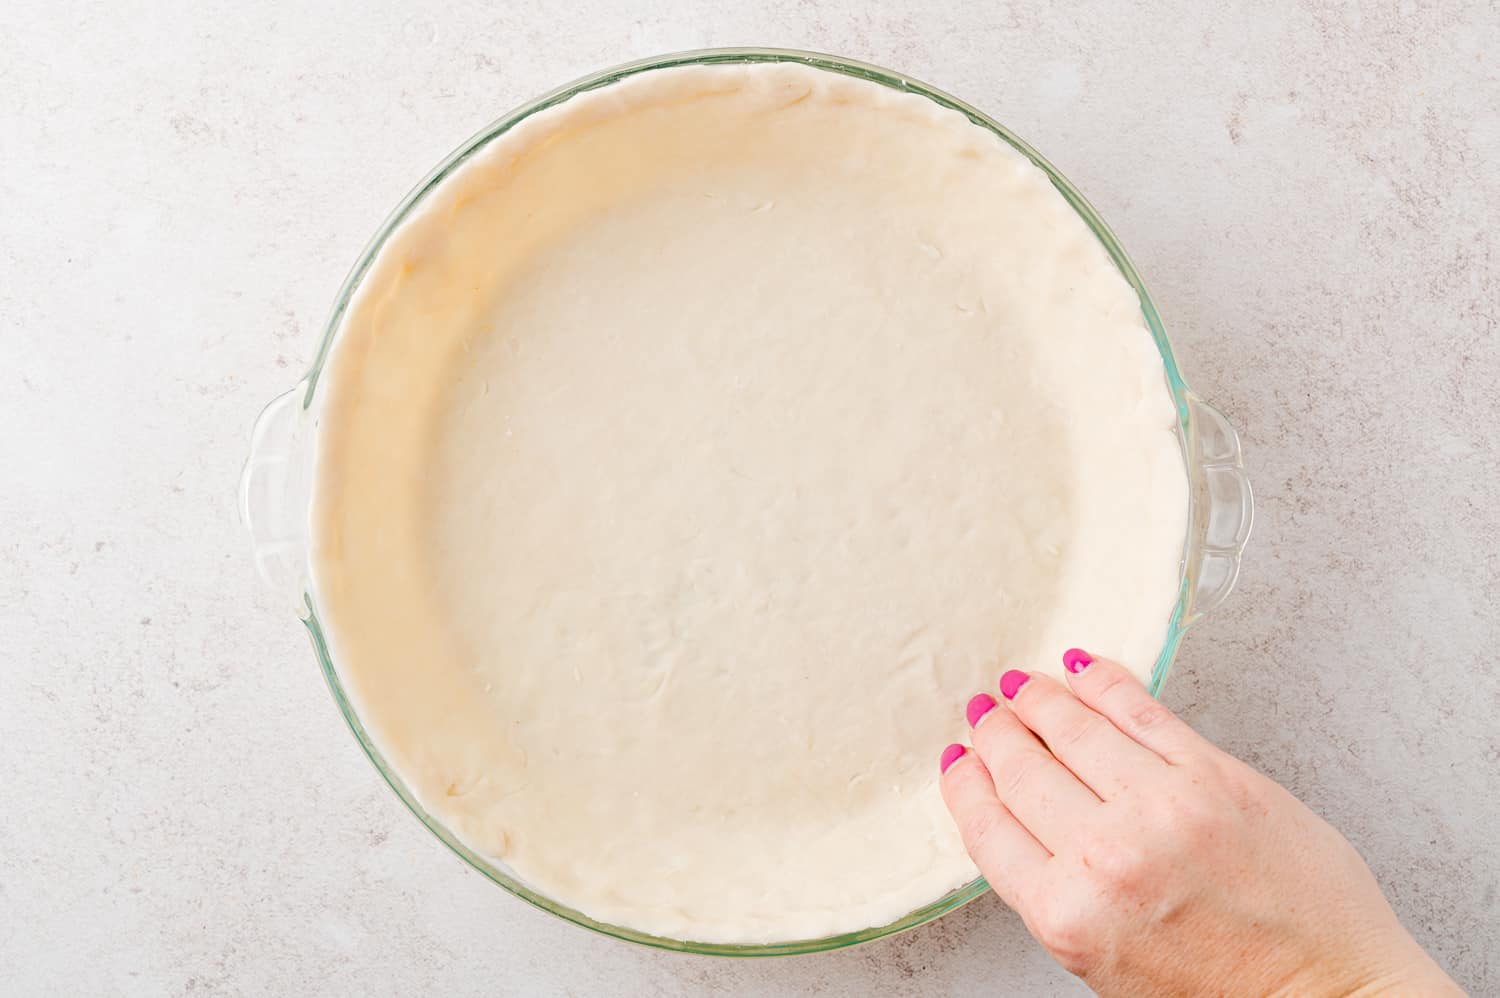
Press the pie crust into a pie dish, then place the dish on a baking sheet. Pour the filling into the crust.

Bake for 15 minutes at 425°F, then reduce the oven temperature to 350°F and continue baking for another 45 to 55 minutes. When the pie is done, the filling will be set and a knife inserted into the center will come out clean.
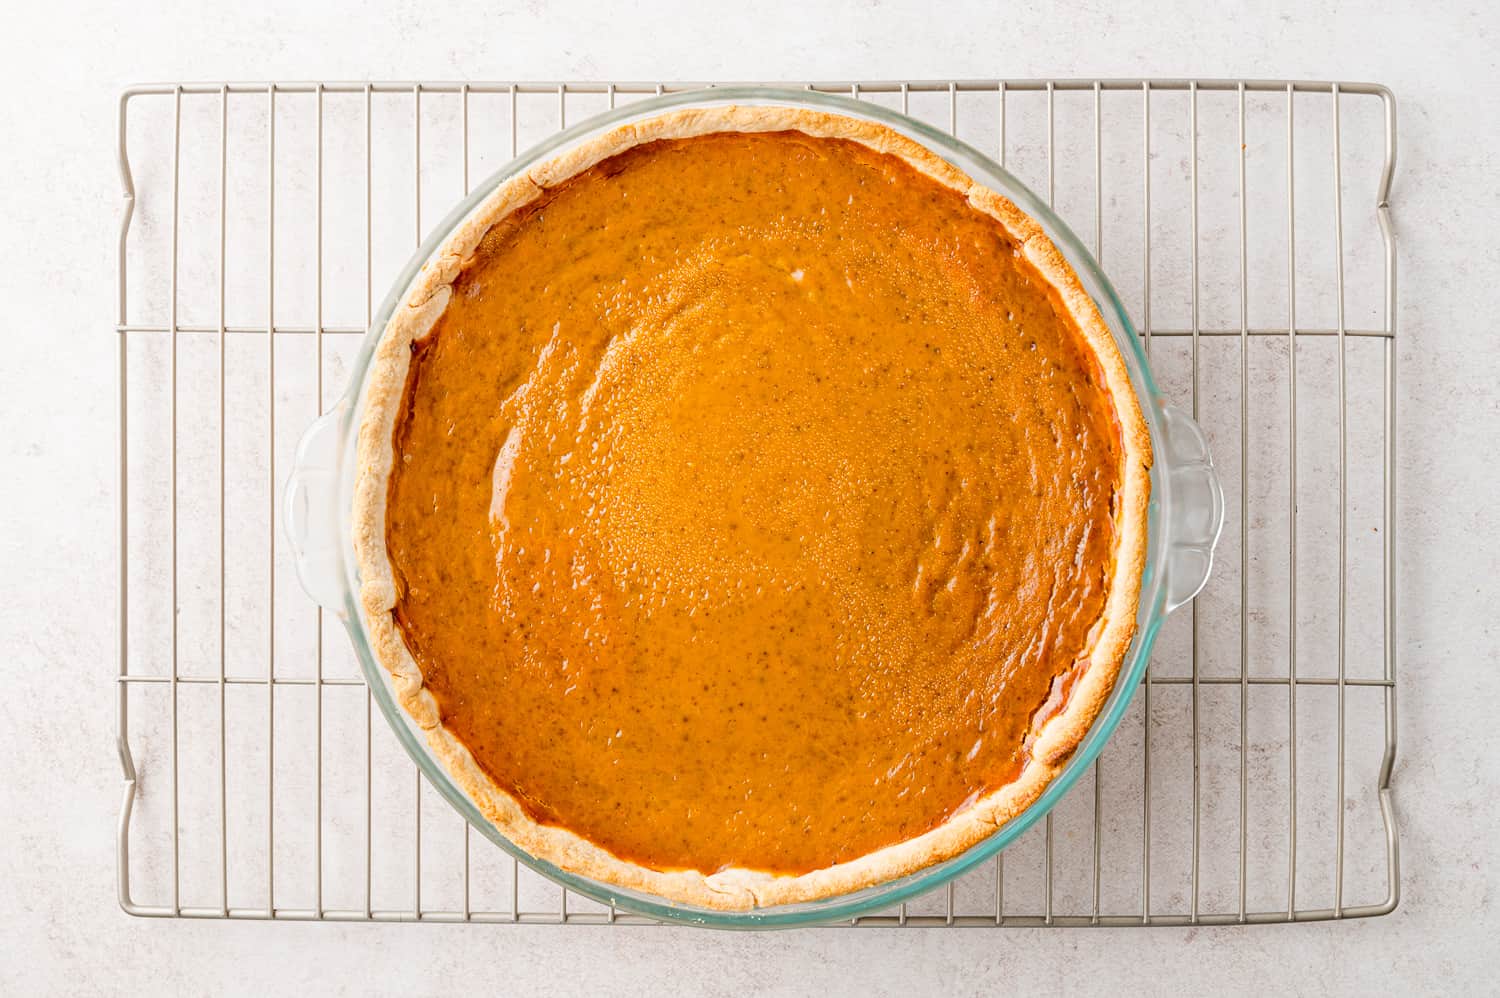
Cool the pie on a wire rack for two hours, then serve immediately or refrigerate.
Pumpkin pie is best enjoyed at room temperature or chilled. While you can eat it warm, the filling is more likely to ooze and run.
Condensed milk is sweetened, so a pumpkin pie made with condensed milk doesn’t usually need sugar (or it needs much less). Evaporated milk is unsweetened, so pumpkin pie made with it will have added sugar.
Homemade pumpkin pie should not be left out overnight. It can be left at room temperature for up to two hours and after that, it should be refrigerated.
Changes You Can Make
- Add crunch. Candied pecans, walnuts, or pepitas add a nice contrasting texture to creamy pumpkin pie. Sprinkle them on right before serving. My pumpkin pie with streusel topping is another delicious option.
- Make it crustless. Although you probably wouldn’t want to do this on Thanksgiving Day, if you want a lightened up pumpkin pie, you can make it without the crust—just like crustless quiche! It’s still sliceable and delicious, with fewer calories and carbs.
- Use fresh pumpkin. You can make your own pumpkin puree by roasting a sugar pumpkin and puréeing it. I recommend letting the liquid drain off in a sieve lined with a cheesecloth, which better mimics the thicker consistency of canned pumpkin.
- Create cut-outs for the top. If you make your own crust, or have a spare crust from the package, you can use small cookie cutters to cut out leaves, acorns, pumpkins, and other fall shapes; brush them with an egg wash, sprinkle them with sanding sugar, and bake them separately at 350ºF until they’re golden brown. Place the cut-outs on top of the pie just before serving.
Tips for Success
- Use a high-quality crust. If you’re opting for a store-bought crust, you want to choose a good one! While the pumpkin filling is the star of the show, the crust is a key supporting player, so you want it to be buttery and flaky.
- Let it cool before cutting. Pumpkin pie is one of those rare baked goods that really isn’t better warm. If you cut into it before cooling, it will ooze all over the plate and the texture won’t be as satisfying.
- Keep an eye on the crust. If you notice the edges are browning too quickly, you can cover the crust with a pie shield or strips of foil.
This homemade pumpkin pie can be made up to 2 days in advance. Simply bake the pie, let it cool completely, and store it covered in the refrigerator until you’re ready to serve.
Leftover homemade pumpkin pie can be stored in an airtight container in the refrigerator for 3 to 4 days. You can also freeze it for up to 3 months; let it thaw in the refrigerator before serving.
Thanksgiving Recipes
Be sure to check out my complete list of Thanksgiving recipes, with everything from turkey to holiday cocktails. I’ve also included a printable planning guide to make your big day a little less stressful.
More Pumpkin Recipes


Homemade Pumpkin Pie Recipe

Ingredients
- 1 refrigerated pie crust, frozen deep dish pie shell, or homemade crust (see note)
- 2 large eggs
- 1 can (15 ounces) pure pumpkin puree (not pumpkin pie mix)
- ¾ cup granulated sugar
- 1 teaspoon ground cinnamon (see note)
- ½ teaspoon ground ginger
- ¼ teaspoon ground nutmeg
- ¼ teaspoon ground cloves
- ½ teaspoon salt
- 1 can (12 ounces) evaporated milk
- whipped cream (for serving, optional)
Instructions
- Preheat oven to 425°F.
- If using a refrigerated pie crust, let it come to room temperature for a few minutes while you prepare the filling.
- In a large mixing bowl, whisk eggs until blended. Add the pumpkin puree, sugar, cinnamon, ginger, nutmeg, cloves, and salt. Whisk until blended. Stir in evaporated milk until until all the ingredients are thoroughly combined and the mixture is smooth.
- Place the pie crust in a 9 inch pie dish or pan, pressing it gently against the bottom and sides of the pie dish.
- Place the pie dish on a baking sheet. Carefully pour the pumpkin filling into the prepared pie crust. If there is too much filling for your pie shell, discard the excess.
- Bake at 425°F for 15 minutes. Then, reduce the oven temperature to 350°F and continue baking for another 45 to 55 minutes, or until the filling is set and a knife inserted into the center of the pie comes out clean.
- Remove the pie from the oven and let it cool completely (at least 2 hours) on a wire rack. The pie will continue to set as it cools. After pie has come to room temperature (two hours), serve immediately or refrigerate until ready to serve.
- Serve with whipped cream if desired.
Notes
- If you buy a frozen pie shell, choose a deep dish shell.
- If desired, substitute 2 teaspoons pumpkin pie spice for the cinnamon, ginger, nutmeg, and cloves.
- Pumpkin pie should be refrigerated. It will keep for up to 4 days, covered with plastic wrap or foil.
Video
Nutrition
Nutrition information is automatically calculated, so should only be used as an approximation.


If you research pumpkin puree products, you will find most are a mix of pumpkin related squash varieties, and most have no actual pumpkin in them. So using a butternut squash or other squash substitute should not hurt the resulting flavor.