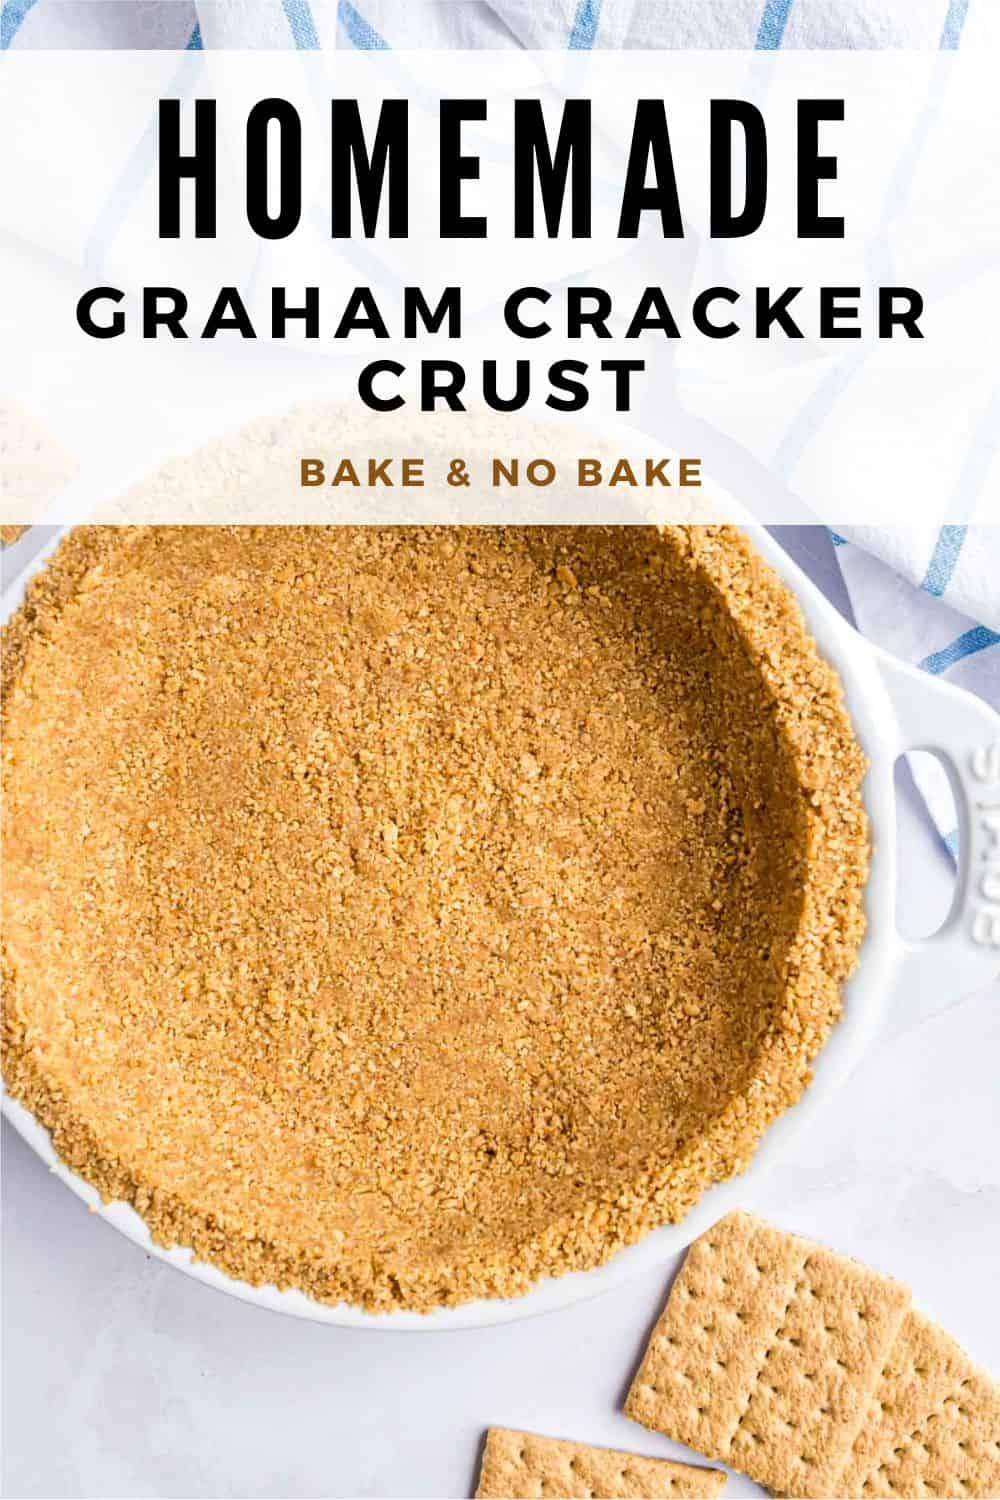
Recipe Overview
Why you’ll love it: Graham cracker crusts are easier to make than pastry crusts. You’ll find that homemade graham cracker crusts are much tastier than store-bought, too!
How long it takes: 10 minutes
Equipment you’ll need: food processor (optional), pie plate
Yield: 1 crust
Comparing pastry pie crust with graham cracker crust is like comparing apples and oranges. Sure, they’re both pie crusts but they each bring a totally different experience to the table.
A regular pie crust is buttery and flaky. Graham cracker crusts are sweet, crumbly, crunchy, and a little more cozy. (They’re also buttery—we really can’t go without the buttery factor in a pie crust, can we?)
Aside from flavor and texture, there’s another big difference between the two: graham cracker crusts are SO much easier! Instead of fussing with cold butter and water, rolling out the dough, trying to lift it from the floured surface and transfer it to the pie dish, a graham cracker crust is just a matter of crushing graham crackers, mixing the ingredients, and pressing it into the pan.
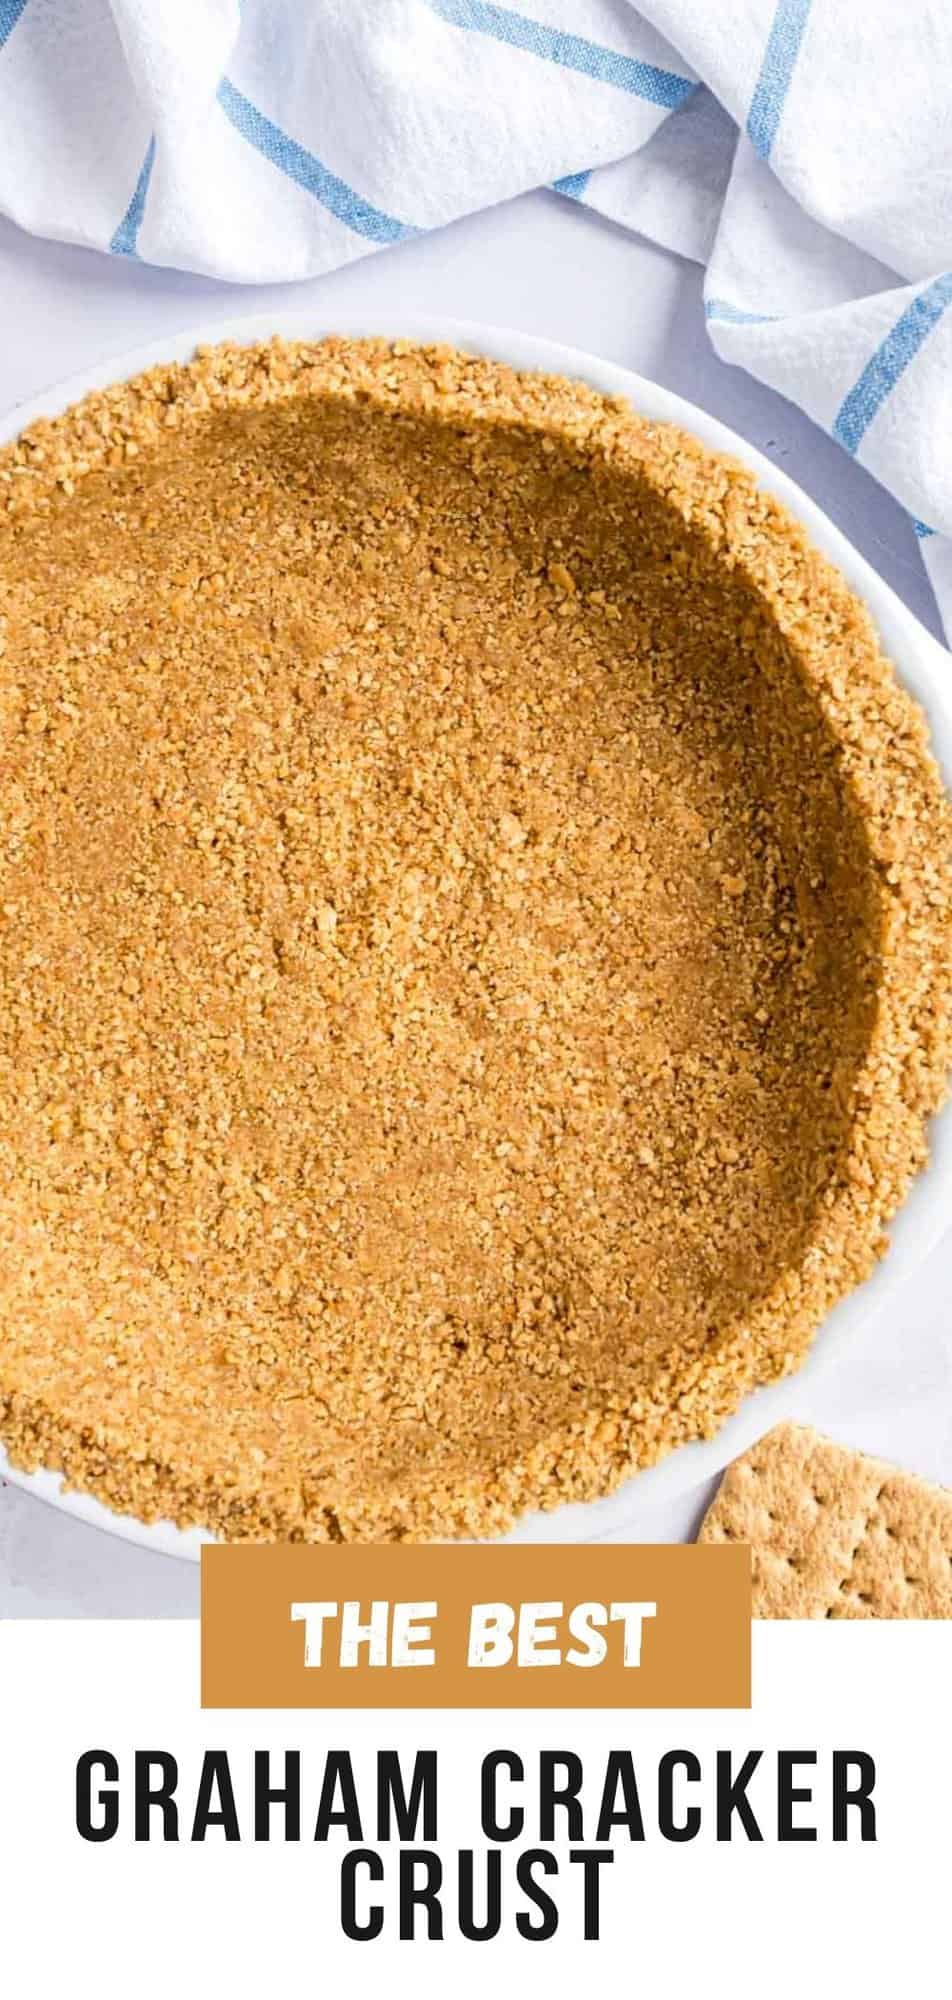
Homemade Graham Cracker Crust
Worth the (minimal) effort. Yes, you could go out and buy a graham cracker crust from the grocery store but DIYing is easy, tastes better, and you don’t have to use a disposable foil pan from the grocery store. Store bought graham cracker crusts typically use hydrogenated oils, such as palm oil or soybean oil, instead of butter, and have added preservatives.
Easy to customize. You can play around with the ingredients and texture (using coarse or finely crushed crumbs). You can add spices or nuts (keep reading for more ideas). It’s easy to create a graham cracker pie crust that’s truly your own.
Versatile. Store-bought graham cracker crusts come in one shape and size, but you can use this recipe for square baking dishes (and grapefruit cheesecake bars!), rectangles, mini pies, whatever!
Ingredient Notes
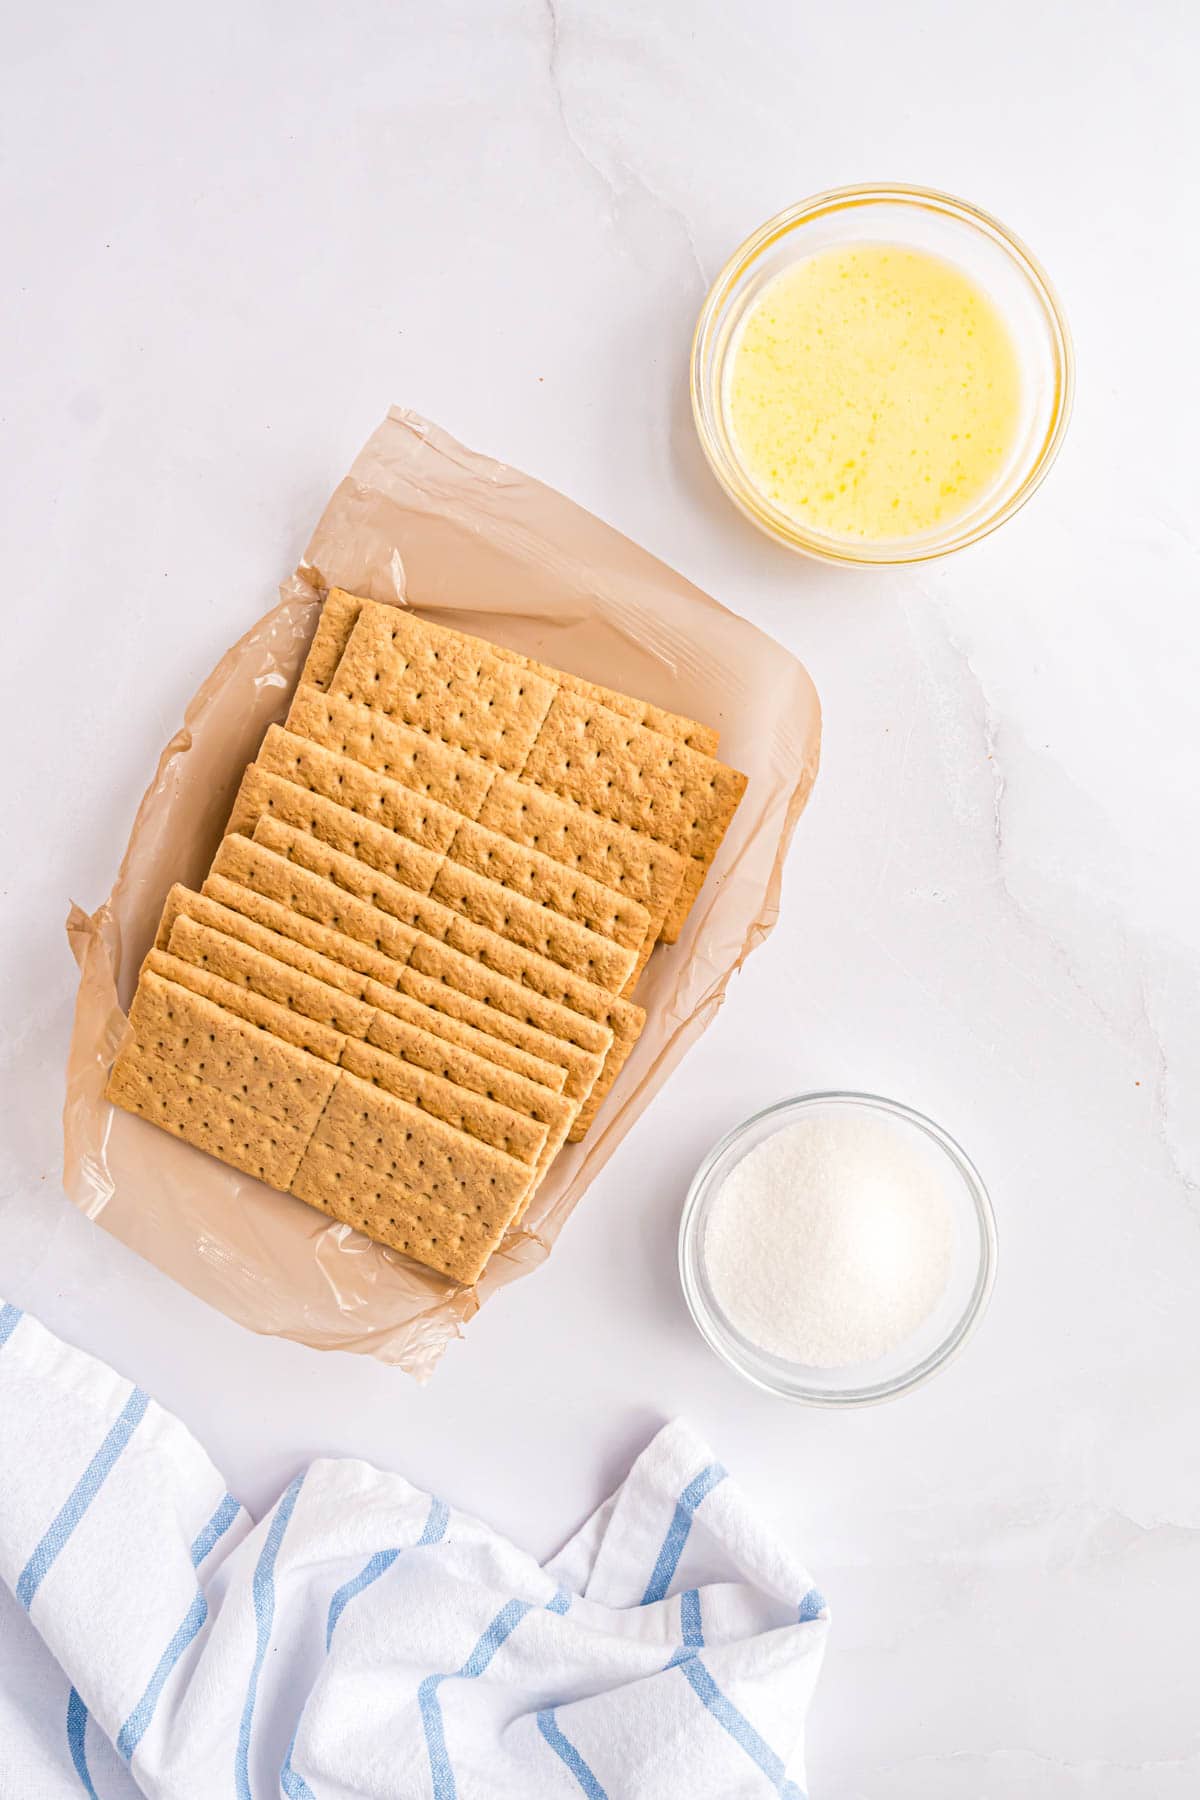
- Graham Cracker Crumbs: You’ll need about 12 full-size rectangle crackers; by that I mean the ones that come in perforated sheets. Honeymaid graham crackers are my favorite; they have better flavor than store brands.
- Granulated Sugar: The sugar helps keep the graham cracker crust together. It’s not just for sweetness! Brown sugar can be substituted for richer flavor, if you like.
- Unsalted Butter: Melt the butter in the microwave or on the stovetop before mixing it with the sugar and crumbs. If you prefer, make this graham cracker crust recipe dairy-free by using a plant-based butter. Make the crust vegan by using a plant-based butter and graham crackers that don’t contain honey.
How To Make A Graham Cracker Crust
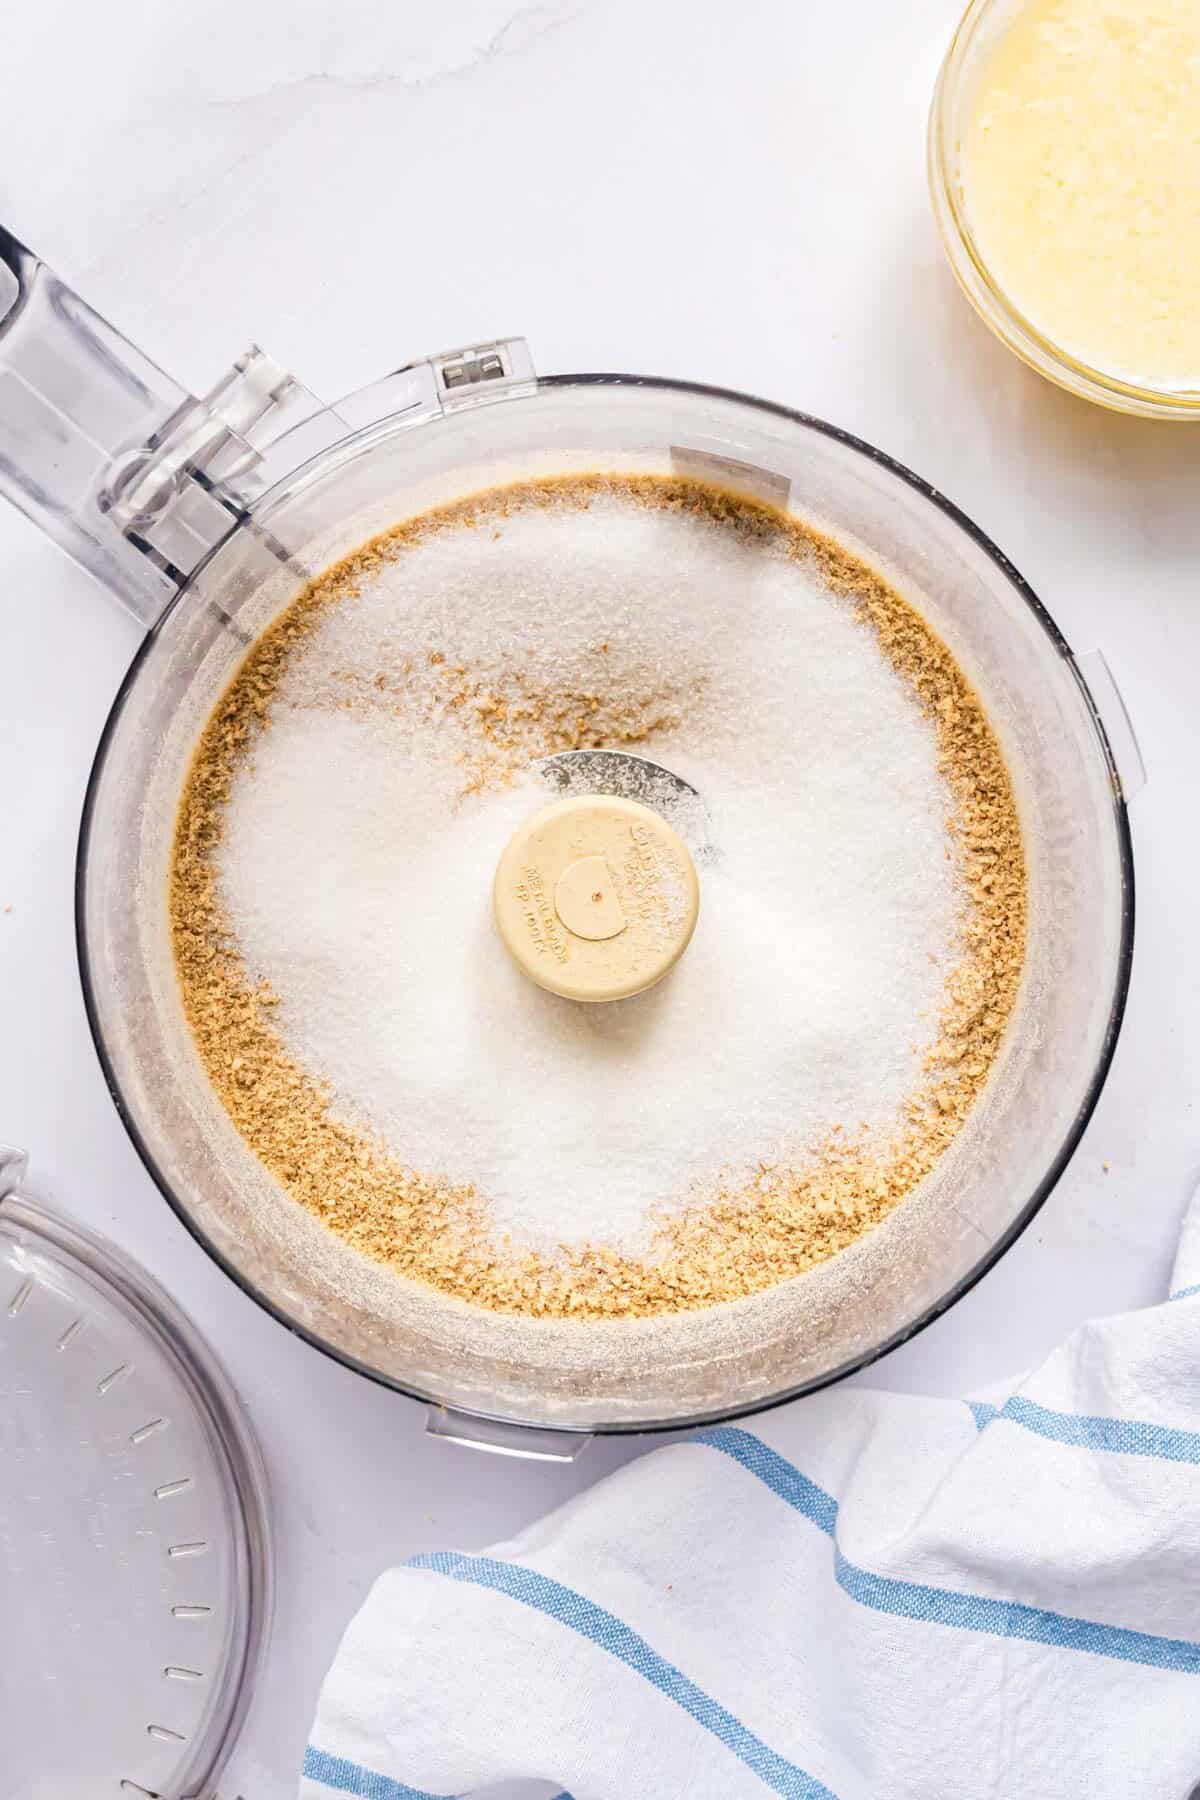
Make the crumbs. Break the graham crackers into large pieces and place them in the bowl of a food processor. Pulse until they form fine crumbs. You want them to be small but not powder. They will not hold together if they’re too chunky or too fine. It’s okay if they’re not all exactly the same size,


Add sugar. Measure the sugar and add it to the bowl of the food processor. Pulse a few times to combine.
Add butter. Pour the melted butter in the food processor and pulse again to blend. Don’t overprocess the mixture. When you pulse the crumbs in the food processor, the butter should be mixed in well enough to change the color of the crumbs from light brown to medium brown. It should hold together when you press it with your fingers. Some crumbs may still be a little dry, and that’s okay.

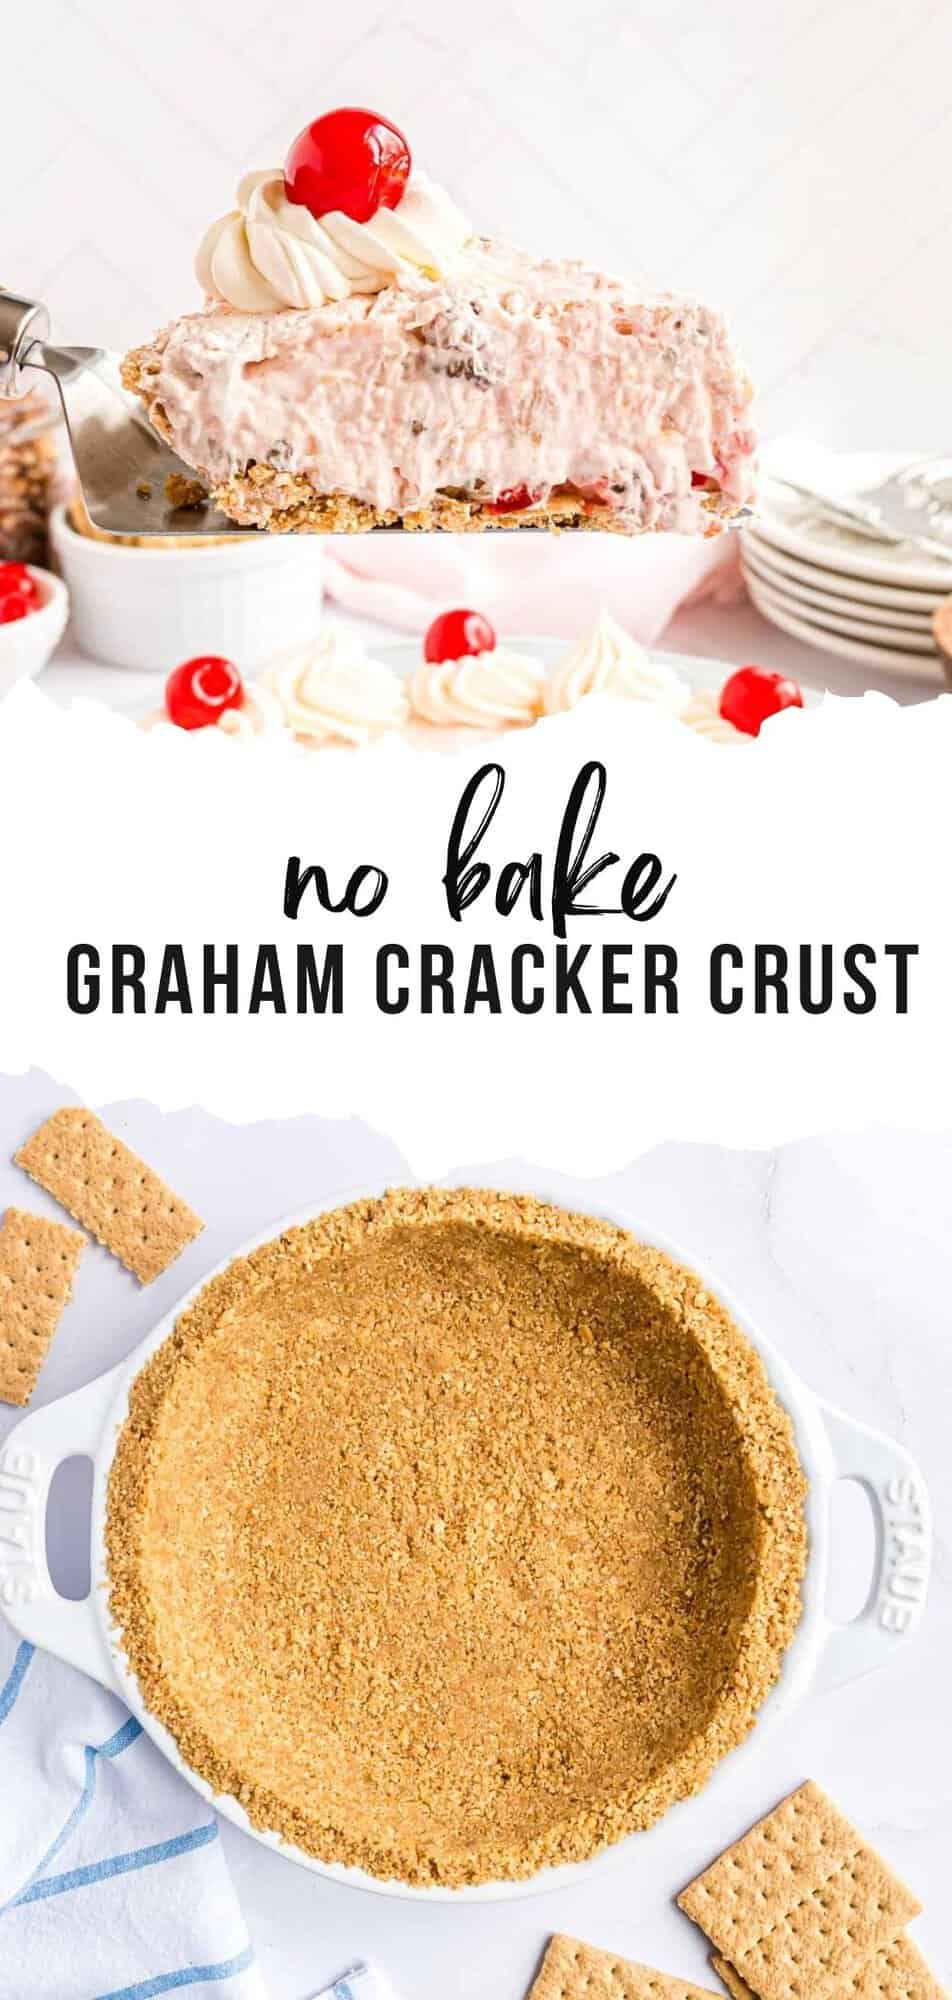
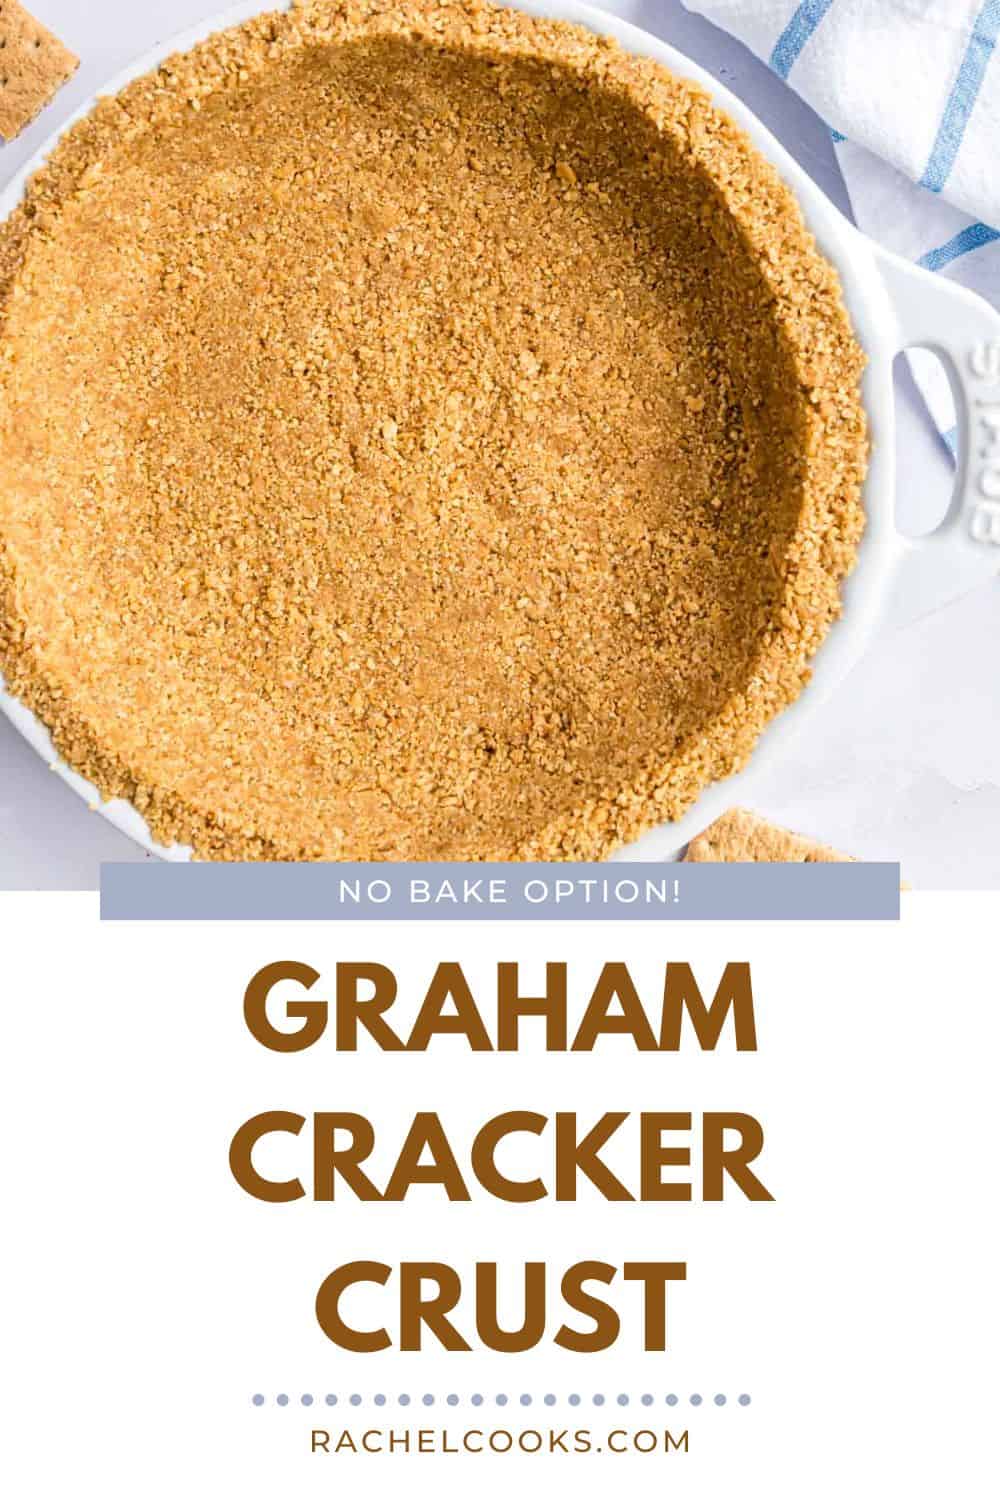
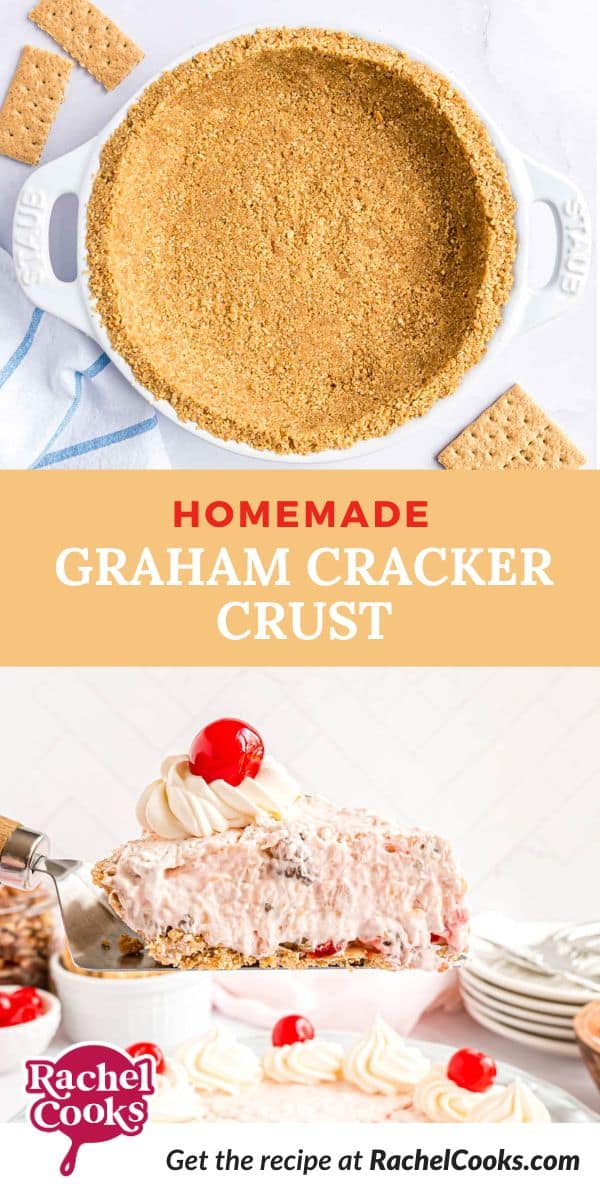
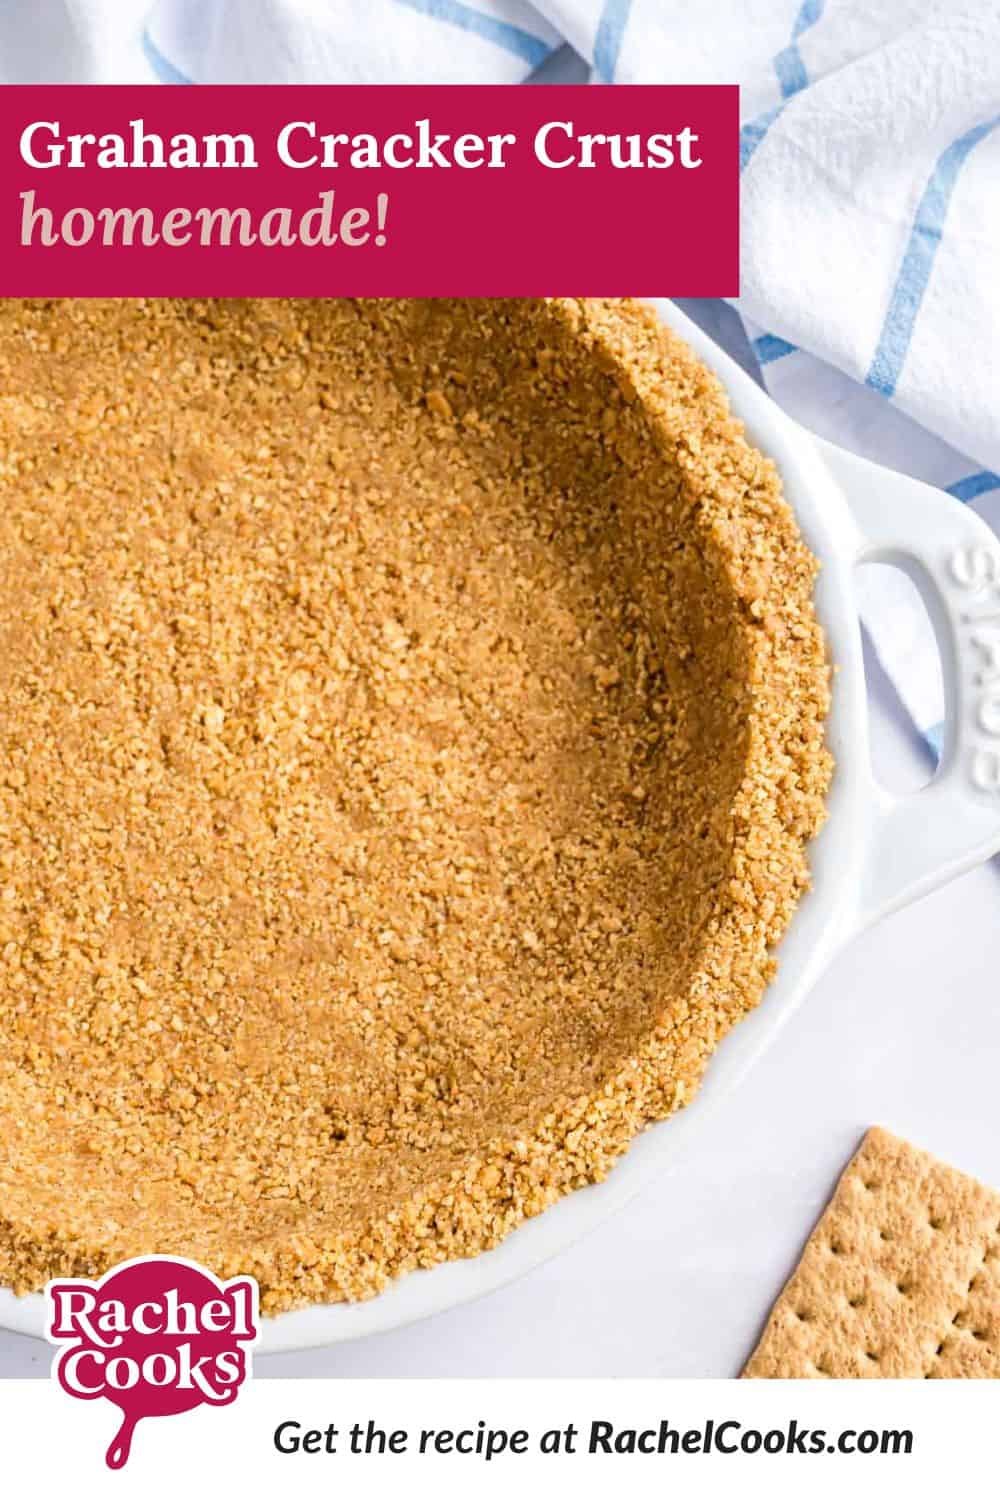
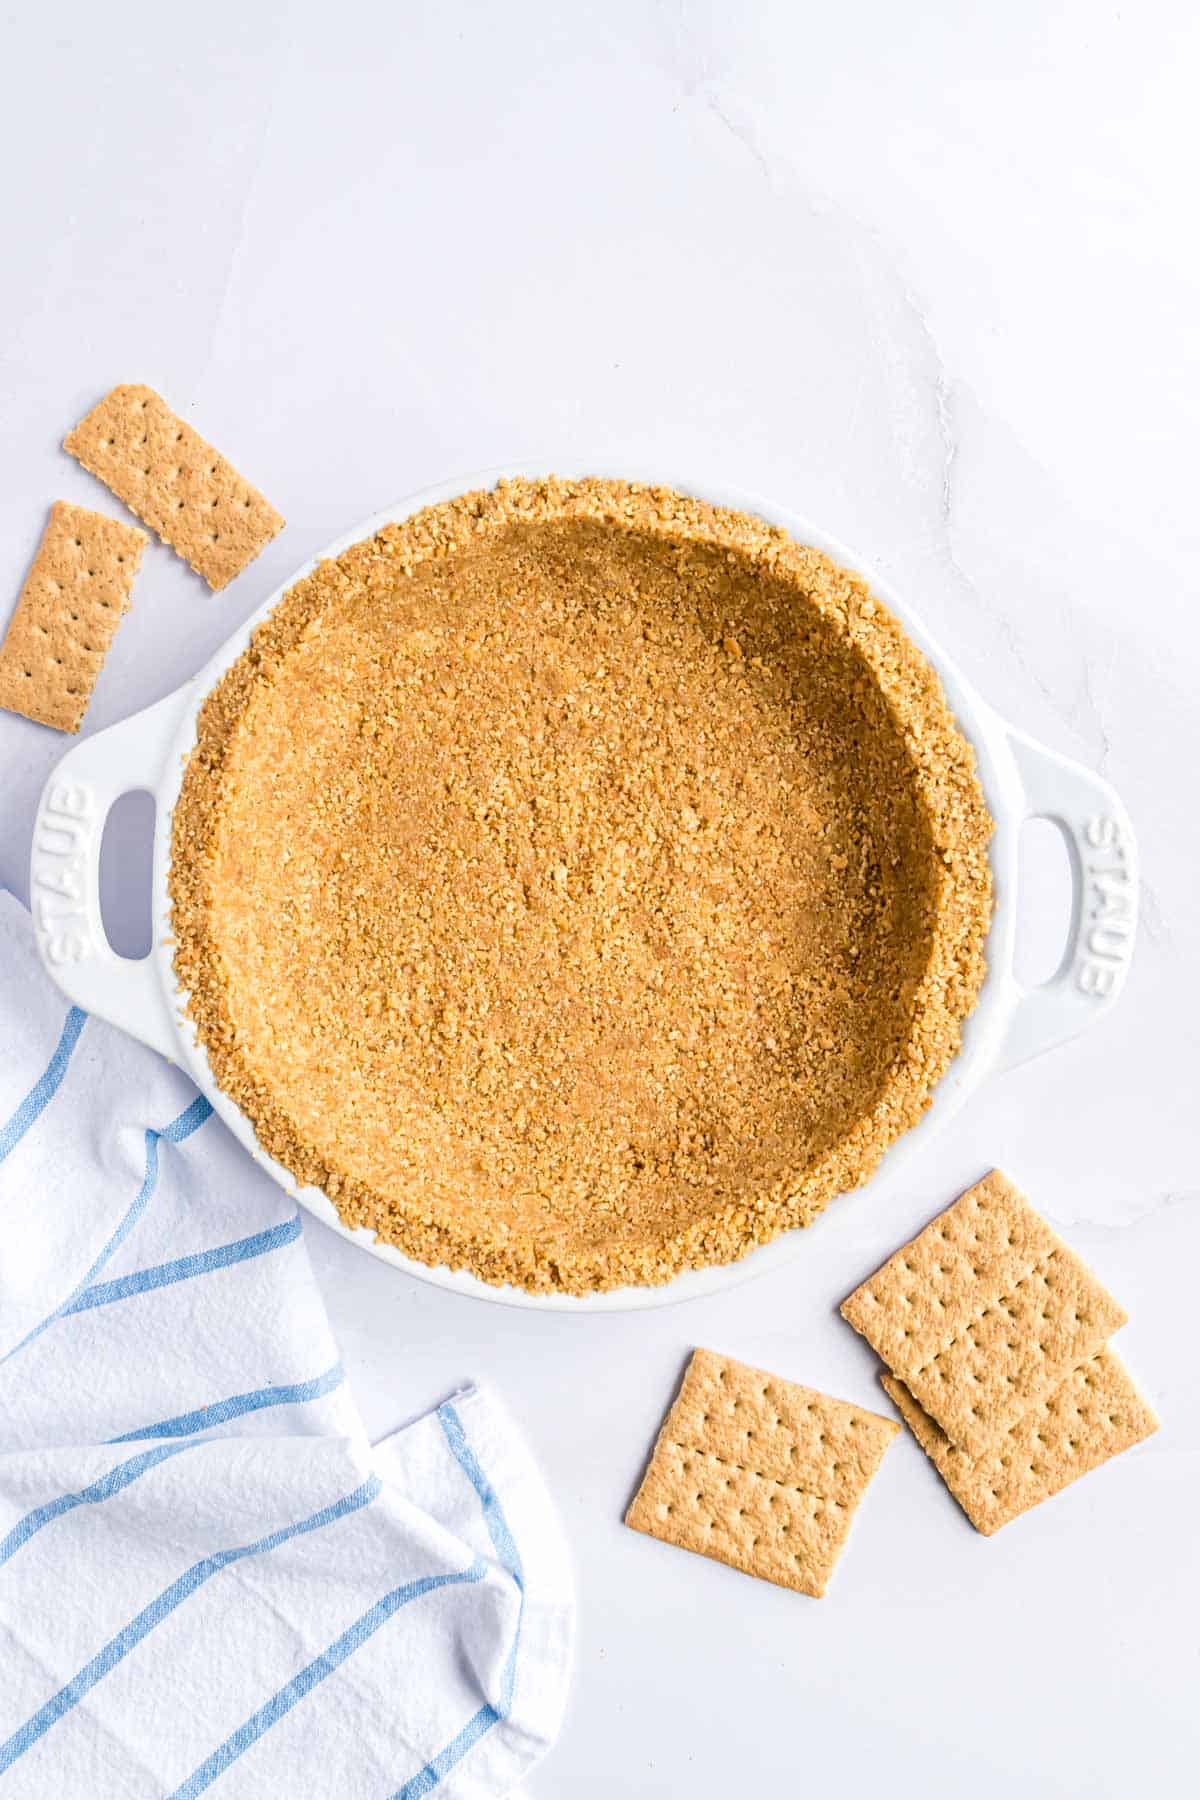
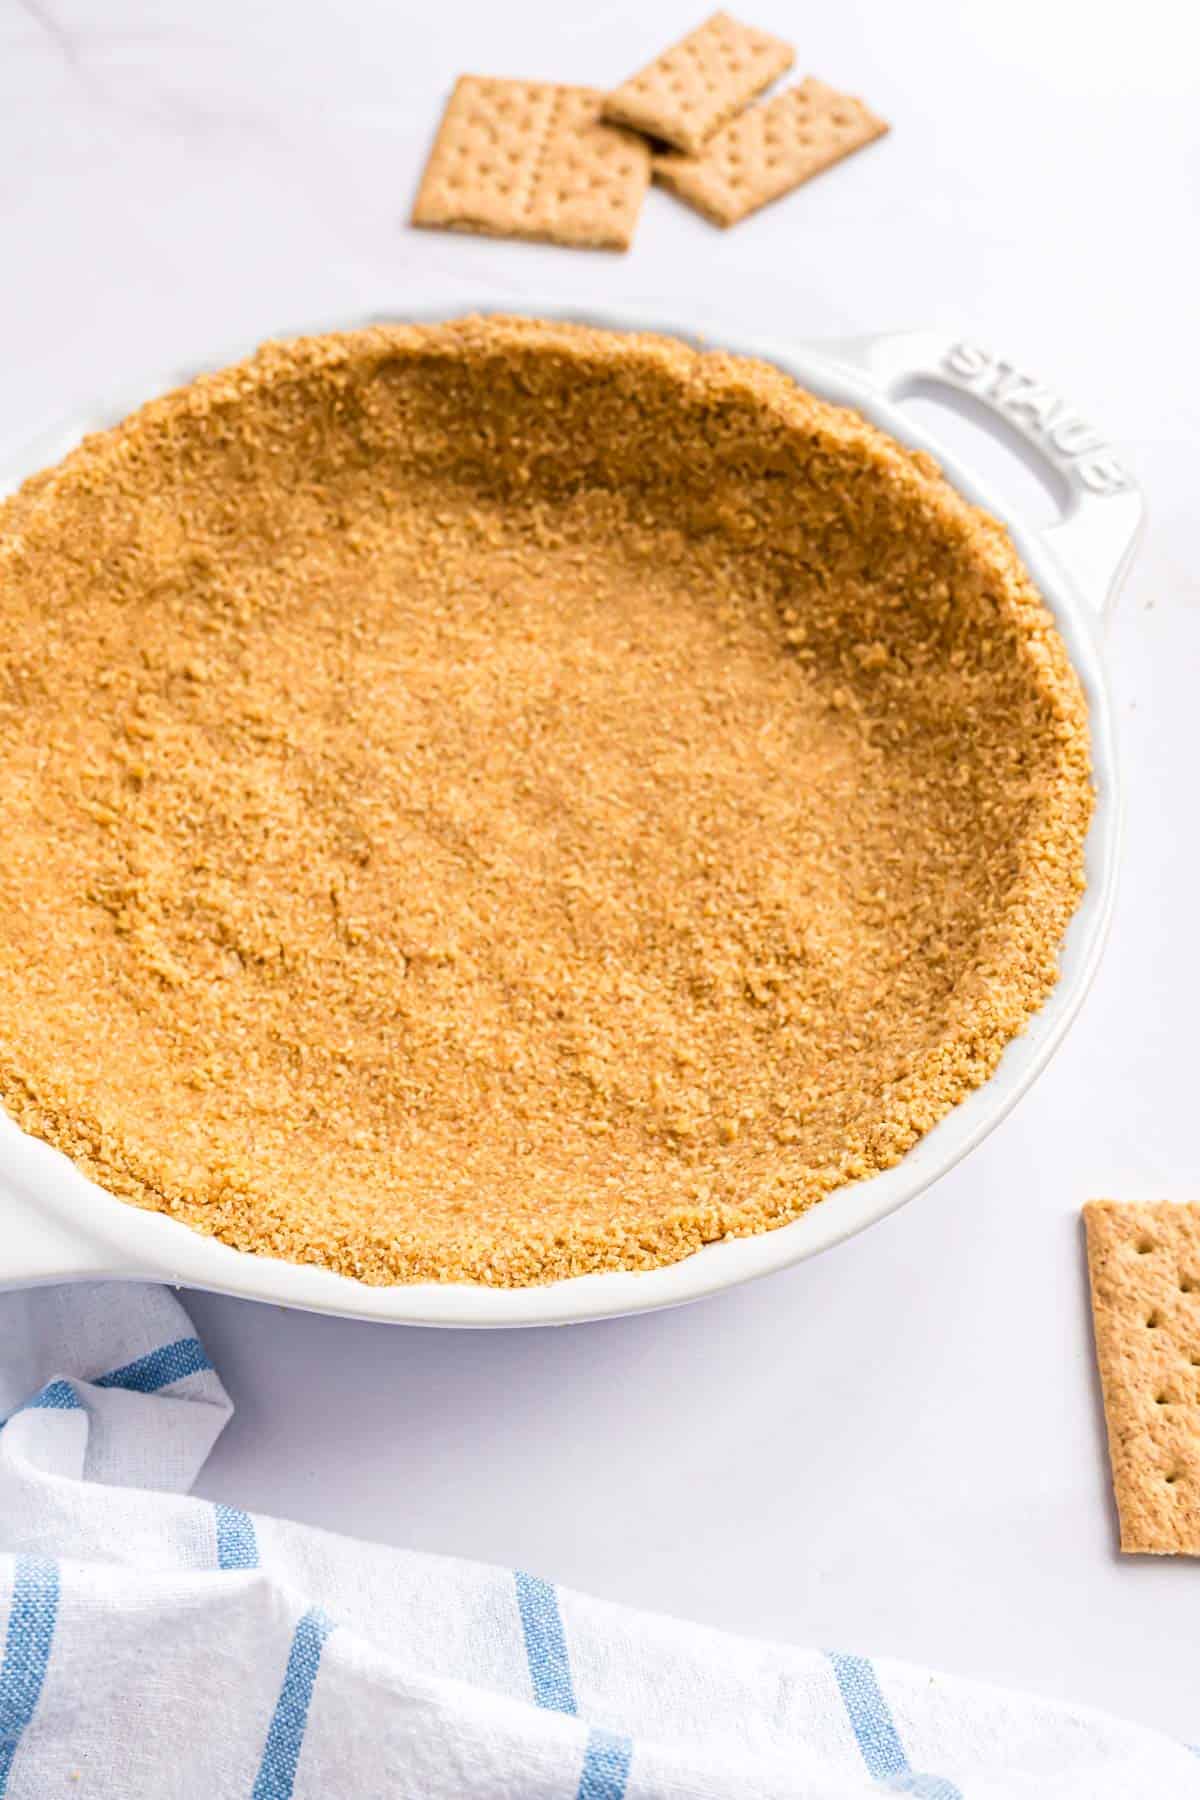
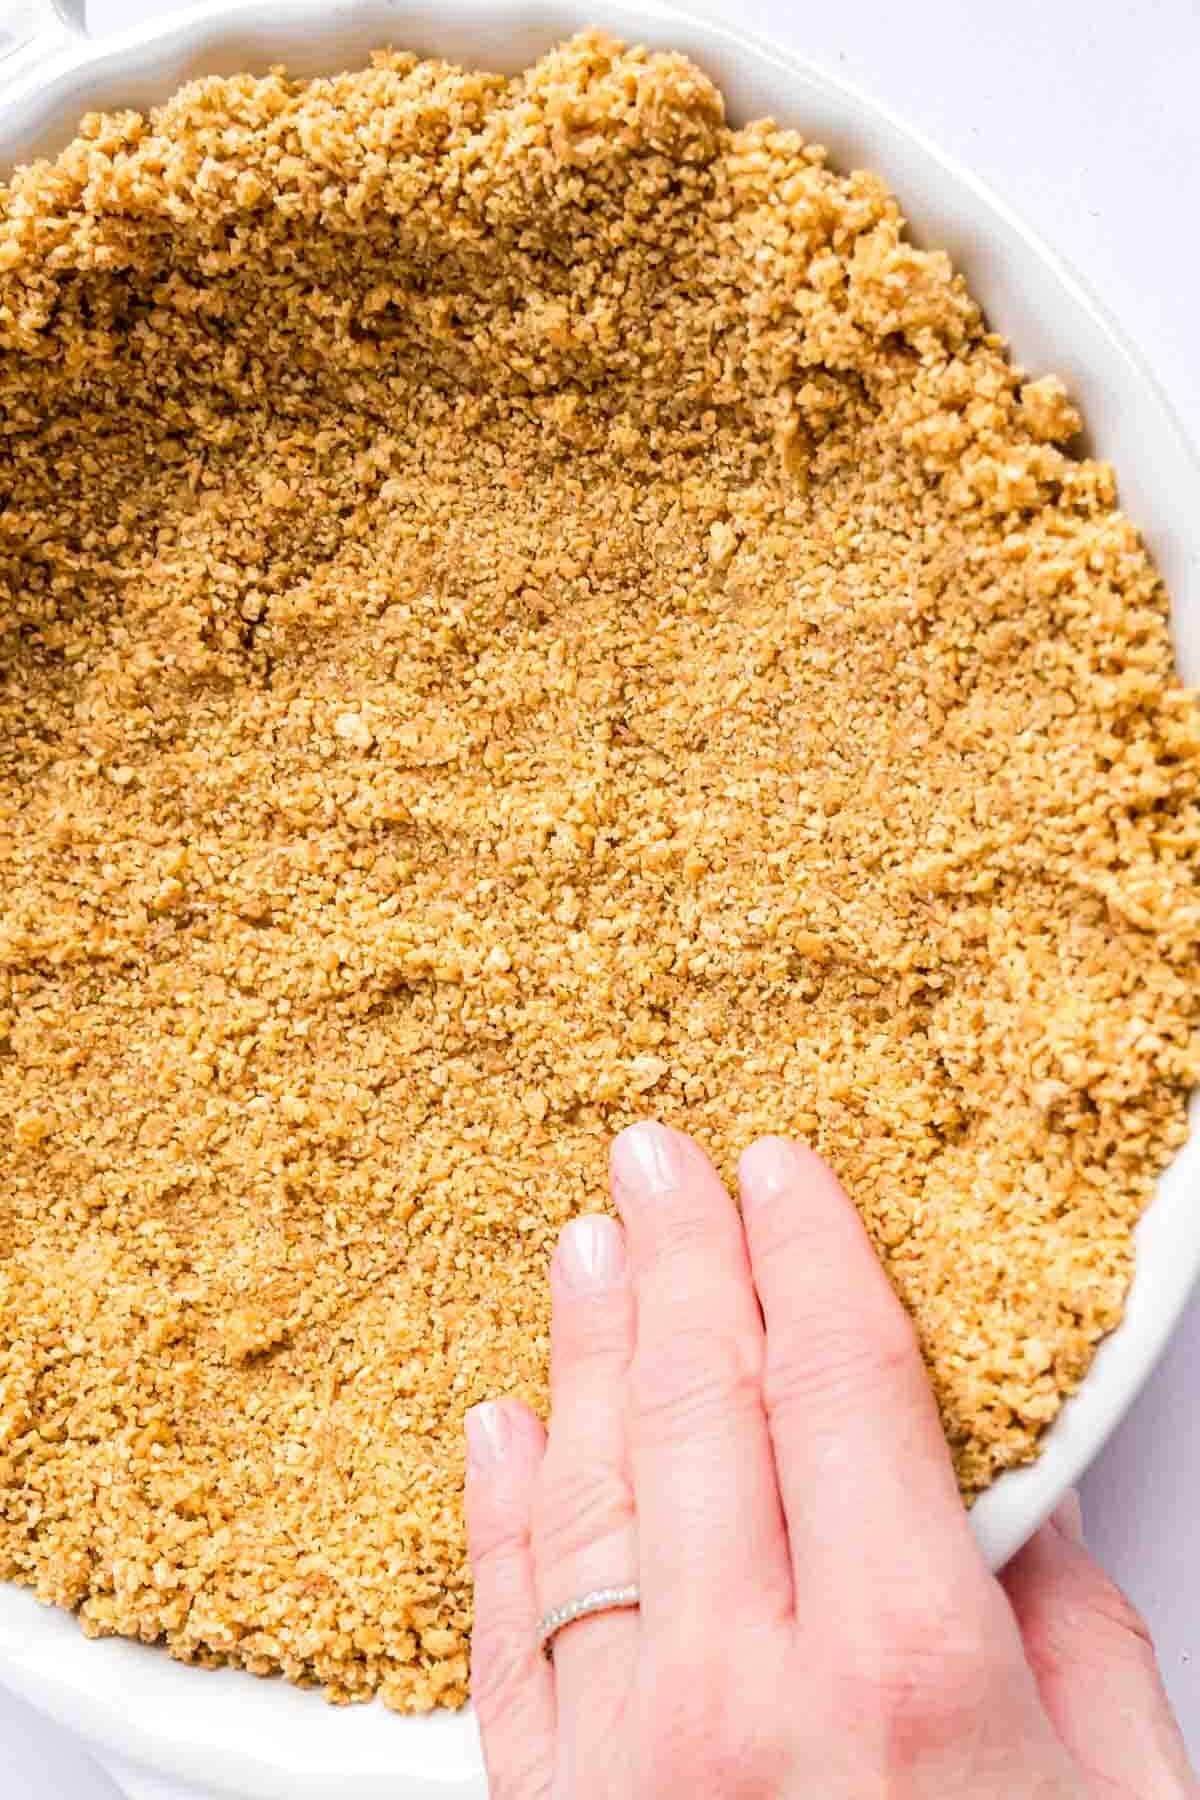
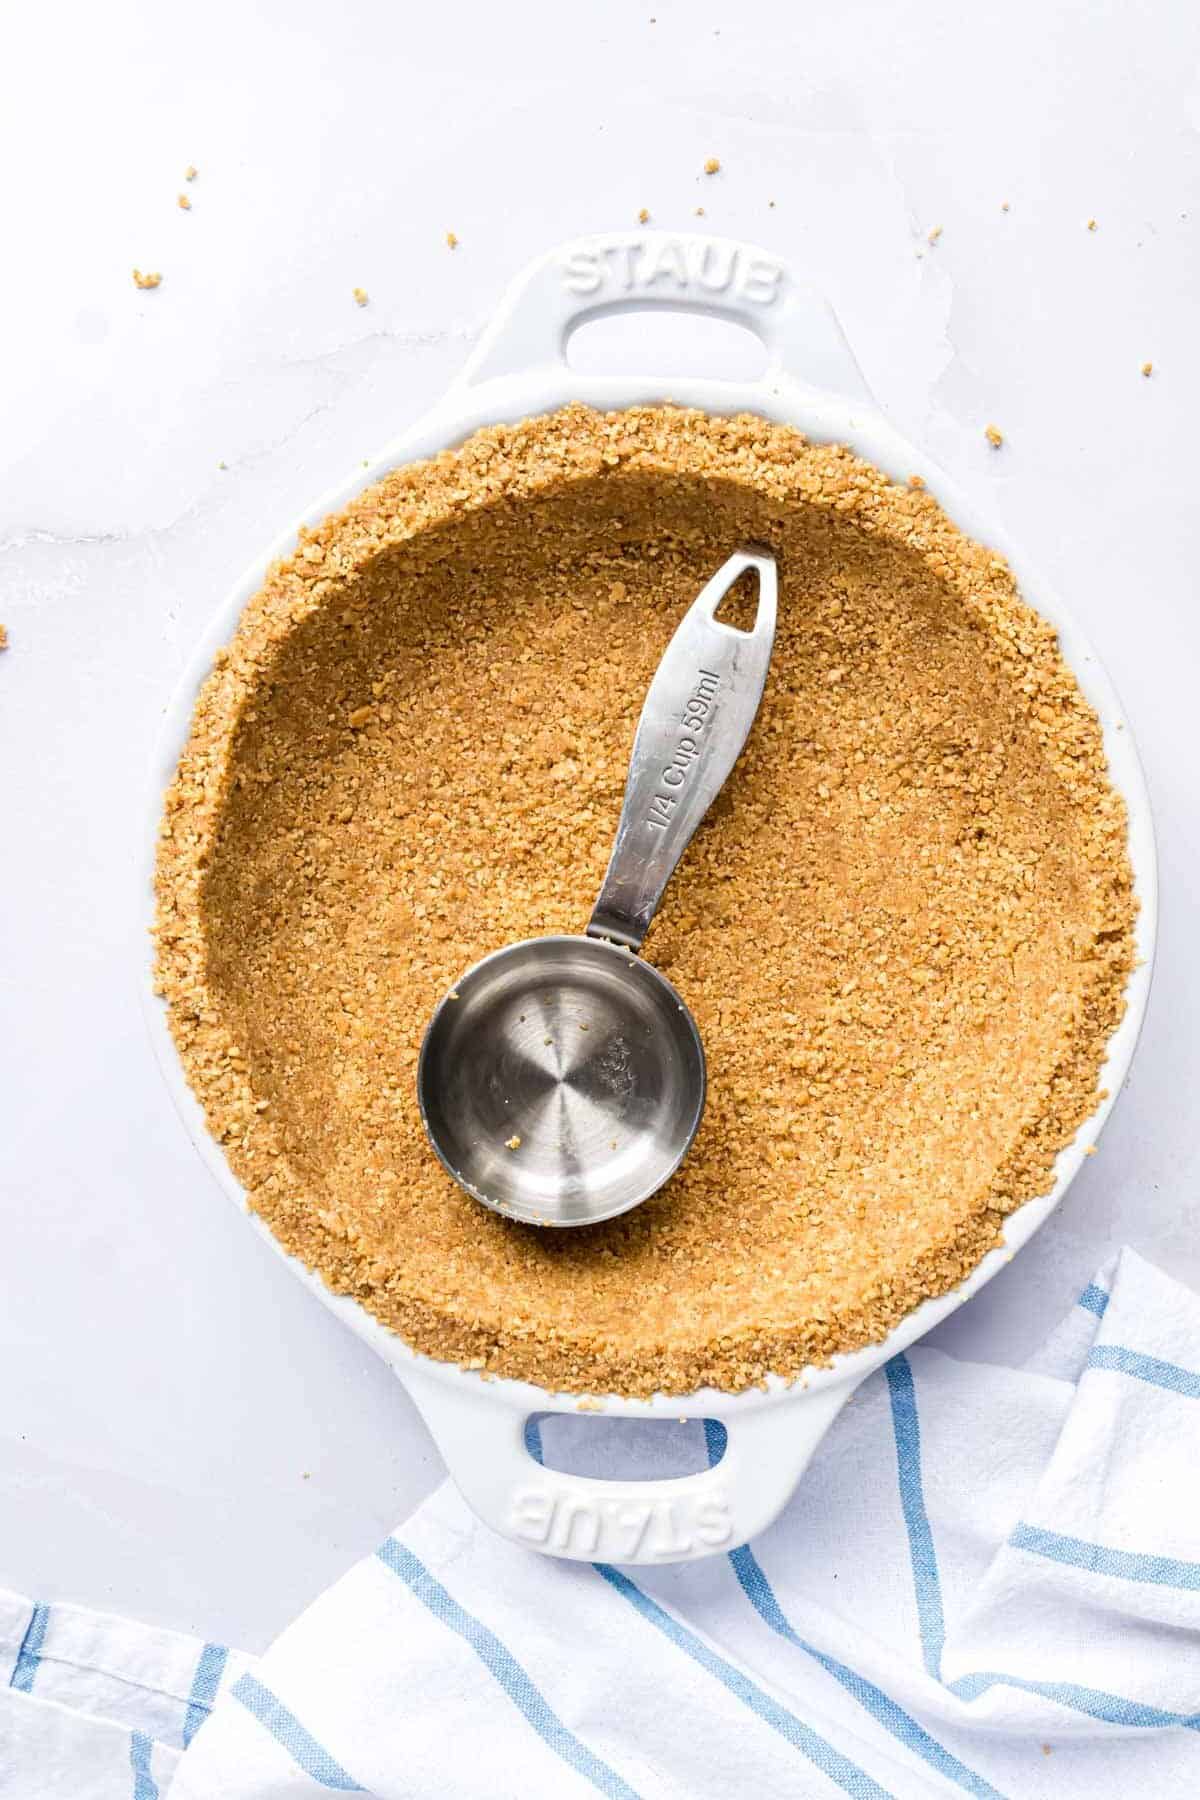
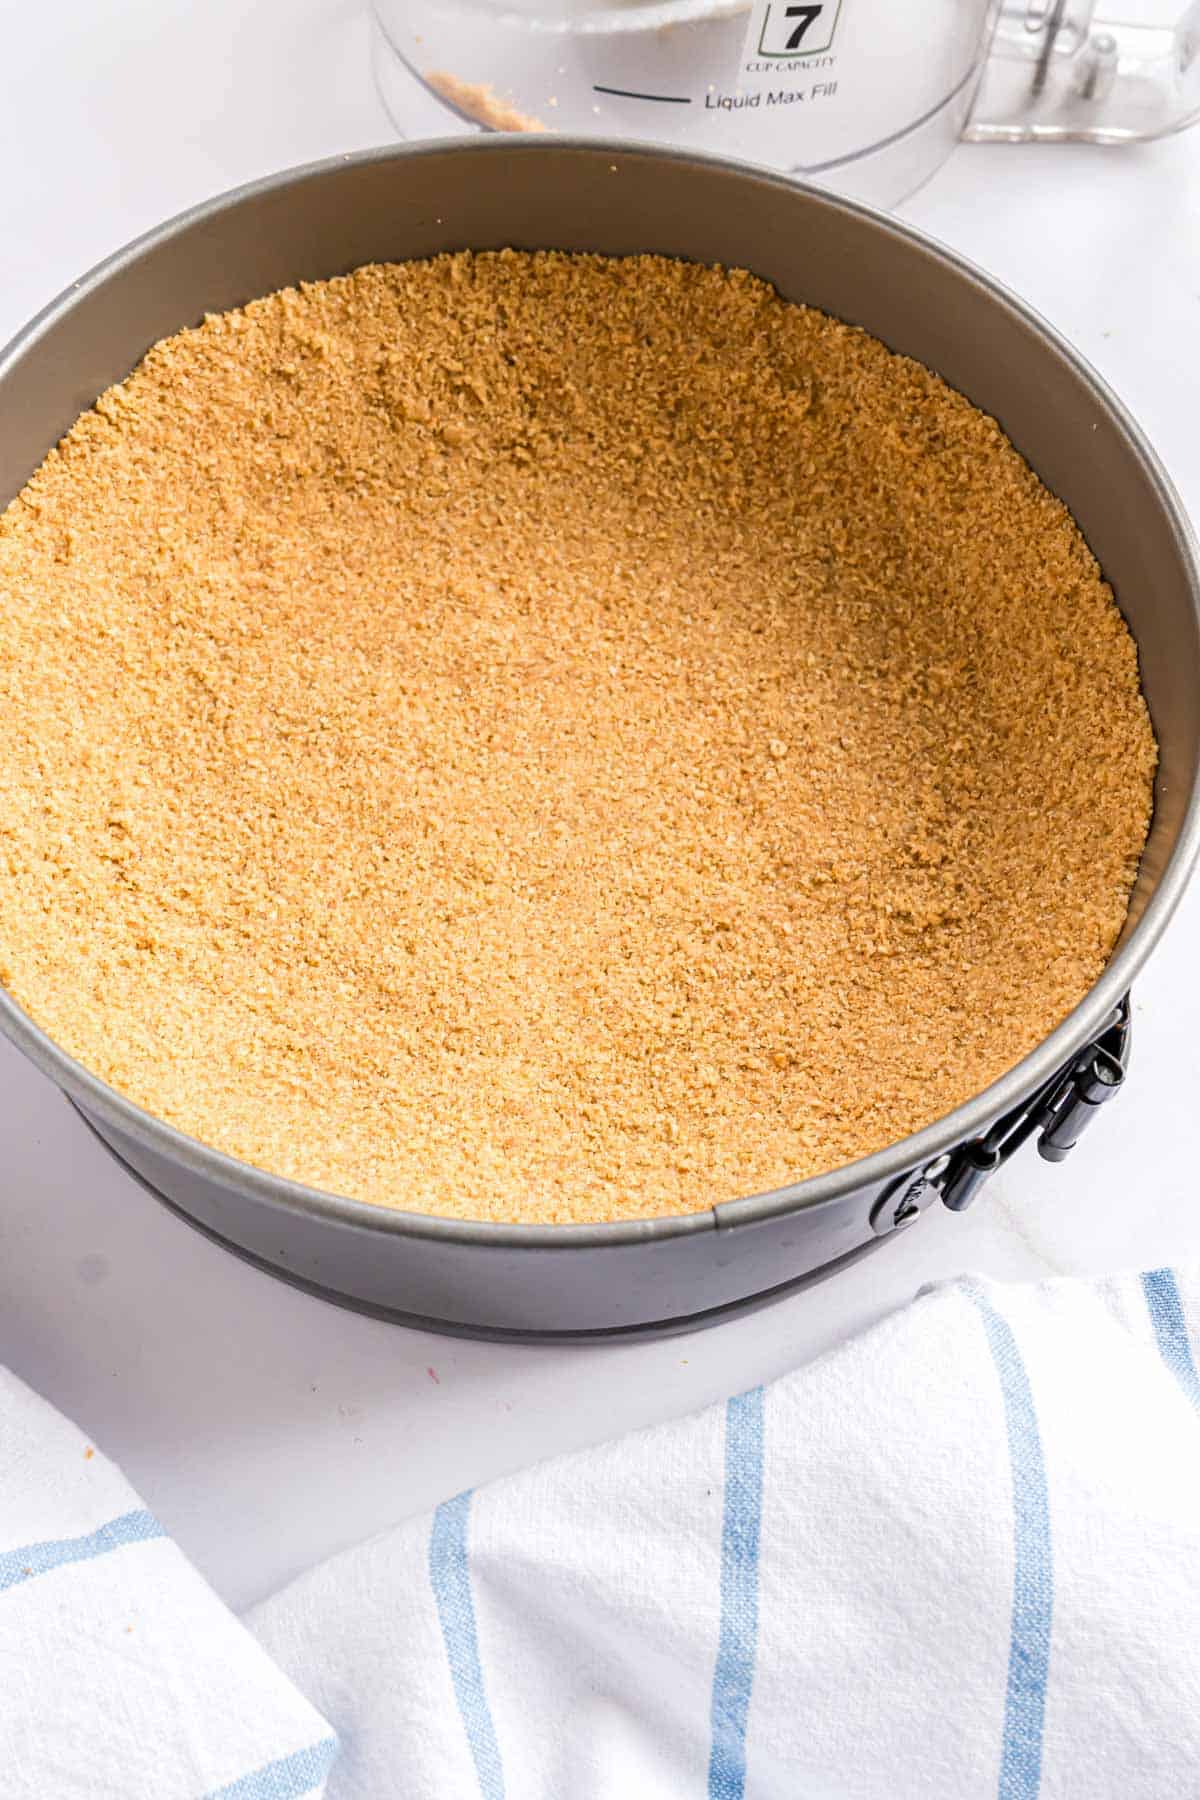
Press the crust into the pan. Transfer the crumb mixture to a pie plate and press it into the bottom and up the sides. I like to use the sides of a small measuring cup. When pressing the crumbs into place, you want them to stay in place but not press them so hard that you can’t cut the crust. Use firm pressure until the crumbs begin holding together, and then stop. The more compact the crust becomes, the harder it will be to get out of the pie plate.
Refrigerate. Cover the crust with plastic wrap and refrigerate until you’re ready to use it.
How To Use This Crust Recipe
No Bake: If you’re short on time or don’t want to turn on the oven (hello, no-bake chocolate peanut butter pie!), you can simply refrigerate the crust until it firms up. The butter solidifies to help bind everything together. I’ve done this many times and it works well. It’s perfect for these no-bake mini cheesecakes.
Pre-bake: For the very best results, I recommend baking this graham cracker crust and letting it cool completely before filling it. The crust seems to hold together just a bit better, especially if you don’t use a food processor to prepare it. This method is preferred for a chilled dessert like millionaire pie, chocolate pudding pie or Kool-Aid pie. Bake the graham cracker crust in a preheated 350ºF oven for 10 minutes, then let the crust cool completely before you fill it.
Bake: If you’re making a cheesecake or another pie that requires baking, you don’t need to pre-bake the crust. Simply bake the pie and crust together.
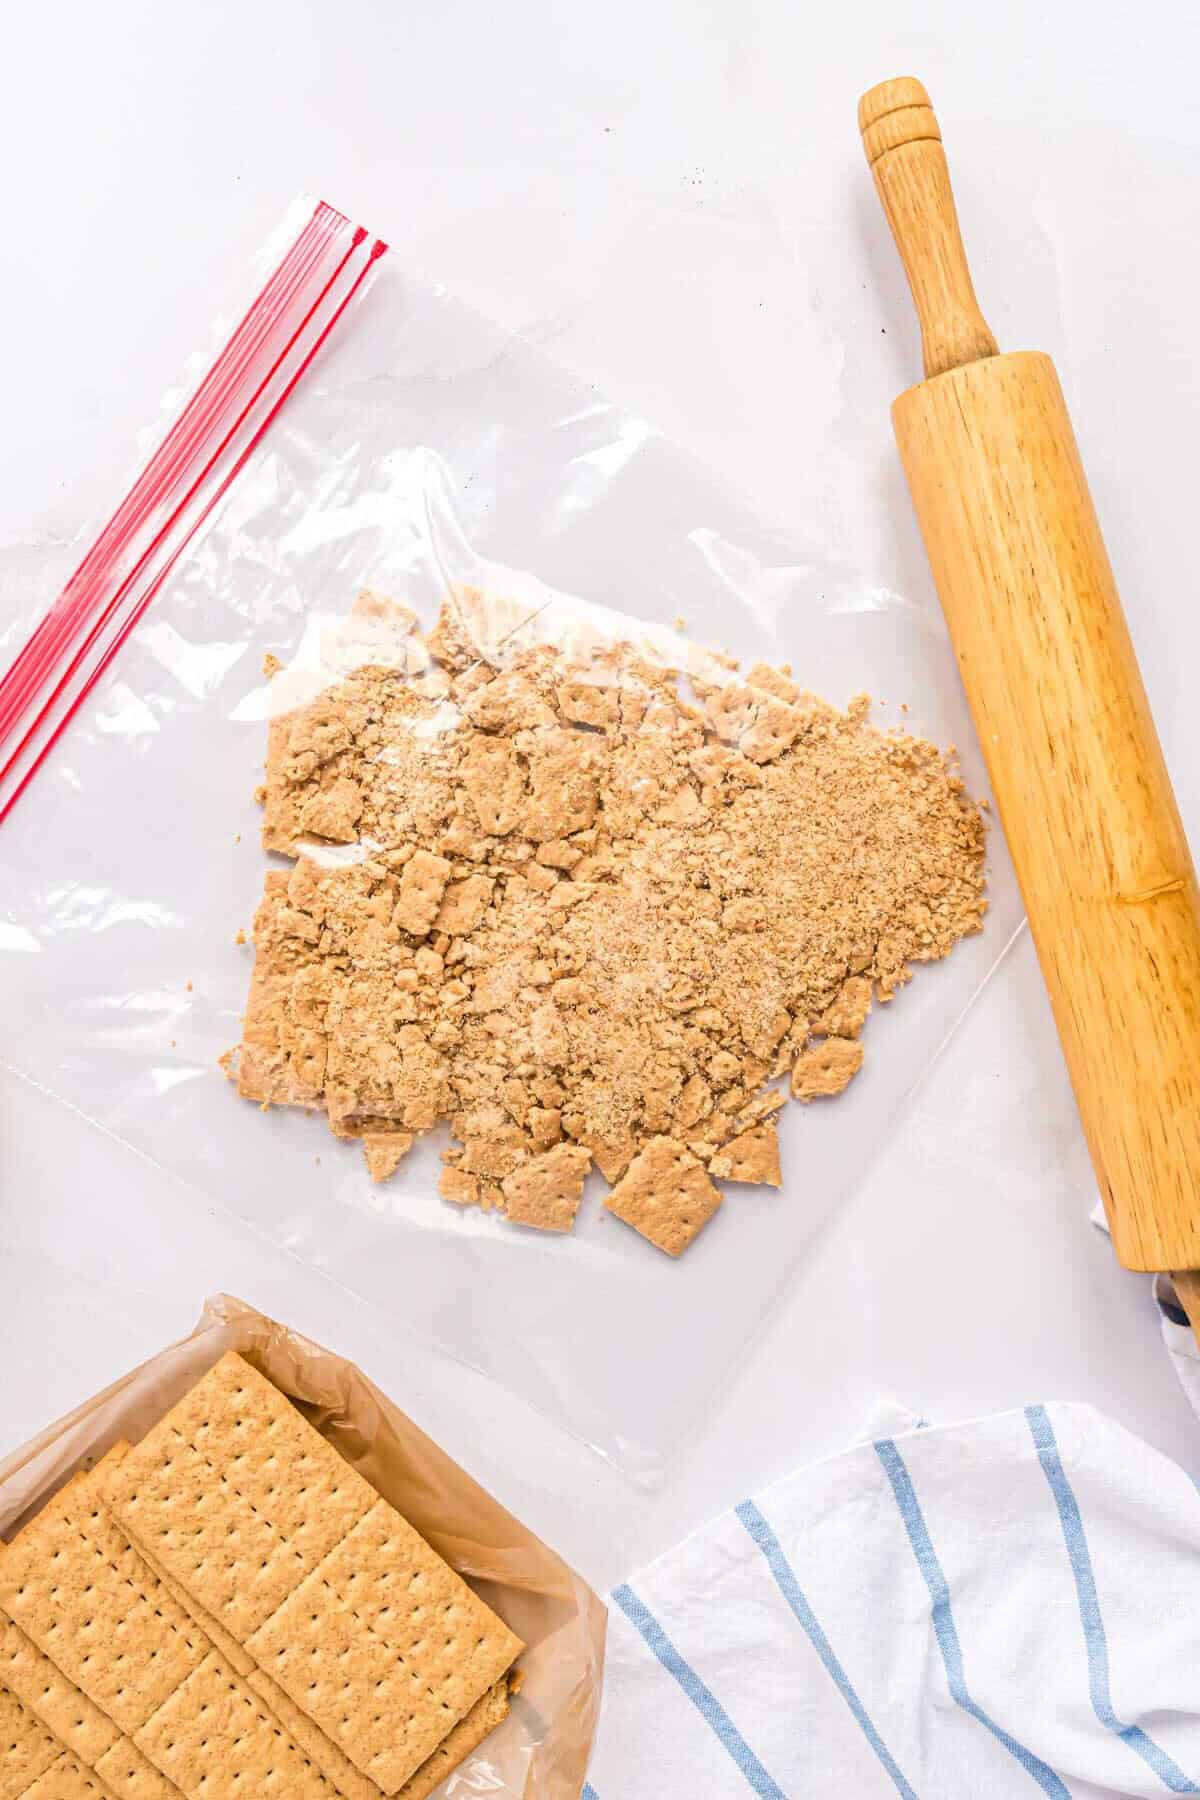
Make The Crust By Hand
If you don’t have a food processor, a graham cracker crust can easily be made without it. This method works just fine but takes a little more effort.
Crush the graham crackers in a large zip-top bag with a rolling pin, wine bottle, or kitchen mallet. Once the graham crackers are crushed, pour the crumbs into a mixing bowl, add the sugar and melted butter, and stir with fork until blended.
Tips For A Perfect Graham Cracker Crust
- Make your own crumbs. When you DIY it instead of using store-bought crumbs, you get irregularly shaped and sized crumbs. In my experience, these hold together much better than the fine crumbs sold in the baking aisle at the grocery store. They also taste a lot better.
- Don’t overprocess the crumbs. They should be coarse like sand, not powdery like flour. You shouldn’t have large pieces of graham cracker in your crust but the crumbs don’t have to all be exactly the same size.
- Don’t overmix once you add the butter. If you do, you’ll end up with a cookie-butter-like mixture. It’ll be delicious but it won’t work for a pie crust! Stir until the mixture holds together when you press it with your fingers.
- Use firm pressure. The bottom of a measuring cup can help with this. You want to use enough pressure that the crumbs stick together but don’t go nuts. Too much pressure will make the crust stick to the pan and it will be difficult to serve.
Graham Cracker Crust Variations
- Add spices. Cinnamon is a popular choice. Add a teaspoon of ground cinnamon when you add the sugar. Ginger and nutmeg are popular choices; you can also use pumpkin pie spice or apple pie spice. Choose a spice that will enhance your filling.
- Make it chocolate. Use chocolate graham crackers or add ¼ cup unsweetened cocoa powder.
- Substitute brown sugar. For a richer molasses flavor, ¼ cup packed brown sugar can be used instead of granulated white sugar.
- Make it nutty. Substitute ½ cup finely chopped nuts for ½ cup of the graham cracker crumbs. I suggest chopping the nuts in the food processor first; take them out to measure them accurately. Try pecans, walnuts, or almonds.
Refrigerate: Cover the graham cracker crust with plastic wrap or foil and place in the refrigerator for up to 3 days.
Freeze: A graham cracker crust can be frozen in an airtight container or freezer bag for up to 3 months. Thaw completely before filling. You can also freeze extra graham cracker crumbs to use later to make a graham cracker crust.
More Pie Recipes


Graham Cracker Crust

Ingredients
- 1 ½ cups graham cracker crumbs (about 12 full-size rectangles)
- ¼ cup granulated sugar
- 6 tablespoons unsalted butter, melted
Instructions
- Add graham crackers to a food processor (see notes if you don't have a food processor). Pulse until it makes fine crumbs. It's okay if the crumbs are not exactly the same size but there shouldn't be any large pieces.1 ½ cups graham cracker crumbs
- Add the granulated sugar and pulse a few times to combine.¼ cup granulated sugar
- Add melted butter and pulse until blended. The butter should be mixed in well enough to change the color of the crumbs from light brown to medium brown. Some crumbs may still be a little dry, and that’s okay. The mixture should clump together when you press it lightly with your fingers.6 tablespoons unsalted butter, melted
- Transfer the crumb mixture into a deep dish 9-inch pie plate. Press the crumbs firmly into place using your fingertips or the bottom of a measuring cup. Use firm pressure until the crumbs begin holding together. If the crumbs are over compacted, the crust may stick in the pan when you serve it.
- Cover the crust with plastic wrap and place it in the refrigerator until ready to fill. The crust will firm up as it chills. If you are baking the crust, it's not necessary to chill it first.
To Bake Crust, optional
- Preheat oven to 350℉. Bake crust for 10 minutes. Cool completely before filling. I prefer the flavor of a baked crust but if you're in a hurry, a refrigerated crust works perfectly well. If you're making a baked dessert, such as cheesecake, it isn't necessary to pre-bake the crust.
Notes
- Make it by hand: If you don’t have a food processor, you can easily make this crust without it. Crush the graham crackers in a large zip-top bag with a rolling pin or kitchen mallet. Once the graham crackers are crushed, pour the crumbs into a mixing bowl, add the sugar and melted butter, and stir with fork until blended.
- Storage/freezing: Cover the crust with plastic wrap or foil; refrigerate for up to 3 days or freeze for up to 3 months in a large freezer bag or airtight container. Graham cracker crumbs can be made ahead. Store them in an airtight container for up to 6 months in the freezer.
- For 9-inch springform pan (bottom and sides) or 9 x 13 inch pan (bottom only):
- 2 to 2 ½ cups graham cracker crumbs (about 16 to 18 crackers depending on how thick you want the crust)
- ½ cup granulated sugar
- ½ cup unsalted butter, melted
Nutrition
Nutrition information is automatically calculated, so should only be used as an approximation.