Pickled Green Beans – make them your own!
Posted: 06/29/2020
This post may contain affiliate links. Please read my disclosure policy.
Have an abundance of summer vegetables? Try making refrigerator pickled green beans, no need for canning. They’ll keep in the fridge for more than a month!
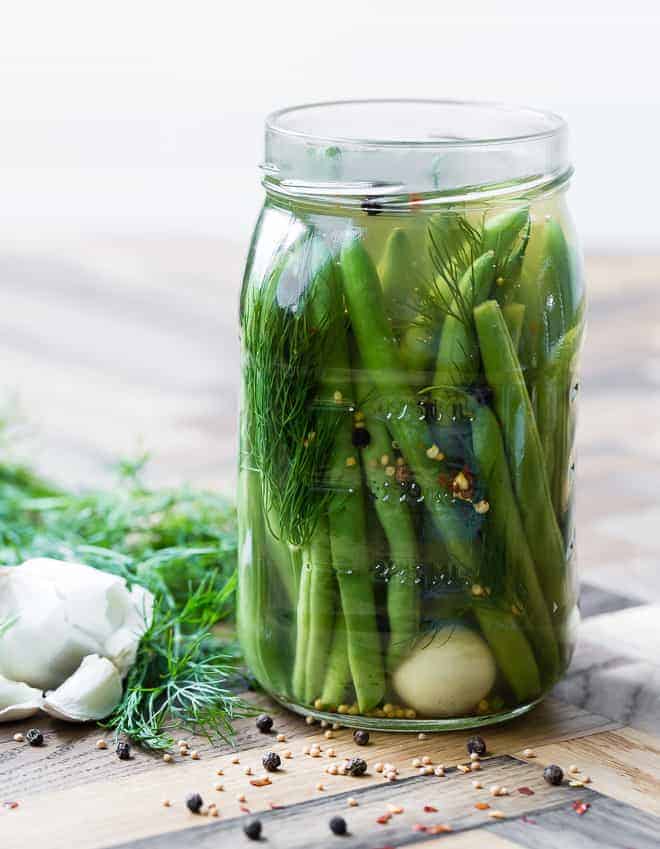
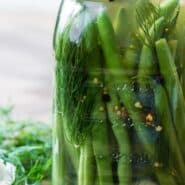
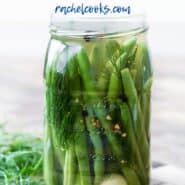
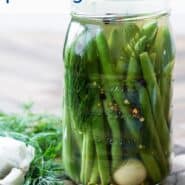
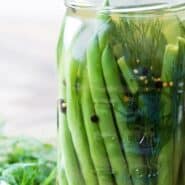
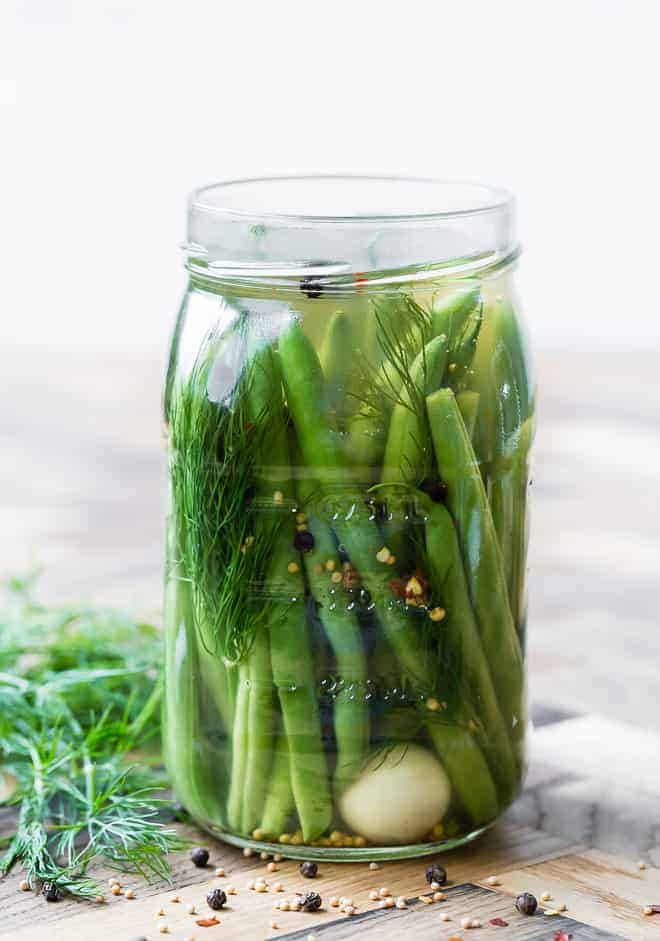
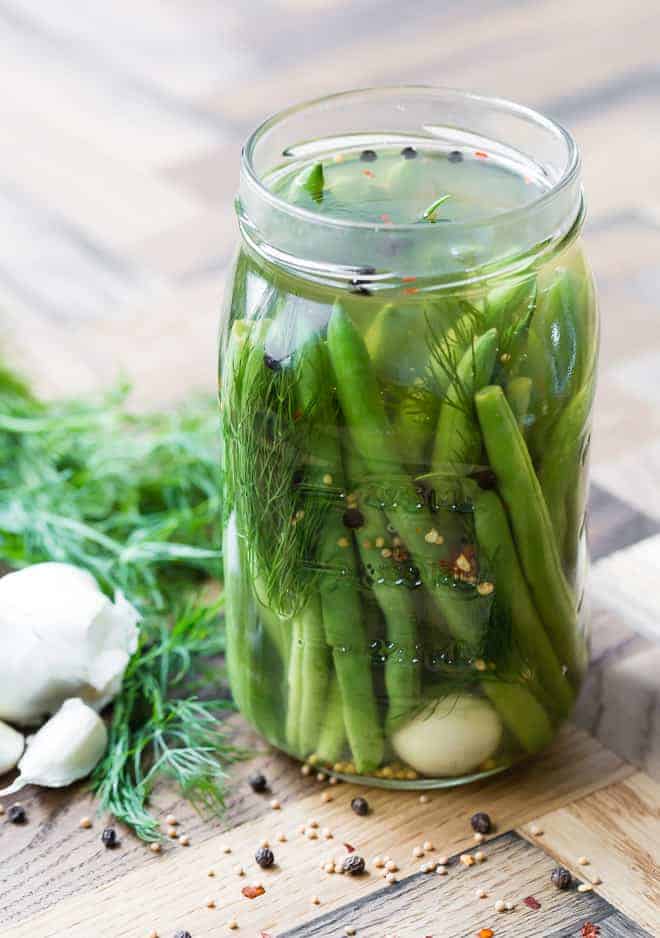
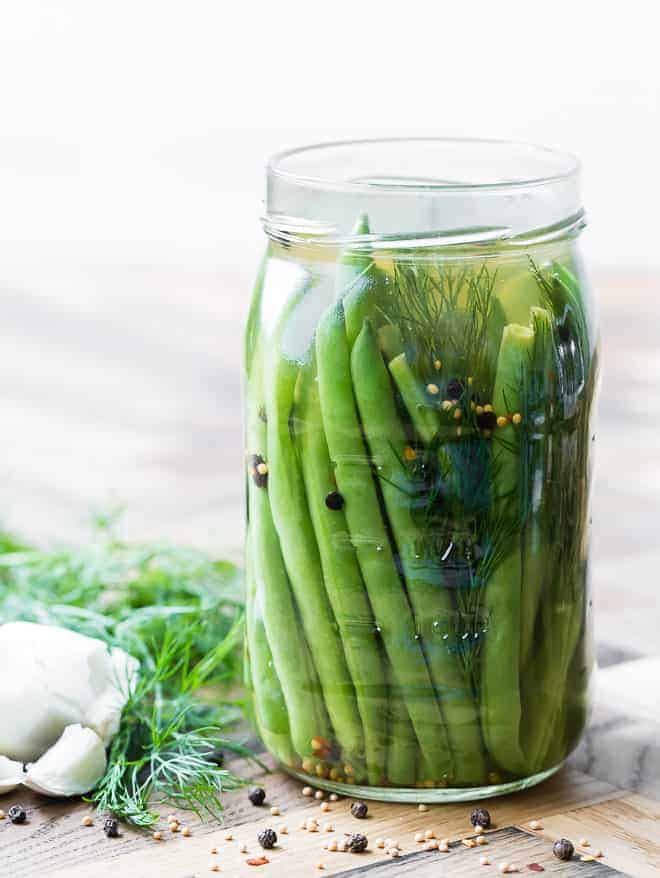
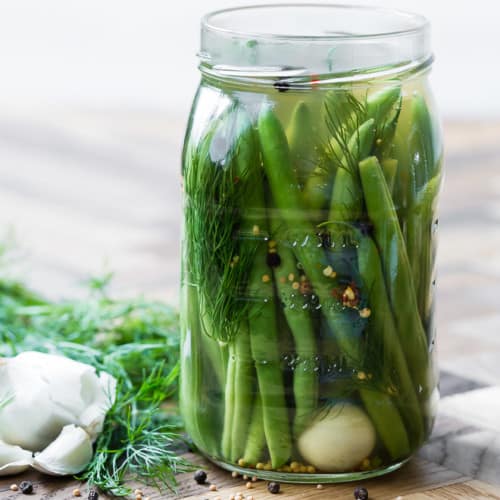
Quick pickled green beans are a snap to make and so flavorful. Brined with a spicy array of garlic, dill, mustard seed, peppercorns, and red pepper flakes, they are bursting with excitement. Aren’t they beautiful, all lined up in the jar?
Don’t worry, you don’t have to use an old fashioned canner and boiling water bath to make these pickled green beans. This recipe is seriously easy!
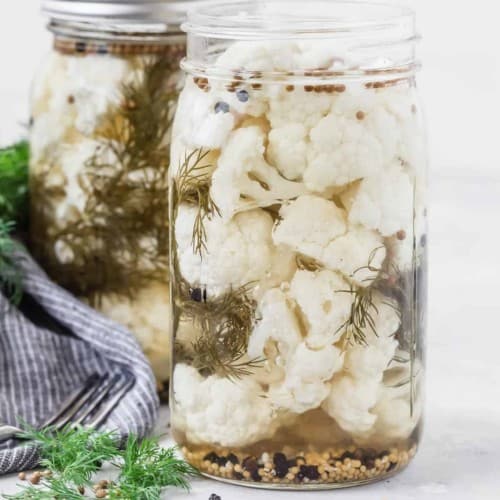
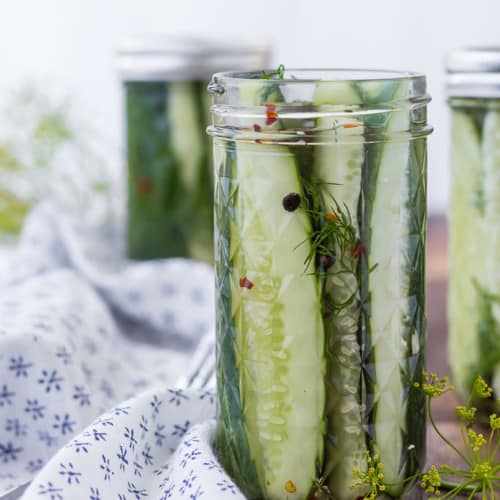
I just love quick refrigerator pickles. They have such fresh flavor and retain their crispness. I’ve found that you can quick pickle almost any vegetable. My popular pickled red onions are a staple in my kitchen. You can even quick pickle Italian style giardiniera often found on antipasto platters. Try this recipe from The View From Great Island.
How do you eat pickled green beans? They are perfect on a charcuterie board, as a delicious cold side dish or low calorie snack, or as an interesting garnish for a homemade Bloody Mary. You’ll want to try making these crisp pickled green beans soon.
About these pickled green beans:
As I mentioned above, these are quick pickled beans. They are not canned so they must be stored in the refrigerator. They’ll keep for at least one month.
You can use almost any glass jar. Look for one that’s about the same height as the green beans, so they can stand up nice and straight. Recycled jars are perfect as long as they have a tight fitting lid. A quart sized canning jar works well, too. Make sure your jar is spotlessly clean!
Begin by getting the brine ready. Add water, vinegar, sugar, salt to a saucepan, bring it to boil over high heat, boiling until the sugar and salt are dissolved. Set the brine aside to cool.
Wash and trim the beans, and arrange them in the jar. Add a garlic clove, a few sprigs of fresh dill, and spices. You can arrange everything artistically or just dump it in. The beans won’t care a bit.
Pour the brine over the beans. Tap the jar on the counter a few times to dislodge air bubbles, then fill to the top of the jar. Put the lid on and wait.
Seriously, this is the hardest part! The beans get better and better every day they spend in the fridge. You can try them right away, but they’ll be sort of a disappointment. Wait three days, and wow! Wait a week, and you’ll be blown away by how good they are.
So wait, watch, and anticipate. You’ll have plenty of time to enjoy your homemade pickled green beans!
How to make these green beans your own:
- Too crispy for you? For more tender green beans, blanch them before pickling. Bring a pot of water to boil, add beans for 2-3 minutes, drain, and put into a bowl of ice water to stop the cooking and preserve the green color. When beans are cool, drain well, and proceed with recipe.
- If you like the beans to be more tangy, increase the amount of vinegar and decrease the amount of water. You can go up to half vinegar and half water. Use any regular vinegar: apple cider vinegar, white vinegar, rice vinegar, red or white wine vinegar.
- Experiment with the seasonings. Consider this recipe a starting point. Adjust the seasonings to your personal preference.
Storage Tips
Like I mention above, these are refrigerator pickles. You can store green bean pickles in the fridge for up a month or more. After that, the texture will deteriorate.
If liquid appears cloudy, dump them out.
Even though it’s tempting, don’t use your fingers to fish them out of the jar. Use a clean fork so you don’t introduce bacteria into the jar.
More quick pickles!
Love the idea of refrigerator pickles? So easy, and so tasty! Try:
Did you make this? Be sure to leave a review below and tag me @rachelcooksblog on Facebook, Instagram, or Pinterest!
jar
Have an abundance of summer vegetables? Try making refrigerator pickled green beans, no need for canning. They'll keep in the fridge for more than a month!
Ingredients
- 1 ½ lb. fresh green beans, washed, stem ends trimmed or snapped off
- 2 cups water
- 1/4 cup apple cider vinegar
- 1 1/2 tablespoons kosher salt
- 1 tablespoon granulated sugar
- 1 clove garlic, peeled
- 1 teaspoon whole mustard seeds
- 1 teaspoon whole peppercorns
- 1/4 teaspoon red pepper flakes
- 3 sprigs fresh dill leaves
Instructions
- In medium sized saucepan, combine water, vinegar, salt, and sugar; over medium high heat, bring to a boil, boiling until sugar and salt is dissolved, stirring occasionally. Set aside to cool slightly.
- Place garlic clove, mustard seeds, peppercorns, and red pepper flakes at the bottom of a large jar (most likely a quart size jar depending on the length of green beans). Arrange green beans vertically in jar and tuck dill sprigs into the jar.
- Pour the brine into the jar, covering green beans completely.
- Cover jar and place in the fridge at least overnight but preferably three days or more before eating.
- Store the jar of pickled green beans in the refrigerator for up to 1 month.
Notes
- Nutrition note: Since the beans do not absorb all of the brine, the sodium count will be much lower than reflected below.
- For tender green beans, blanch them before pickling. Bring a pot of water to boil, add beans for 2-3 minutes, drain, and put into a bowl of ice water to stop the cooking and preserve the green color. When beans are cool, drain well, and proceed with recipe.
- If you like the beans to be more tangy, increase the amount of vinegar and decrease the amount of water. You can go up to half vinegar and half water. Use any regular vinegar: apple cider vinegar, white vinegar, rice vinegar, red or white wine vinegar.
- Adjust the seasonings to your personal preference.
Nutrition Information
Serving: 1of 6, Calories: 49kcal, Carbohydrates: 11g, Protein: 2g, Sodium: 1597mg, Fiber: 3g, Sugar: 6g
This website provides approximate nutrition information for convenience and as a courtesy only. Nutrition data is gathered primarily from the USDA Food Composition Database, whenever available, or otherwise other online calculators.
Bon says
These were a great quick pickling treat during a hot summer. This is a good recipe for refrigerator pickled green beans.
In response to previous questions about the recipe being safe for canning; because the ratio of vinegar to water is too low, it is not a safe recipe for canning. Canned pickled green beans have a much higher vinegar to water ratio. The high acid content is necessary to ensure that the beans(a low acid food) are safely canned.
Rachel Gurk says
So glad you liked them!
Jane Wingo says
Can you use iodized table salt instead of pickling salt.
Rachel Gurk says
That will work!
Bon says
Iodized table salt contains an anti-caking agent, which can make your pickling liquid appear cloudy. It is safe to use otherwise.
Melinda says
Just made a batch of these last night with fresh beans from my garden. DELICIOUS! I didn’t have fresh dill or mustard seeds so I substituted dill weed and a little bit of dry mustard. Still delicious! And easy!
Rachel Gurk says
Great substitutions! Glad you enjoyed them.
Lorri Ryan says
Easy and delicious! Husband loves them!!
Rachel Gurk says
So glad! Thanks for sharing a photo!
Peggy Hartline says
Absolutely the worst recipe I have ever tried. Have three packages of green beans that will likely end in compost.
Mayhap I used the wrong beans, fresh, unnamed recipe variety, but even the flavor of the ingredients gave me pause beforehand. Deleted!
Rachel Gurk says
What flavors did you not like? It’s a pretty standard pickling solution. Have you ever had pickled green beans?
Presley Foskett says
Hi!
Can this recipe be used, when creating shelf-stable beans, so long as the proper pickling techniques are used after the jars are filled?
Rachel Gurk says
Probably, but I’m not an expert in canning so I can’t tell you for sure.
Kari Suhr says
I loved them! Loved that I could feel confident using my own spice combo! Waited a week to try and I am addicted!
Rachel Gurk says
So glad you liked them! Thank you so much for taking the time to leave a review, it means a lot to me!
Roger says
I am happy to have found your excellent recipe for quick-pickled green beans. You explain everything very clearly. I am looking forward to making your pickles myself. Your perfectly understandable instructions are a pleasure to read. To amp up the heat, add in a small amount of top-quality taco seasoning. It supplies a mild to moderate heat, but more importantly a pleasurably complex, even exotic flavor. Grocery-store cayenne or hot-pepper powder doesn’t offer anything but heat, but not really any flavor.
Rachel Gurk says
Sounds like a tasty addition!
Coral says
These are so easy to make and are so yummy!! Perfect as is.
Rachel Gurk says
So glad to hear you like them! Thanks for taking the time to leave a comment!
Michele Panczykowski says
I made these just yesterday! I’m waiting to try them.
I’m concerned because I didn’t blanch them. Are they safe?
Many friends are asking if I did and that I should have not for tenderness but, for safety. I’m soo worried.
Plus, all my jars sealed. Should they have? Was my brine too warm?
I am sooo worried couldn’t sleep well.
Rachel Gurk says
No need to blanch these. Texture-wise, they’re crisp, but in terms of safety, you’ll be keeping these sin the fridge. They’re not shelf stable. Your brine was probably a little warm when you closed your jars, causing them to seal. It’s likely not a true seal though, so please keep them in the fridge.
Y the Wait says
It is really a good way to preserve
Rachel Gurk says
For sure, but these still need to be refrigerated!
denise says
sounds delicious!
Rachel Gurk says
Thanks, Denise!