Recipe Overview
Why you’ll love it: This quick pickled radish recipe makes the best pickled radishes in only about 10 minutes hands-on time! Enjoy pickled radishes on tacos, avocado toast, pulled pork, and more!
How long it takes: 10 minutes to prep, plus time to chill
Equipment you’ll need: sharp knife, Mason jar (quart size) or covered glass bowl
Servings: 16

Pickled Radishes
Given the wild popularity of my recipe for pickled red onions, I wanted to bring you another easy quick pickle. This quick pickled radish recipe might just be my new fave. The great thing about pickled radishes is that you can use them pretty much anywhere you’d use a pickled onion. They’re somewhat similar in flavor, but with a peppery crunch.
Pickled radishes are great on these vegan tacos, shrimp tacos, or on vegetarian nachos, amongst countless other things. I love to throw them on salads, avocado toast, pulled pork, or any Tex-Mex dish. Try adding pickled radishes to your charcuterie or cheese board.

Pickling transforms radishes. If you’re reading this and thinking to yourself, “Well, I don’t like radishes so this recipe clearly isn’t for me,” please keep reading. Pickling this root vegetable completely changes its flavor. The radishes lose their bitter bite and take on that perfect sweet, salty, sour pickled flavor.
(As a side note, if you think you don’t like radishes, you should also try roasting them. Roasted radishes taste completely different than raw radishes, too. They’re also a great low-carb replacement if you’re following a low-carb or keto diet and miss roasted potatoes.)
How To Make pickled radishes
I pickle these radishes exactly the same way as I pickle red onions.
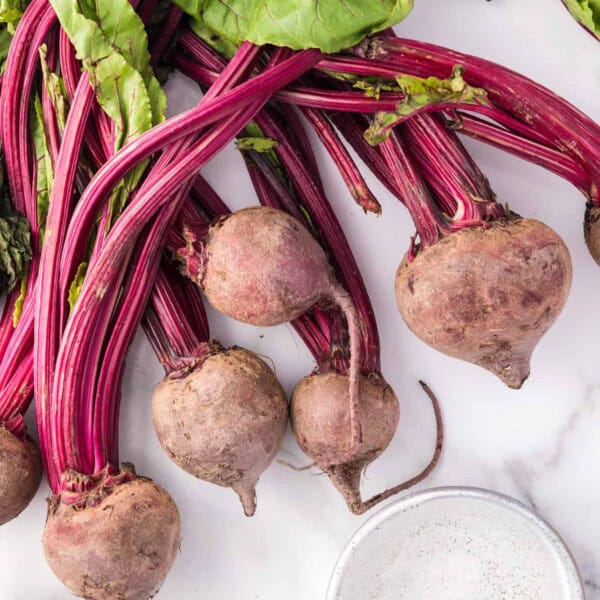
Slice radishes. After scrubbing them thoroughly, I slice the radishes paper-thin on a mandoline. You can also slice them a little thicker, if you prefer. I alternate when I do pickled red onions between thicker and thin, and you can do the same with radishes. You could also slice them into tiny little matchstick pieces. If you don’t have a mandoline, use a nice sharp knife to cut the radishes.
Cover with brine. Next, fill the jar(s) with the sliced radishes. Mix the brine ingredients: apple cider vinegar, salt, sugar, and very warm water. Pour the brine over the radishes and let them set on the counter for an hour or so, then cover and refrigerate them.
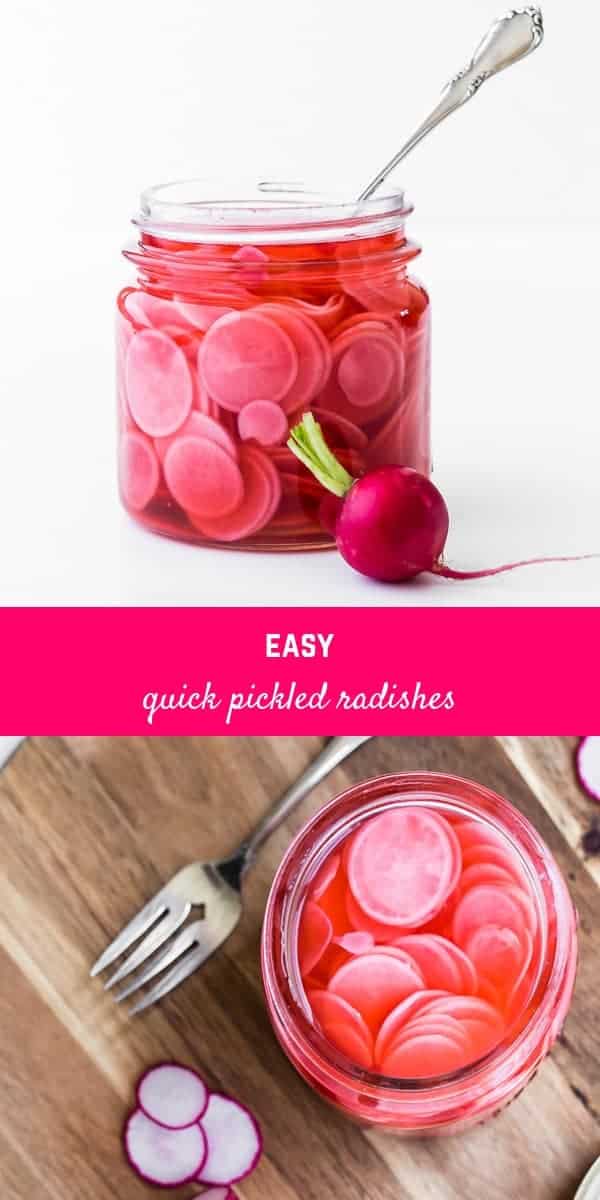
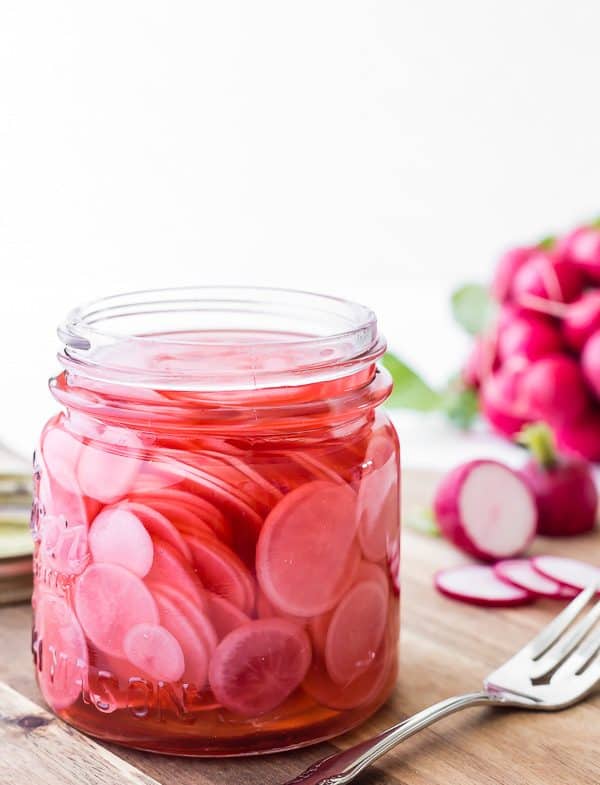
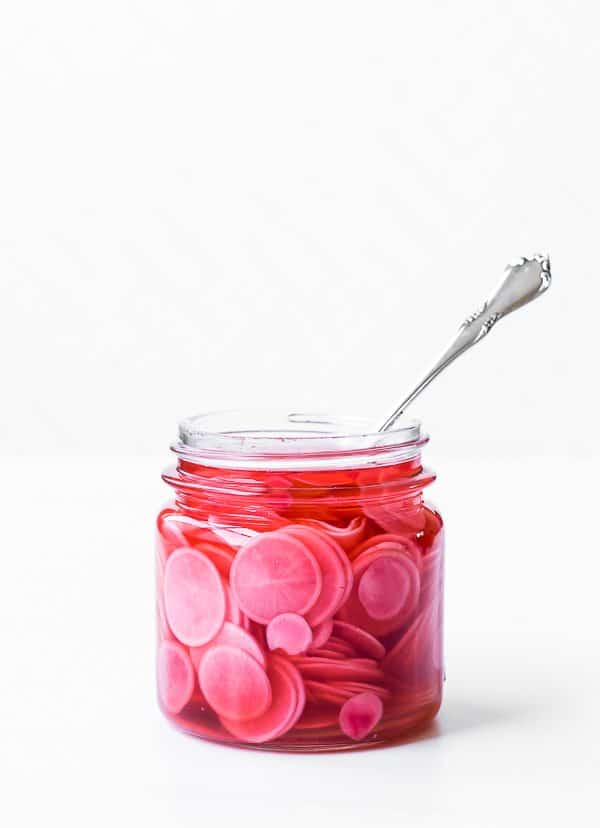
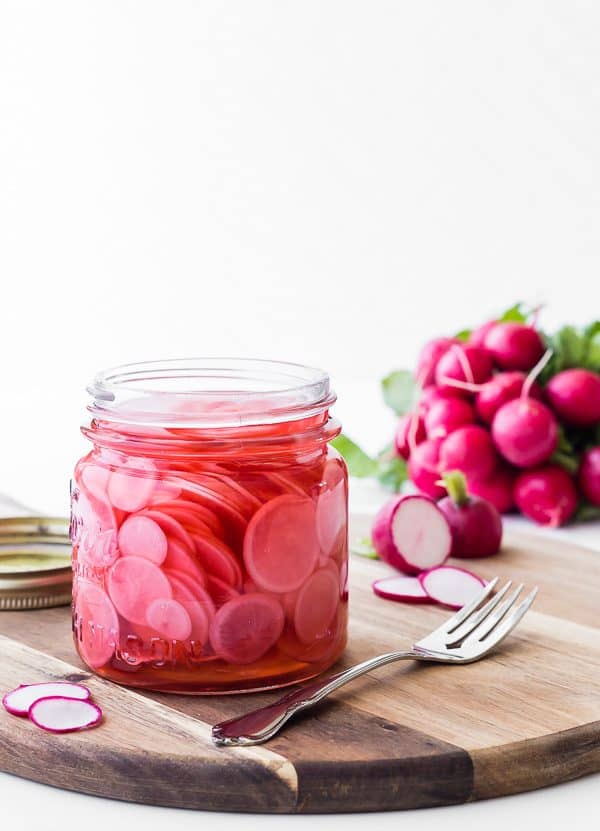
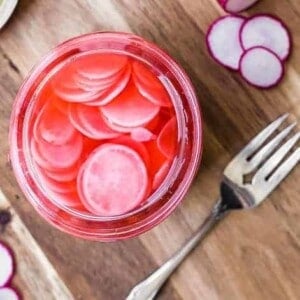
What you’ll see: Pickled radishes keep their characteristic red ring around the outside and white centers for about an hour or two in the pickling solution, and then they turn the pretty light pink color that you see in the photos here.
Serve or refrigerate. Pickled radishes will keep fresh in your fridge for a few weeks. As time goes on, they will get softer.
Flavor Enhancements
- Red Pepper Flakes: Start with ½ teaspoon and add more as desired. If you’re a fan of hot & spicy pickles, this is the way to go.
- Mustard Seeds: This is a very common ingredient in pickles. I’d add ½ teaspoon to each jar.
- Black Peppercorns: Use whole peppercorns, not ground black pepper which will make the brine turn muddy. Black pepper will add a more subtle spicy heat than crushed red pepper flakes.
- Coriander Seeds: Another common ingredient in pickle spice.
- Fresh Dill: If you love dill pickles, you have to try dilly radishes! Use fresh dill, including the heads (flowers and seeds), stems, and leaves. Push the dill into the pickling brine in the jar. The more you add, the more dill flavor the pickled radishes will have.
- Garlic Cloves: Peel fresh garlic and leave the cloves whole, or slice them for more garlic flavor. You can use as many as you like. Put them into the brine along with the sliced radishes.
More quick pickles
Refrigerator pickles are easy, fun, and a great way to eat more vegetables. Try:
- Pickled Cauliflower
- Pickled Green Beans
- Pickled Vegetables: A mixture of cauliflower, carrots, onions, jalapeños, and radishes, spicy or not, your choice.
- Refrigerator Dill Pickles
- Pickled Asparagus
- Pickled Turnips
- Korean Pickles
Quick Pickled Radish Recipe – How to Pickle Radishes
Equipment
Ingredients
- 1 bunch radishes (18 to 20 average sized radishes)
- ½ cup apple cider vinegar
- 1 tablespoon granulated sugar
- 1 ½ teaspoons salt
- 1 cup hot water
Instructions
- Slice radishes as thin as you can. I usually use a mandoline. They can be cut more thickly if you prefer, or you can do a mixture of thin and thick. Radishes can also be cut into small matchstick pieces.1 bunch radishes
- Stuff all the radishes into a jar of your choice. I use a Mason canning jar (quart size) but a large recycled pickle jar will work too. A glass bowl is fine if you don't have a jar.
- In a large measuring cup, combine apple cider vinegar, salt, sugar, and hot water. Stir until the sugar and salt are dissolved.½ cup apple cider vinegar, 1 tablespoon granulated sugar, 1 ½ teaspoons salt, 1 cup hot water
- Pour this pickling mixture (brine) over your sliced radishes, and let them set at room temperature, for an hour.
- After an hour, cover and refrigerate the pickled radishes.
Notes
- Storage: Pickled radishes can be refrigerated for up to three weeks. If at any time, the pickling liquid is cloudy, discolored, or smells funny, discard the pickled radishes.
- Flavor enhancements: You can add your own flourish to this pickled radish recipe by adding an ingredient or two to the brine. Try crushed red pepper flakes, black peppercorns, whole mustard seed or coriander seeds, fresh dill (the seed heads, stems, and leaves can be used), or garlic (peel the cloves and add them whole or sliced).
- Nutrition note: Since you don’t drink the pickling liquid (at least I don’t), the nutrition information below is slightly inaccurate. It’s difficult to say how much of the brine is absorbed by the radishes
Video
Nutrition
Nutrition information is automatically calculated, so should only be used as an approximation.


Great recipe, made it today and added peppercorns, mustard and coriander seeds. Delicous :)
So glad you liked it, thank you for taking the time to leave a review, it means a lot!
Love this, simple and delicious
Thank you so much!
I left my radishes ( long ) whole. I added garlic slices and a whole shallot. Sublime ❤️
I bet they’re so pretty whole!