
Recipe Overview
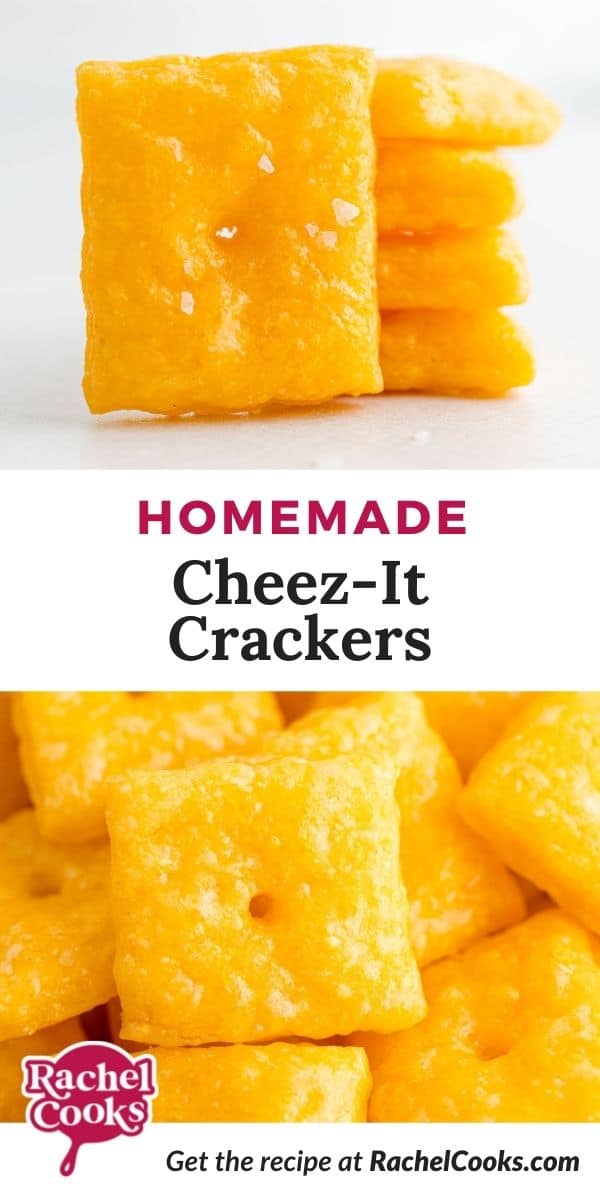
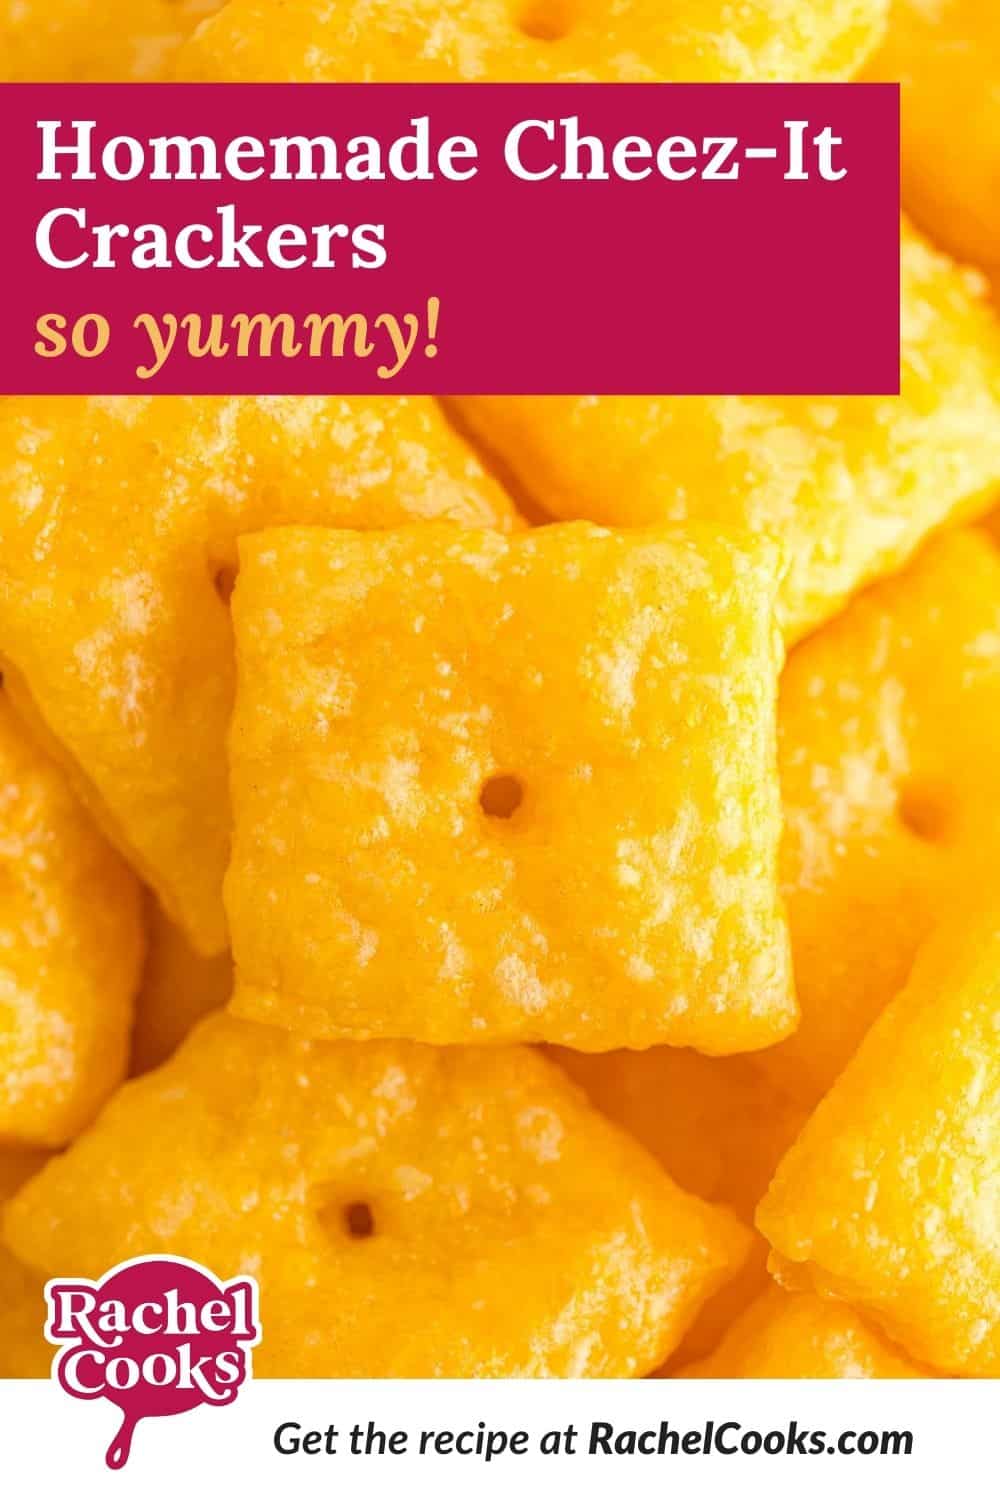
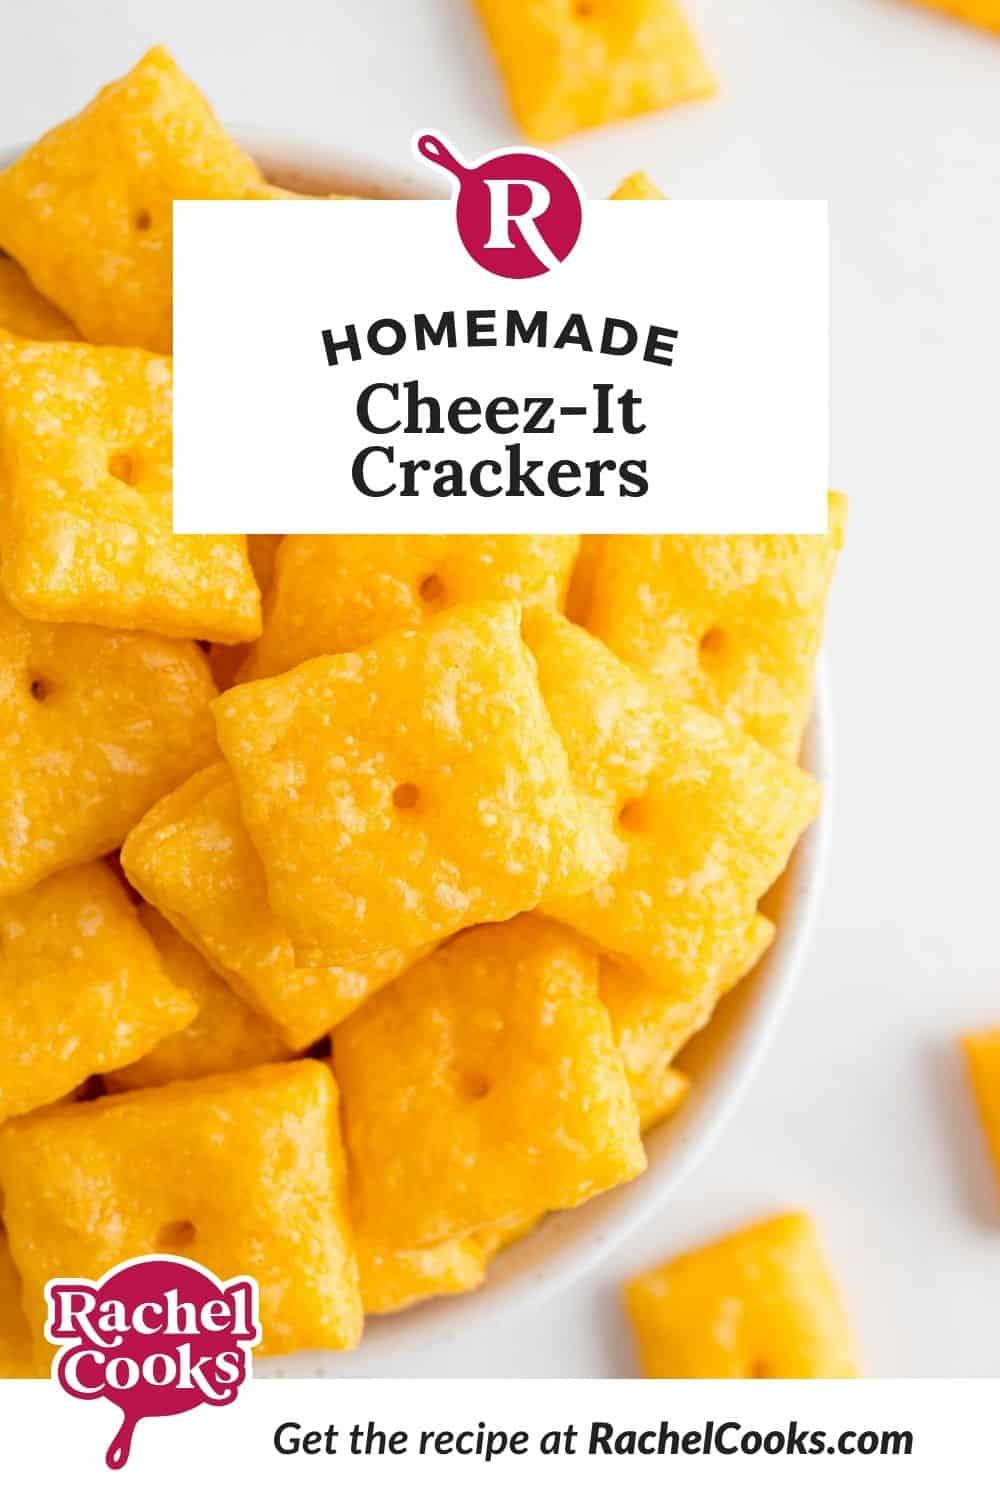
Why you’ll love it: Try making homemade Cheez-Its, the popular cheddar cheese crackers. Homemade is always better: healthier, more economical, and made with wholesome ingredients.
How long it takes: about an hour (that includes chilling time)
Equipment you’ll need: food processor, baking sheet, parchment paper
Servings: Makes 15 dozen small crackers

About homemade Cheez-Its
Easy to make. Crisp golden cheddar cheese crackers are wholesomely addictively delicious. They are surprisingly easy to make (it’s actually kind of fun!). You probably have everything you need in your pantry and refrigerator: sharp Cheddar cheese, butter, flour, ground mustard, salt, and water.
Absolutely delicious. If you’re wondering how the homemade version compares to the store-bought crackers, be assured that homemade wins hands-down!
Perfect with Diet Coke. Did you know that the best combination in the world (okay, maybe “the world” is a bit of an exaggeration) is Cheez-Its and Diet Coke? The Cheez-Its are best if they are on the extra brown side, and the Diet Coke is best out of a can. Trust me on this one.

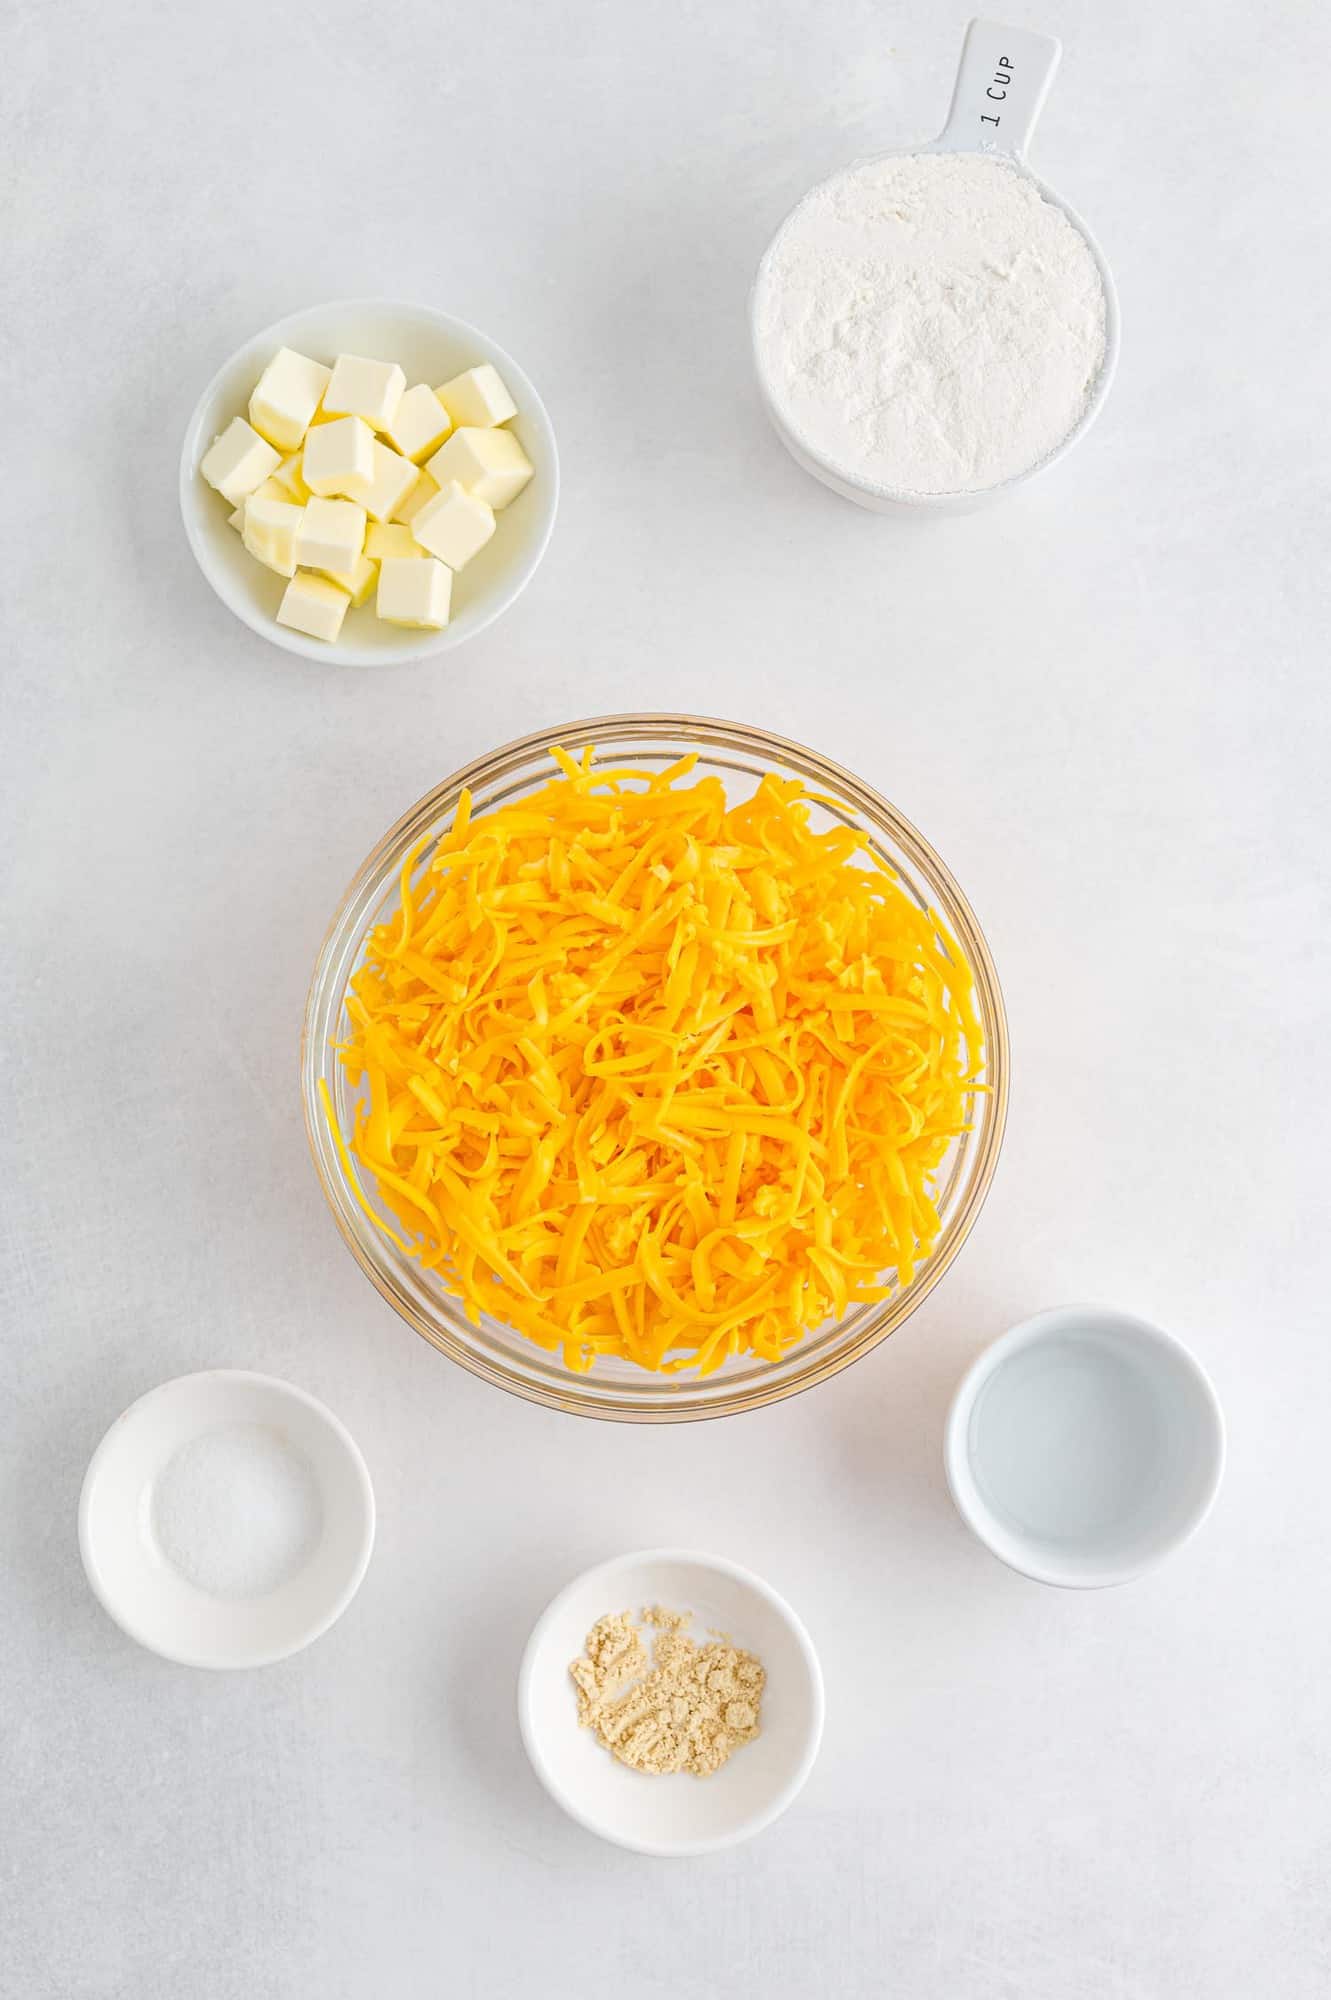
Ingredient Notes
- Sharp Cheddar Cheese: You’ll need 8 ounces of sharp cheese. Avoid using pre-shredded cheese. It just doesn’t work as well in this recipe. The sharper the cheese, the tastier your crackers will be. (I like extra sharp cheddar cheese.)
- Butter: Use cold butter, no substitutes. This is not the place for butter spreads. I usually use unsalted (sweet) butter, but if you use salted butter, decrease the amount of salt you add.
- Flour: Plain all-purpose flour is all you need.
- Ground Mustard & Salt: Dry ground mustard is found in the spice aisle of the grocery store. The crackers don’t taste like mustard, I promise you, but the spice adds depth to the flavor of the crackers (if you don’t have it, don’t worry, they can be made without it). Crackers also just need a bit of salt or they won’t taste like crackers. If you’re concerned about sodium, cut back on it a bit but not too much.
- Food Processor: A food processor makes it easy to shred the cheese and to mix everything together. If you don’t have one, the dough can be stirred up by hand but it will take a little arm power.
How To Make Homemade Crackers
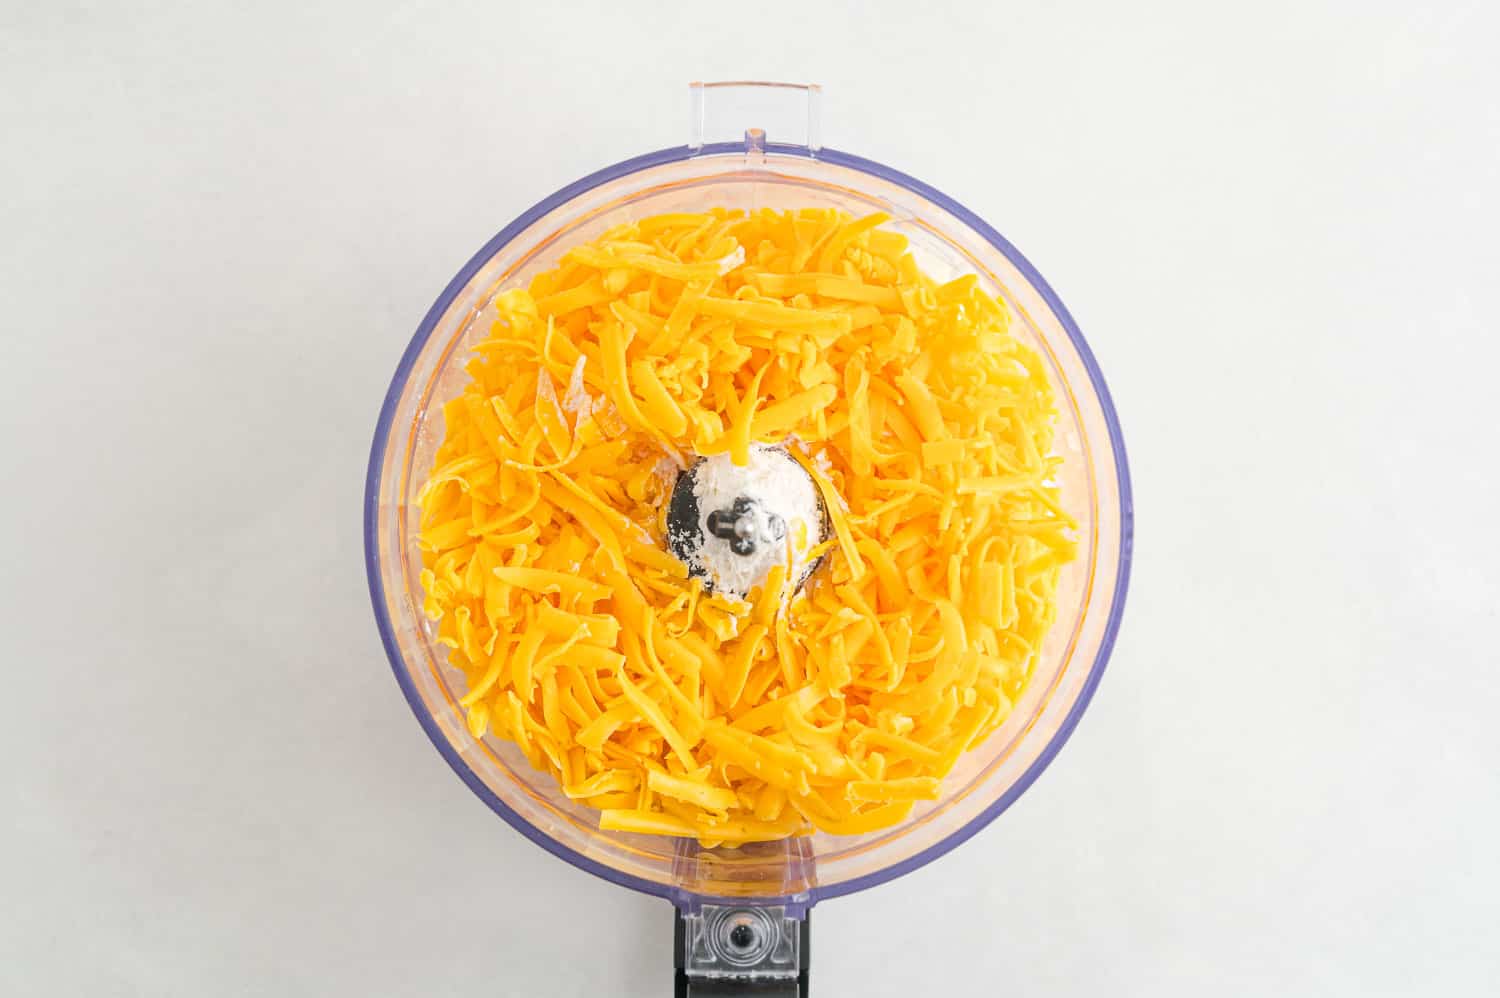
Shred cheese. Begin by shredding the cheese in your food processor. Use the shredding disk. HELPFUL TIP: Well-chilled cheese shreds more easily than warm cheese.
Make dough. Remove the shredding disk and the shredded cheese. Insert the normal, S-shaped blade. Add the flour, butter (cut into little pieces), dry mustard, salt, and cheese.
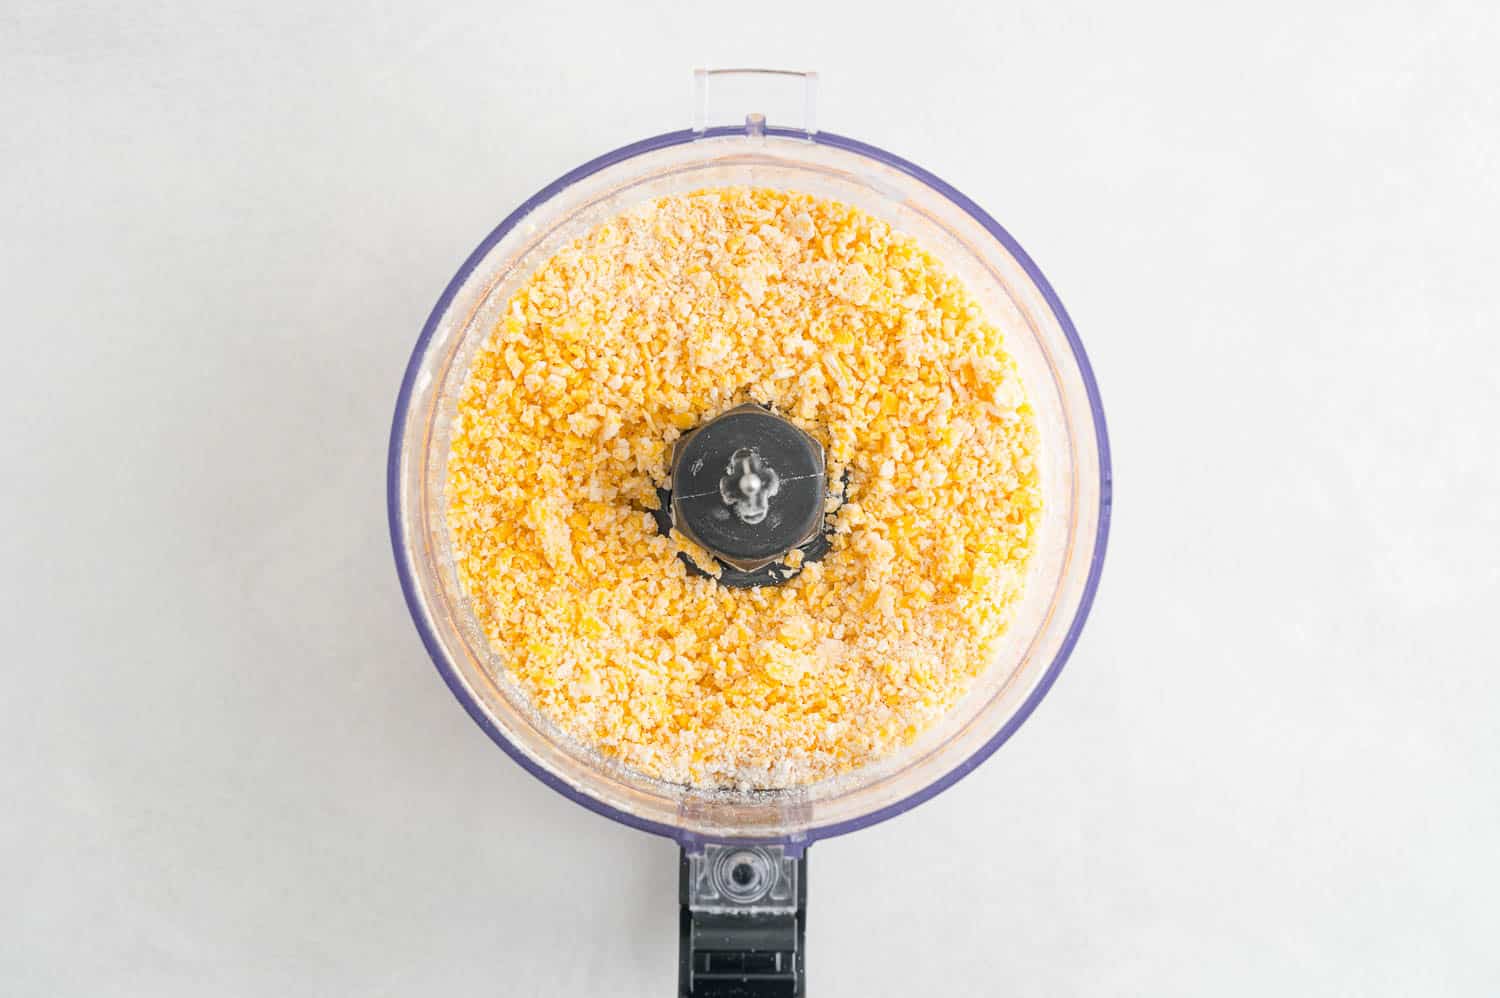
Pulse the mixture several times. Stop when it looks like coarse crumbs.
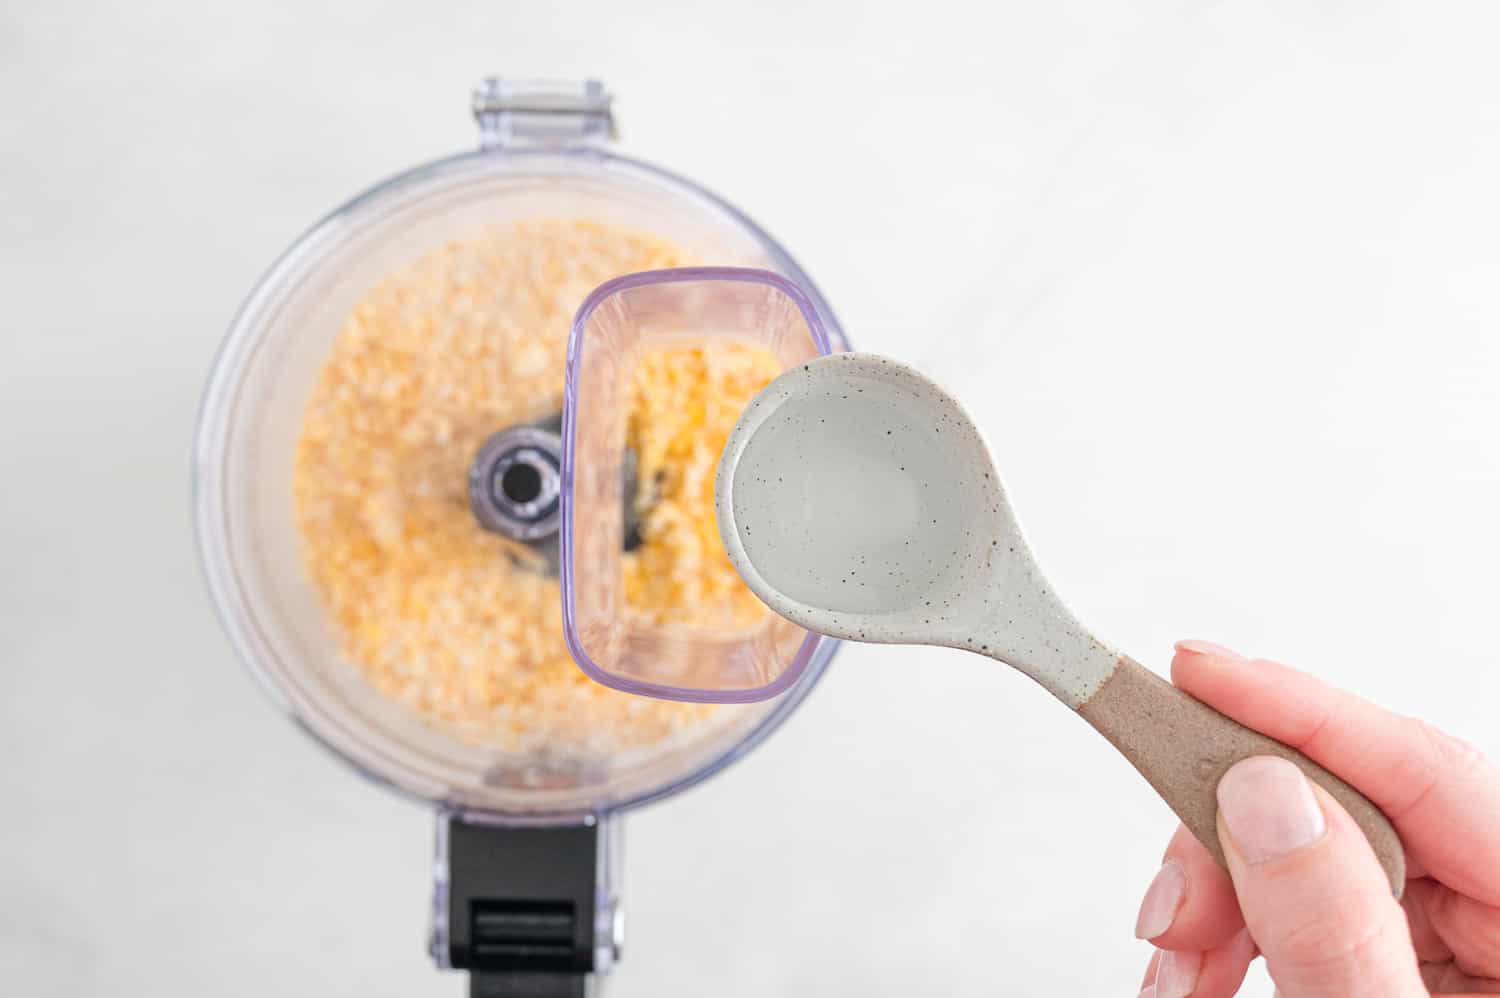
Add the water, a tablespoon at a time, and pulse briefly each time. The dough should come together. Don’t overprocess it.
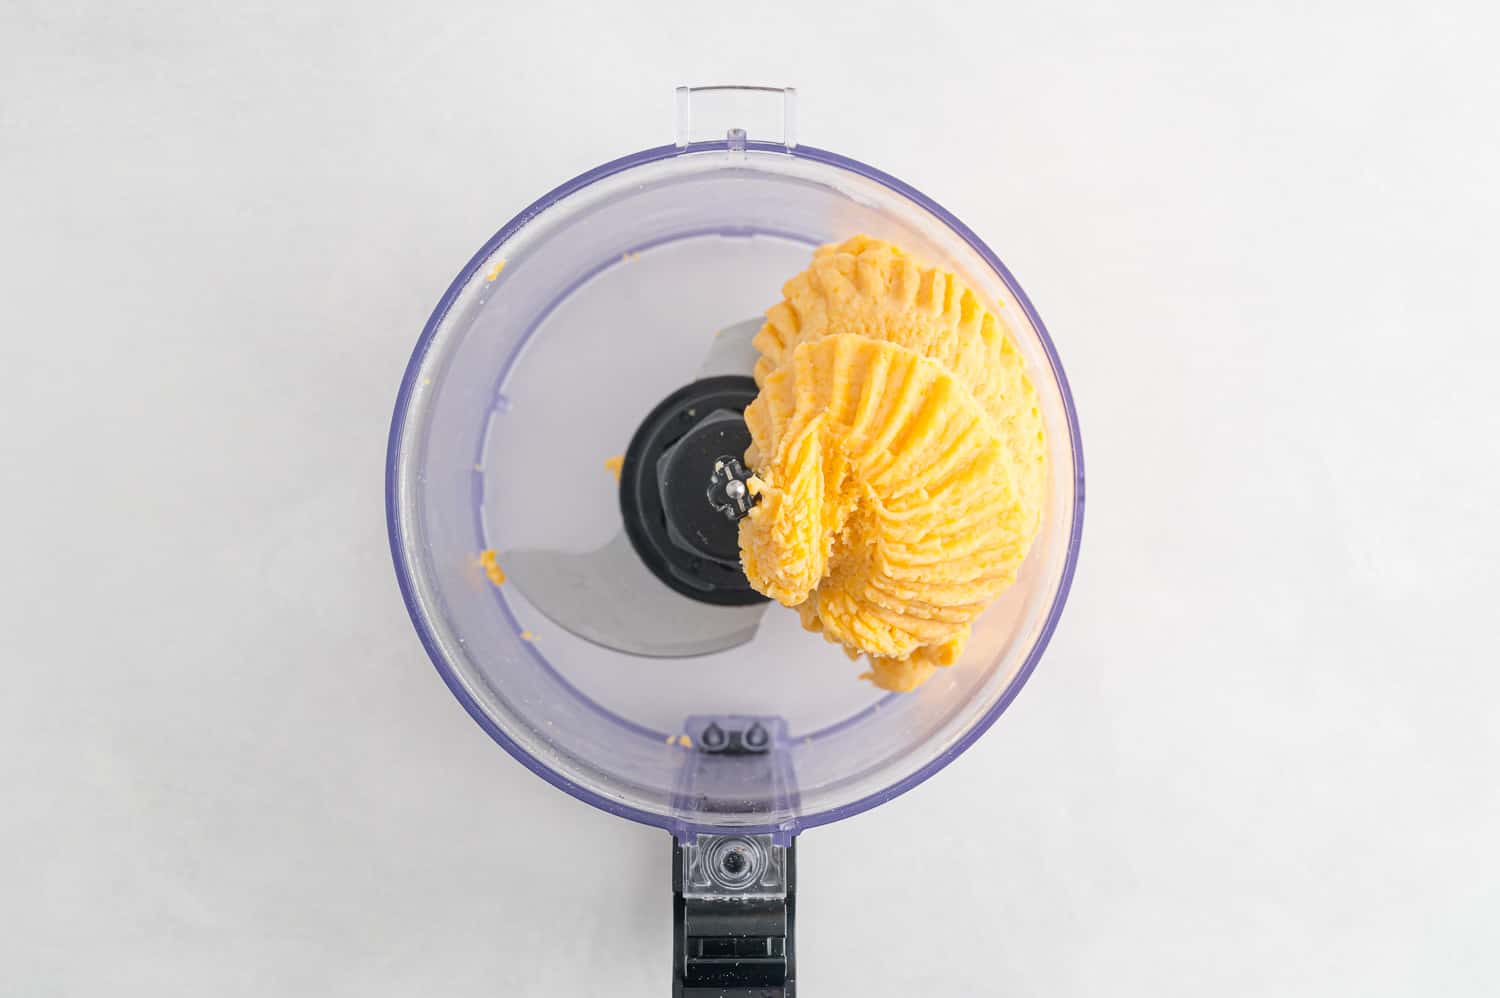
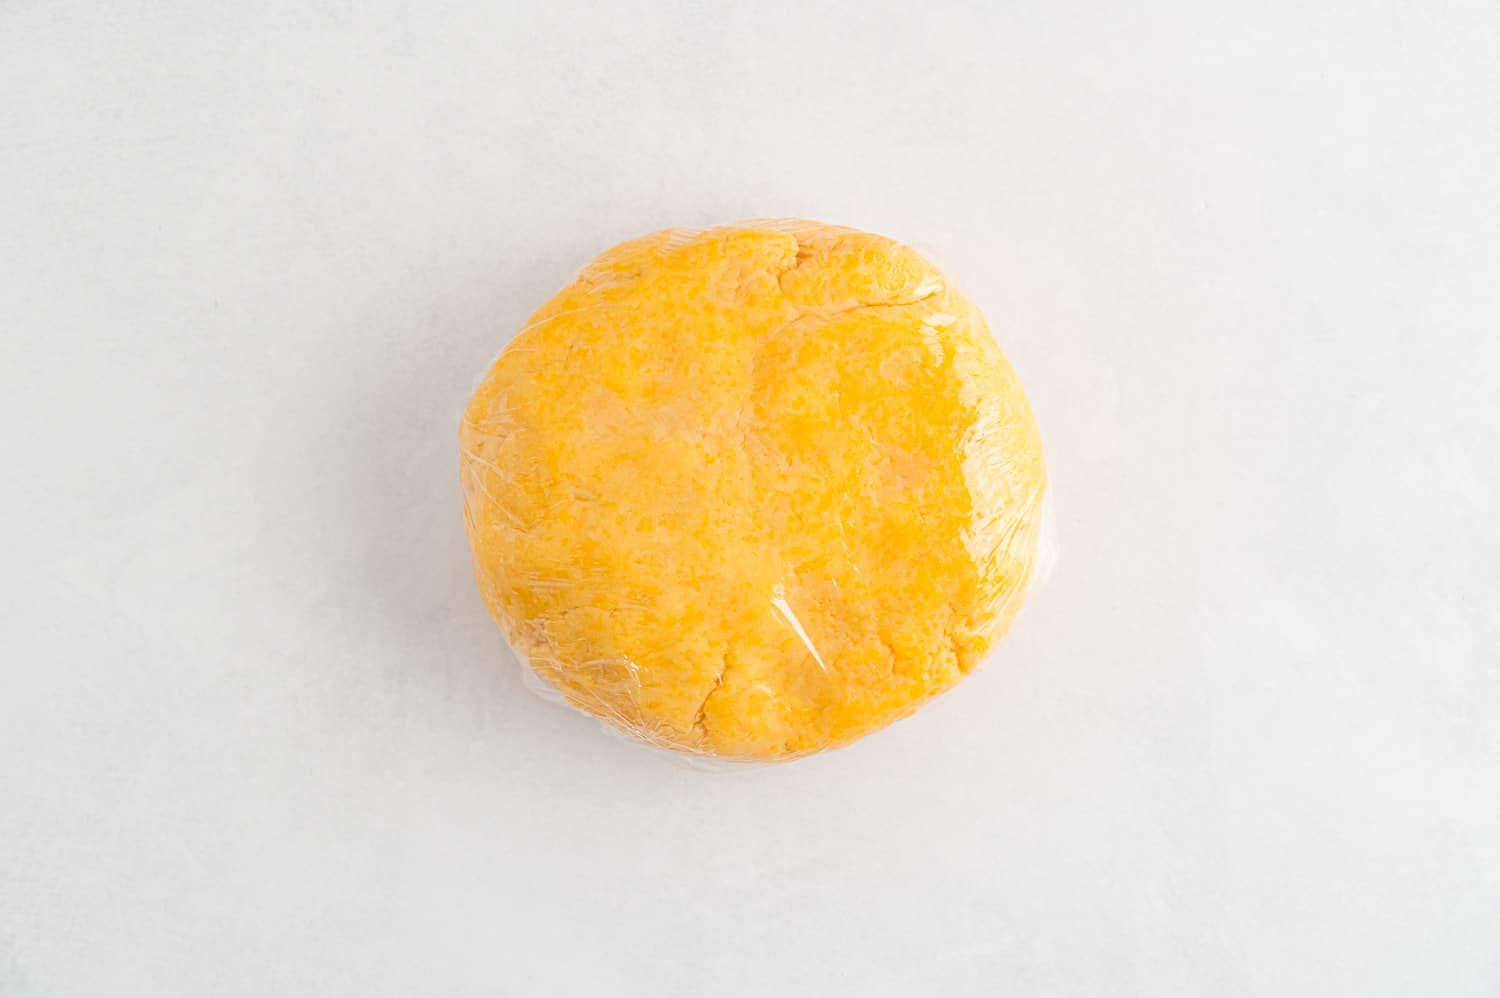
Chill dough. Remove the dough from the food processor, wrap it in plastic wrap, and chill it in the refrigerator for at least 20 minutes so it will roll out easily.
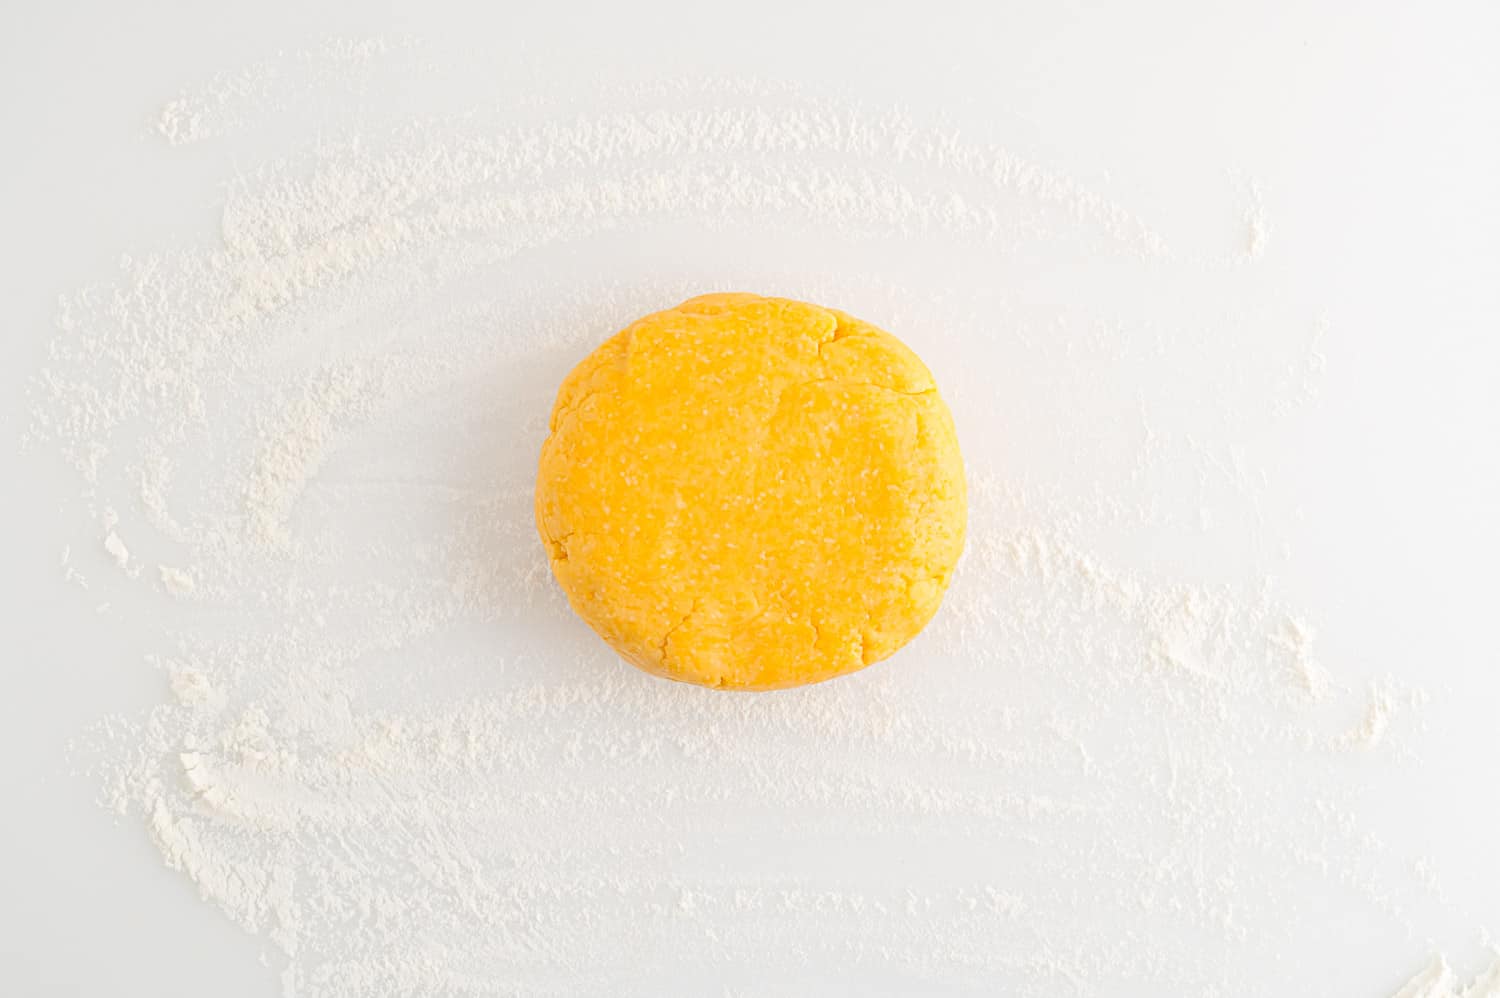
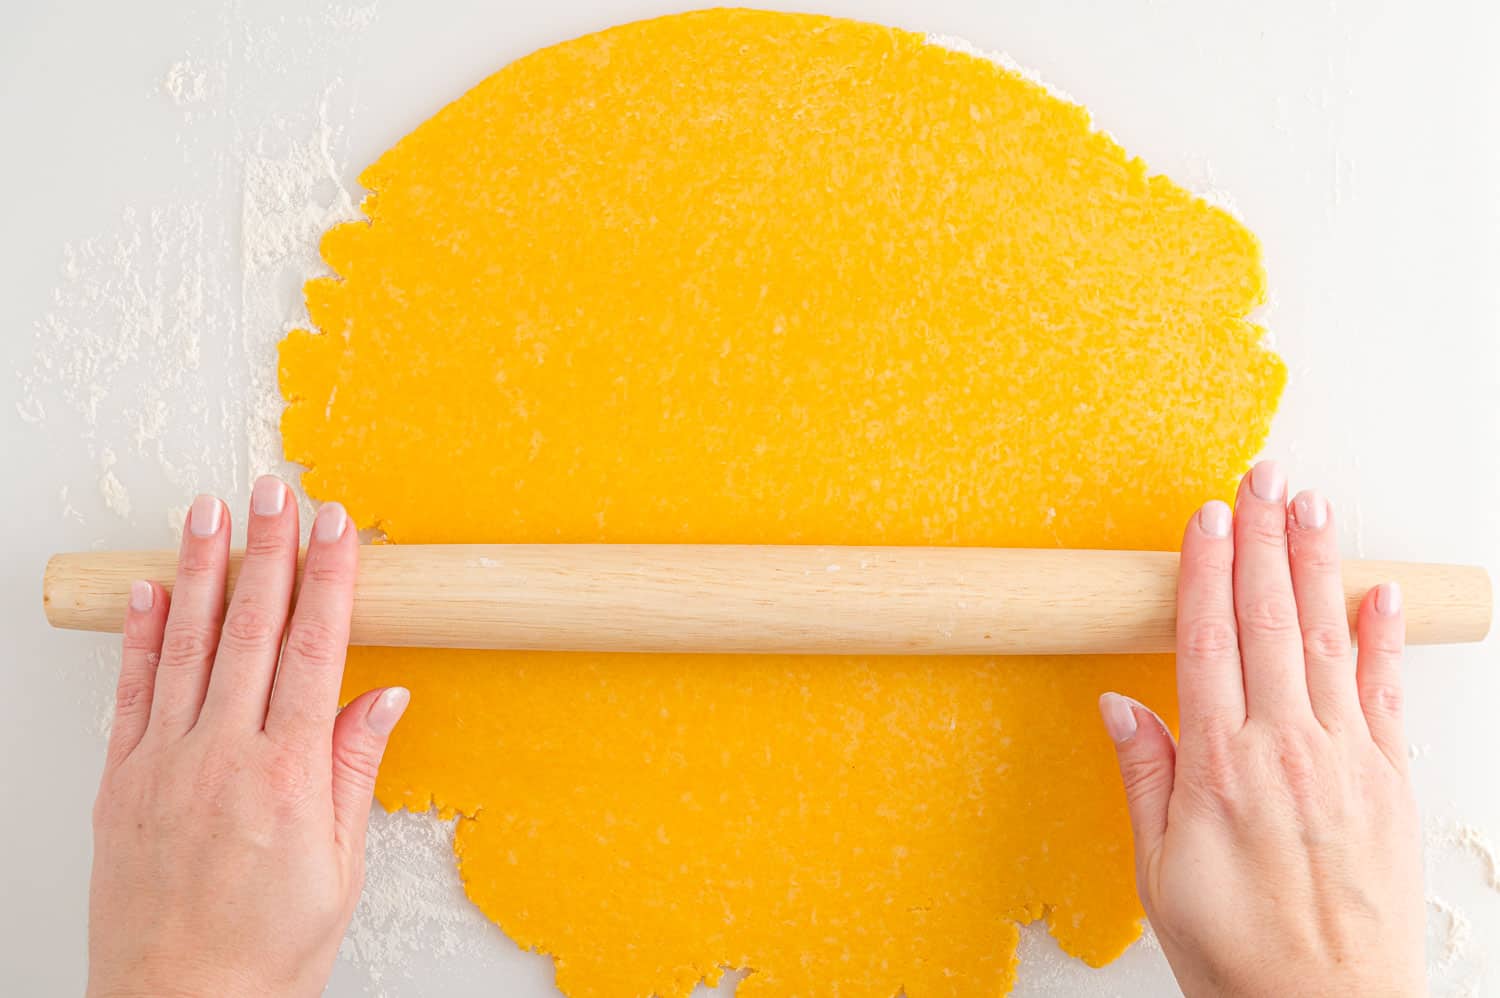
Roll the dough. On a floured surface, roll the dough out nice and thin. If you want to divide the dough into two portions first to make it easier to roll it, that’s up to you. The thinner it is, the crispier your crackers will turn out. Shoot for ⅛-inch or even less.
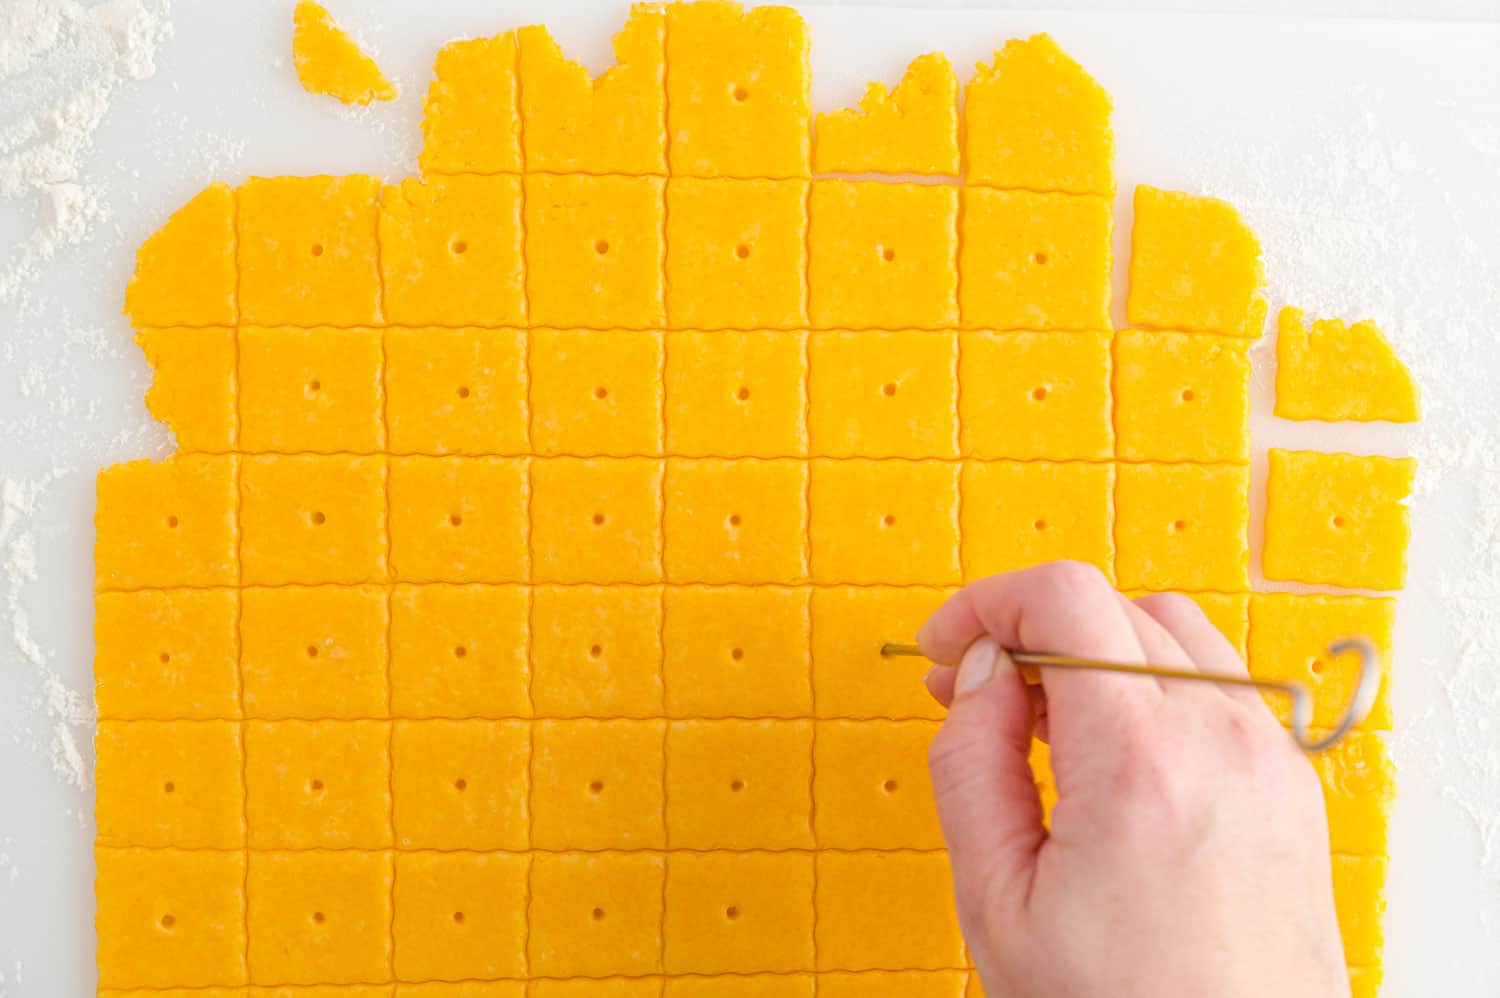
Cut the dough. Cut the squares with a pastry cutter to give them that trademark crinkle edge. If you don’t happen to have one, a pizza cutter or sharp knife works fine. Cheez-Its are about one inch square. You’ll get a lot of crackers, about 15 dozen, but that depends on the size and thickness. Re-roll the scraps to use up every bit of dough.
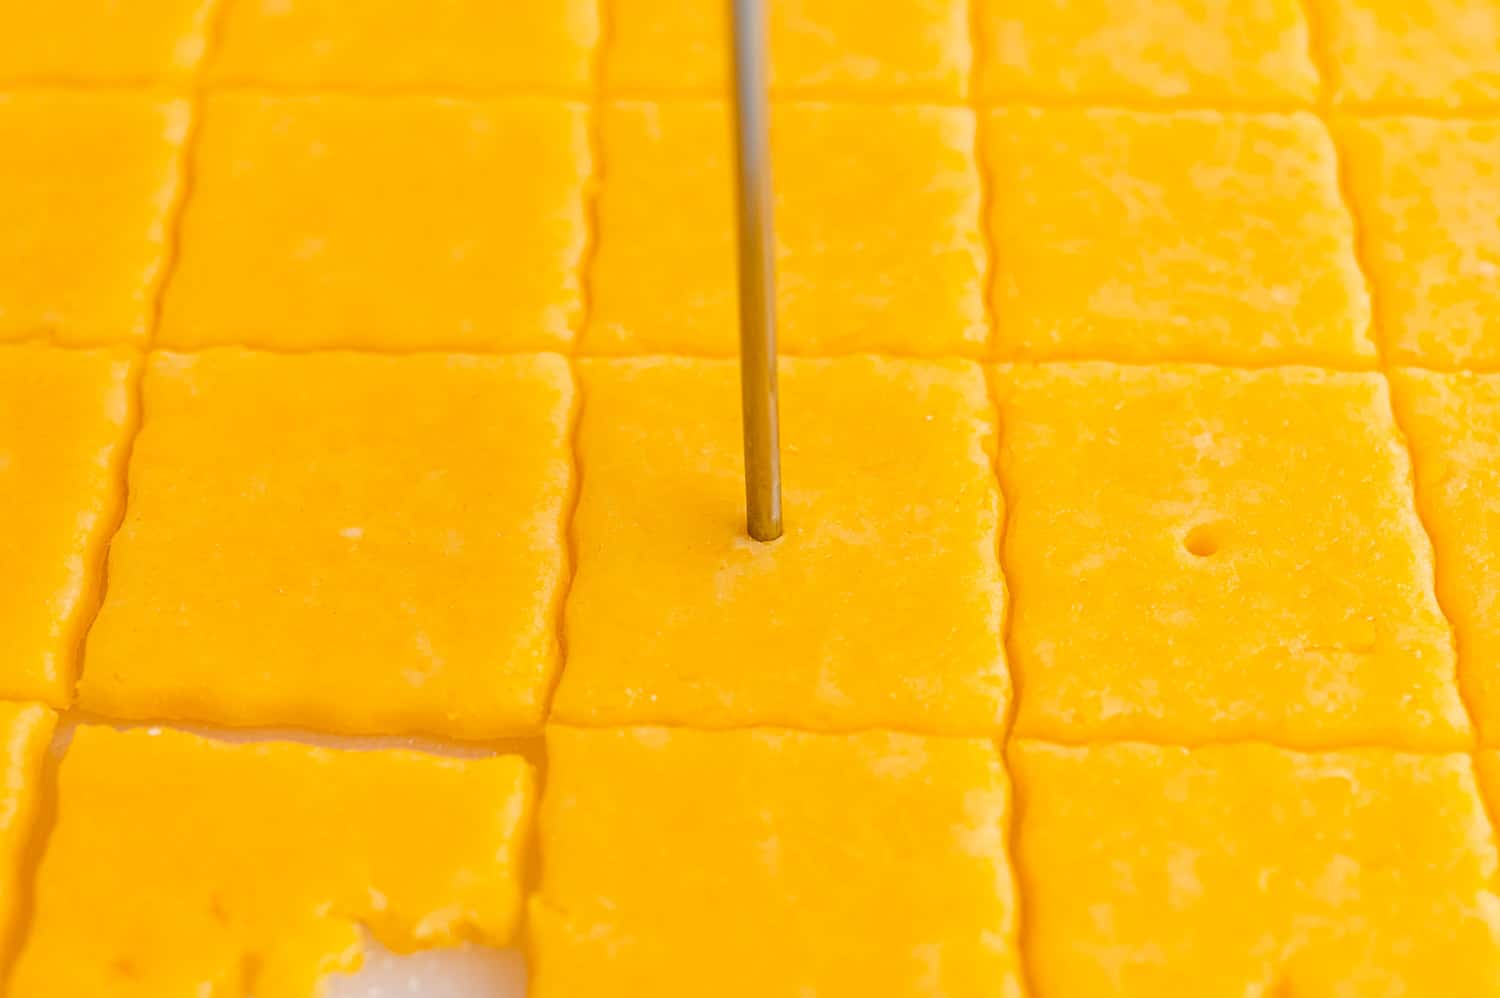
Make the center hole. For that little trademark hole in the center, use a chopstick, skewer, knitting needle or whatever you can find. A toothpick is too small.
Why is there a hole in Cheez-Its?
The center hole makes the crackers crispier. It allows the steam to escape while the crackers are baking and keeps them from looking like little pillows. (If you think about it, most crackers have small holes in them.)
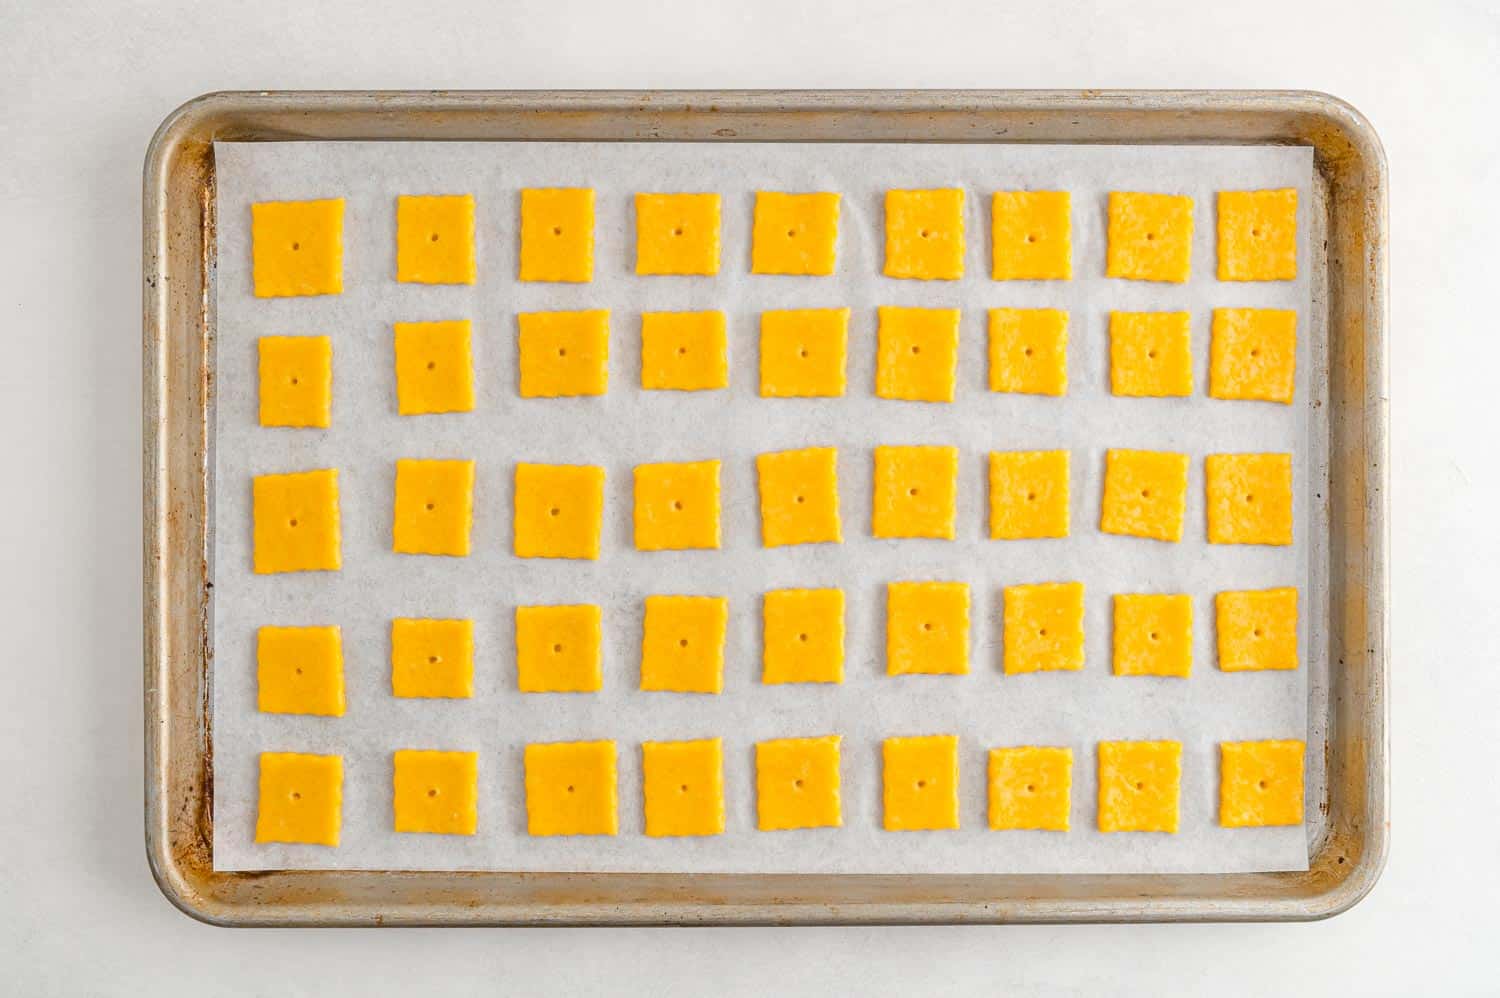
Arrange on baking sheet. Arrange the crackers close together on a parchment-lined baking sheet. They won’t spread, so put them as close as you can so you can fit a lot of them on.
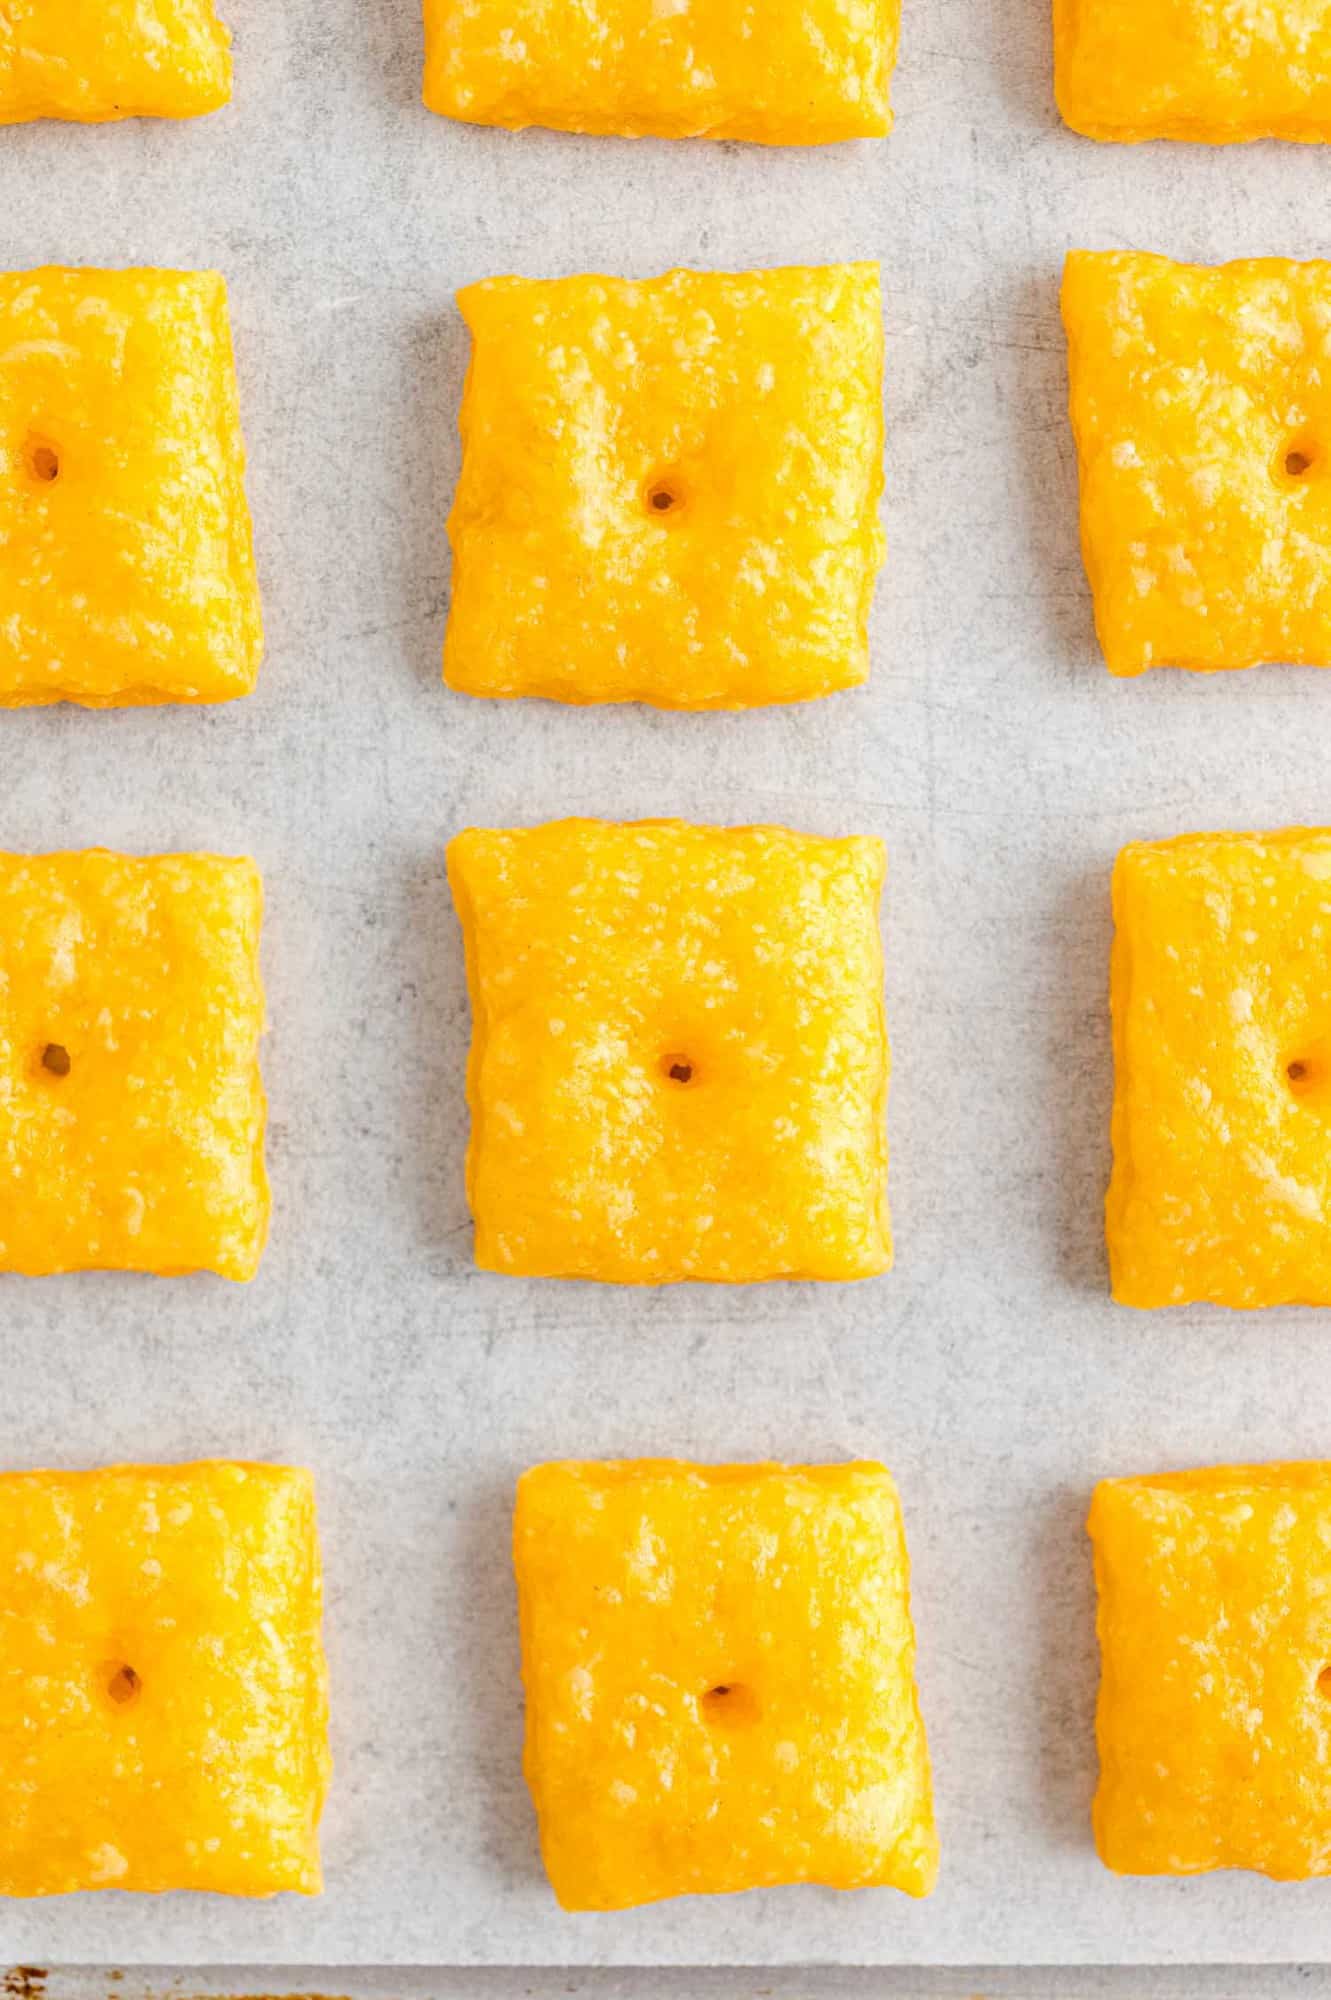
Bake. Bake the crackers for 17 to 20 minutes or until they are as crispy as you like them. The browner they are, the crispier they are. Pop the tab off a can of Diet Coke and snack away! (If you want, you can share them with the kids.)

By the way, these homemade crackers are perfect for a cheese board or charcuterie board. Your friends will be really impressed when they try your homemade crackers.
Recipe Variations
- Try a different cheese. I haven’t tried anything other than extra sharp cheddar but if you want, try another type of cheese. I recommend a sharp cheese rather than a mild cheese. Try to shred your own (it’s easy to shred cheese with your food processor). I find that pre-shredded cheese doesn’t work as well as block cheese.
- Experiment with seasoning. I’d love to hear some of your combinations. Try adding taco seasoning, all-purpose seasoning, or curry powder!
- Cut them into fun shapes. Be creative! Maybe the kids would like to help. I recommend keeping your designs small. Add homemade crackers to an after school snack board.
Let crackers cool completely before storing in an airtight container. They’ll keep for at least a week at room temperature. For longer storage, put them in a freezer-safe container and freeze for a month or even longer.
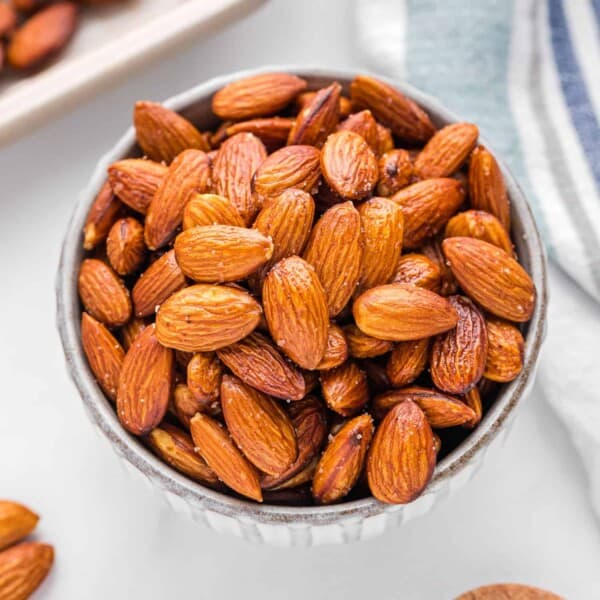
More Snack Recipes


Homemade Cheez-Its

Ingredients
- 8 ounces sharp cheddar cheese (see note)
- 1 cup all-purpose flour
- 4 tablespoons unsalted butter, cut into small pieces
- ¾ teaspoon salt (if you use salted butter, decrease to ½ teaspoon)
- ½ teaspoon dry ground mustard (optional)
- 2 tablespoons cold water
Instructions
- In a food processor, shred cheese using shredding blade. Remove shredding blade and cheese from food processor and replace the blade with the normal blade (s-shaped).8 ounces sharp cheddar cheese
- Add flour, butter, salt, mustard, and shredded cheese to the food processor and pulse until mixture looks like coarse crumbs.1 cup all-purpose flour, 4 tablespoons unsalted butter, cut into small pieces, ¾ teaspoon salt, ½ teaspoon dry ground mustard
- While pulsing, add water 1 tablespoon at a time, until dough comes together.2 tablespoons cold water
- Remove from food processor, wrap in plastic wrap and put in refrigerator for at least 20 minutes.
- Meanwhile, preheat oven to 350°F. Prepare baking sheet by lining with Silpat or parchment paper.
- On lightly floured counter, roll out dough quite thin (⅛ -inch or less). The thinner they are, the crispier they get. Cut into one inch squares. A pastry wheel or pizza cutter works well. Use the tip of a chopstick or skewer to poke a hole in the middle of each cracker (see note).
- Place crackers on a baking sheet lined with parchment paper. You can place them close together, not touching, as they do not really expand.
- Bake for 17 minutes or until crispy, up to 20 minutes. They should be lightly browned on the bottom and firm to the touch. The browner they are, the crispier the crackers will be.
- Cool the crackers in the pan for 5 minutes, then remove to wire rack to cool completely before storing in an airtight container.
Notes
- Cheese: It’s important to grate your own cheese for this recipe for best texture. Don’t use pre-shredded. It only takes a minute using your food processor.
- Yield: Yield depends on the size and thickness of the crackers you make. I usually end up with about 15 dozen crackers.
- Storage: Your Cheez-Its will keep for at least a week at room temperature. For longer storage, put them in a freezer-safe container and freeze for a month or even longer.
- Why the hole? There are two reasons. A one inch square with a hole in the middle mimics the Cheez-It crackers. Additionally, the hole helps the crackers get crispier because it allows the steam to escape from the center of the cracker as it bakes, and keeps it from puffing up like a pillow.
Video
Nutrition
Nutrition information is automatically calculated, so should only be used as an approximation.


Oh my gosh, I just made these crackers, and they are amazing. Their crispy and
tender. Having a hard time not eating them all.
So glad you’re enjoying them! Thanks for taking the time to leave a comment!
This is a great little recipe. I added red pepper flakes. Will be trying with different cheese again soon
Love the addition of a little spice!
Just tried it. The recipe is perfect, and works with Israeli cheddar. :-)
By the way, that is not a hole in Cheez-Its. If you look at the real ones, they use the other side of a pin to push the middle together. They are not little pillows. Try using any tool that has a small broad head and push just hard enough to seal it together. As I remember from seeing my ex-wife’s knitting gear, she had some blunt tipped needles that would do the trick. Happy creating all!
Just made them today. Myself, 5 children and husband all loved them. Ive been interested in making my own copycats lately and this one definitely peaked my interest. My 3 yr old girl will only eat the white mozzarella flavored…..I didnt want to try mozzarella just yet….so I used extra sharp white cheddar, added the suggested dry mustard, and also I added smoked paprika! (that flavor is sooo much tastier than regular paprika). She ate them even though the paprika ended up making them yellow anyway.
Another thing to note,
is next time I will make sure to roll the dough out really thin (almost to be able see thru it), so they will be crispy. I rolled the dough out on my silicone mat, flipped it over onto some parchment paper, put it on my cookie sheet (with no sides) and cut it with my wavy cutter on the cookie sheet. I used the cutter to push and separate each row. That made it way easier, as to not have to individually transfer each cracker to the cookie sheet. Cant wait to try more variations, thanks so much!!
I just made these for a friend as a Christmas present…i had to try one, and then another…really yummy. The scraps of dough are being cooked for our consumption…quick question: i was going to put these in a zip-lock bag once cooled…can these be out or do they have to be refrigerated?
I’m going to be giving them to her in two days. If they last that long.
I’d toss them in the fridge just to be on the safe side. She could always put them in the oven for just a couple of minutes to crisp them back up if they get soft.
I loved those Swiss Cheese Crackers that Nabisco makes, but only sell in Canada now. I have look all over for them, but the shipping costs are ridiculous so I have been living without my favorite crackers. I tried the recipe, but substituted Swiss cheese…TO DIE FOR! My life is complete again!
Thank you so much!
I’m so glad you liked them! You’ve inspired me to try them with Swiss cheese!
I made these the other day. I put the dough through my pasta attachment, so they would not be so thick. Is there anyway to dry them out just a little more? I am at 3000 elv. do I need to cook them longer they are still turning a little brown with the recommended temp. and cooking time.
Very good though. I also make them with Pepper Jack cheese.
Thanks! Unfortunately I don’t know much about high elevation cooking. Great idea to use the pasta attachment!
Any chance you could remake this gluten-free?? My 2 year old is celiac and would LOVE these crackers.
Please include a “print” button and printable version. Thanks.