Recipe Overview
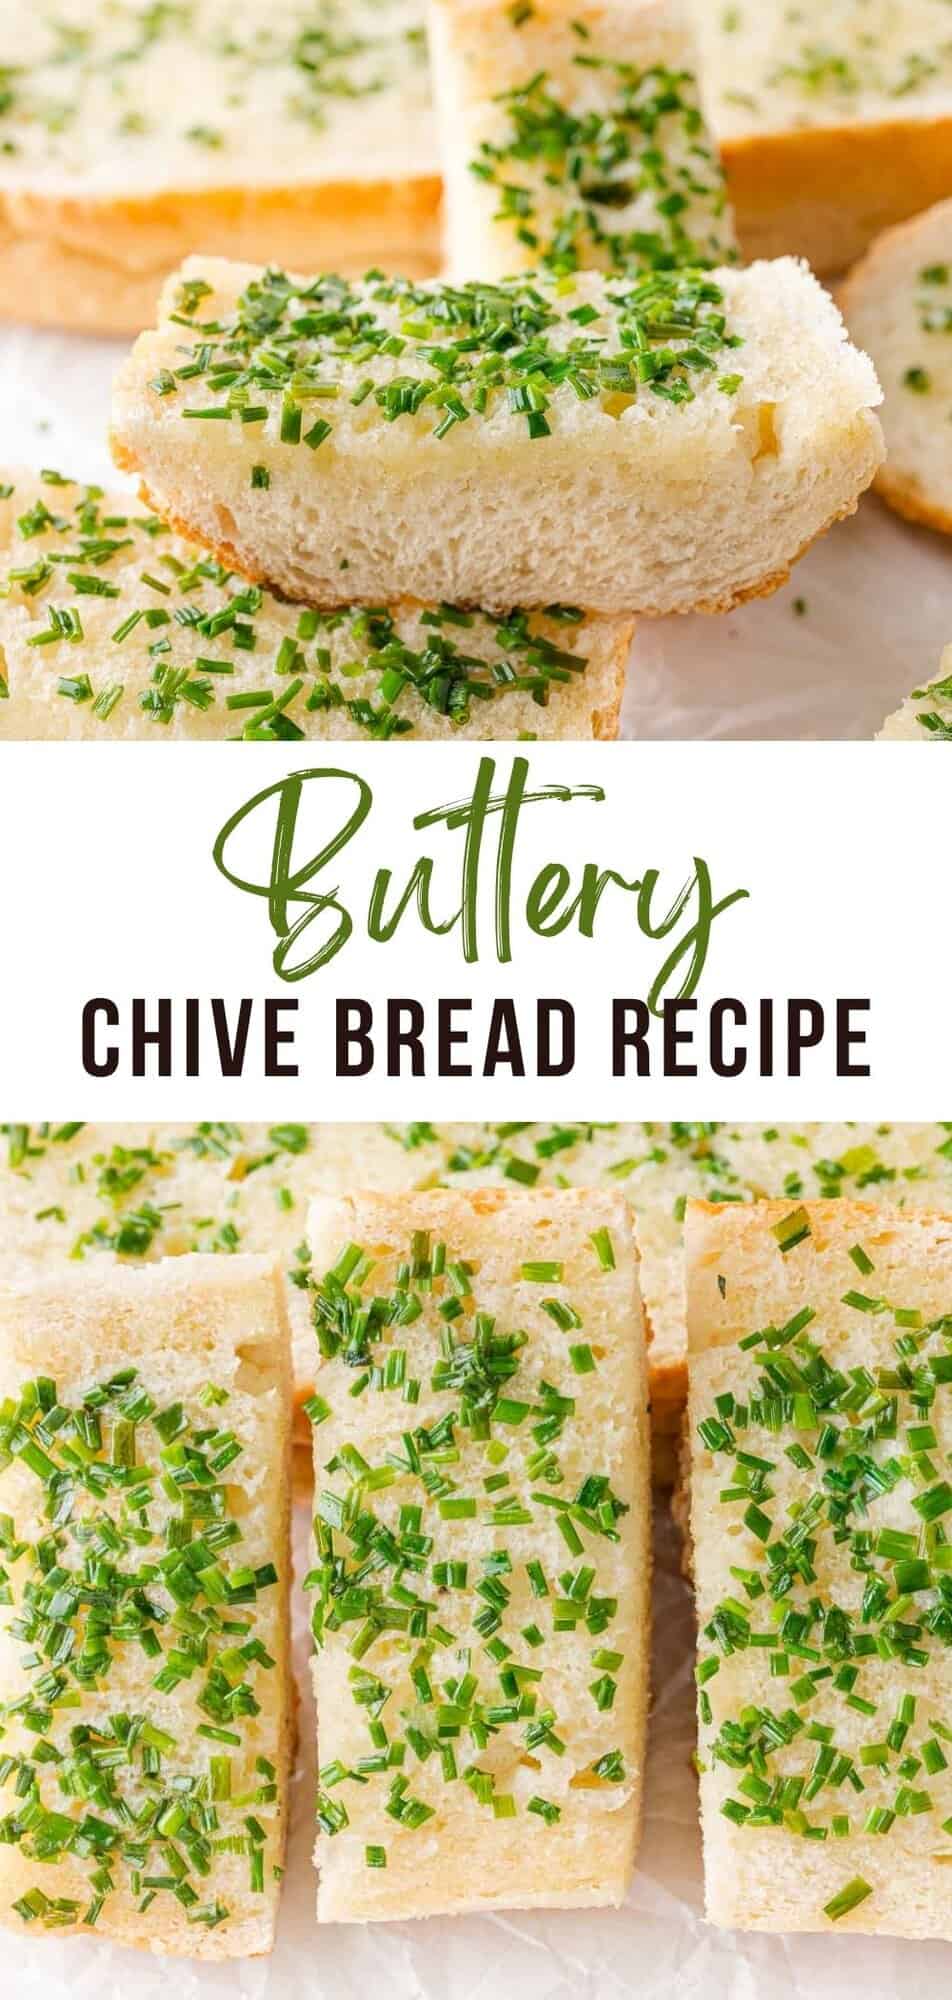
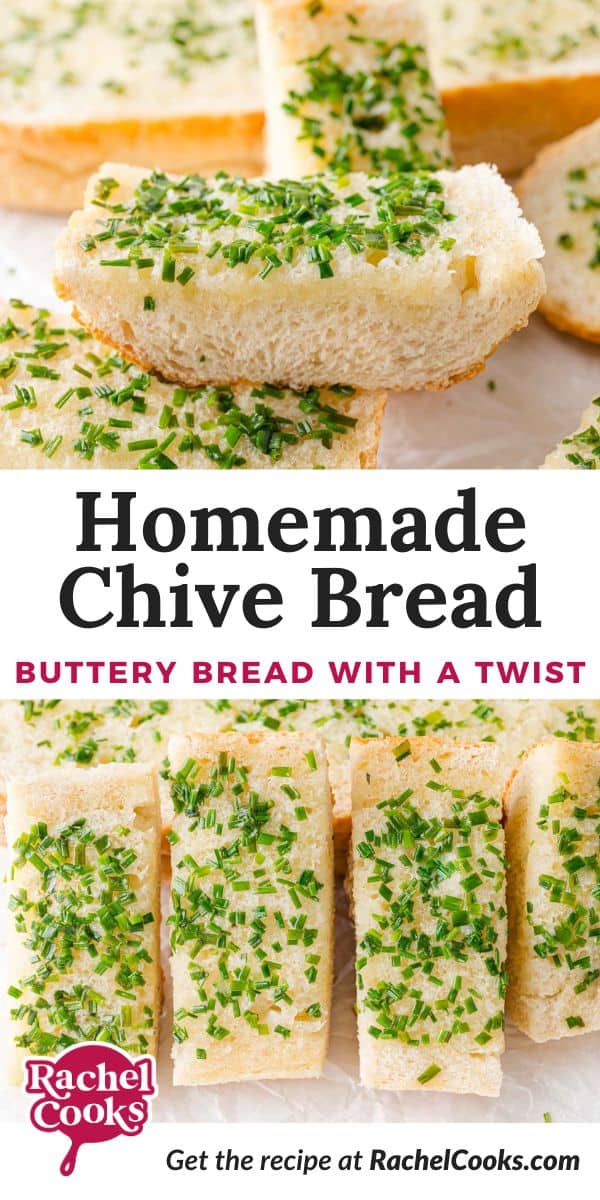
Why you’ll love it: Chive bread is a colorful and flavorful change from typical garlic bread. If you love warm buttery garlic bread (and who doesn’t?), you’ll love this beautiful chive bread which has a mild garlic/onion flavor and is made with fresh chives.
How long it takes: 5 minutes to prep, 12 minutes in the oven
Equipment you’ll need: small saucepan or measuring cup, baking pan
Servings: 1 loaf of bread

Dare I say it? BETTER than Garlic Bread.
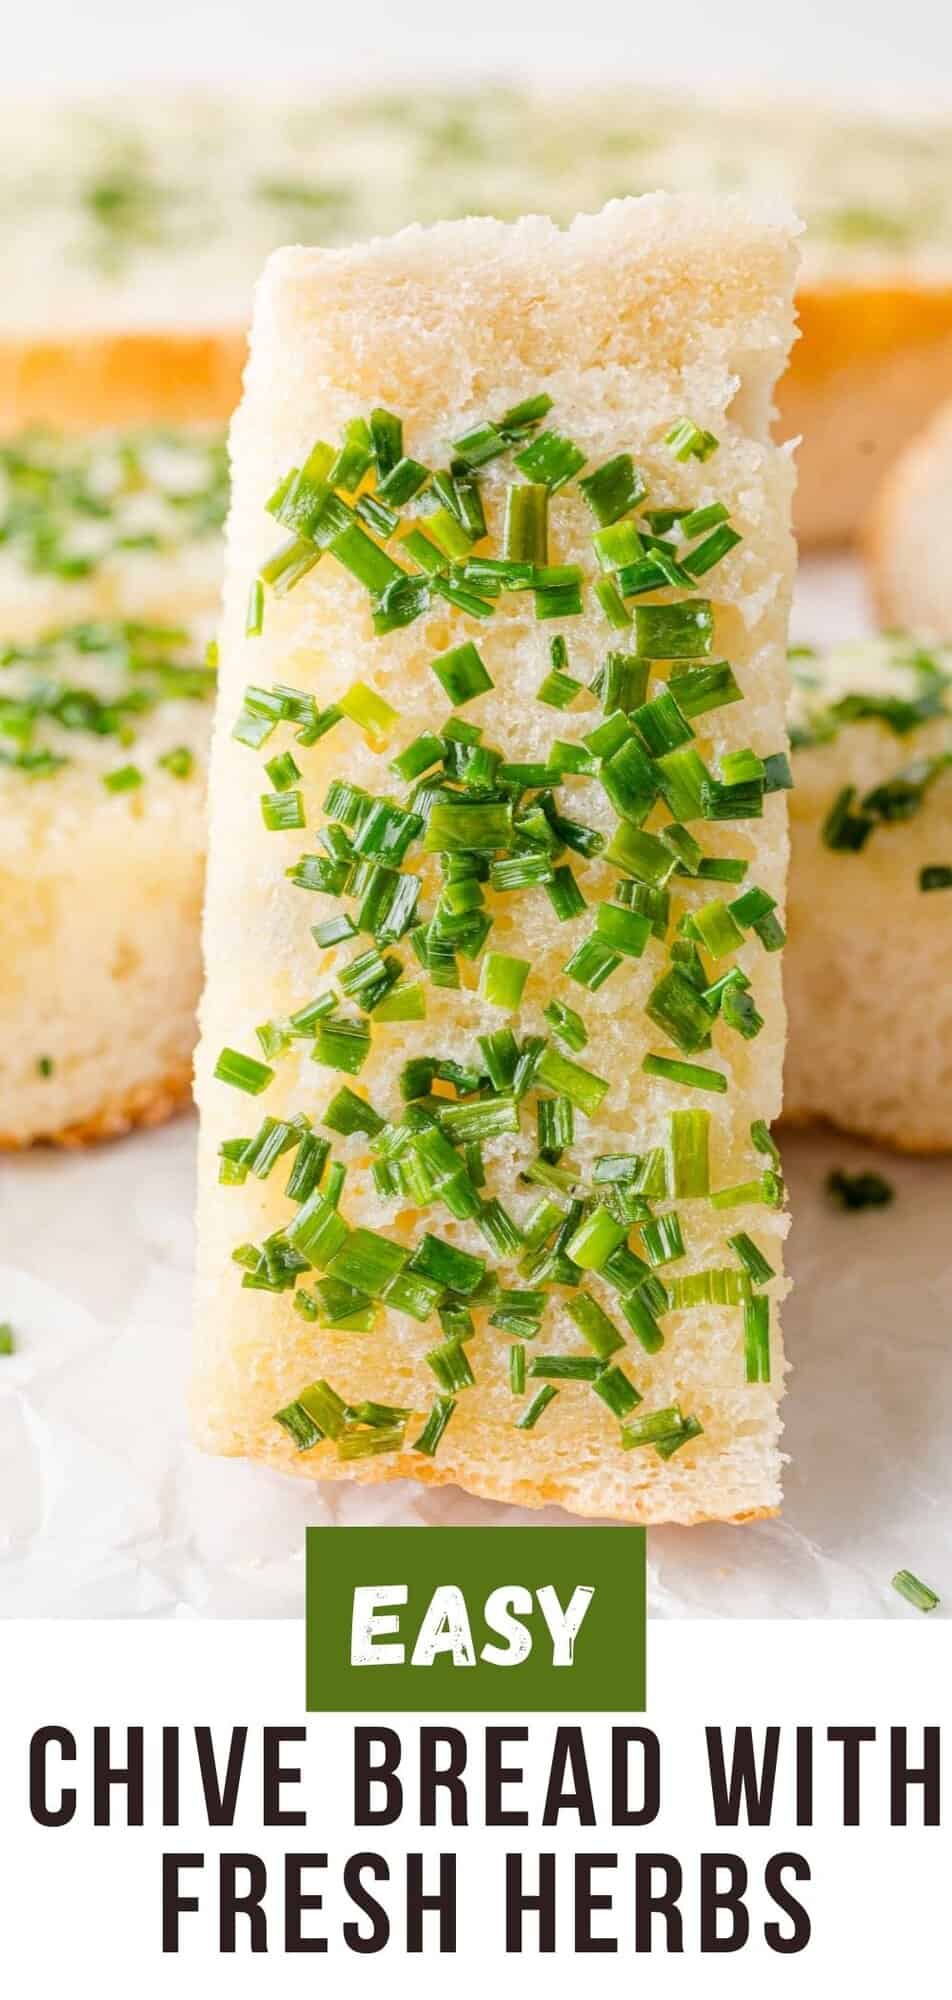
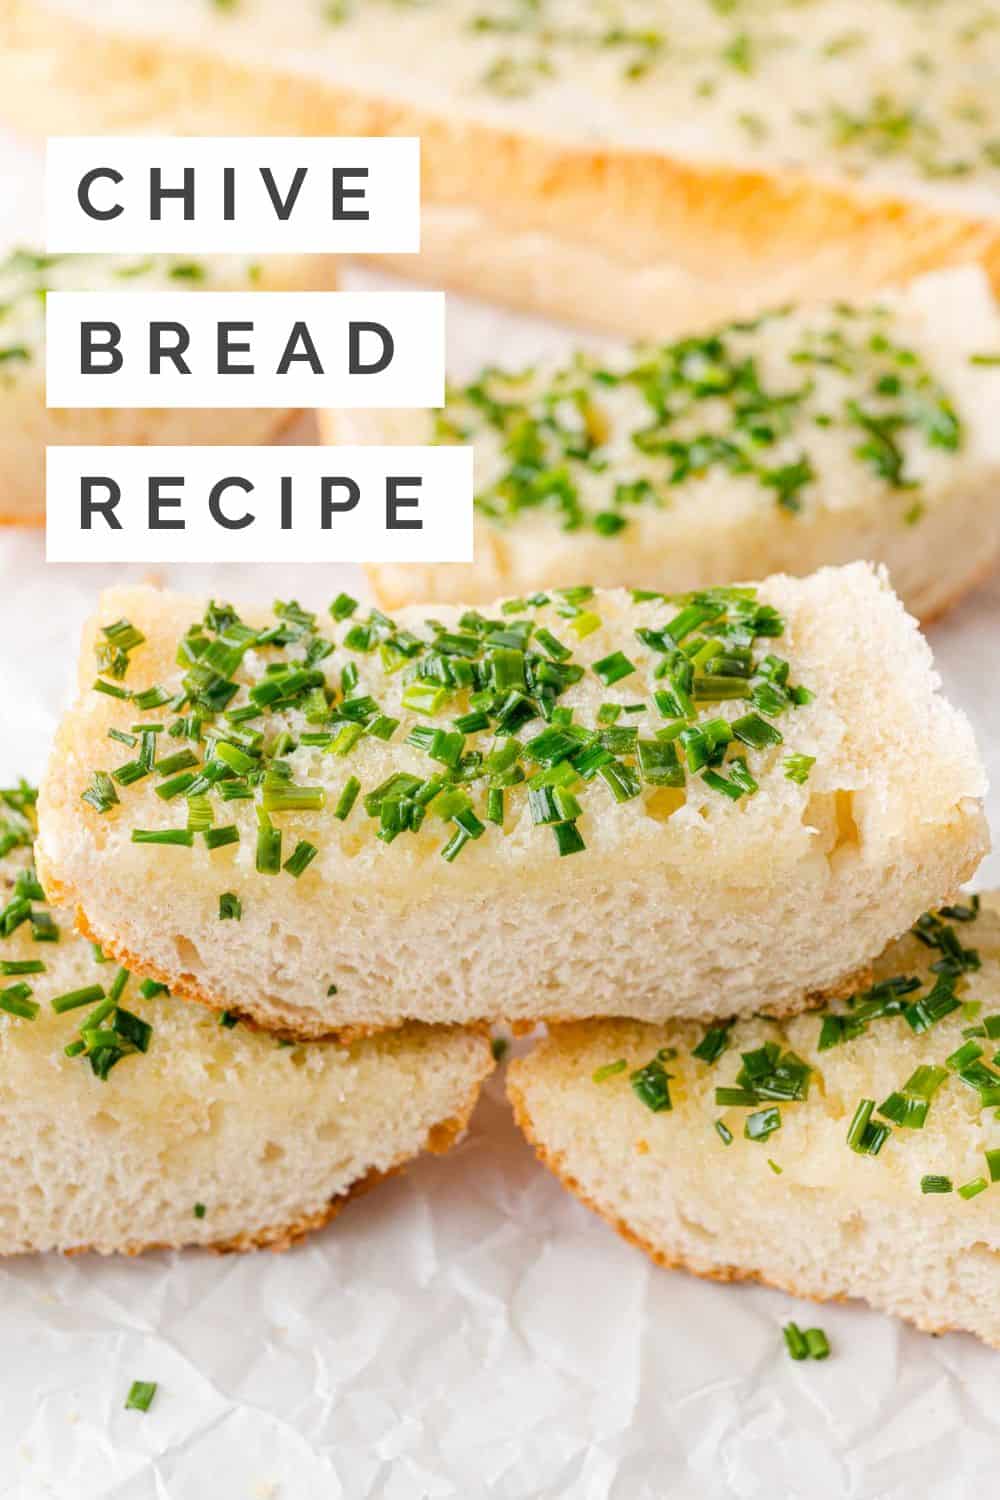
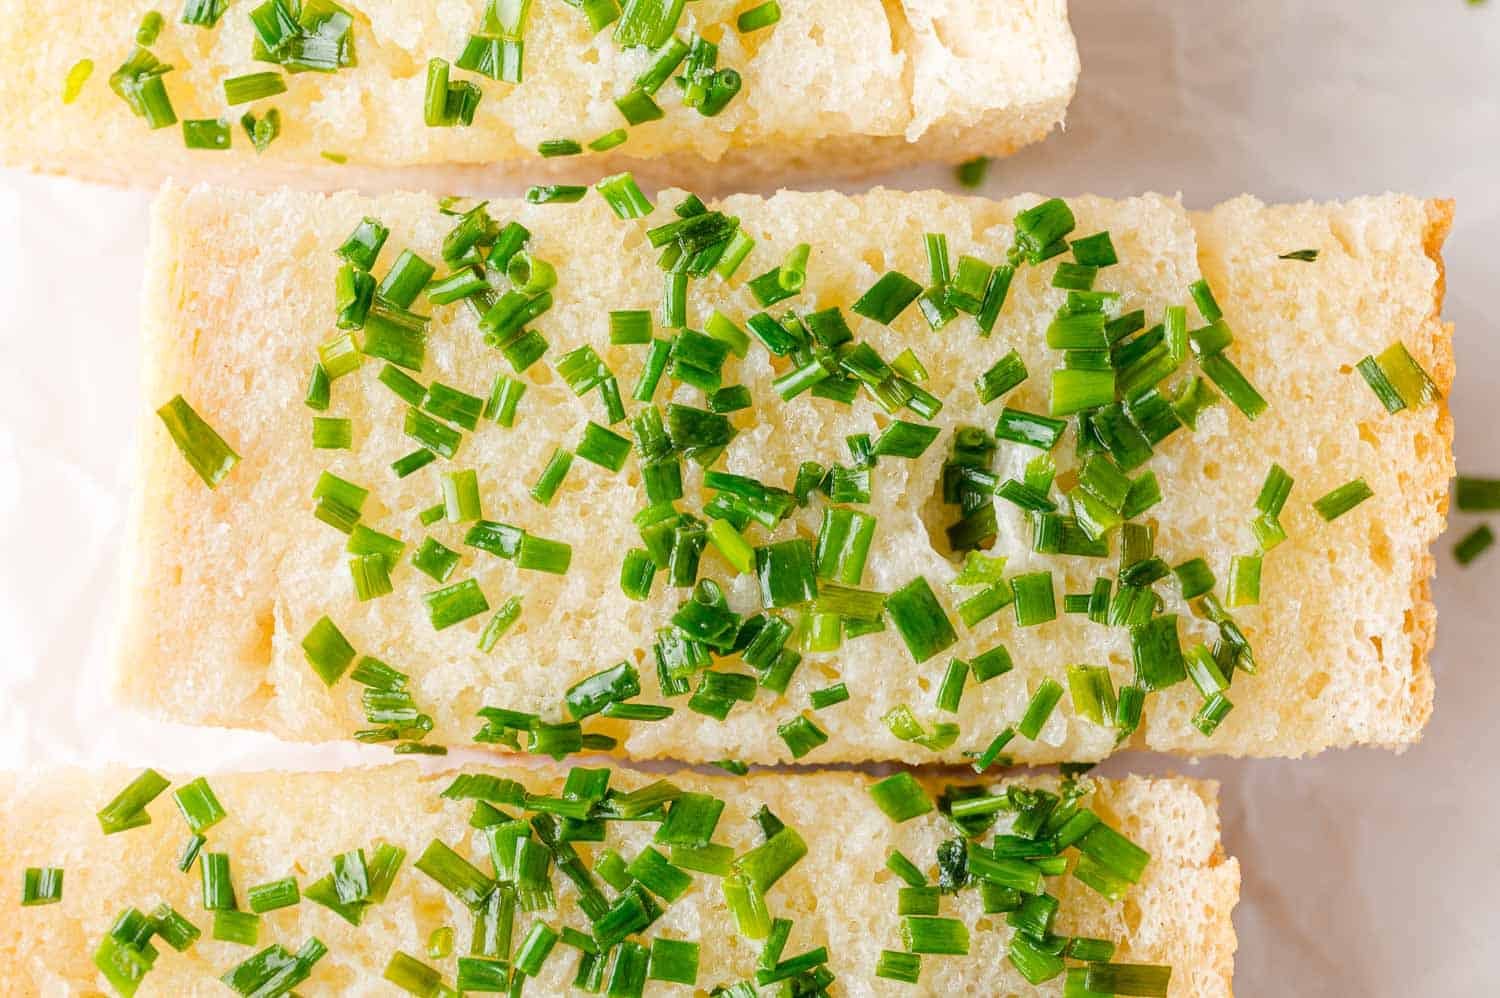
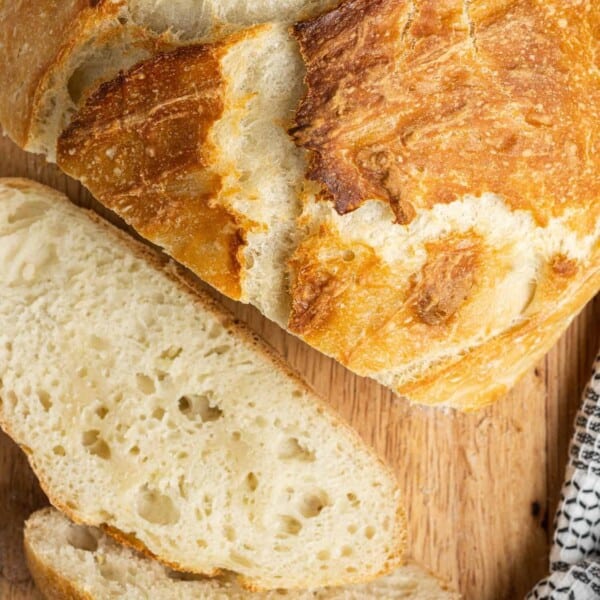
Today I’m sharing a super simple recipe for chive bread! Isn’t it pretty? I love the emerald green flecks of chives on the buttery bread. It’s so much prettier than regular garlic bread. We love the flavor of chive bread, too. It’s seriously addicting!
Because chives are one of the first herbs to grow in the spring, this bread is perfect for St. Patrick’s Day or an Easter brunch or dinner. Serve it on special occasions, or on everyday weeknight meals with your favorite soup, chili, or salad.
What are chives?
Chives are in the allium family, the same as onions, scallions, spring or green onions, and garlic. Chives have a very mild onion and garlic flavor which is perfect for salads, baked potatoes, and this bread!
Flavorful (and Pretty) Chive Bread
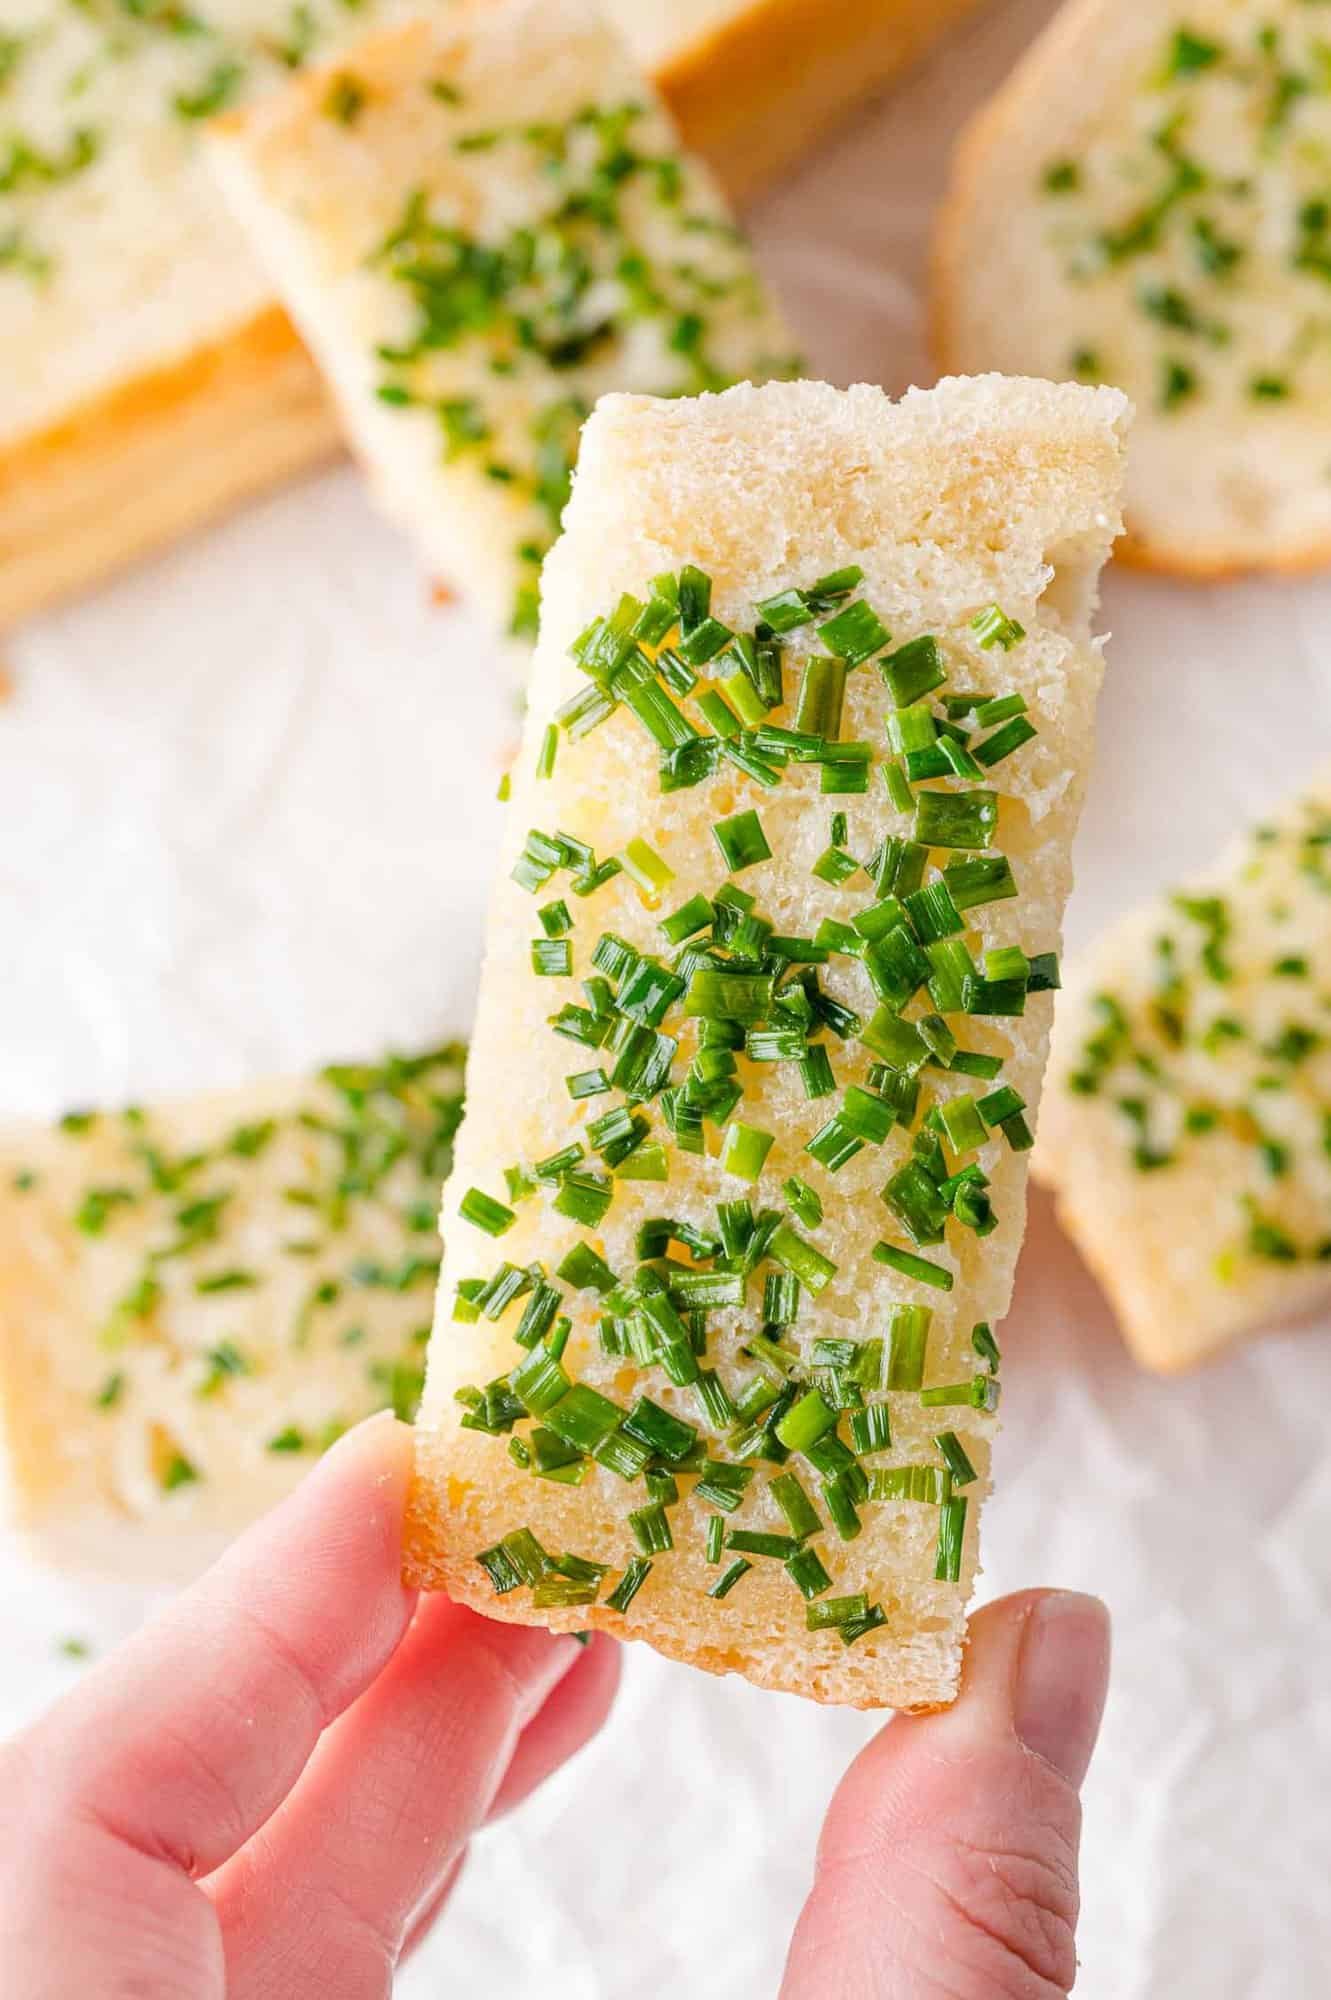
Only 3 ingredients. All you need is butter, chopped fresh chives, and bakery bread. Simply melt the butter, mix in chopped chives, spread the mixture on the bread, and bake it until it’s warm and crusty. You can melt the butter in your microwave if you want. So easy!
Not as garlicky. If you don’t have the stomach for strong garlicky food, this chive bread recipe is perfect for you. Chives have a very mild flavor, a nice delicate blend of onion and garlic. My husband, who isn’t a huge garlic fan, loves this bread.
Works with different kinds of bread. Use your favorite bakery bread to make chive bread. I use whatever bread I happen to have: Italian bread, baguettes, ciabatta. It works well with Texas toast, too, for a more traditional garlic bread vibe.
How To Harvest Chives
Chives look like a clump of grass but as soon as you break off one of the long thin blades, you’ll immediately notice the onion and garlic scent. You may have chives in your garden. Chive plants are really easy to grow and will keep coming back every spring all on their own. You can harvest chives all summer and even into the fall.
To harvest chives, simply snip the chives an inch or two above the ground with a sharp scissors. The entire plant is edible, including the purple blossom which makes a lovely garnish in a salad. You may notice that the long stems of the blossoms are a little tough. I usually discard that.
Once you’ve harvested a handful of chives, give them a quick rinse. They can be varying lengths so cut them in half and roughly line them up on your cutting board. Use a sharp knife to cut them into small pieces or simply use your scissors to snip them. The tender herb cuts very easily.
How to Store Chives
Refrigerate: Rinse the chives in cool water. Wrap the chives in a damp paper towel, put the bundle in a plastic bag, and refrigerate. They’ll keep for at least a few days.
Freeze: Pat the chives with a paper towel to remove excess water. Chop the chives finely. Store the chopped chives in a resealable freezer bag, removing as much air as possible. Label and store in the freezer for up to 6 months. Frozen chives do not need to be thawed. Simply remove what you want from the bag to use for chive bread, or for soups, salads, baked potatoes, and so on.
More Bread Ideas
- Classic garlic bread: Try my recipe for Texas toast garlic bread for a more classic recipe.
- Roasted garlic bread: Instead of chives, mix a head of roasted garlic with the butter. If you haven’t tried roasted garlic, you’ll be amazed at the sweet, nutty flavor, and buttery texture. Learn how to roast garlic, it’s very easy!
- Restaurant style bread dipping oil: Everyone loves the plate of herby olive oil served in restaurants with warm crusty bread. Make your own bread dipping oil; it’s easy to do and keeps well.
- Compound butter: A butter spread that is enhanced with herbs, spices, or sweeteners is another way to add flavor to bread. Compound butters are easy to make and can be frozen. Try my chive butter, garlic butter, orange honey butter or gingerbread butter.
- Crostini and bruschetta: A popular appetizer, crostini are thin slices of bread, lightly coated with olive oil and toasted until crisp. Toppings vary from savory to sweet. Try classic tomato bruschetta, roasted tomato and ricotta crostini, wild mushroom crostini with goat cheese, creamy pea crostini with pancetta, and butternut squash crostini with ricotta.
Refrigerate: Chive bread is best eaten immediately when it’s toasty warm. If you have bread left over, cool it to room temperature and store it in an airtight container or wrap it in foil. I usually refrigerate it.
Reheat: Wrap the bread in foil and heat in a preheated oven at 350°F for 5 to 10 minutes until warm and crisp. You can also heat it briefly in your air fryer (unwrapped) to re-crisp it.
More Bread Recipes

Chive Bread

Ingredients
- ½ cup unsalted butter (1 stick)
- ½ cup finely minced fresh chives
- 1 pinch kosher salt (if you use salted butter, omit salt)
- 1 loaf rustic bread, split in half horizontally (such as ciabatta, Italian, etc.)
Instructions
- Preheat oven to 400°F. For easy clean-up, line a baking sheet with foil or parchment paper.
- In a small saucepan (or the microwave), melt the butter. Mix in the chives and salt until combined.½ cup unsalted butter, ½ cup finely minced fresh chives, 1 pinch kosher salt
- Place both bread halves on a baking sheet, cut sides up. Evenly spoon half of the melted butter mixture onto each half. Put the cut sides together (to form a loaf), and bake for 10 minutes, until the bread is hot and crispy and the inside is soft and buttery.1 loaf rustic bread, split in half horizontally
- Slice, and serve immediately.
Notes
- Yield: Servings will depend on the size of the bread loaf, and how thick you cut the slices. If you buy a larger loaf, you’ll have more servings.
- Storage: Leftover chive bread should be cooled to room temperature, wrapped in foil, or stored in an airtight container, and refrigerated. To reheat, wrap the bread in foil and heat in a preheated oven at 350°F for 5 to 10 minutes until warm and crisp. You can also heat it briefly in your air fryer, unwrapped, to re-crisp it.
Nutrition
Nutrition information is automatically calculated, so should only be used as an approximation.


I love bread in its many forms and this chive bread looks fab. Me and mt daughters would gobble this up with a night watching a movie and eating pasta. That would be our memorable time together.
This bread looks amazing! My daughter’s birthday party is coming up this Sunday, my son’s in July, and hoping to celebrate our new home with family and friends this fall (after a few months of settling in).