Pecan Pralines
This post may contain affiliate links. Please read my disclosure policy.
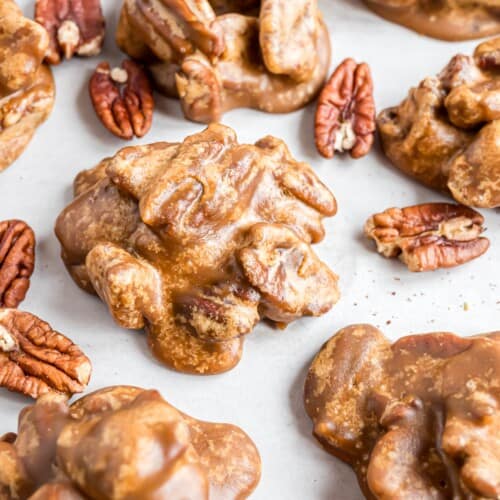
Pecan pralines are the most irresistible mix of crunchy and melt-in-your-mouth; sweet and salty. It’s all about contrasts here, friends—and, of course, that rich, buttery, caramelized flavor!
Recipe Overview
Why you’ll love it: Achieving authentic pecan praline flavor is easier than you think!
How long it takes: just over an hour
Equipment you’ll need: candy thermometer, heavy saucepan
Servings: makes 24 pralines

Ah, pralines. A candy made for nut lovers, and tourists wanting to bring a box of sweet treats back home from a trip down South. (Is there any better gift you can give your neighbor for watering your plants?)
If you’re ready to try your hand at making pralines yourself, this pecan praline recipe might just surprise you with how easy it is. If you’ve made homemade caramels or other candies in the past, you’ll be familiar with some of the steps involved; having a candy thermometer is key.
Once you’ve made a batch of pecan pralines, you’ll have some food for thought: Do you pronounce it pray-leen? Or prah-leen? And are they Southern, Texan, or Creole?
(The truth is, no one in the States can lay claim to these nutty, melt-in-your-mouth candies. Pralines originated in France! As for the pronunciation, you’re just going to have to settle that one yourselves.)
Why You’ll Love This Pecan Pralines Recipe
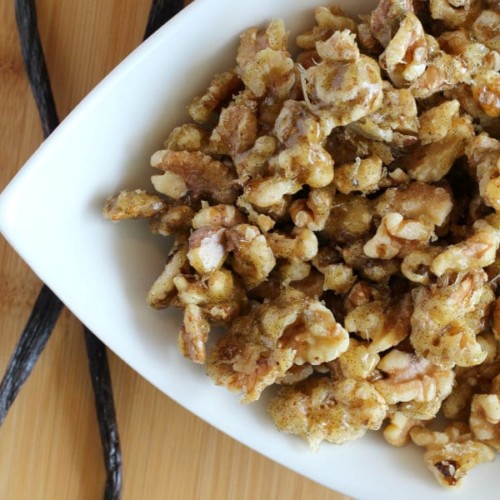
- Nuts for candy lovers: Now, there are some people who just love straight-up salted nuts. Then there are others who need to sweeten the deal; they’re more into something like vanilla bean candied walnuts or candied bourbon pecans. Pecan pralines are a candy for nut lovers and nuts that candy lovers will appreciate!
- Easy to make: Despite the fancy French name, pralines are surprisingly easy to make. In fact, I’d say they’re a great place to start if you want to get into more serious candy making down the road.
- Perfect for gifting: Pecan pralines make great gifts for any occasion. Whether you’re bringing them to a holiday party or need that perfect hostess gift, everyone will appreciate homemade pecan pralines. (Homemade caramel corn is another popular gift idea!)

Ingredient List
I’ll get you started with some notes on the important ingredients below. Be sure to scroll to the recipe card for measurements and full recipe instructions.
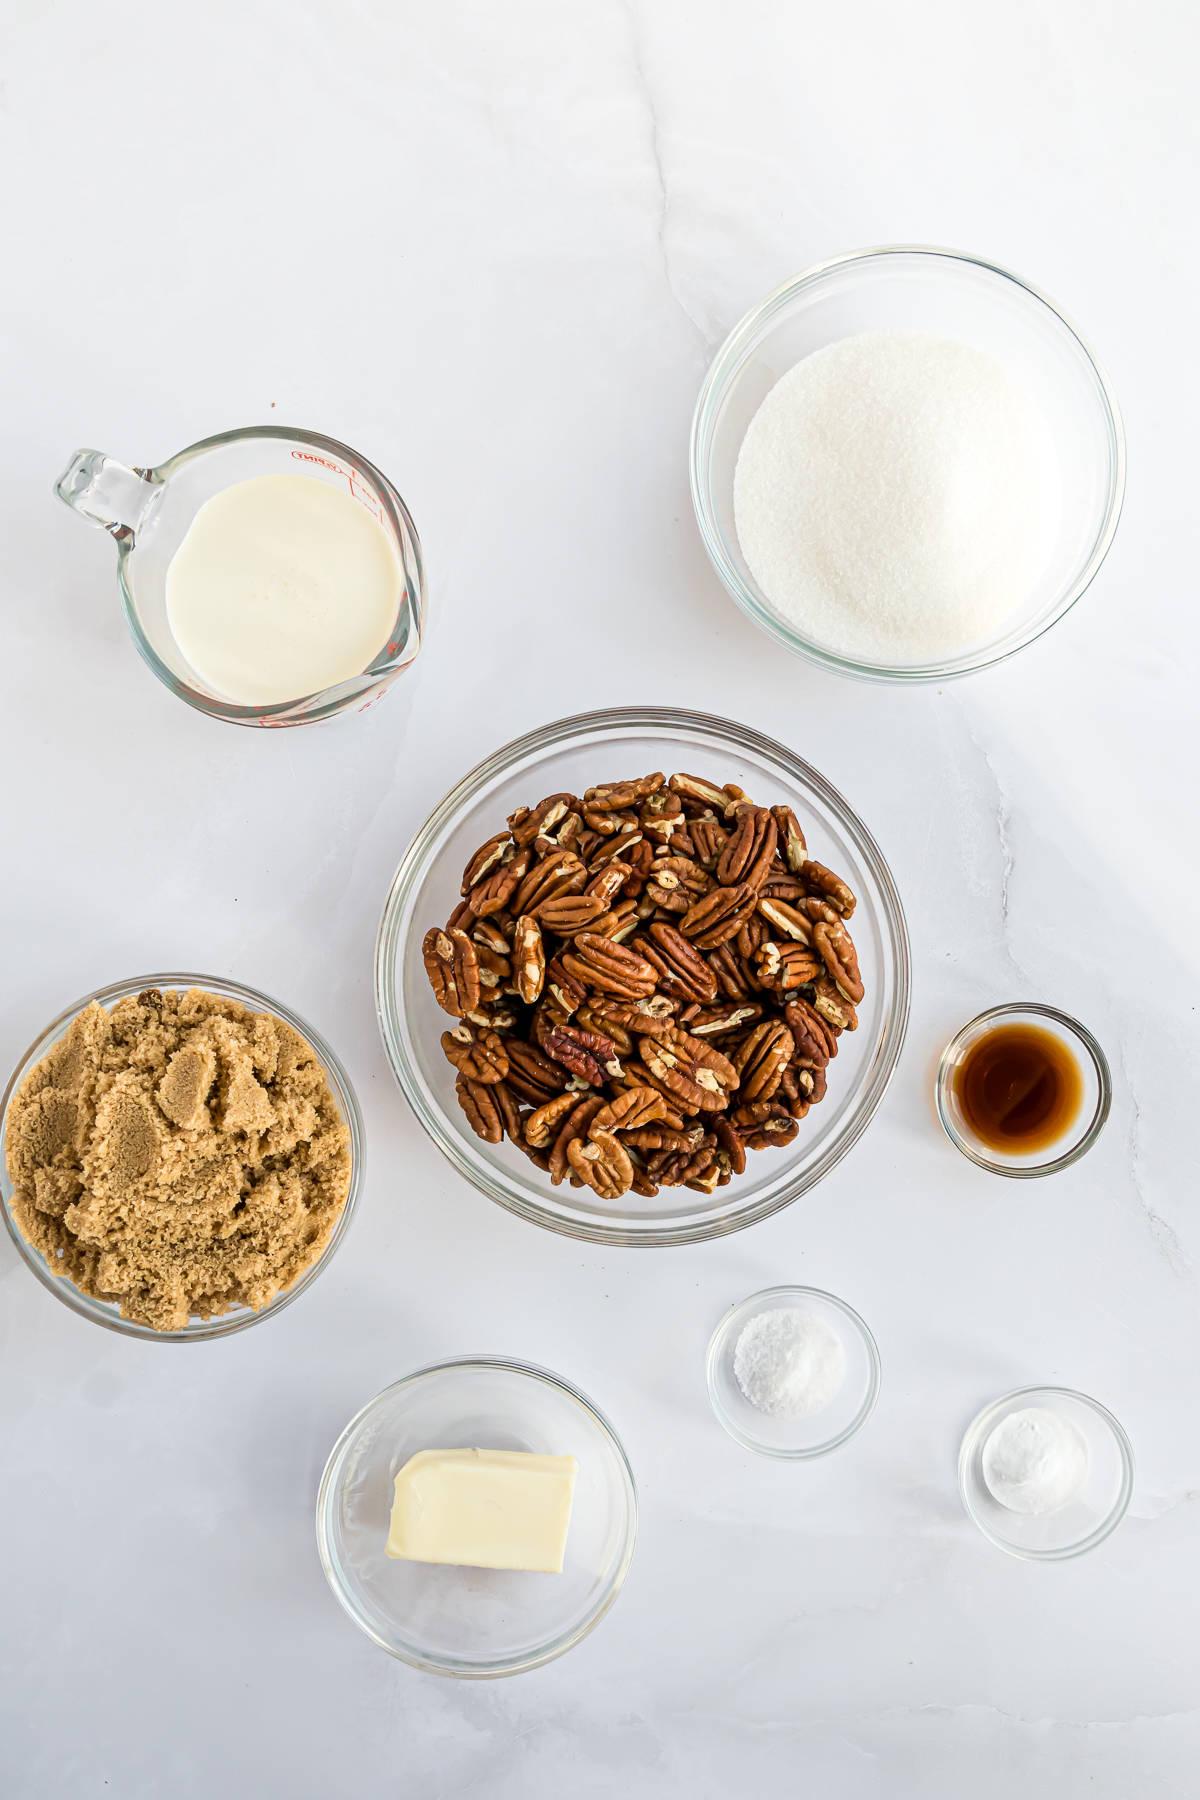
- Unsalted butter – We’ll be adding our own salt to make sure the flavor is balanced perfectly. That’s why we don’t want to use salted butter here!
- Sugar – You’ll use both granulated sugar and light brown sugar. Brown sugar has molasses in it, which adds more depth of flavor.
- Heavy whipping cream – Although I didn’t test it, some recipes use half-and-half. I chose whipping cream because it creates a creamy texture.
- Baking soda – This is not a universal ingredient in all pecan praline recipes but it creates a lighter, airier texture.
- Salt – This goes into the praline mixture itself although it’s not traditional. If you want to lean into that sweet-and-salty contrast, you can sprinkle some flaky sea salt over the tops of the pecan pralines after spooning them onto the parchment paper.
- Vanilla extract – For a flavor variation, brandy can be substituted.
- Pecan halves – You can also use pecan pieces (which are also less expensive), but I think the presentation is nicer with halves!
- Light corn syrup – This is optional; it will prevent “white spots” which sometimes happens when crystallized sugar forms. There’s nothing wrong with these spots, but if you want picture-perfect pecan pralines for gifting or a party, you may want to go ahead and add the corn syrup.
Cooking Tip
Why a heavy-bottomed pan? When a recipe calls for that, it’s to ensure even cooking. A thin saucepan can lead to uneven cooking. Heavy pans absorb and distribute heat more evenly. Be sure to use a pan that’s large enough to hold the boiling mixture. I recommend a 3 quart pan.
How to make Pecan Pralines
I’d say roll up your sleeves to get started but actually, roll those sleeves down! When you’re making candy, it’s a good idea to wear long sleeves to protect your arms from spatters. Here’s how to make pralines at home.
Bring praline mixture to a boil. Combine the butter, sugars, whipping cream, baking soda, and salt in a large heavy pan set over medium-high heat. Stir constantly until the mixture reaches a rolling boil.


Wait for soft ball stage. Once the mixture boils, stop stirring and insert a candy thermometer. Continue to boil until the mixture reaches 235℉ to 240℉ or “soft ball” stage. The mixture will bubble up quite a bit and be very foamy. Resist the urge to stir!
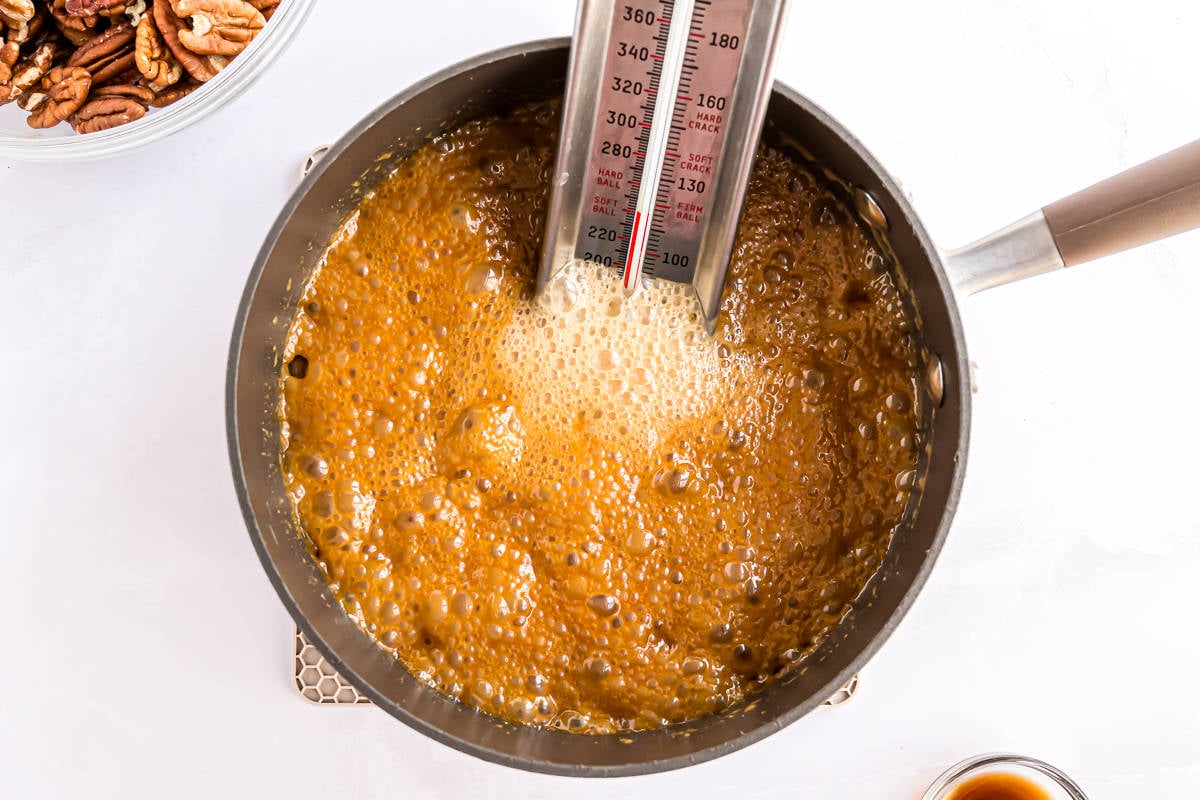
Cool. Remove the pan from the heat and allow the mixture to cool for 5 minutes. While the mixture is cooling, prepare a counter surface or 2 large baking sheets with parchment paper.
Add the nuts and vanilla. Stir the vanilla and pecan halves into the praline mixture. Continue stirring until it slightly thickens, about 1 to 2 minutes.

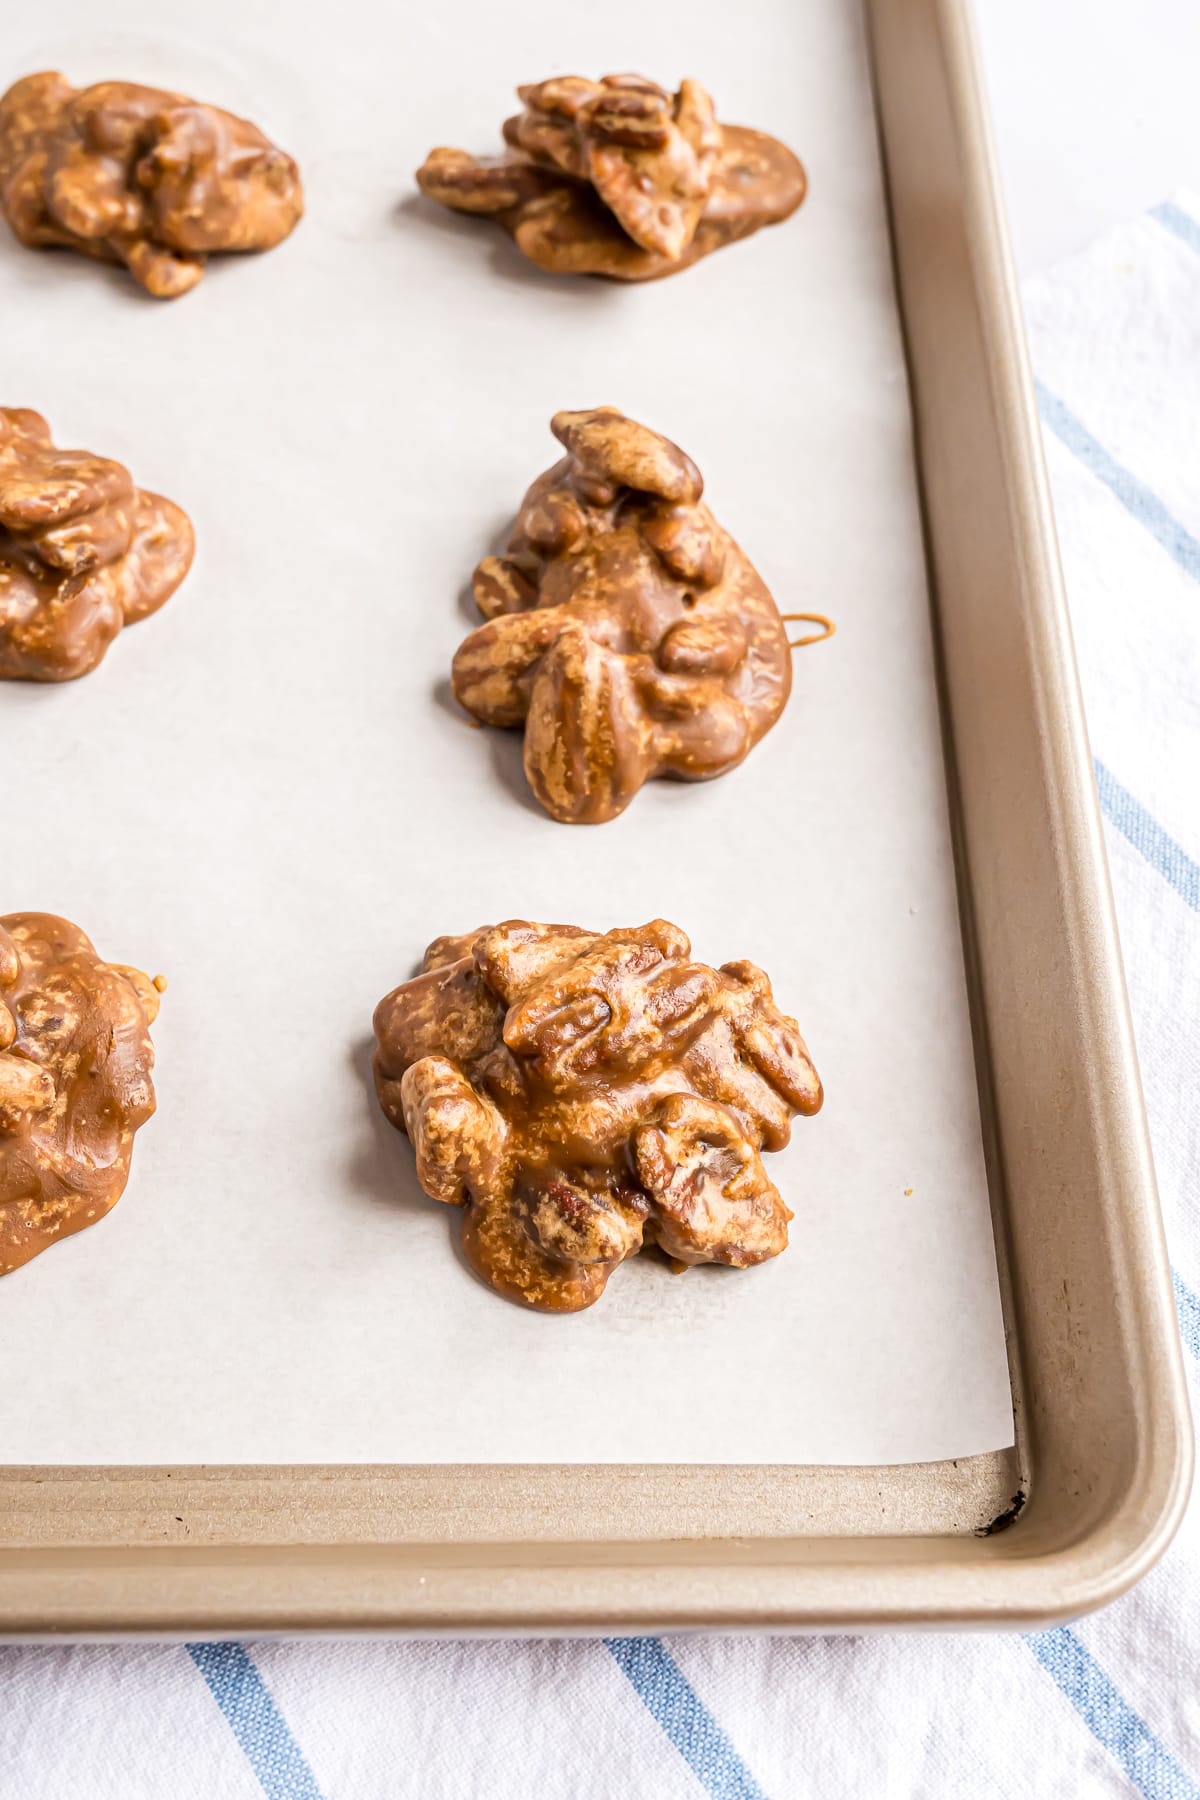
Form the pralines. After about a minute, use a 2 tablespoon cookie scoop to scoop the nut mixture onto the parchment. If it fails to hold shape, it’s not quite ready; keep stirring, then try again.

Cool. Let the pecan pralines set for about 15 minutes before eating; you can enjoy them warm or wait 45 minutes for them to cool completely.
More About the Pecans
- Toasting pecans: You don’t have to toast the pecans, although you can if you’d like. But even if you don’t, the heat from the sauce will release some of that nutty flavor from the pecans without the extra step of toasting.
- Keep the majority of the pecans intact: We don’t recommend chopping more than half of the pecans. Any more than that, and the pralines would take on a different texture, with much less crunch.
- Use room temperature pecans. If you store the pecans in the freezer to keep them fresh, be sure to bring them to room temperature before you add them to the praline mixture. The ice cold pecans may affect the candy process.
Tips for Success
- Use a cookie scoop. While a cookie scoop isn’t required, it does make it easier since you can press the release button to help get the sticky praline mixture out. Another option is using two spoons: one for scooping the mixture and one for scraping it onto the parchment.
- Don’t stir. Once the sugar mixture boils, you’ll need to avoid stirring to let the sugars caramelize properly for that characteristic flavor and texture. Stirring the candy mixture after it reaches a boil may result in a grainy or crystallized texture rather than the smooth, creamy finish pralines are known for.
- Test first. When scooping the praline mixture out onto the parchment, it’s good to try it a little early as a test. If the mixture is forming a puddle and not quite holding its shape, it’s not ready yet. Conversely, if the candy mixture begins to set up and crumbles, it’s challenging to save. The window is pretty short, and it might take a time or two to perfect it.
- Add corn syrup. To reduce crystallization (white spots), add 1 tablespoon light corn syrup. This is an optional ingredient because minimal crystallization is normal and does not affect the flavor of the pralines.
- Pecan pralines may turn out differently each time you make them. Even with the same recipe, you’ll find that every batch has very slight differences. Some will be browner than others, and some could have more crystallization than others. Even the humidity in the air can affect how pralines turn out! No matter their appearance, pralines will always taste great!
How To Store Pralines
Once the pecan pralines have completely cooled, store them in an airtight container or bag. They’ll keep at room temperature for 1 to 2 weeks.
For longer storage, freeze the pralines in a freezer-safe container or bag for up to 2 months.
Did you make this? Be sure to leave a review below and tag me @rachelcooksblog on Facebook, Instagram, or Pinterest!
Ingredients
- 4 tablespoons unsalted butter
- 1 cup granulated sugar
- 1 cup light brown sugar, packed
- ¾ cup heavy whipping cream
- ½ teaspoon baking soda
- ½ teaspoon salt
- 1 tablespoon light corn syrup (optional)
- 1 teaspoon pure vanilla extract
- 2 cups pecan halves
Instructions
- In a 3-quart heavy saucepan, combine butter, granulated sugar, brown sugar, cream, baking soda, salt, and corn syrup if using (see note). Cook over medium-high heat, stirring constantly until it reaches a rolling boil, about 5 to 6 minutes.
- Stop stirring and insert a candy thermometer in the mixture. Heat until the mixture reaches 235℉-240℉ or “soft ball” stage. The mixture will bubble up quite a bit and be very foamy. Reaching soft ball stage will take about 4 minutes.
- Remove from heat and allow the mixture to cool for 5 minutes.
- While the mixture is cooling, cover counter surface or 2 large baking sheets with parchment paper.
- Stir in vanilla and pecan halves. Continue stirring until the mixture slightly thickens, about 1 to 2 minutes.
- After about 1 minute, using a cookie scoop (about 2 tablespoons), drop the nut mixture onto the prepared parchment. If it is pooling and fails to hold shape, it’s not quite ready. (If you don't have a cookie scoop, use 2 spoons: one spoon to scoop, one spoon to push the mixture out.)
- Let the pralines cool for at least 15 minutes. Enjoy a warm praline or allow them to cool completely, about 45 minutes.
Notes
- Adding corn syrup: To reduce crystallization (white spots), add 1 tablespoon light corn syrup. This is an optional ingredient because minimal crystallization is normal and does not affect the flavor of the pralines.
- Storage: Once they are completely cool, place pralines in an airtight container or bag. They’ll keep at room temperature for 1 to 2 weeks or in the freezer for up two months.
- If you prefer, substitute 2 cups of walnuts or another nut of your choice.
Nutrition Information
This website provides approximate nutrition information for convenience and as a courtesy only. Nutrition data is gathered primarily from the USDA Food Composition Database, whenever available, or otherwise other online calculators.





Natalie says
I happened to have all the ingredients on hand and made these today! They’re amazing and taste just like the pralines my mom used to make. Thanks for the recipe.
Rachel Gurk says
That makes me so happy! Thanks for leaving a review!