Recipe Overview
Why you’ll love it: These peppermint kiss cookies are easy to make. The chocolate and candy cane combination is so pretty and delicious, too!
How long it takes: 15 minutes to make dough, 8 minutes to bake each batch
Equipment you’ll need: mixer, baking sheet, parchment paper
Servings: makes 40 cookies

Can we talk about these kisses for a minute? They are Hershey’s Holiday Candy Cane kisses and they are marvelous. I was skeptical at first, thinking they might be overly sweet. They are sweet but I was totally won over by the little crispy bits of peppermint candy in each bite. Paired with a rich chocolate cookie, they’re a scrumptious little treat.
In fact, these peppermint kiss cookies are so good, you’ll want to send these cookies away on gift platters to friends and family, just to get them out of the house. (P.S. If you’re a chocolate with mint fan, be sure to try these peppermint chocolate sugar cookies, too.)
Holiday Peppermint Kiss Cookies
A rich chocolate base. The bottom part of the cookie is a dark chocolate brownie-like cookie. It’s the perfect foil for the candy cane kisses.
Not a tricky recipe. This cookie recipe doesn’t take any fancy ingredients. It’s a pretty simple cookie which uses basic pantry ingredients. The peppermint kiss cookies turn out well every time I make them and are always a hit when I serve them to guests.
Festive holiday appearance. Candy cane kiss cookies with red and white striped candies nestled into a dark chocolate base really are strikingly attractive. They look so pretty on a cookie platter.

Ingredient Notes
- All-Purpose Flour: For holiday cookies, I usually stick with all-purpose flour. Although I love whole wheat flour in my everyday cookies, I feel like it may be too a bit too coarse and hearty for these holiday cookies.
- Cocoa Powder: Unsweetened cocoa powder is found in the baking aisle of the grocery store.
- Salt: Just a pinch of fine table salt keeps the cookies from tasting flat.
- Unsalted Butter: Make sure the butter is softened, or at room temperature. If all you have is salted butter, omit the salt in the recipe.
- Sugar: Use regular granulated white sugar that is normally used for baking.
- Egg: You’ll need one large egg. It’s usually best if eggs are at room temperature when you’re using them for baking but don’t sweat it if you forget.
- Pure Vanilla Extract: The warm flavor of vanilla enhances the chocolate.
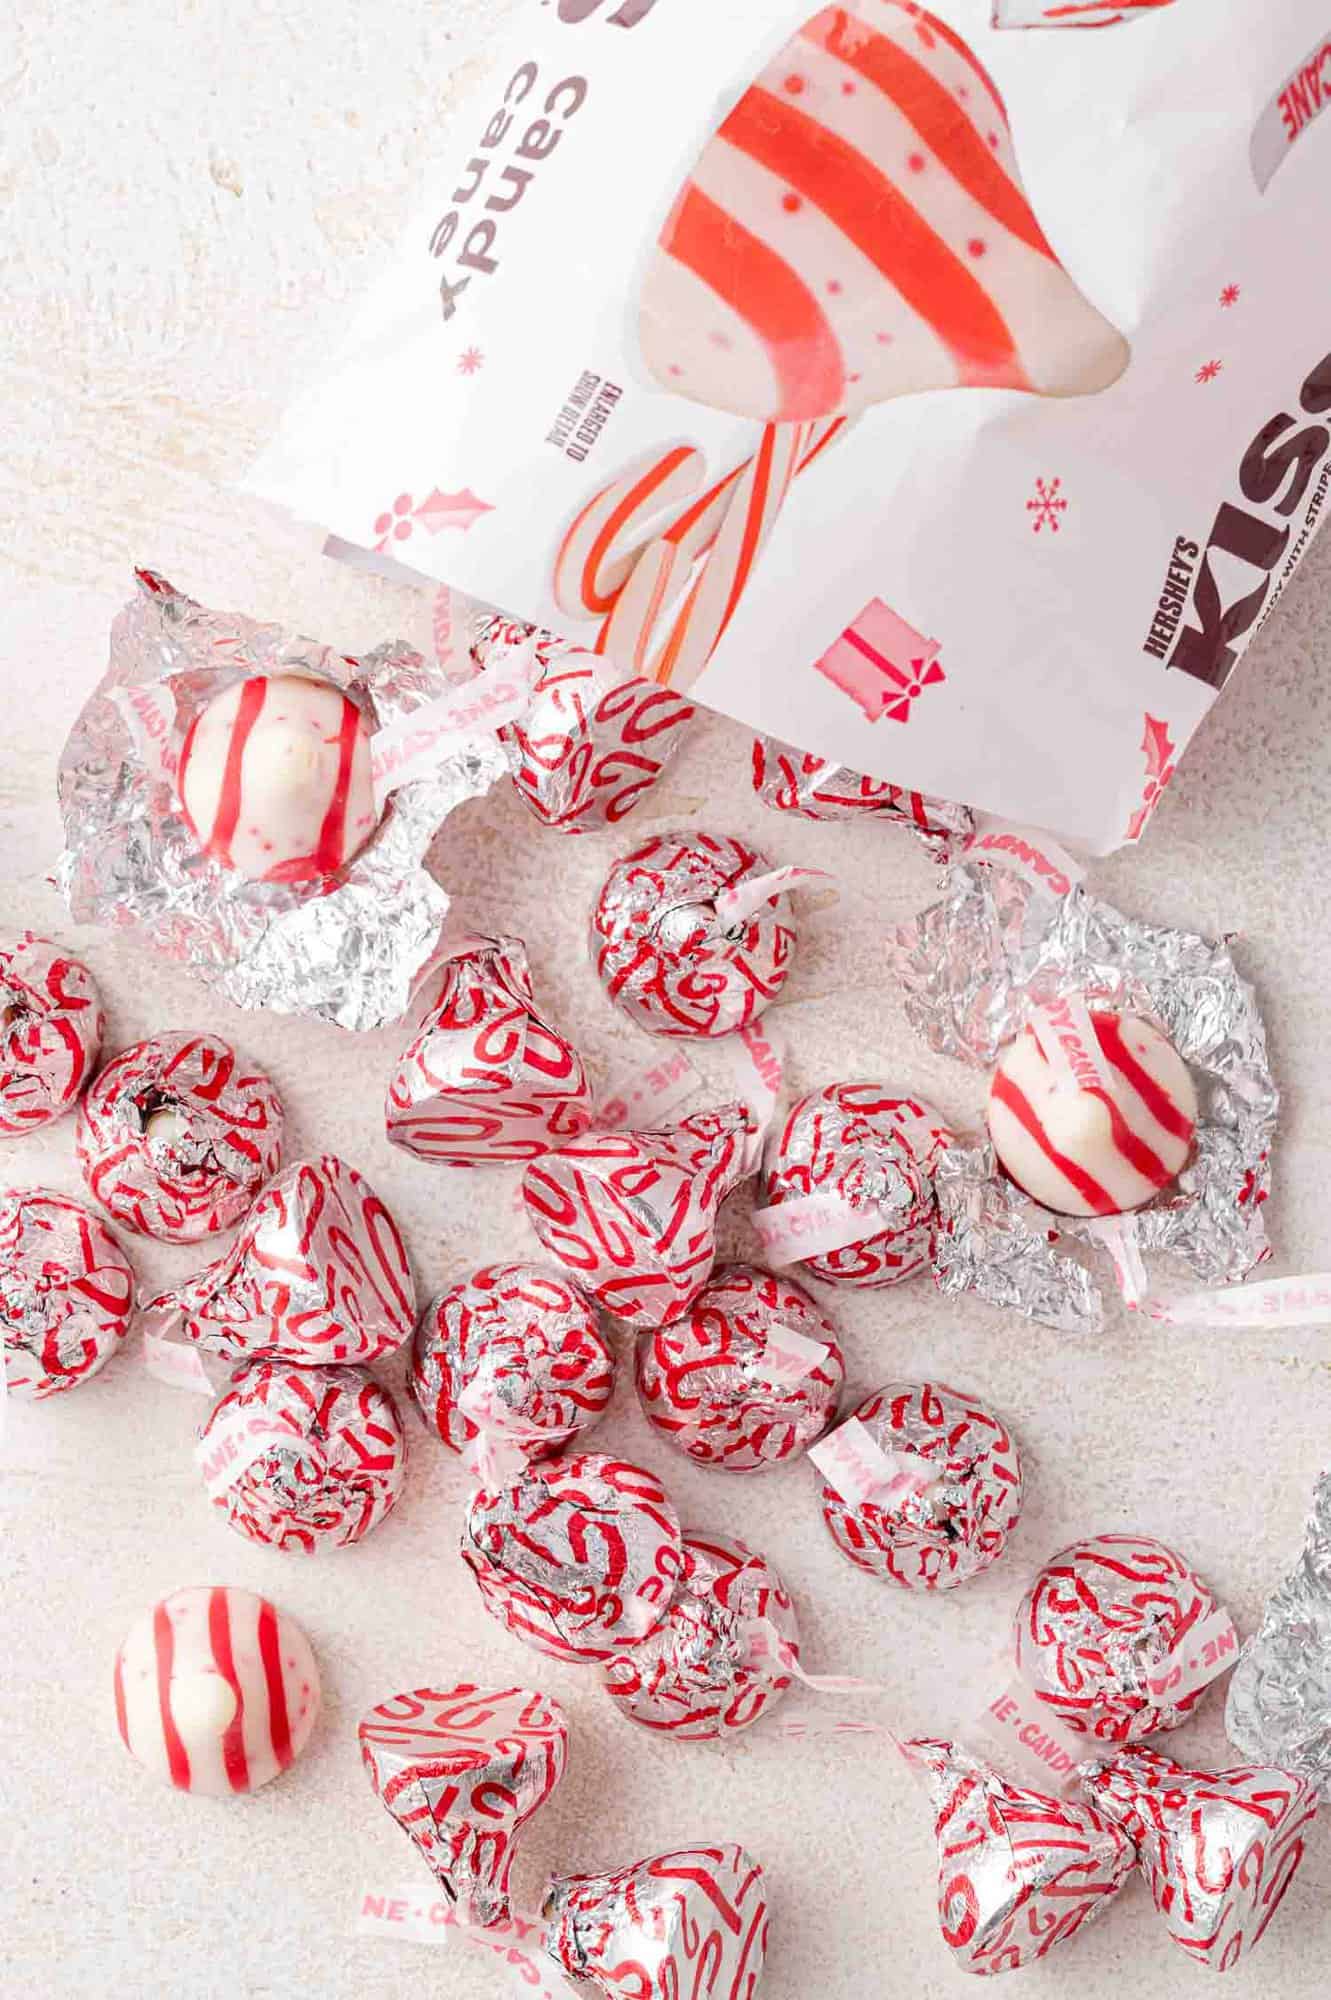
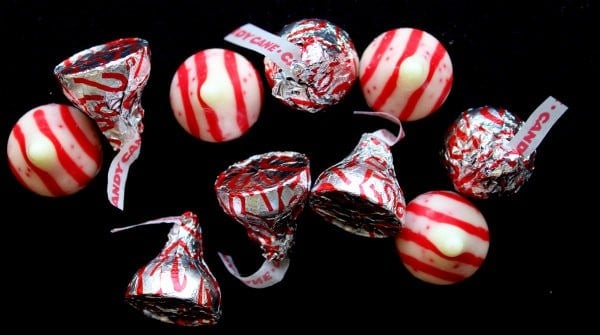
- Hershey’s Candy Cane Kisses: These holiday peppermint kisses are festively striped with red and white, with little crunchy bits of peppermint. Each 10 oz. bag contains 70 to 75 kisses. Depending on how large you make your cookies, you’ll need at least 40 to 45. The remaining kisses are a bonus for you to eat or share! You can use them to decorate your cookie platter, too.
Tip
Hershey’s Kisses come in lots of different flavors and all of them are great on this chocolate cookie base! Have fun with variations.
How To Make Peppermint Kiss Cookies
Unwrap the kisses. If you have helper elves, this is a good job for little fingers (expect a few candies to disappear though). It’s important to have the candy kisses unwrapped and ready to go when the cookies come out of the oven. You want to press a kiss into the center of each cookies when it’s still very warm.

Preheat oven. It’s always important that the oven is fully preheated before you put the cookies in to bake so they bake evenly and don’t burn on the bottoms. Line a couple of large baking sheets with parchment paper.
Mix dry ingredients. Whisk together the flour, cocoa powder, and salt in a medium-sized bowl. If the cocoa powder has hard little lumps, press it through a small, fine mesh strainer. Set the flour mixture aside for now.


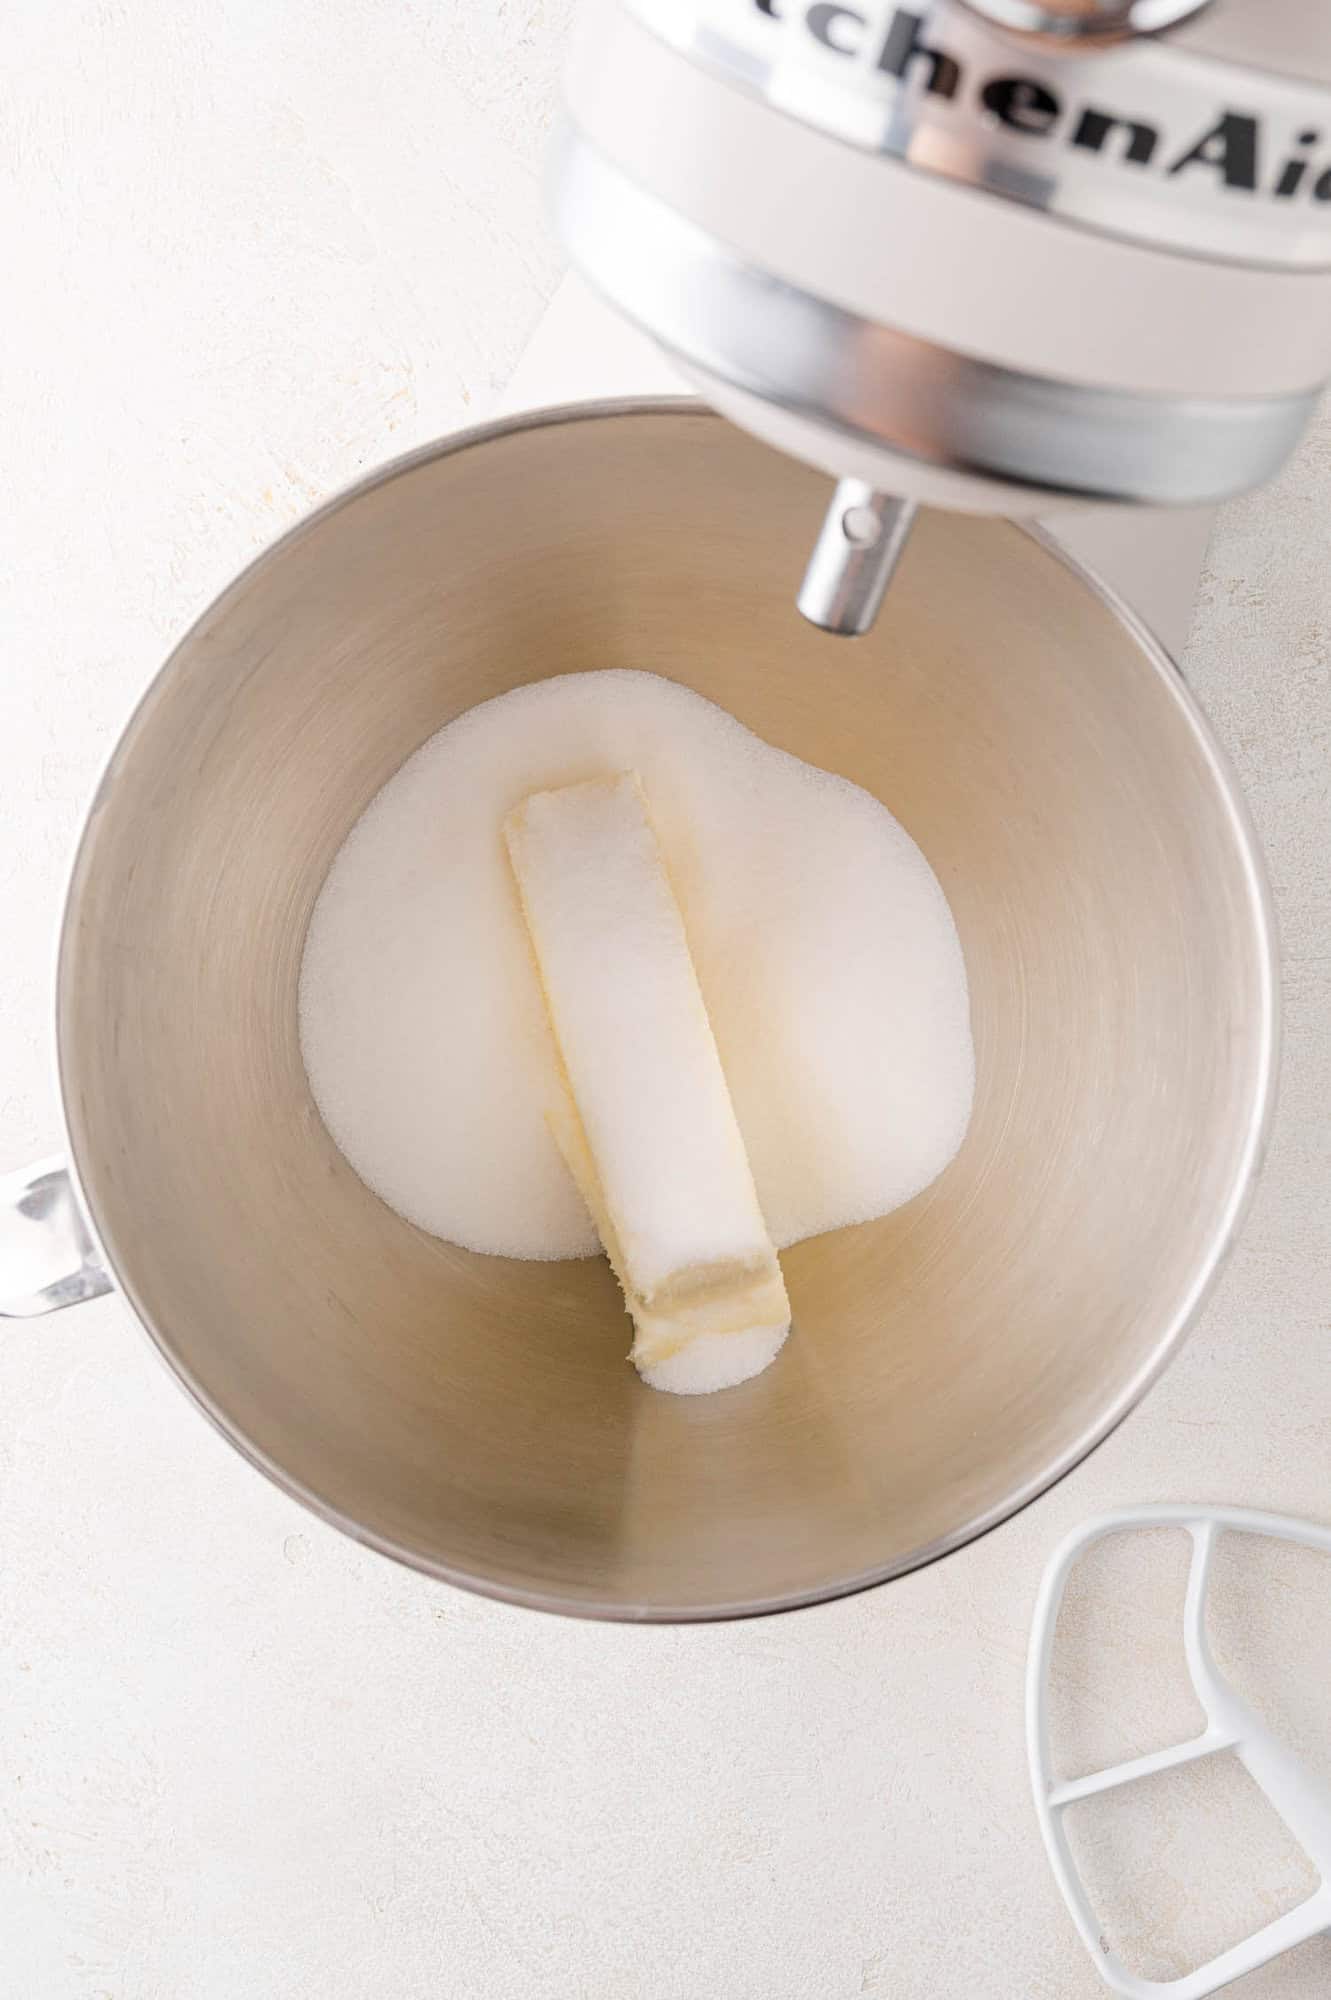
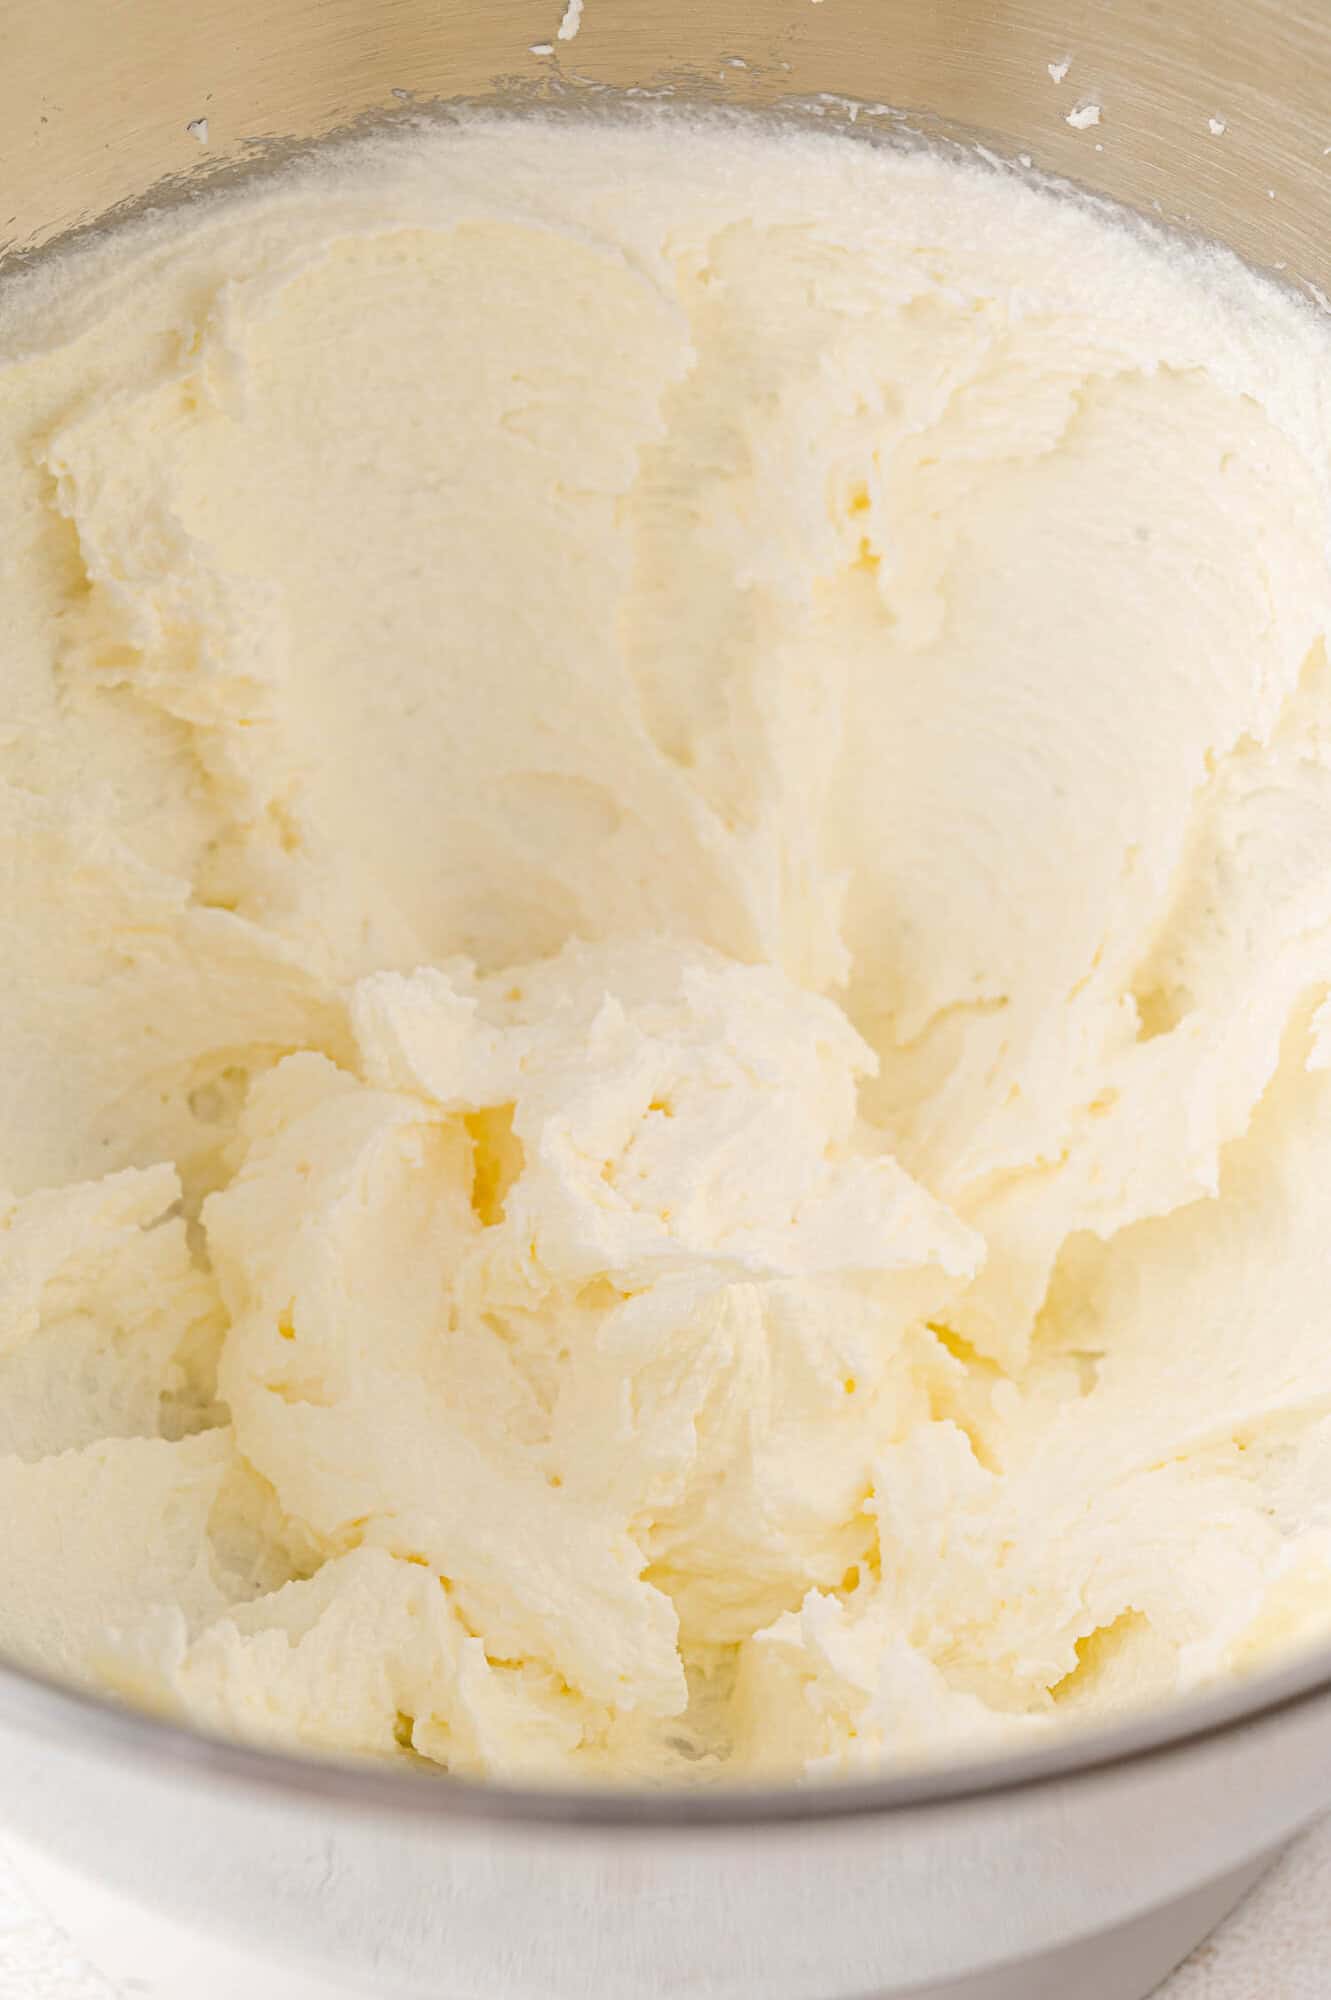
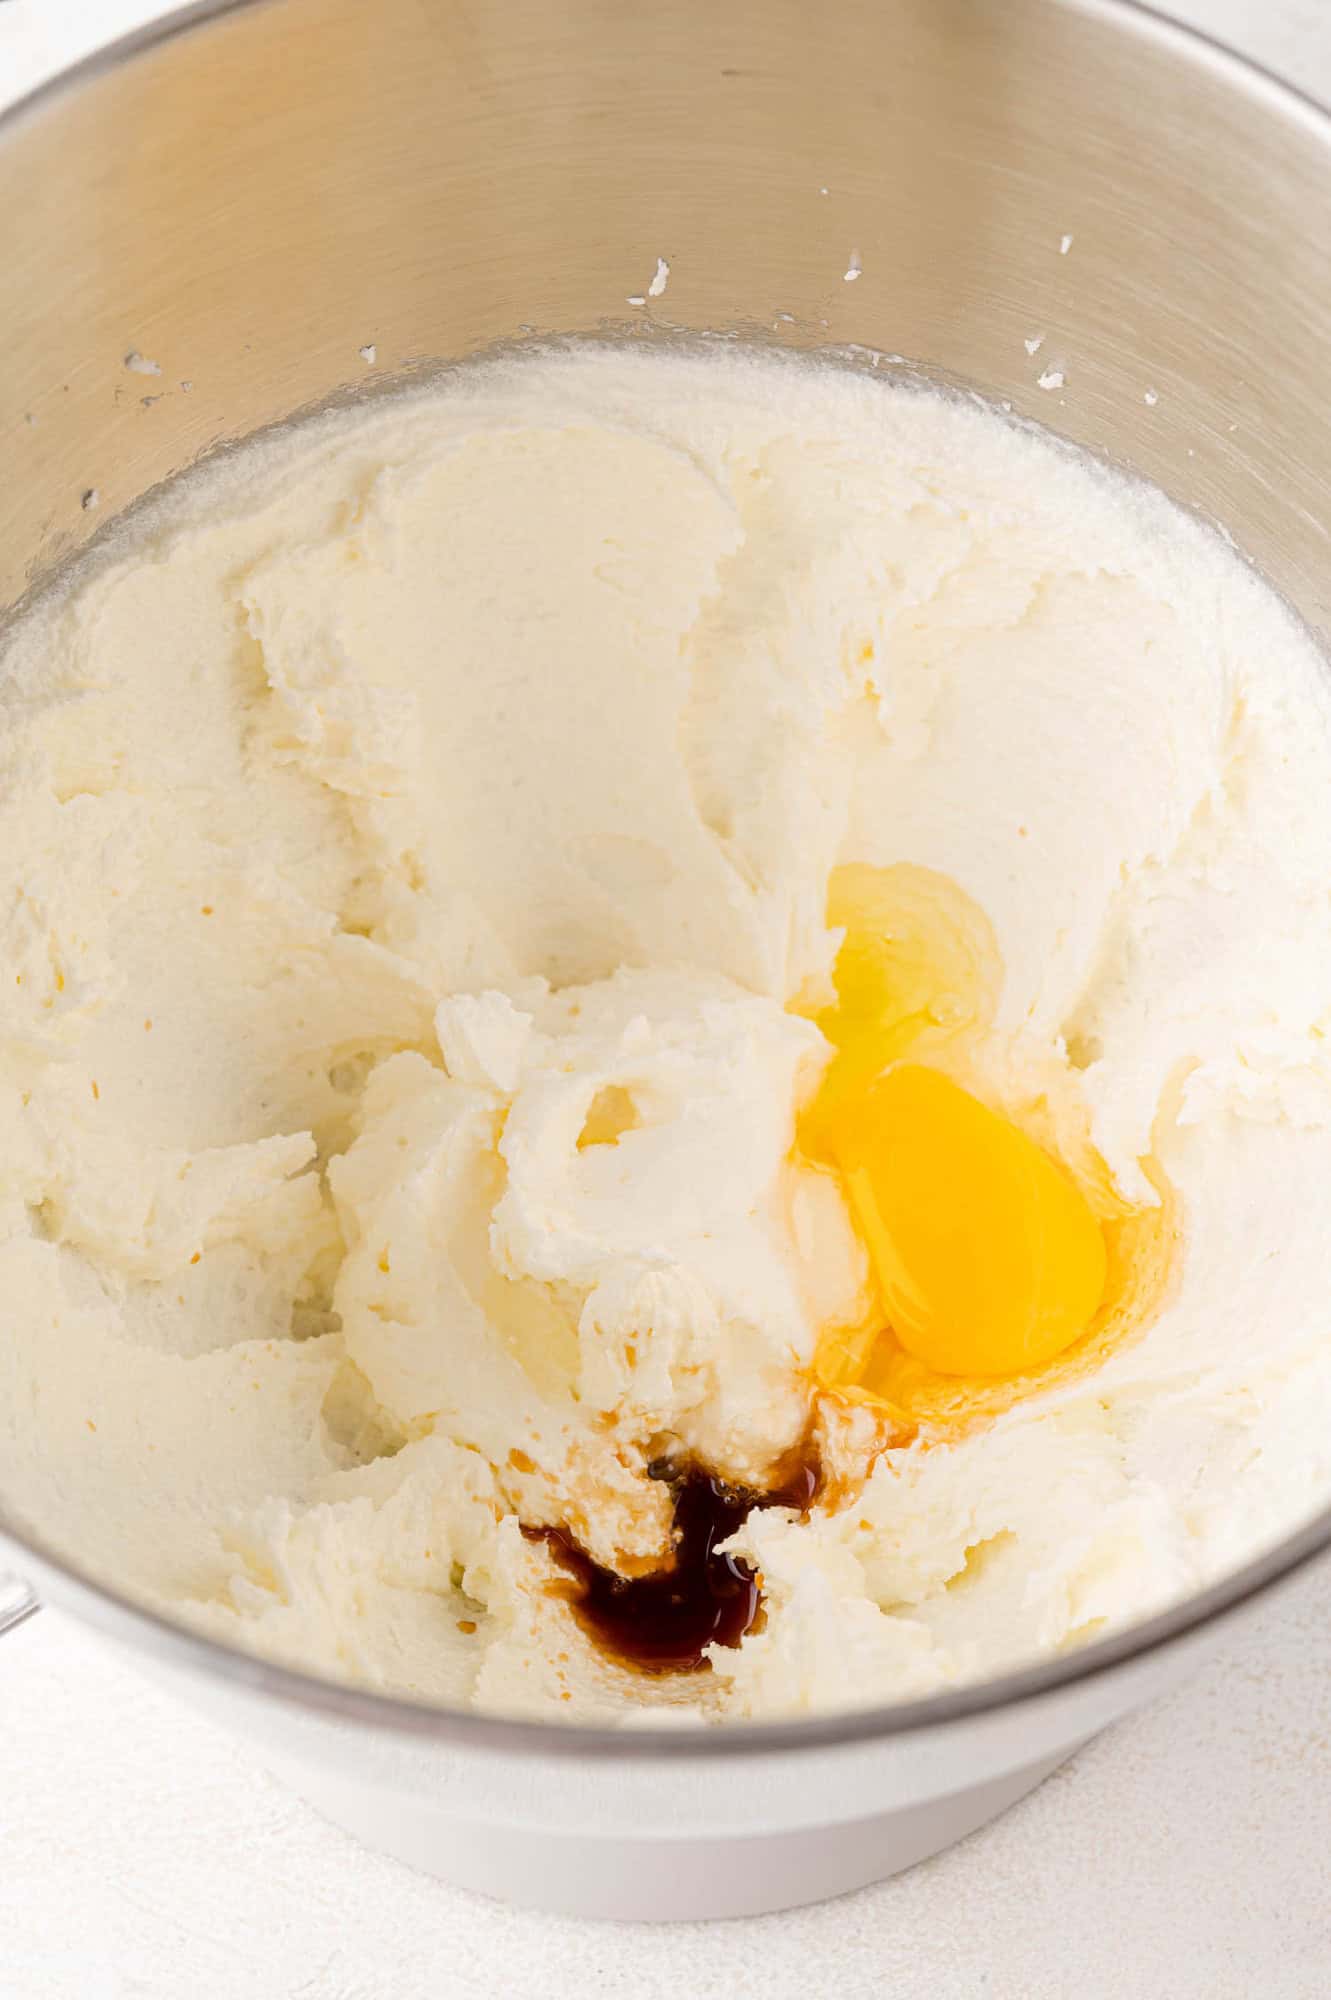
Cream butter and sugar. In a larger bowl, combine the butter and 1 cup of the sugar (save the remaining ½ cup for rolling the cookies). Using an electric mixer or a stand mixer, beat the butter and sugar until it’s light and fluffy. Add the egg and vanilla extract. Beat until combined.
Combine. Slowly add the flour mixture to the butter mixture. On low speed or by hand, mix just until blended together.


Form balls. Scoop a small amount of dough out and form it into a ball. Try to make the balls about the same size so they bake evenly. Once you’ve shaped all the balls, roll them in the remaining sugar. The sugar will give the cookies a happy little sparkle.


Bake. Arrange the cookies on the prepared baking sheets about one inch apart. They won’t spread a lot so you can put them fairly close together. Be careful when you put the cookie sheet in the oven. The balls are pretty roly-poly and you don’t want to loose a few in the bottom of your oven. Bake the cookies until they are set and firm, about 8 minutes. They’ll still look a bit shiny and moist.
Press in candy. Remove the pan from the oven and immediately press a candy kiss very lightly into the center of each cookie. You certainly don’t have to press all the way to the bottom of the cookie; basically, you can almost just set the kiss on top. There should be a cookie base under the candy.


Cool and store. Allow the cookies to cool completely on the baking sheet. They’ll firm up completely when they’re cool.

Since the candies stay a little soft for awhile, I usually store them in a single layer if possible. Store them in an airtight container. They will keep at room temperature (as long as it is fairly cool) for up to one week. They’ll keep in the freezer for at least one month.
Helpful Tips
After some feedback that these did not turn out well, I retested the recipe several times. I can assure you that the cookies turn out perfectly the way the recipe is written. If you follow the instructions carefully, you should have the same result: a perfectly baked cookie. This recipe is not tricky or difficult to make. As some readers have complained, the cookies are not mushy and they don’t spread too much (they barely spread at all until you put the kiss in). They are a soft, brownie-like cookie.
Measure the flour correctly. Don’t mistakenly add too much flour by compacting it when you measure it. Measure the flour correctly by spooning it lightly into a measuring cup (one without a pouring spout). Level the top off with a straight edge. Don’t shake or tap the measuring cup to level the flour. The dough should be thick but easy to handle and not overly sticky.
Divide the sugar. Make sure you note that the amount of sugar is divided. One cup goes into the dough, and the remaining half cup is used for rolling. If you put the entire 1 ½ cups into the dough, you’ll run into problems.
Make sure you have the kisses unwrapped and ready to go. It’s essential to lightly put the candies into the center of the cookies immediately after they come out of the oven. Once the cookies have cooled and firmed up, it is difficult to add the candy kiss and they may fall out easily when the cookie is cool. Don’t press them down very hard; the cookie tends to get cracks in it when you press hard.
I did make one change to the recipe. In the original recipe, I added the kisses 5 minutes into the baking time and returned the cookies to the oven to bake for another 3 minutes. Although this does work, the top of the kiss turns a light brown color. I like the appearance of the cookies better when the kisses are added at the end.
I’m happy to answer any questions or troubleshoot if you contact me.
More Holiday Treats


Chocolate Peppermint Kiss Cookies

Ingredients
- 2 cups all-purpose flour
- ⅓ cup unsweetened cocoa powder
- ¼ teaspoon fine salt
- 1 cup unsalted butter, softened (2 sticks)
- 1 ½ cups granulated sugar, divided
- 1 large egg
- 1 teaspoon pure vanilla extract
- 1 pkg. (10 oz.) Hershey’s Candy Cane Kisses (each 10 oz. bag contains 70 to 75 candies; you'll need about 40)
Instructions
- Preheat oven to 350°F. Prepare baking sheets by lining with parchment paper or silicone sheets.
- Remove foil wrappers from at least 40 candy kisses (you may need more, depending on how large you make the cookies) and set the candy aside. It’s important to have these ready to go when the cookies come out of the oven so you're able to immediately press them into the warm cookies.1 pkg. (10 oz.) Hershey’s Candy Cane Kisses
- In a medium bowl, whisk together flour, cocoa powder and salt.2 cups all-purpose flour, ⅓ cup unsweetened cocoa powder, ¼ teaspoon fine salt
- Using an electric mixer and a large bowl (or a stand mixer), beat butter and 1 cup sugar (save the remaining ½ cup for rolling) on medium-high until light and fluffy, about 3 minutes. Add egg and vanilla and beat until combined.1 cup unsalted butter, softened, 1 ½ cups granulated sugar, divided, 1 large egg, 1 teaspoon pure vanilla extract
- Turn mixer to low and gradually add flour mixture until combined. If you're using a hand electric mixer, you may have to do this by hand.
- Put the remaining ½ cup of sugar in a small bowl. Form dough into balls (generous one inch balls) and then roll in sugar to coat. Place one inch apart on prepared baking sheets.
- Bake for 8 minutes or until cookies are set but still look moist. Remove the pan from the oven and immediately very lightly press candy cane kisses into the center of each cookie. Don't press too hard; this may cause the cookie to get cracks.
- Cool cookies completely on the cookie sheets on wire racks before removing to an airtight container to store. The kisses can remain soft for awhile so it's best to store them in a single layer if possible.
Notes
- Yield: Yield will vary depending on how large or small you roll each cookie. The size is up to you but try to make them consistent so they bake evenly. Adjust baking time according to size (less time for smaller cookies, more time for larger cookies).
- Variation: If desired, substitute a different type of Hershey’s Kisses. There are lots to choose from!
Video
Nutrition
Nutrition information is automatically calculated, so should only be used as an approximation.


Excellent recipe…i made each cookie 16 grams …baked for 8 minutes ..
The kisses did get runny though…will be serving it at Xmas today
Glad you liked them!
This was a disappointment. Made these today and also did not turn out. Definitely does not make 2-3 dozens. I think I have 18 at most and I used a 1.5T ice cream scoop. The cookie took a long time to bake and I tried one batch as is and it was crumbly. Bc the dough was melts and sticky I put it in the fridge to firm up. Same outcome, way too crumbly. Will not make again.
I just retested this recipe and they turn out great with no difficulties. I’m sorry you had a bad experience.
I think the dough needs to be refrigerated. Such a high butter content and no leavening means that the dough will puddle if you’re not careful. Refrigerating the dough delays the puddling action slightly (I’m trying that with the second tray full as the first tray is definitely spreading and browning a bit fast on the bottom (again, the high butter content). Another strategy would be, as in similar recipes, to use part shortening. Other recipes also use melted chocolate instead of cocoa powder, and so there are many variants that can affect the spread as it bakes. Also it’s important to keep the size of each dough ball small, so there’s less initial surface content with the hot pan. Good news, chill the dough only for 15 minutes or so (more will make the dough hard to work). Also I used Crisco on the pan rather than parchment paper and that was pretty useful too. A good cookie once you pay attention to the spreading issue. I like to put the kiss on out of the oven, let it soften, and then fold the point in and make a swirl. It takes me about half a batch to get any swirls that look like a mint candy but it’s fun to do.
Hi Kristen, I recently re-tested this recipe and it turns out perfectly as written, but thank you for your additional tips and thoughts!
These cookies did not turn out. They were flat, and were not baked in the 8 minutes you suggested. I let them bake another 2 minutes longer and still flat. They don’t look anything like your photo. Been baking a long time and these were a flop.
I would not make again.
May I ask why there isn’t baking soda in them?
Hi Susie,
Your comment spurred me to test this recipe again (doing it right now!) and they are coming out perfectly and look just like the photos. Are you sure you didn’t miss an ingredient or a step? Mistakes happen sometimes!
Has anyone ever used mint extract instead of vanilla? I’m about to make these and I was wondering if I could substitute….only because I love everything mint chocolate.
I bet that would be great! But you’ll want to use less as it is very potent.
Approximately how many cookies does this recipe make?
Depending on the size of the cookie, 2-3 dozen.
Are there any high altitude adjustments. I made a different recipe last night and it spread all over my baking pan. Now i’m hesitant to try another.
Sorry to hear that! I don’t have experience cooking at high altitude, but maybe someone else will weigh in!
Wonderful recipe. These were delicious! Perfect for holiday snacking.
I’m so glad you enjoyed these! Happy Holidays!
Made these exactly per recipe and was a total mess. Should try making this yourself and you will see what I mean. Total disaster.
I’ve made these many times and they turn out! I’m sorry to hear you had a bad experience. I’d be happy to help you troubleshoot if you’d like to try them again.
Terrible to make! Dough was mushy and stuck to your hands. Other recipes I’ve tried are much better.wont do this again.
A disaster like the other commenter. Wish I had read the comments before I started.
Sorry to hear that, we love this recipe!
Is margarine or country crock butter okay?
I wouldn’t recommend it – I’d use butter.