With warm sweet pears and brown sugary goodness, pear crisp with ginger is hard to resist served warm and topped with a scoop of vanilla ice cream.
Recipe Overview
Why you’ll love it: Fruit crisps are an easy dessert to make and everyone loves them.
How long it takes: 15 minutes to prep, 40 minutes to bake
Equipment you’ll need: mixing bowl, 8 inch baking dish
Servings: 8
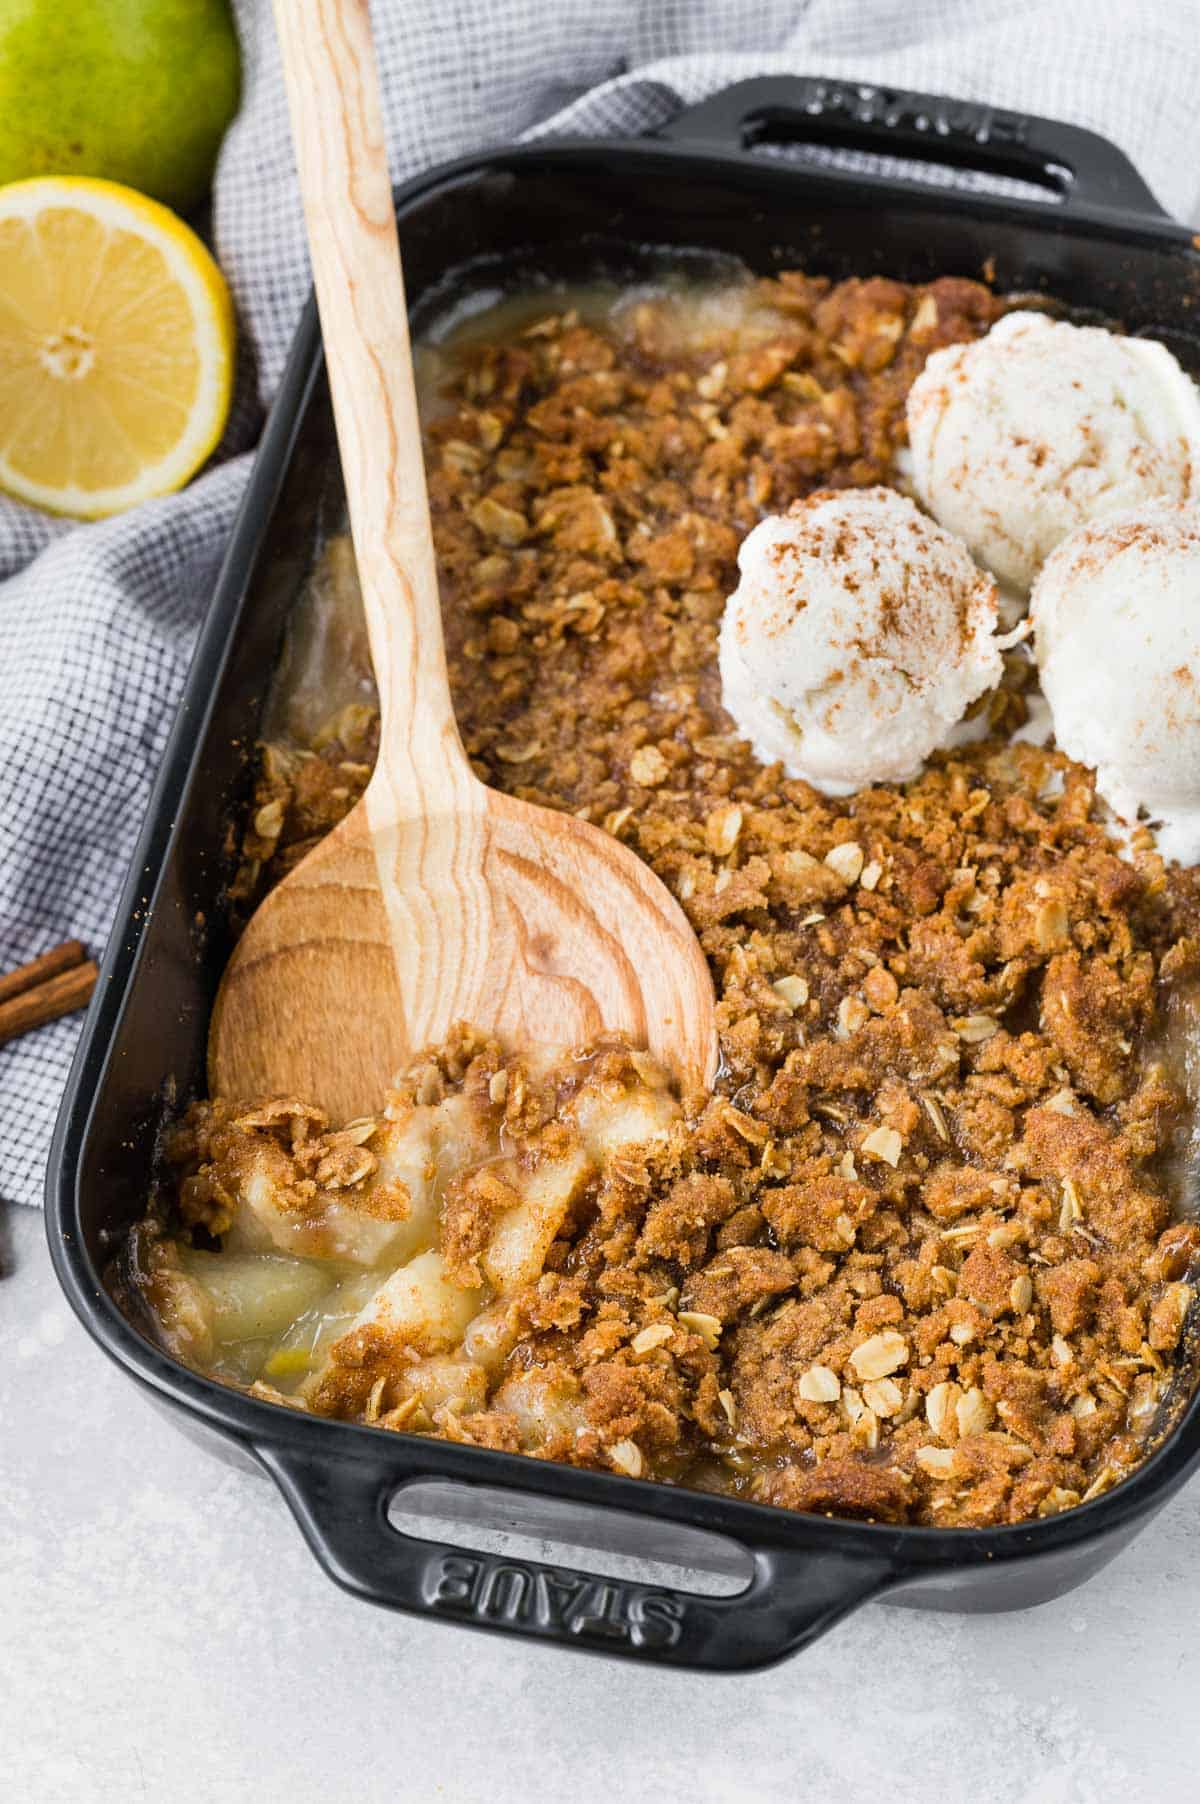
While apples are the fruit most people associate with fall, don’t forget about juicy golden pears! They are harvested around the same time as apples and markets are full of pears right now.
Be ready to enjoy fresh pears with delicious recipes like this homemade pear crisp. Ginger accents the sweetness of the pears and the crisp cinnamon topping is so good!
A scoop of vanilla ice cream is pretty much mandatory. Serve pear crisp warm with ice cream and you’ll think you’ve gone to dessert heaven.
Reasons to Love Pear Crisp
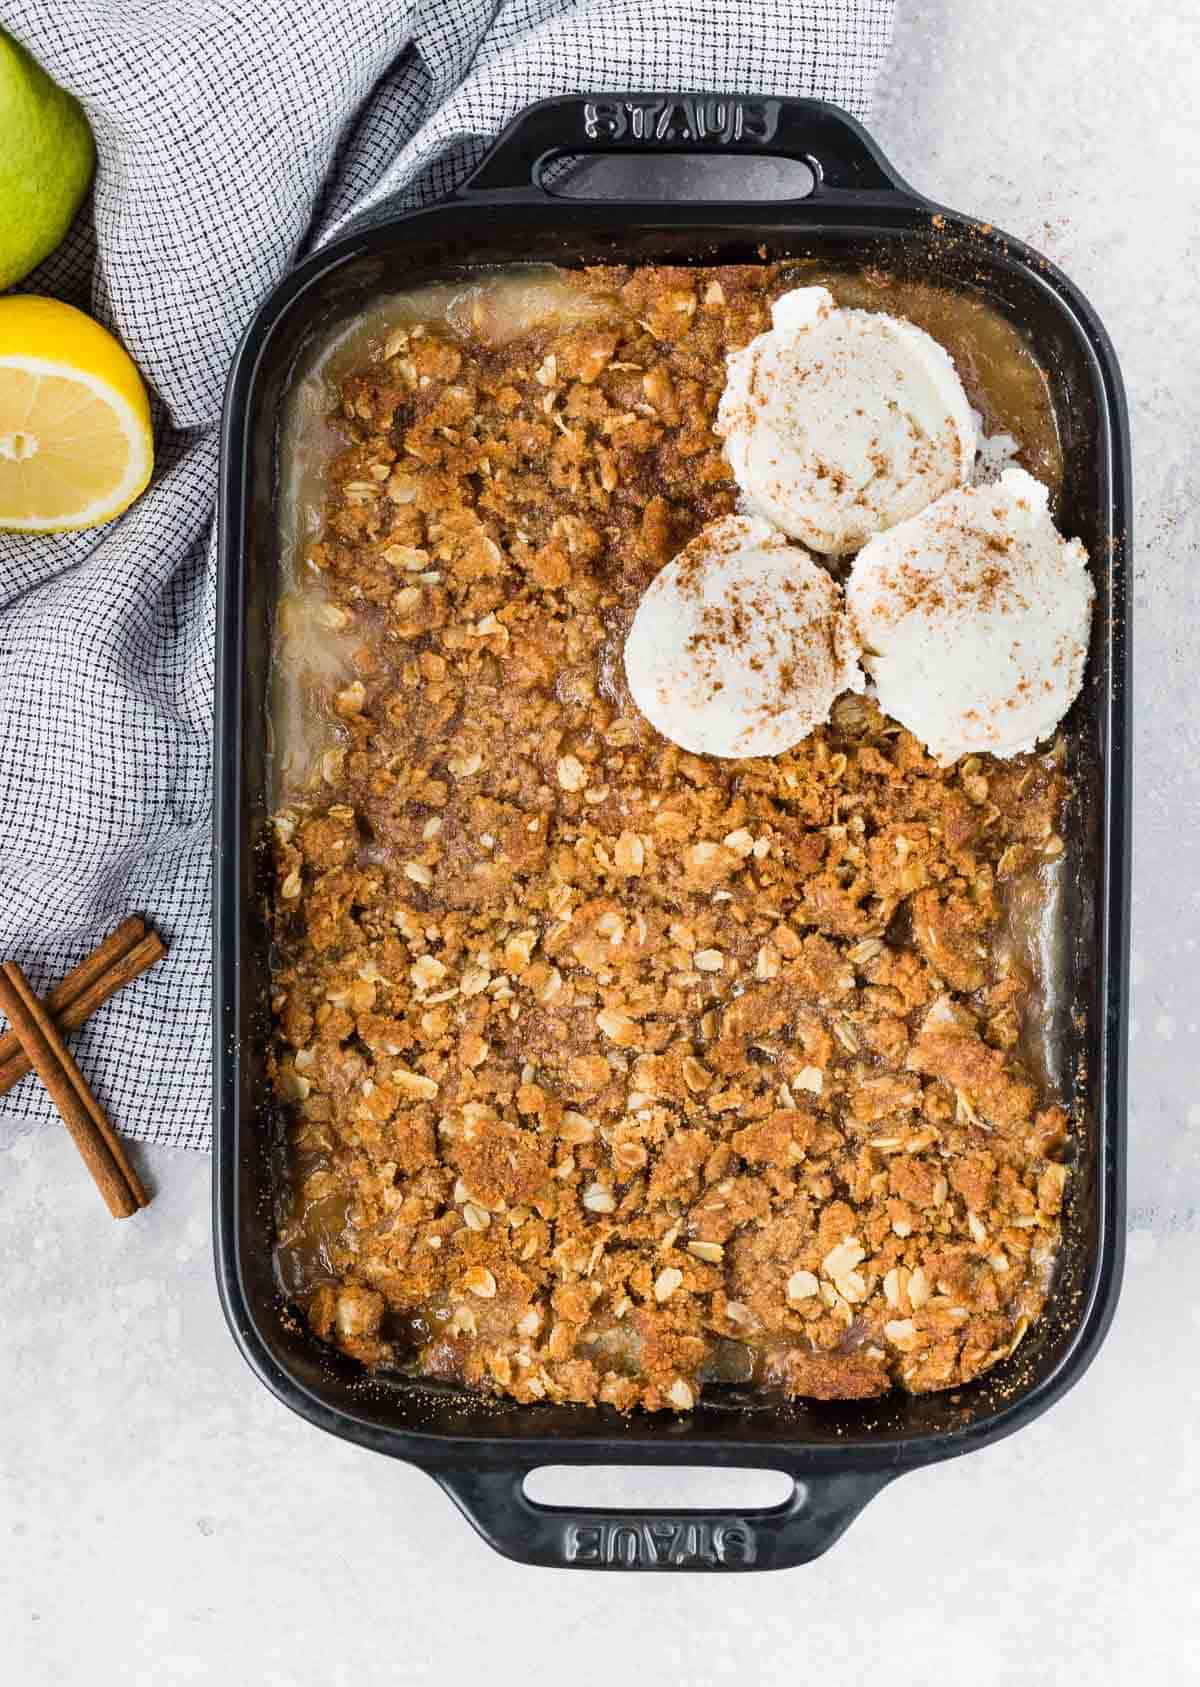
So easy to make! Fruit crisps are not at all fussy or technical to make. All you’ll need is a bowl, a baking dish to put the crisp in, and an oven. I’m a crisp girl all the way because they are so much easier to make than pies, and better than fussy cakes.
A heavenly aroma. There’s nothing quite like fruit and cinnamon baking in the oven. It smells so great that everyone will be nosing around the kitchen wondering when it will be ready. Pear crisp is almost worth it just for that.
Is it a crisp or a crumble? These two fruit desserts are very, very similar. Technically a crumble is made without oats so this recipe is a crisp because the topping includes oats, but let’s not stress out about names.
How To Tell If A Pear Is Ripe
One phrase that I’ve heard is “check the neck.” Gently press with your thumb on the stem end, or the neck, of the pear. If it gives slightly, the pear is ripe. If the whole pear is soft, the pear is probably overripe. Since pears aren’t tree-ripened, you may need to let them set on the counter for a few days. Once they are ripe, refrigerate them for up to 5 days.Ingredient Notes
- Pears: Pears that are ripe but still firm are easiest to work with and will retain their shape when baked. Most any variety will work. Don’t worry too much about getting the exact amount of fruit. More or less doesn’t make a whole lot of difference; the recipe is pretty forgiving. Just don’t fill the pan too full. You don’t want it boiling over into your oven.
- Ginger root: I keep a big chunk of ginger root in the freezer. Whenever a recipe calls for ginger, it’s so easy to peel and grate as much ginger as you like, and return the rest to the freezer.
- Lemon juice: A dash of freshly squeezed lemon juice brightens up the flavor of pears which don’t have a lot of natural tartness. If you don’t have a lemon, don’t worry. I’ve tested this crisp both with and without, and it always tastes great.
- Flour: I use whole wheat because why not? You really can’t tell the difference in this recipe but feel free to use either whole wheat or all-purpose flour. I haven’t tested it but I’m pretty sure 1:1 gluten-free flour is fine, too.
- Rolled oats: Old fashioned or quick oats work fine but not instant oatmeal or steel cut oats.
- Butter: Be sure to take the butter out of the fridge an hour or so before you get started so it has a chance to soften.
- Pantry ingredients: Granulated sugar, brown sugar, cinnamon, salt.
How To Make Pear Crisp
Be sure to refer to the recipe card below for specific measurements and instructions.
Prep the pears. Simply peel the pears with your vegetable peeler. Cut the pears in half and scoop out the core. Slice the pears into quarter inch slices or chop them up if you’d rather.
Make the filling. Add the grated ginger root, 2 tablespoons granulated sugar, 2 tablespoons of flour (to thicken the filling), and a squeeze of lemon juice to the sliced pear. Gently toss until the fruit is coated, and then arrange the filling in a baking dish.
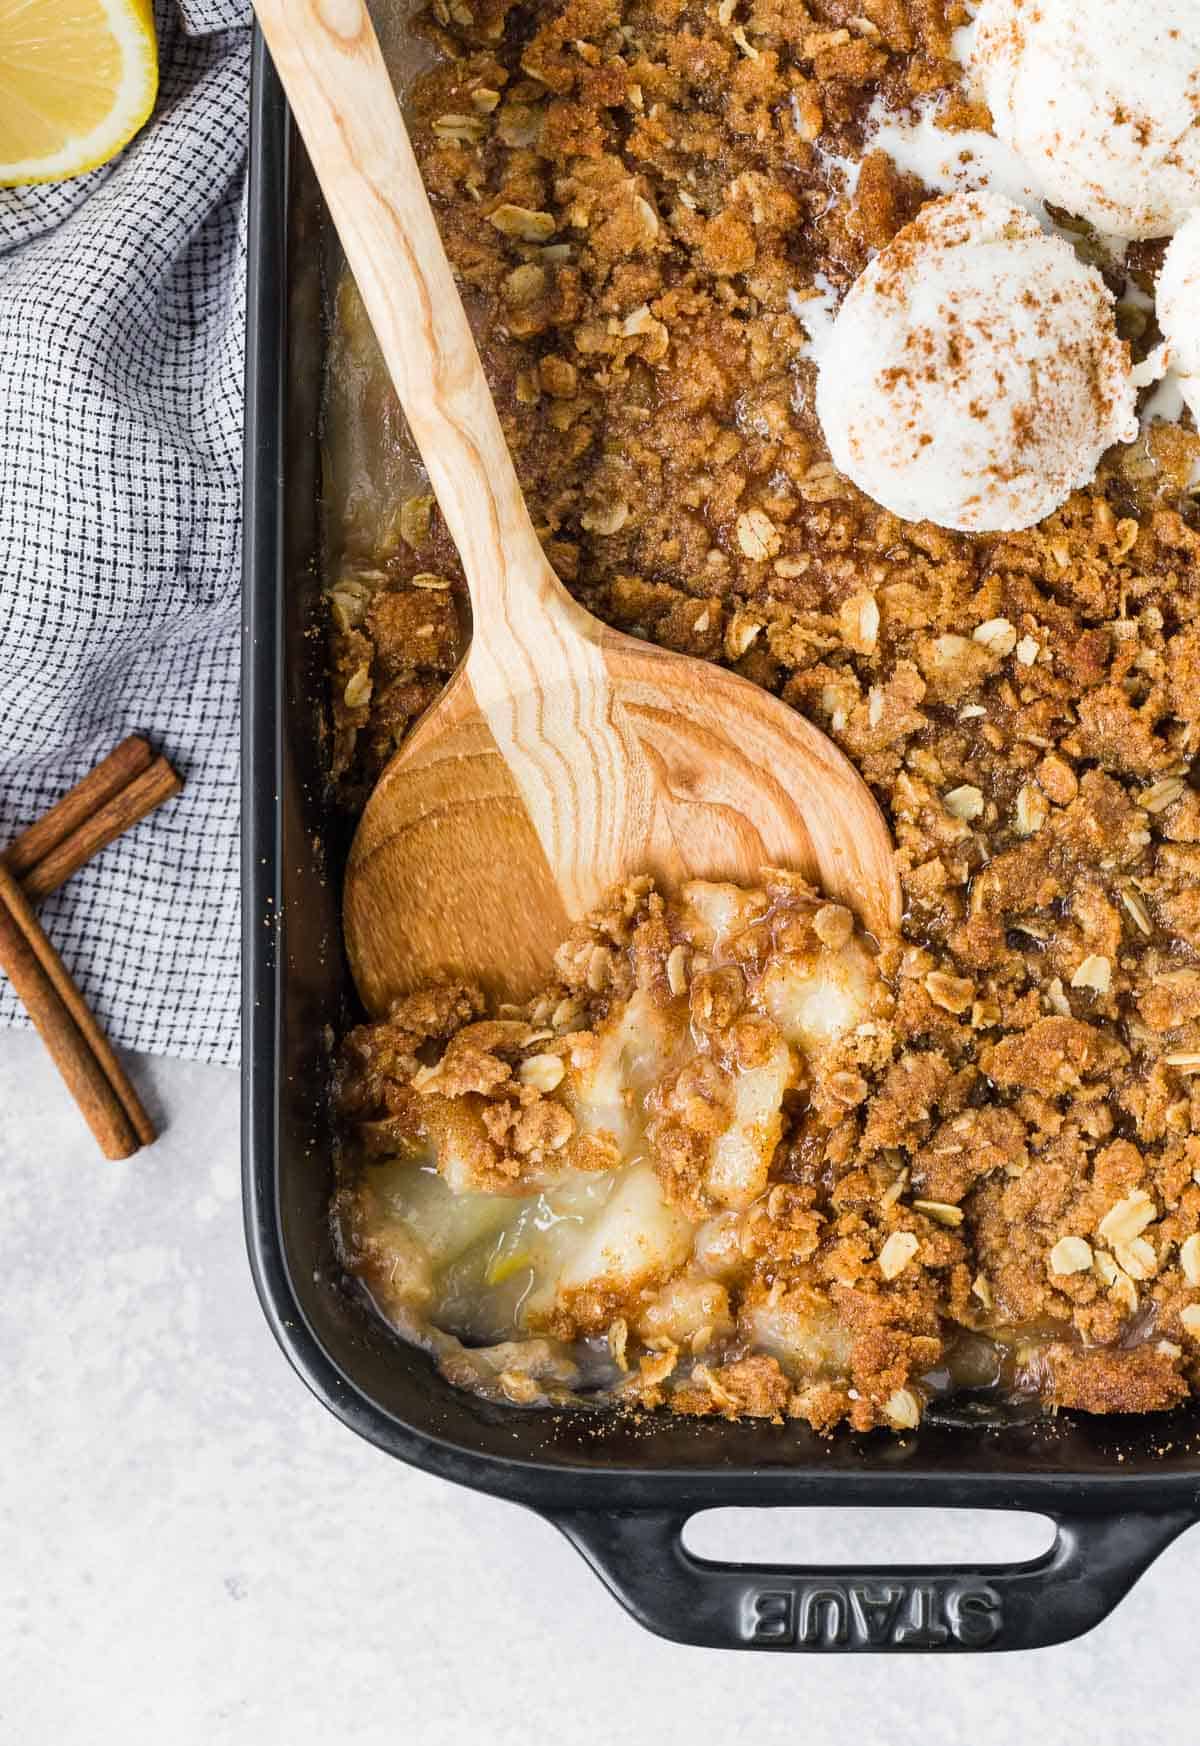
Make the topping. You can use the same mixing bowl you used to make the filling. Combine the oats, flour, brown sugar, cinnamon, and salt. Add the softened butter and blend it into the dry ingredients. I like to get my hands in there to blend the butter into the topping. Spread the topping by handfuls on top of the filling.
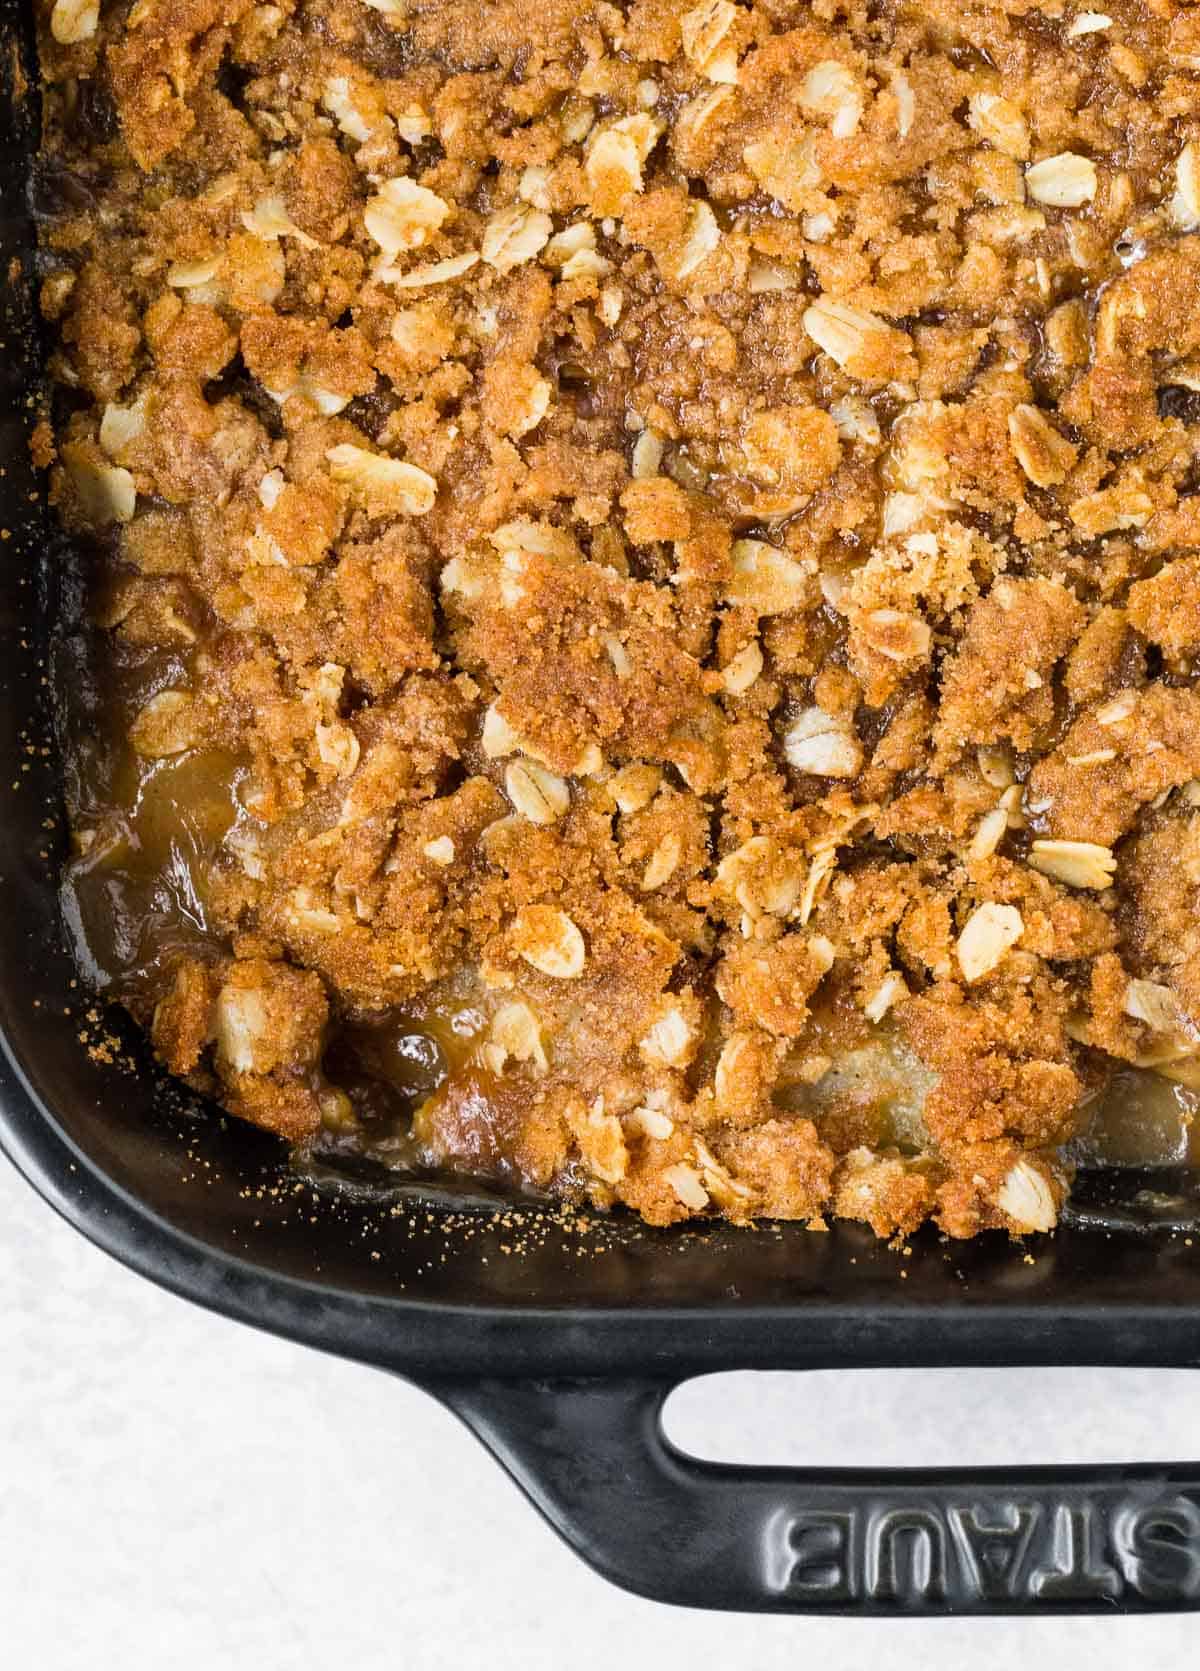
Bake. Bake the crisp in a preheated oven (375°F) for 40 minutes, or until fruit is tender and bubbling, and topping is lightly browned. Allow another 20 to 30 minutes to cool the crisp slightly before serving.
Optional Changes You Could Make
- Apple pear crisp: Substitute apples for half the pears (perfect if you don’t happen to have enough pears). If you like the idea of mixing apples and pears, be sure to try my vanilla bean pear applesauce, too.
- Canned pears: No fresh pears? Used canned pears, drained well, instead of fresh.
- Don’t care for ginger? Omit the ginger and add a teaspoon of cinnamon to the filling. A dash of nutmeg is good, too.
- Add nuts. Any type of chopped nuts can be added to the topping. A half to three quarters cups of pecans or walnuts adds a lot of nutty goodness.
- Cook for two. Simply make a half batch and use a smaller baking dish.
- Cutting back on sugar? Don’t add any sugar to the filling and decrease the sugar in the topping to ½ cup.
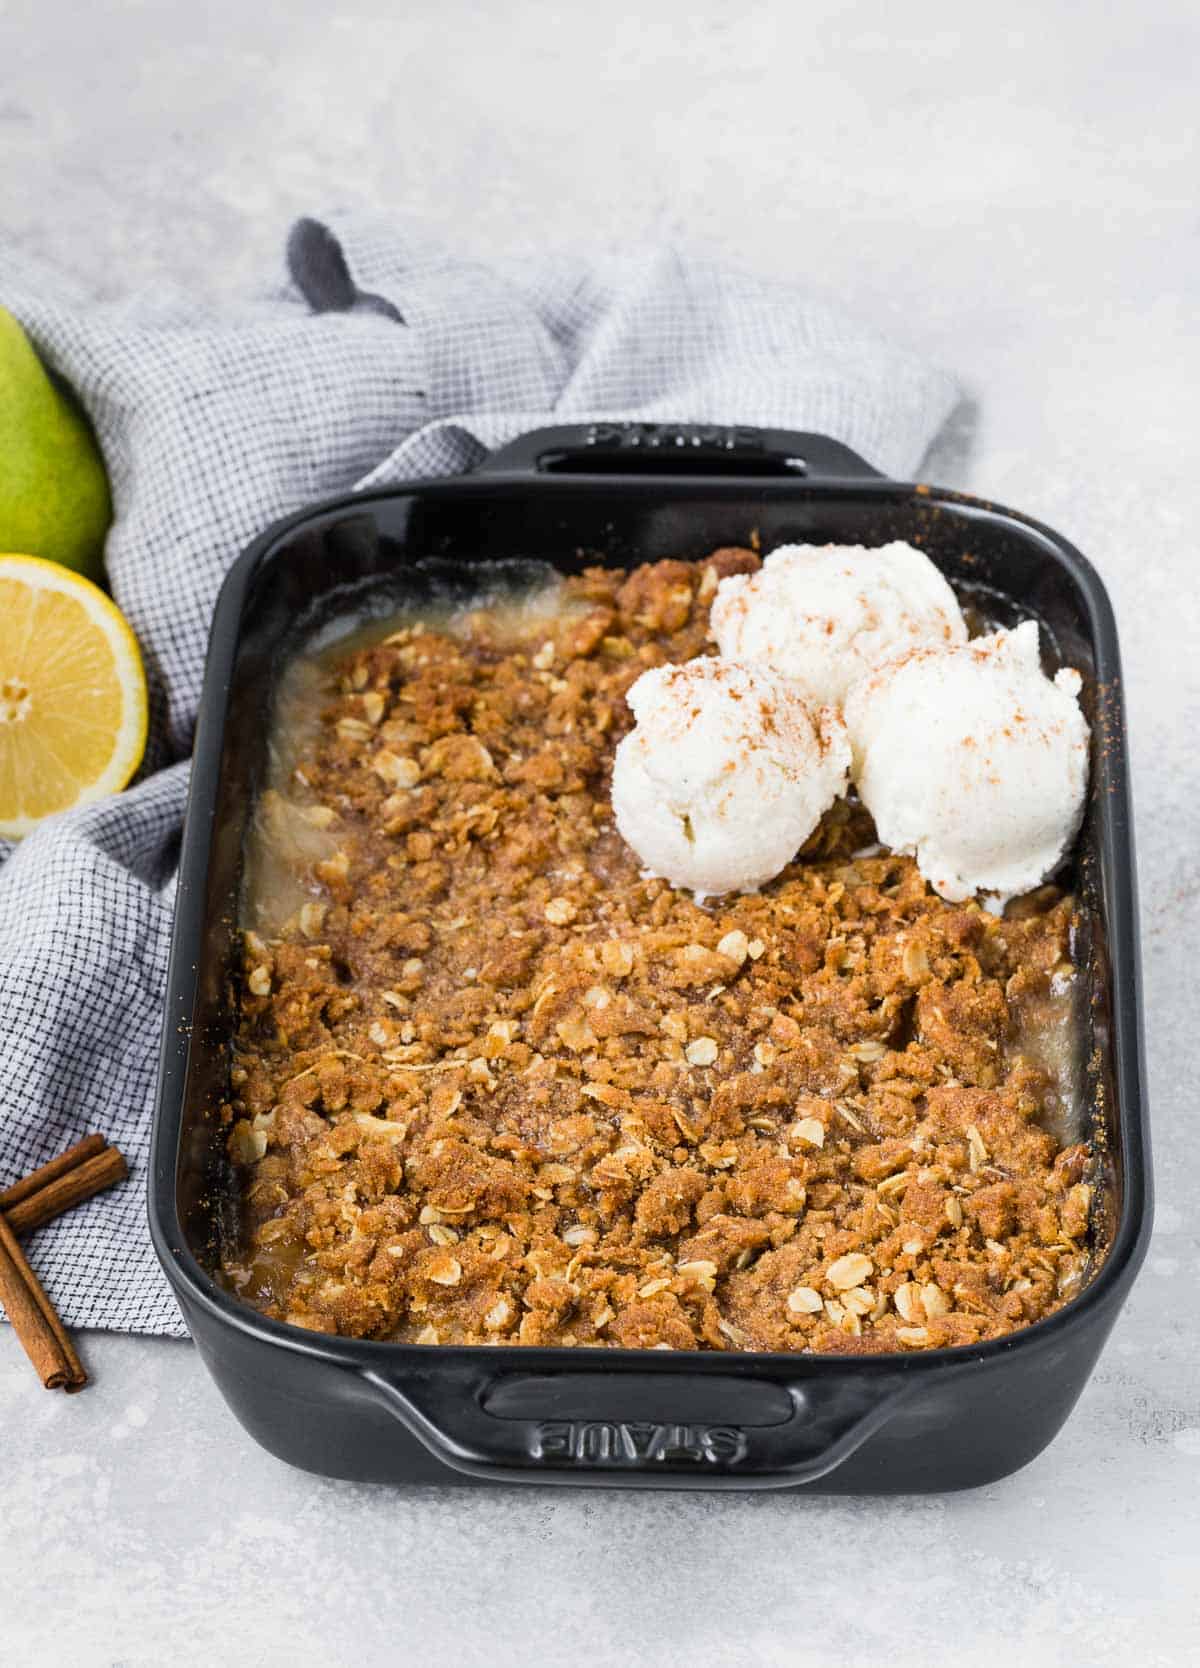
Pear crisp is best eaten the day you make it. It just is. If you do have leftovers, cover them tightly for up to 24 hours. It doesn’t have to be refrigerated unless you’re keeping it longer than that. Rewarm slightly in a low oven or microwave before serving.
Make ahead: You can prepare the pear crisp up to a day ahead, and don’t bake it. Cover and refrigerate it; when you’re ready, bake the crisp so that you can serve it nice and warm with vanilla ice cream melting on top.
Freeze the topping. Another shortcut that I frequently use is to make the topping ahead of time. Freeze it for up to three months in a quart size resealable bag. You won’t need to thaw it. Simply crumble it on your fruit filling and bake as directed. If you like, make a few batches to freeze while you have everything out and you’ll be on easy street for dessert-making.
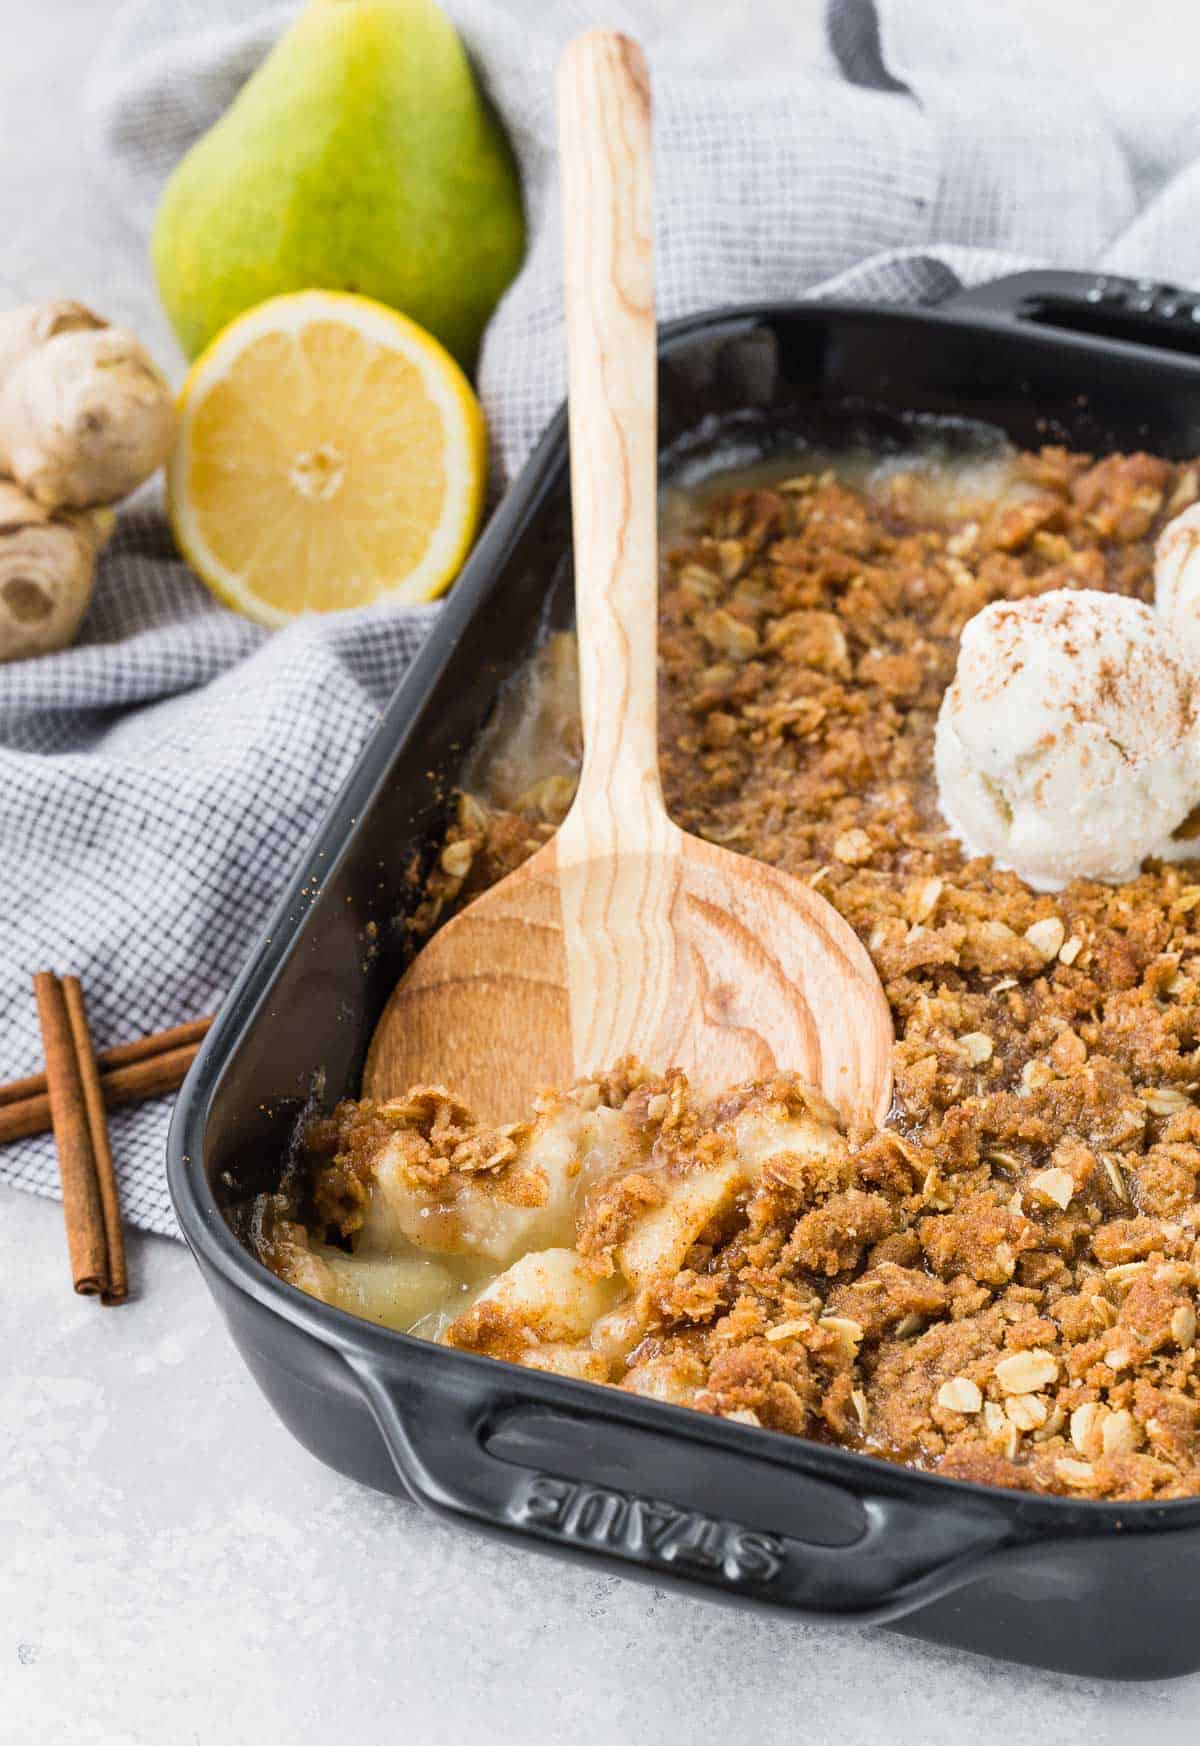
Fruit Dessert Recipes
Pear Crisp with Ginger
Ingredients
Filling
- 3 lbs. firm ripe pears
- 1 tablespoon freshly squeezed lemon juice
- 1 tablespoon peeled and grated fresh ginger root (see note)
- 2 tablespoons granulated sugar
- 2 tablespoons all-purpose flour
Topping
- 6 tablespoons unsalted butter, softened
- ½ cup all-purpose flour (can substitute whole wheat flour)
- ½ cup old-fashioned rolled oats
- ⅔ cup light brown sugar, packed
- 1 teaspoon ground cinnamon
- ⅛ teaspoon salt
- Vanilla ice cream for serving, optional
Instructions
- Preheat oven to 375°F. Prepare an 8-inch square baking dish (or a 10 x 8-inch dish) by lightly spraying with cooking spray.
- Wash and peel pears. Cut into each pear into quarters, remove core, and slice into ¼ inch slices.
- In a large bowl, combine pears, lemon juice, ginger root, granulated sugar and 2 tablespoons flour, and stir until the pears are evenly coated. Arrange in baking dish.
- In a large mixing bowl, combine butter, flour, oats, brown sugar, cinnamon, and salt. Use a pastry cutter, fork, or your fingers to blend the butter into the dry ingredients. The mixture should hold together in large clumps.
- Sprinkle topping evenly over the pear mixture.
- Bake for 40 minutes, or until filling is bubbling, pears are tender, and top is golden brown. Cool slightly before serving.
- Serve warm with vanilla ice cream.
Notes
- If you really like ginger, feel free to double the amount; if you’re not wild about it, omit the ginger completely. Add a half teaspoon of cinnamon to the filling instead.
- Canned Pears: If you don’t have fresh pears, substitute three 15 oz. cans of pears, packed in juice, drained well.
- Pear Apple Crisp: Make the crisp with 1 ½ lbs. sliced apples, and 1 ½ lbs. sliced pears.
Nutrition
Nutrition information is automatically calculated, so should only be used as an approximation.





my mouth is watering…
Mission accomplished. :)
Hi can you please tell me how many canned diced cv pears you use in this recipe in place of fresh ones thank
I’d use a close equivalent to 3 pounds, so about three 15oz cans, drained. Let me know how it goes, we haven’t tested it that way, but it should be tasty!