
Recipe Overview
Why you’ll love it: Fruity Pebbles treats are no-bake treats made with only 3 ingredients! Who doesn’t love an ooey gooey marshmallow treat loaded with sweet and fruity flavor and crispy, crackly crunch?
How long it takes: 15 minutes (plus 10 minutes to cool before cutting)
Equipment you’ll need: a baking dish and a deep-sided pan.
Servings: 20 bars

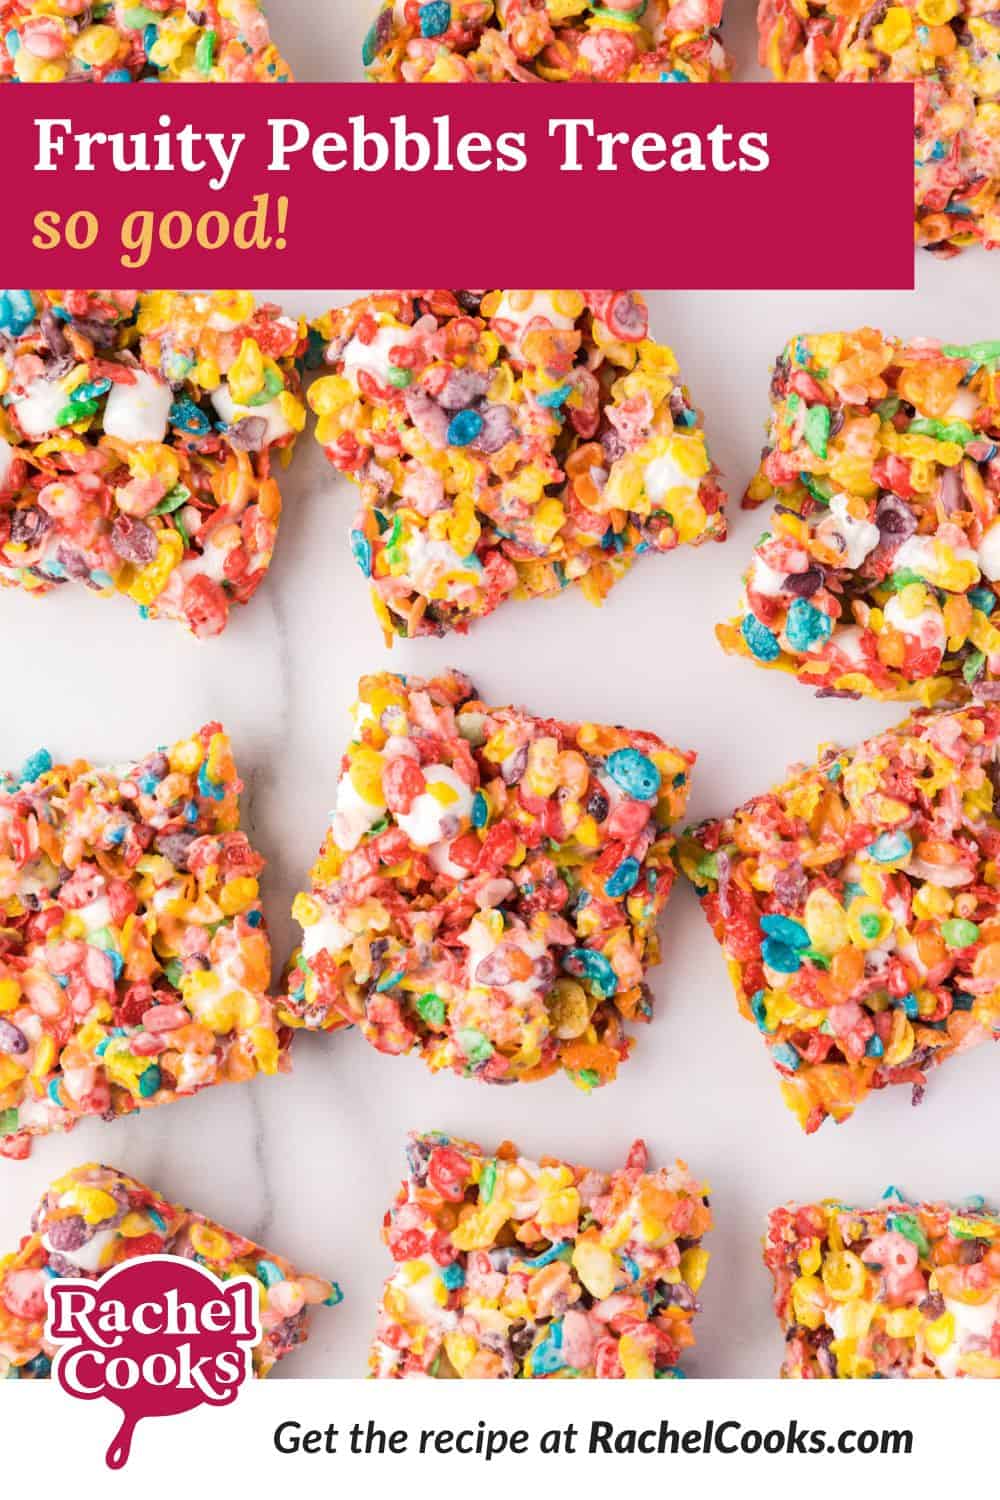
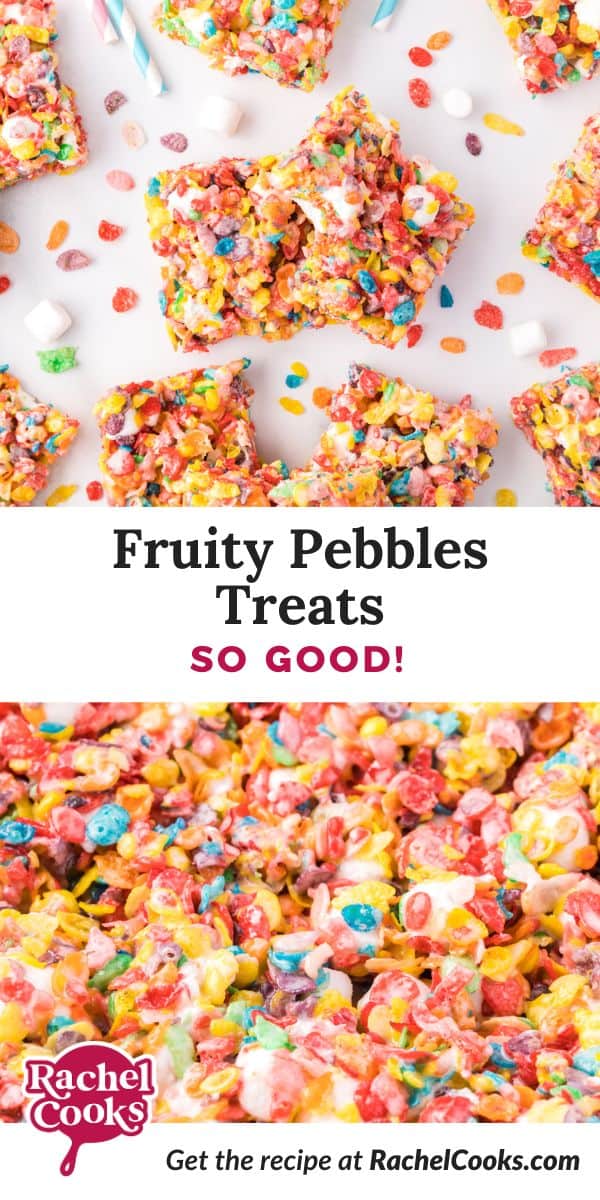
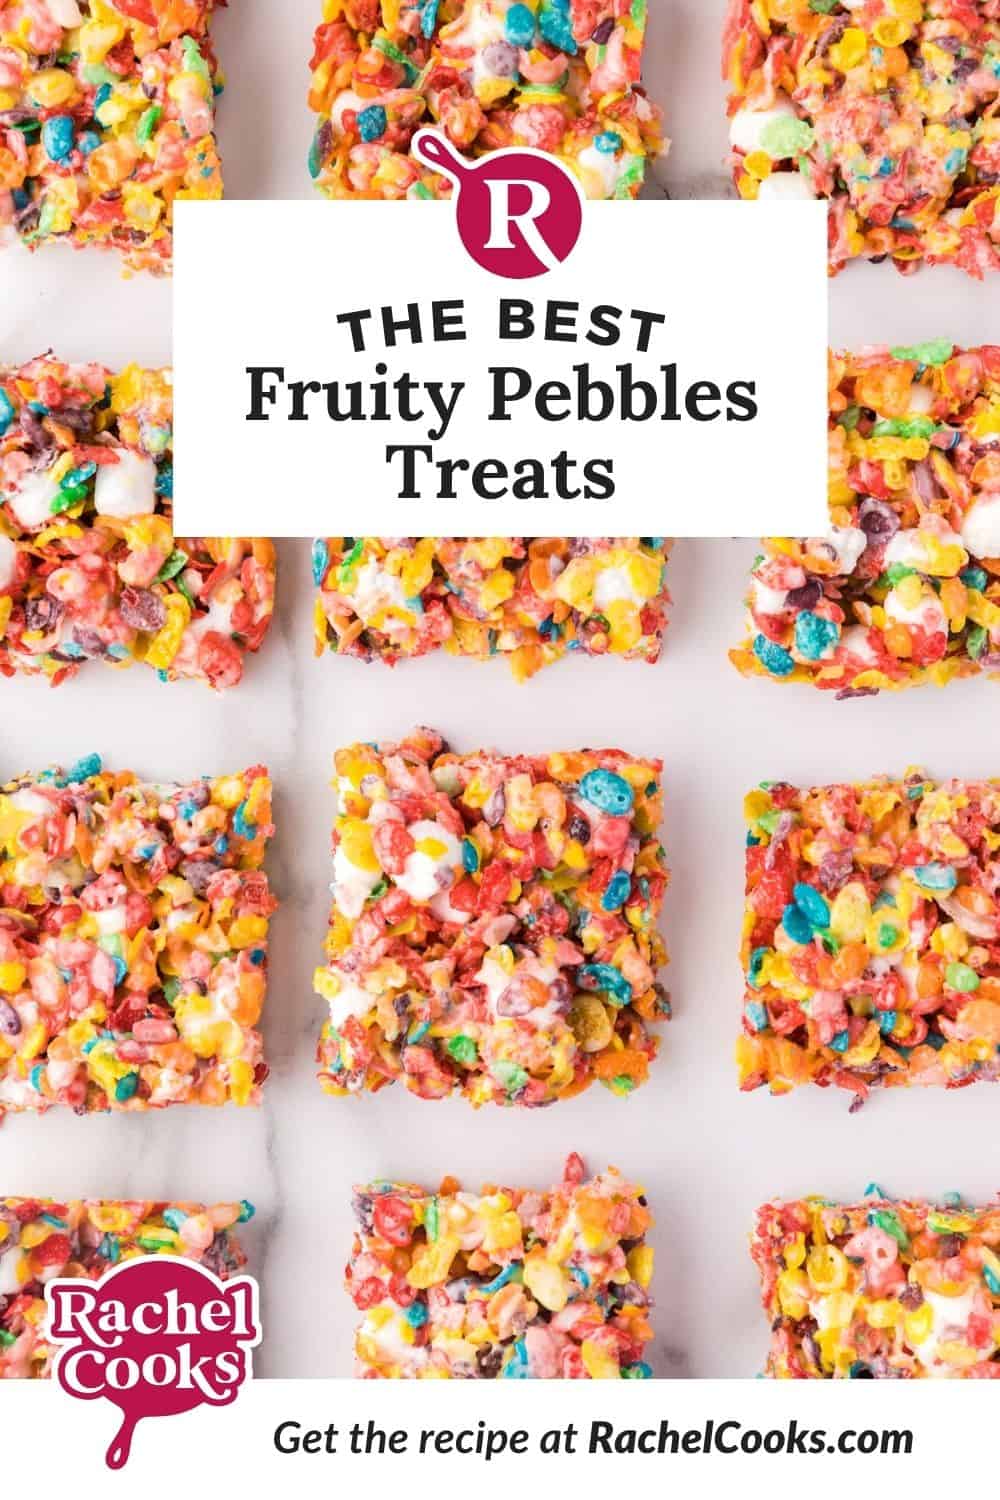
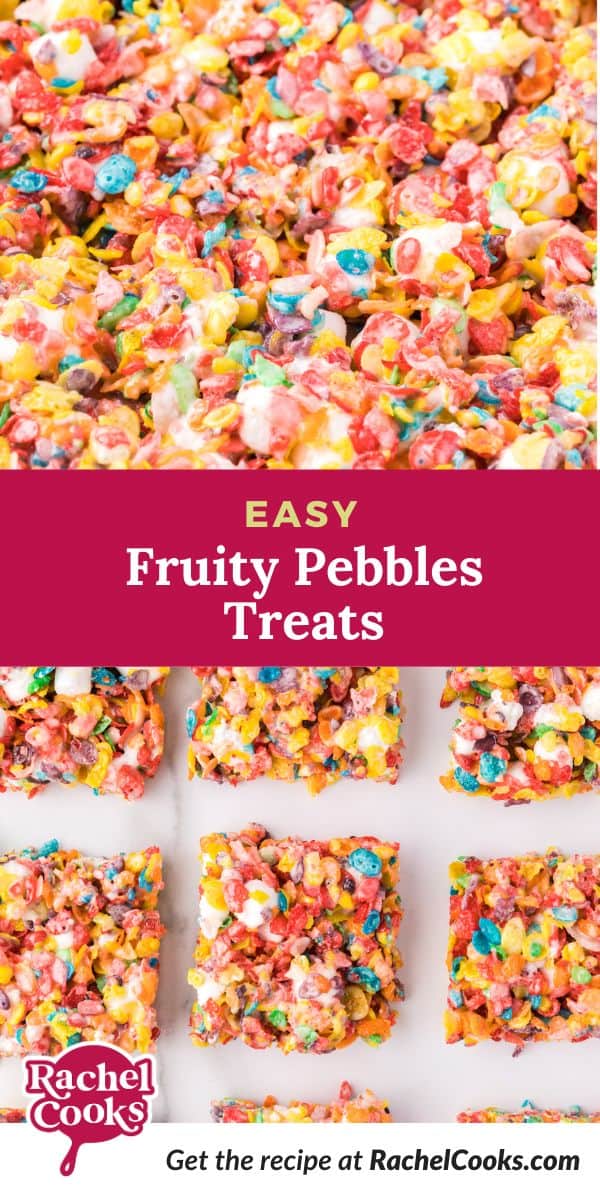
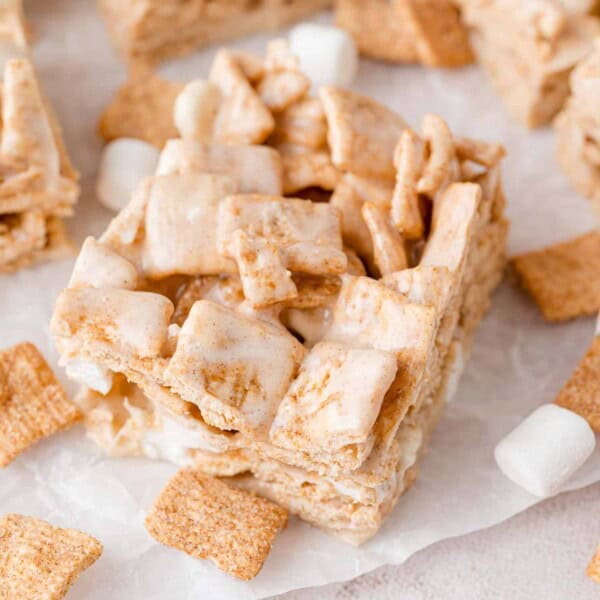
Sweet and Gooey Fruity Pebbles Treats
Buttery and full of chew, Rice Krispies treats are one of our family’s favorite sweet snacks. These Fruity Pebbles treats are just like the classic recipe, made with Fruity Pebbles cereal instead.
Pull these treats apart, and you’re treated to strings of gooey marshmallows between crackly, fruity-flavored crispy rice cereal bursting with the colors of the rainbow. This Fruity Pebbles treats recipe is a must-try!
Why You’ll Love This Fruity Pebbles Treats Recipe
- Full of fruity flavor. These treats taste different from regular Rice Krispie treats thanks to the intense fruity flavor of Fruity Pebbles cereal. They’re sweet, fruity, and delicious.
- Soft and chewy. All that fruity flavor is packed into bright, colorful, chewy no-bake bars that no one can resist, not even adults.
- Melty marshmallows. I love stirring in whole mini marshmallows right at the end, for gooey pops of marshmallows in every bar.
- Quick and easy. Give your oven the day off, because these soft and chewy no-bake treats are quick to make with easy ingredients on the stovetop.

Recipe Ingredients
You only need 3 ingredients to make these easy Fruity Pebbles treats. I’ll get you started with some notes and tips below. Don’t forget to refer to the recipe card below for the full ingredient amounts and recipe details.
- Butter – I use unsalted butter, but salted also works if you’re after more of a sweet-salty contrast in these crispy treats.
- Mini Marshmallows – You’ll need 6 cups of mini marshmallows for the treats, plus 2 cups extra for stirring in at the end. One 10 oz. bag of mini marshmallows is equal to about 6 cups, so pick up two bags.
- Fruity Pebbles Cereal – If you prefer, a store brand of fruity crispy rice cereal is fine. Buy an 11 oz. box of cereal (or larger, if you want to enjoy the cereal for breakfast, too!).
For this recipe, you’ll need 6 cups of Fruity Pebbles. An 11 oz. box should be more than enough.
How to Make Fruity Pebbles Treats
Fruity Pebbles treats are such an easy snack or dessert that you can make at the drop of a hat. There’s very little prep or effort involved, and these bars always turn out great. Here’s how to make them:
Melt the marshmallows. First, add butter and 6 cups of marshmallows to a large, non-stick saucepan. Melt the marshmallows over low heat until they’re completely smooth.


Add cereal. Take the pan off the heat and first stir in your Fruity Pebbles, then add an extra 2 cups of marshmallows. Stir until everything is well-coated.


Press the mixture into a pan. Next, using your hands, gently press the mixture into a greased 9 x 13 inch pan.
Cool and serve. Let your Fruity Pebbles treats cool for at least 10 minutes before slicing them into bars. They’ll firm up slightly as they cool.

Tips for Success
There are a few things to remember when making the best Rice Krispy treats, and the same rules apply to these Fruity Pebbles treats:
- Use fresh marshmallows. Make sure you’re using fresh bags of marshmallows for the best results. Stale, older marshmallows might taste okay but they won’t work as well when making marshmallow treats.
- If you don’t have mini marshmallows, you can also use regular-sized marshmallows (10 oz. bag) to make these bars. Skip the step where you stir in whole marshmallows at the end.
- Don’t overheat. Use low to medium low heat to melt the butter and marshmallows. Take the pan off the heat when the marshmallows are just melted. Overheated marshmallows may cause your Fruity Pebbles treats to turn out too hard.
- Be gentle. Don’t press too hard when you’re spreading your marshmallow/Fruity Pebble mixture into the baking pan. If you press the mixture down too firmly, your treats may be too brick-like.
- Grease your hands. When pressing the treats into the pan, give your hands a quick greasing first with butter or cooking spray to prevent sticking.
- Give the bars enough time to set. They’ll need to cool for at least 10 minutes before you cut them.
Make These Fruity Pebbles Treats Your Own
Looking for a few fun variation ideas for these Fruity Pebbles treats? Give these a try:
- Replace the butter. If you’d prefer to make these crispy treats without butter, replace the butter with olive oil or coconut oil.
- For thicker bars, use an 8 x 8 inch pan rather than a 9 x 13 inch pan. You can also press them into muffin tins for individual servings.
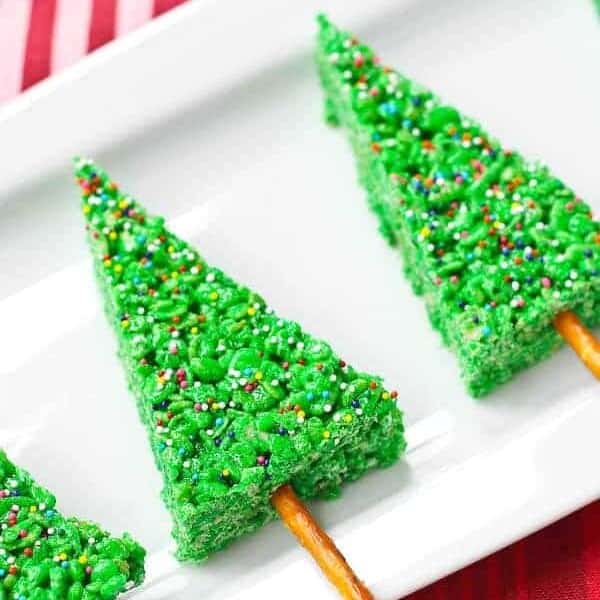
- Not a fan of Fruity Pebbles? Make this recipe with Cocoa Pebbles or regular Rice Krispies cereal instead!
- Add-ins. Stir in add-ins like white or dark chocolate chips, chopped pretzels, or your choice of candy. Be careful that you don’t go overboard with too many mix-ins, though, as your treats might turn out crumbly.

- To Store. Any marshmallow treats will always be at their best on the day they’re made. You can store your Fruity Pebbles treats at room temperature for up to 3 days in a covered container.
- Freezer. I don’t usually recommend freezing these bars. However, in a pinch, they can be stored in a freezer-safe container and frozen for up to 3 months. Make sure they’re cooled completely before you put them into an airtight container.
More No-Bake Treats

Fruity Pebbles Treats

Ingredients
- 2 tablespoons unsalted butter (plus additional to grease the pan)
- 8 cups mini marshmallows, divided (see note)
- 6 cups fruity crisp rice cereal (or Fruity Pebbles)
Instructions
- Grease a 9 × 13 inch pan with butter.
- In a large, deep pan (nonstick preferred), melt butter and 6 cups mini marshmallows over low heat until completely melted (no lumps of marshmallows remain).
- Remove pan from heat and stir in fruity crisp rice cereal, until cereal is mostly coated. Immediately stir in 2 cups mini marshmallows. Continue to stir until cereal and whole marshmallows are coated with marshmallow/butter combination. Pour into prepared pan.
- Spray hands lightly with nonstick baking spray (or coat with butter) and press mixture gently into pan. Don’t press them in too firmly, or they’ll become too hard. Let cool for at least 10 minutes before cutting into squares with a sharp knife.
Notes
- To Store: Cool completely, cut into squares, and store in a covered container at room temperature for up to 3 days. The bars are best eaten the day they’re made.
- If you prefer, the 2 cups of mini marshmallows stirred into the cereal mixture can be omitted.
- Different sized pans can be used. If the pan is smaller, the bars will be thicker. Muffin tins (be sure to grease them well) can be used for individual bars.
Video
Nutrition
Nutrition information is automatically calculated, so should only be used as an approximation.


yay! Im so excited for you guys and a new house! Thats the best!! Glad you got to enjoy your vacation..and there is nothing wrong with a beer in one hand and a kid on the other hip ;)
Love these bars! Two of my most favorite things combined. When I was pregnant, I ate a box of fruity pebbles ever three days, it was crazy. These are awesome!
So cute, childhood treats are the best! Wishing we had Fruity Pebble cereal in Australia but because I can substitute an alternative… :)
these look fantastic! love this idea!
I love no-bake desserts to beat the summer heat and anytime I can eat cereal throughout the day, count me in!
Congrats on the house and on that EtchaSketch version of it. Awesome! Not so awesome on the ER visit. Sorry to hear about that but glad you were able to enjoy vacation anyway. My husband loves all kid approved cereals and we will love these. Thanks for sharing.
yummy–thanks for using real butter. makes a huge difference. IMO.
sorry about your son. my older two boys have been to the ER many times. The youngest–knock on wood–hasn’t been, yet. It happens. Hopefully, there will never be a serious injury.
Congrats on the house! But bummer about the ER visit. :( So glad the little man is OK. And ummmm I want about a dozen of these for dessert today. And pretty much every day hereafter.
Ah congrats / good luck with the house this week!!! And I’m so happy that E is ok. Hopefully everything was much more relaxing after that while you were away.
Oh no about the ER! N reminds me of Jacob that age..we thought he just liked to see the inside of out of town hospitals for a couple years!
Glad you had a great vacation! Good luck with the move!
So EXCITING about the house!! YAY girl!
I am glad you had a good vacay (despite the ER visit) The pics on IG looked awesome! You totally deserve it.
And, my hubs is going to DIE over these bars. He eats cereal everyday…and even turns down my fancy dinners for a bowl of the stuff, so he will be alll ova these! Pinned!