
Recipe Overview
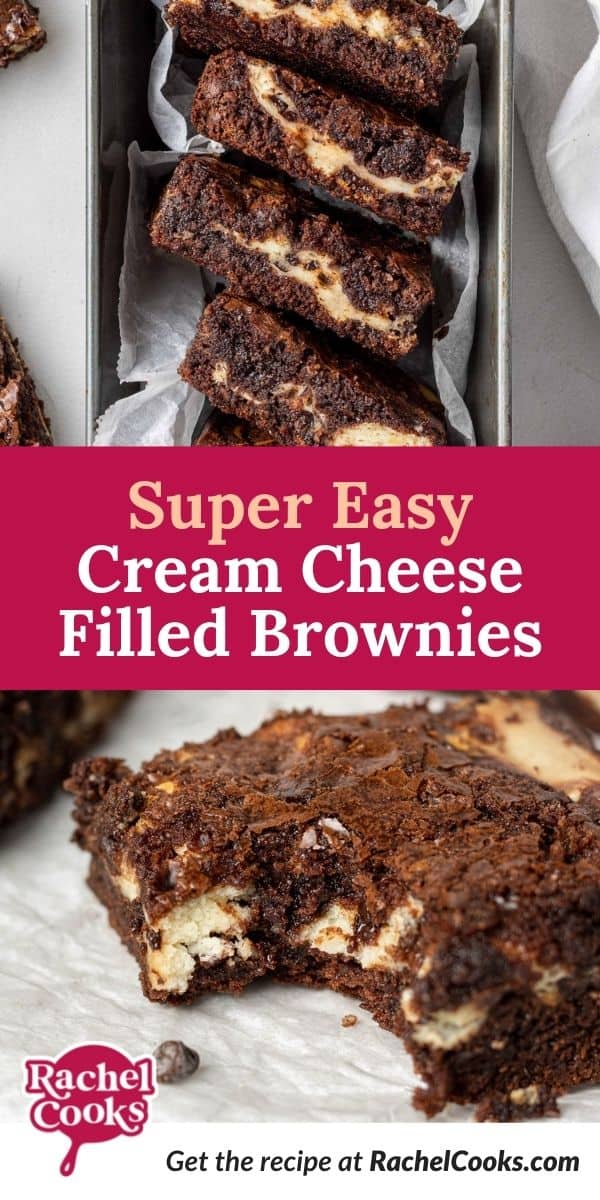
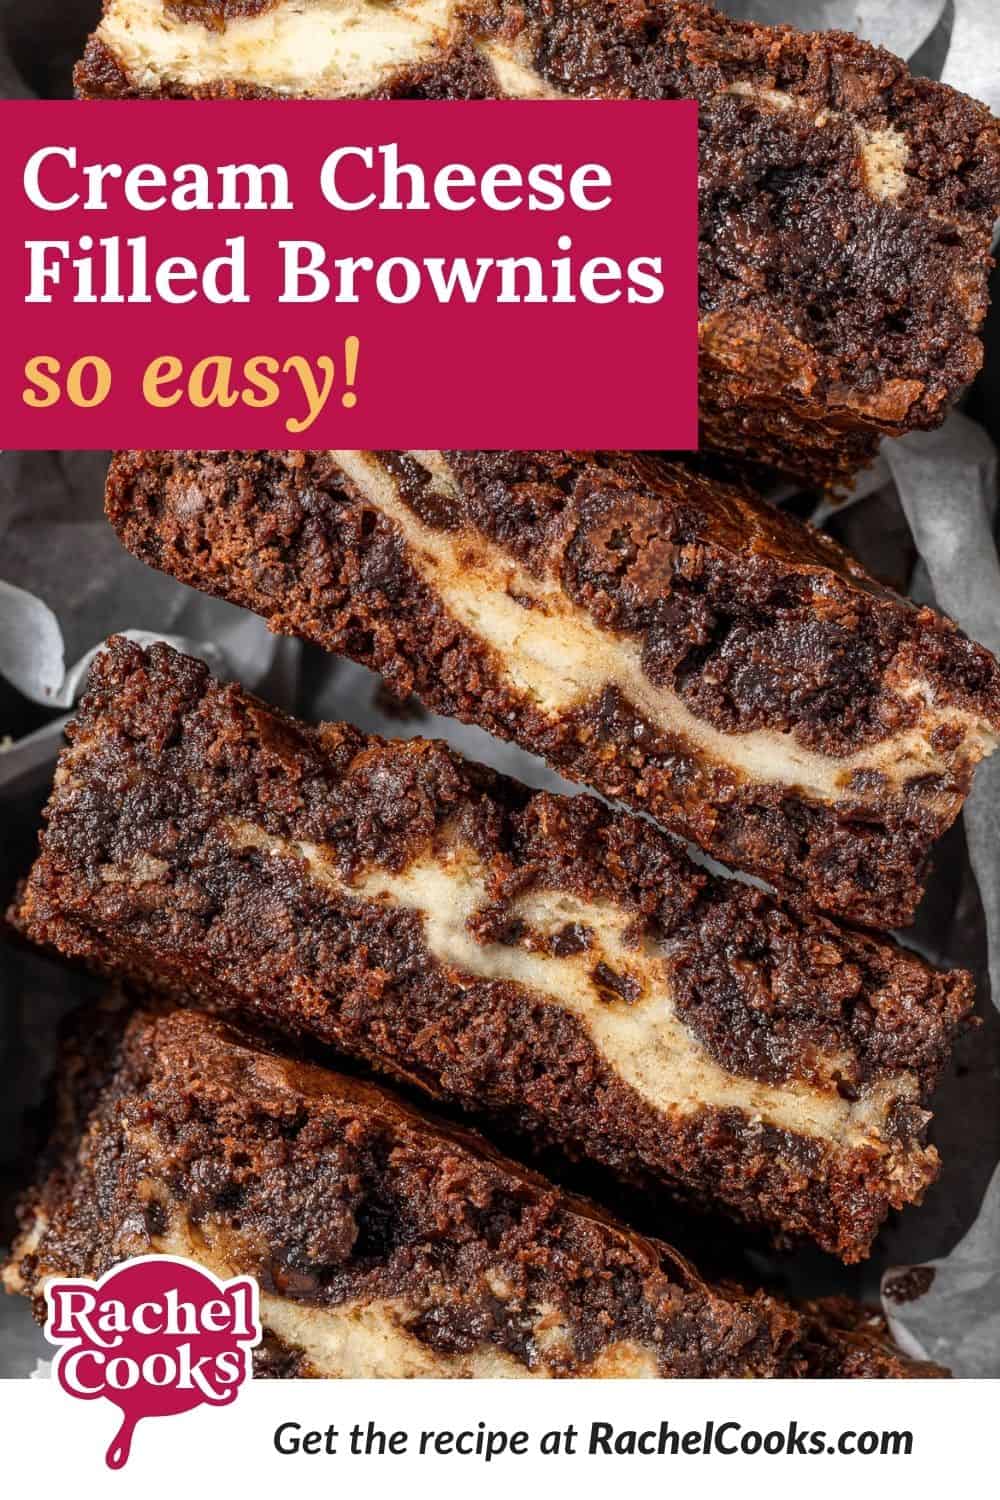
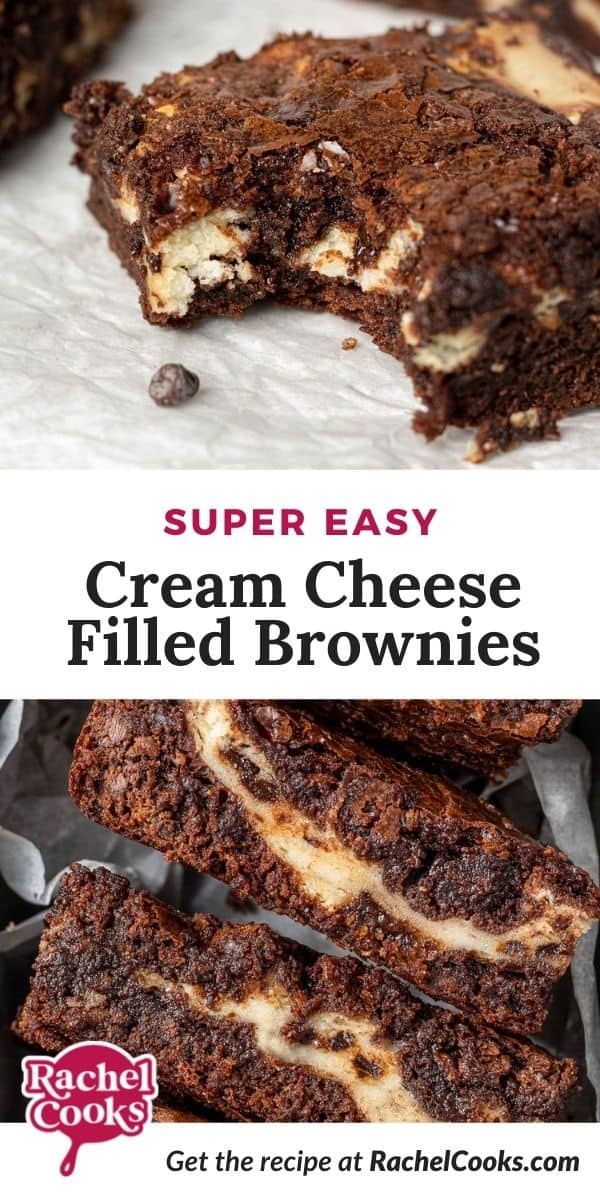
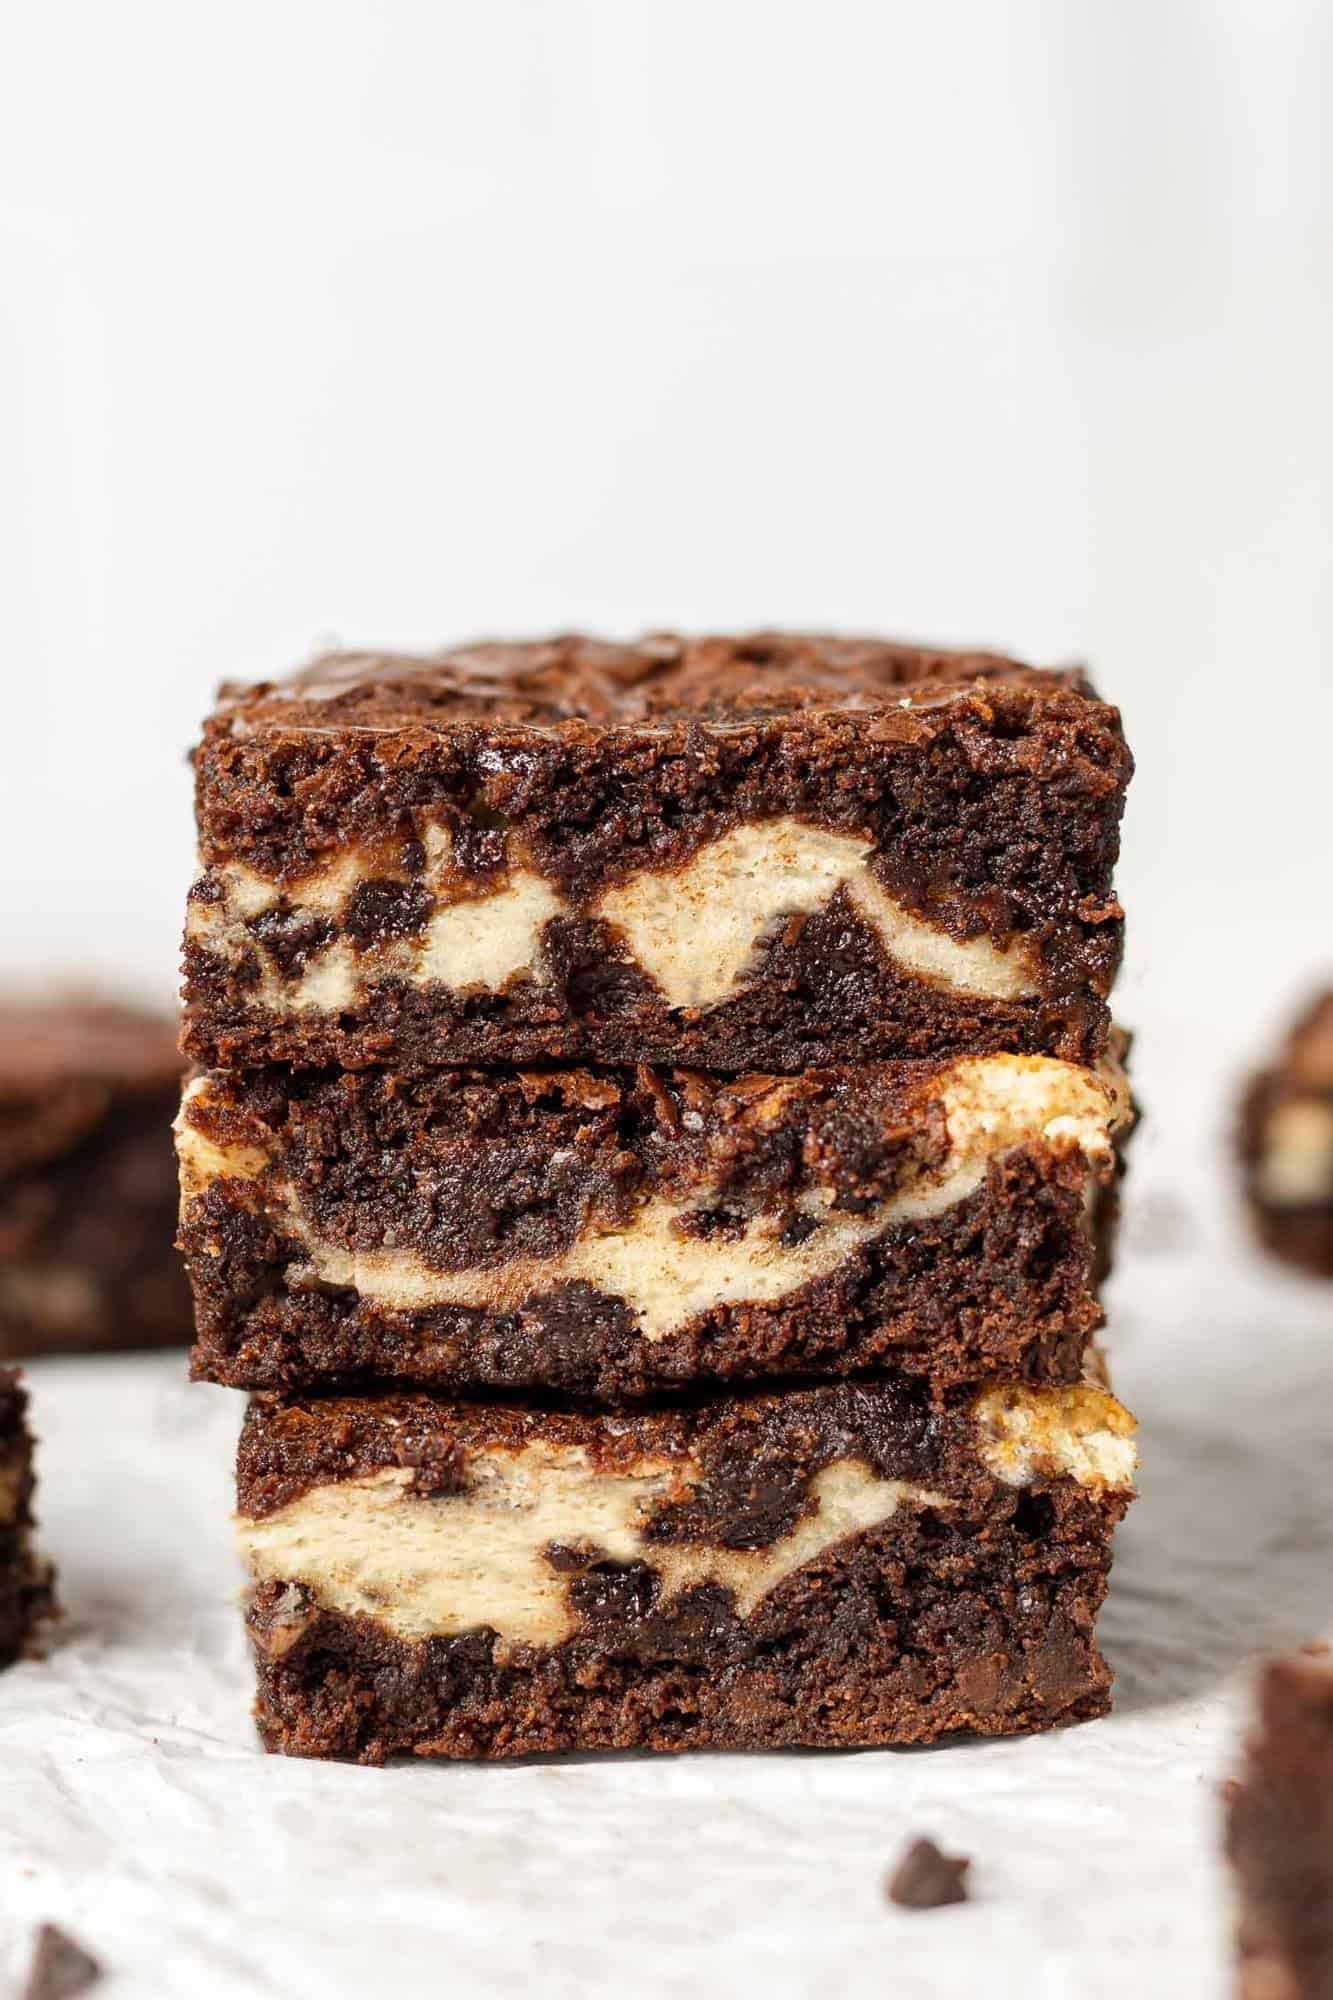
Why you’ll love it: Make your brownies extra special by giving them a layer of cream cheese and adding chocolate chips. Cream cheese filled brownies are over-the-top delicious! This recipe starts with a box mix so these brownies aren’t difficult to make.
How long it takes: 50 minutes
Equipment you’ll need: two mixing bowls, electric mixer, 9 x 13 inch baking pan
Servings: 18 brownies
Let me begin with a bit of advice: Make these cream cheese filled brownies when you’re expecting company. Your guests will love them, and serving the brownies to company for dessert will prevent you from eating all of them.
These brownies are so good and it’s a huge temptation to eat way too many. Usually I like to send any extra goodies to work with my husband. His coworkers love me. But because these bars really should be refrigerated, they don’t go to work with him. At least that’s my story.
The true story? These layered brownies are good! I don’t really want to share.
Cream cheese filled brownies are only a teensy bit harder than boxed brownies. You can handle it, I have faith in you! And they are totally worth the effort.
About These Cream Cheese Filled Brownies
Better than cheesecake. I know, that’s a pretty wild claim but these brownies really are better than cheesecake, in my humble opinion. They’re a combination of two delicious desserts, brownies and cheesecake. How can you go wrong with that combination?
This is an easy recipe. I’ll run through the recipe here to get you started but I assure you, it’s pretty easy and starts with a purchased brownie mix. I like to keep things simple and there are some really great brownie mixes on the market! However, if you’d rather make your own brownies from scratch with cocoa powder, flour, butter, and so on, feel free.
Ingredient Notes
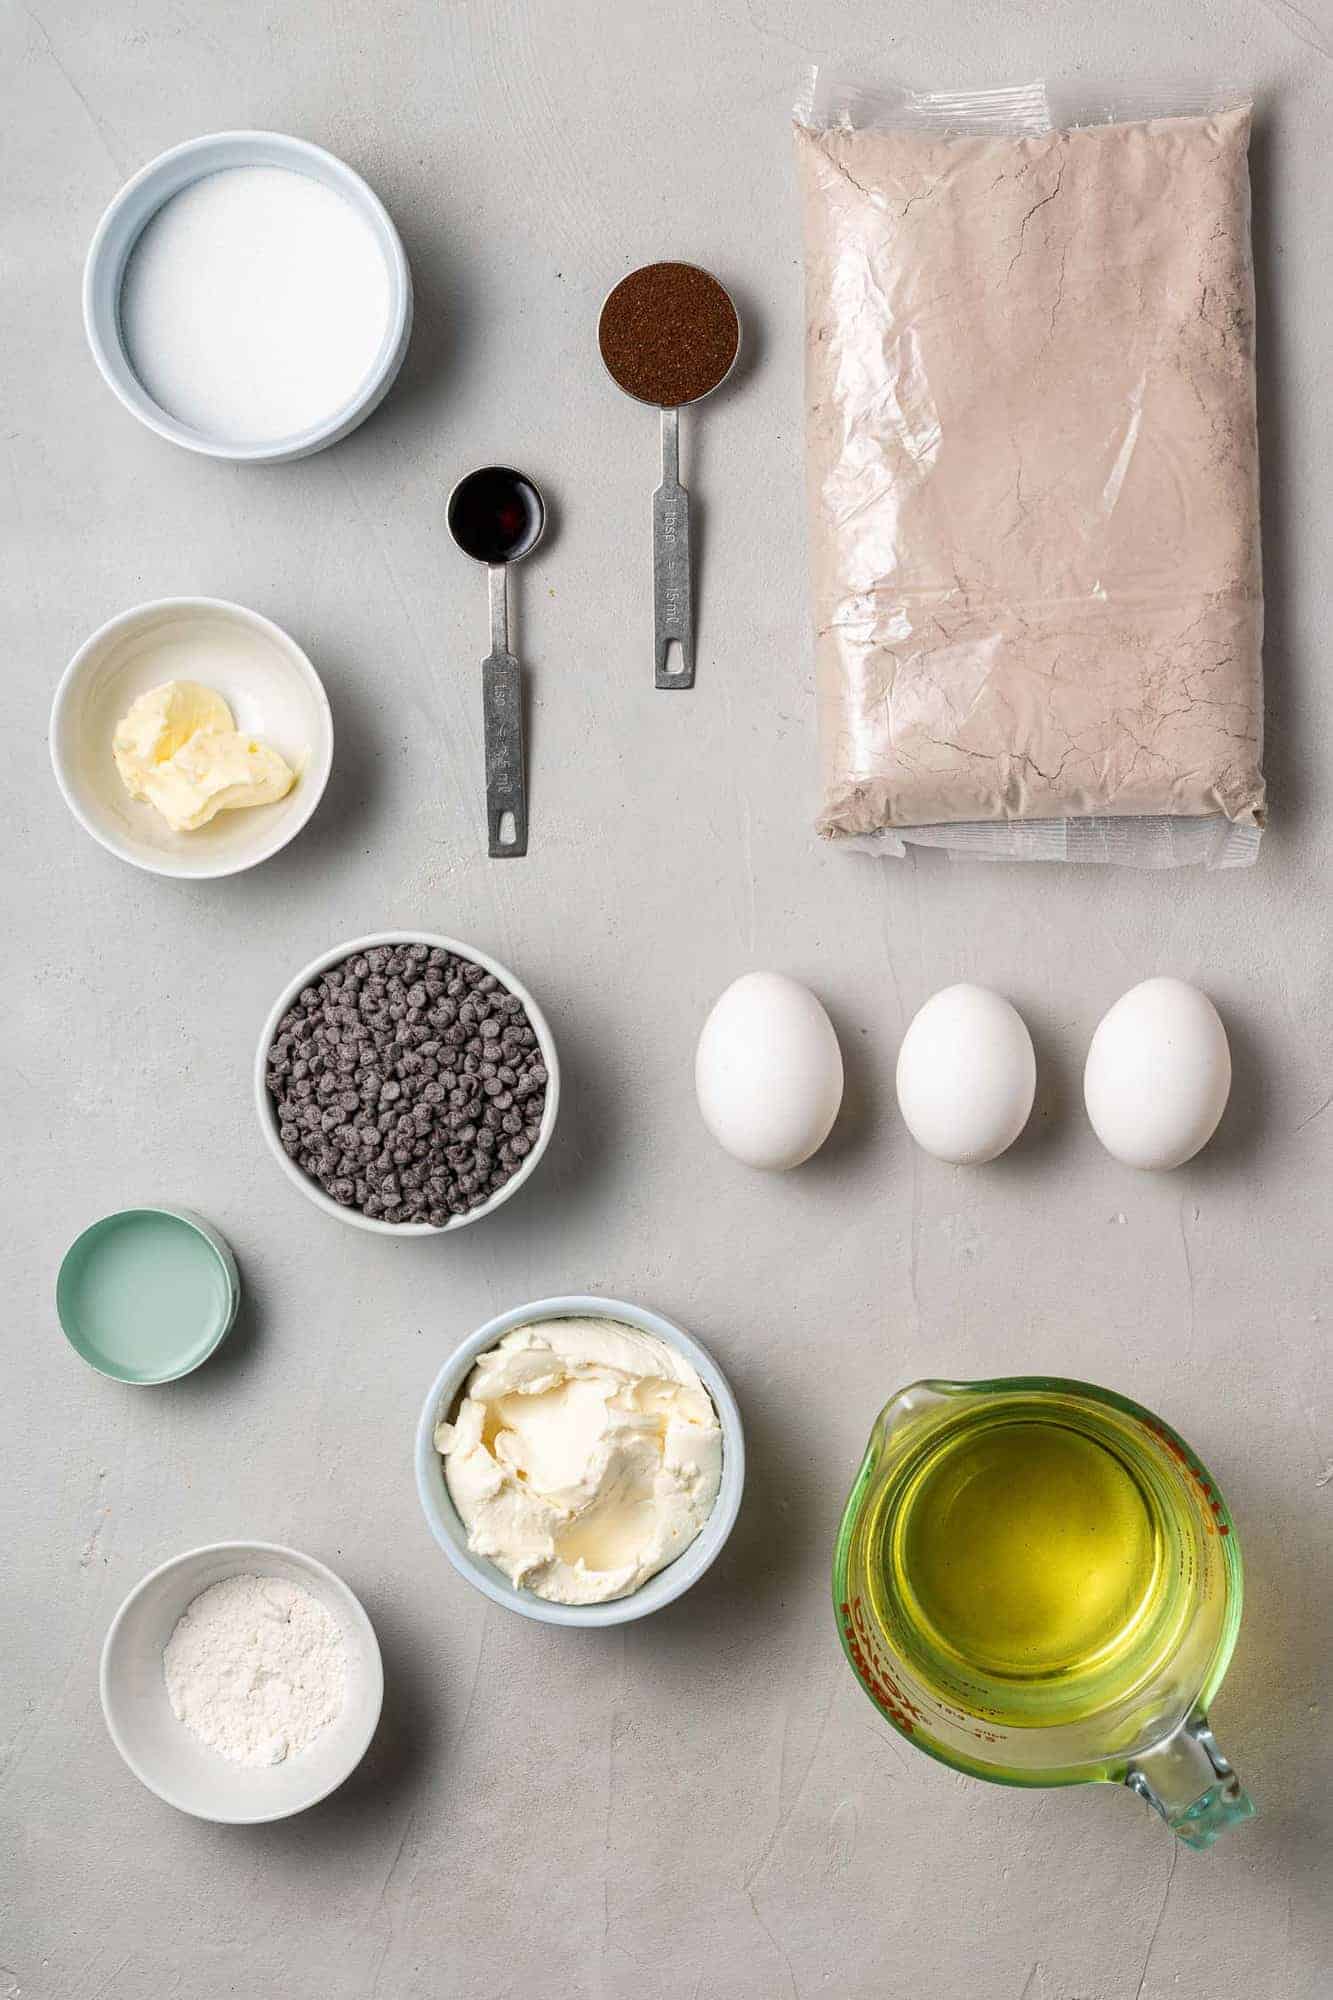
- Brownie Mix: Buy your favorite brand but make sure it’s the right size brownie mix. You need the family size which is 18.3 ounces and makes a 9 x13 inch pan of brownies. If you use a smaller sized mix, there won’t be enough brownie batter to cover the filling. Don’t be tempted to buy the jazzed up brownie mixes because you’re going to do the jazzing up yourself!
- Eggs, Oil, Water: Use the amounts listed on your brownie mix. There is some variation depending on which brand you buy.
- Espresso Powder: This ingredient is optional. It adds a nice mocha flavor to the batter but feel free to leave it out if you so desire or can’t find it at your market. I usually find it in the coffee aisle by the instant coffee.
- Mini Chocolate Chips: These little babies are added to the brownie batter AND the filling. Lots of chocolate goodness here! Mini chocolate chips work better than the regular sized chips because they disperse more evenly throughout the batter. If you only have regular sized chips, they will work.
- Cream Cheese: I usually choose reduced fat cream cheese. Full fat cream cheese is fine but don’t buy the non-fat. It has a bunch of extra fillers and stuff in it and we don’t want that in our brownies.
- Egg, Butter, Flour, Sugar, Vanilla: These make up the rest of the filling ingredients. Plus the additional mini chocolate chips!
How To Make These Brownies
Get ready. Turn the oven on to get it preheating and gather together everything you’ll need: all the ingredients, a 9 x 13 inch pan, an electric mixer and a couple of mixing bowls. Grease the pan by spraying it lightly with cooking spray.
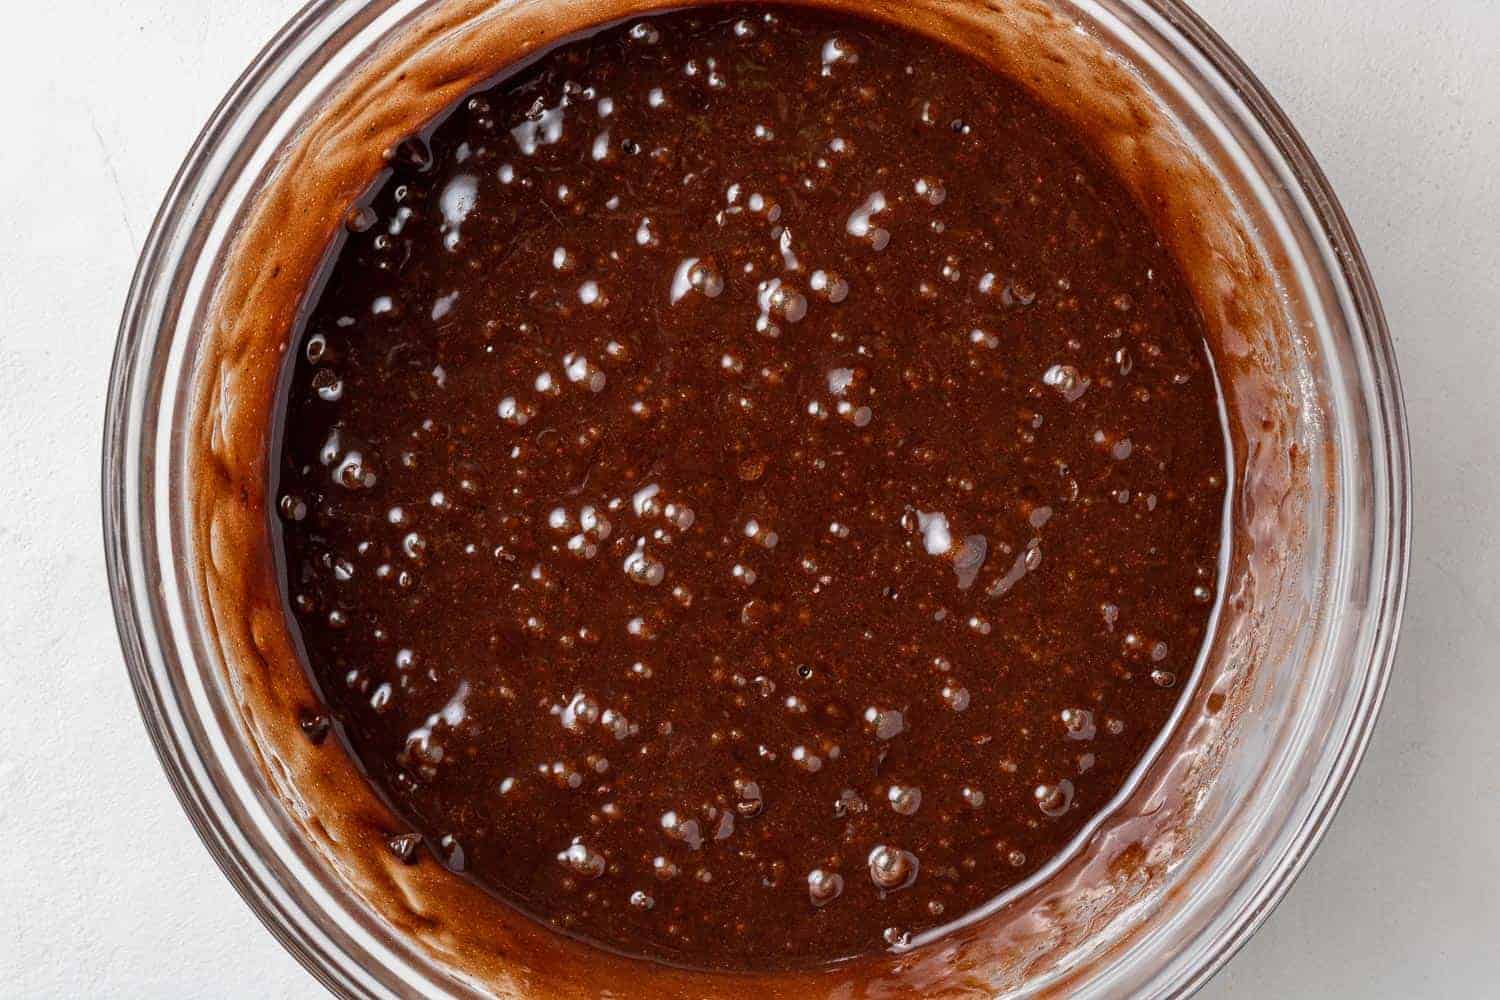
Make the brownie mix. In one of the mixing bowls, combine the brownie mix with the eggs, oil, and water according to the package directions. If you’re using the espresso powder, it’s best to add that before you add the liquid ingredients. Make sure it’s blended well into the dry mix.
Don’t overmix the batter. Just stir it until the dry ingredients are blended with the wet. Fold in a cup of the mini chocolate chips
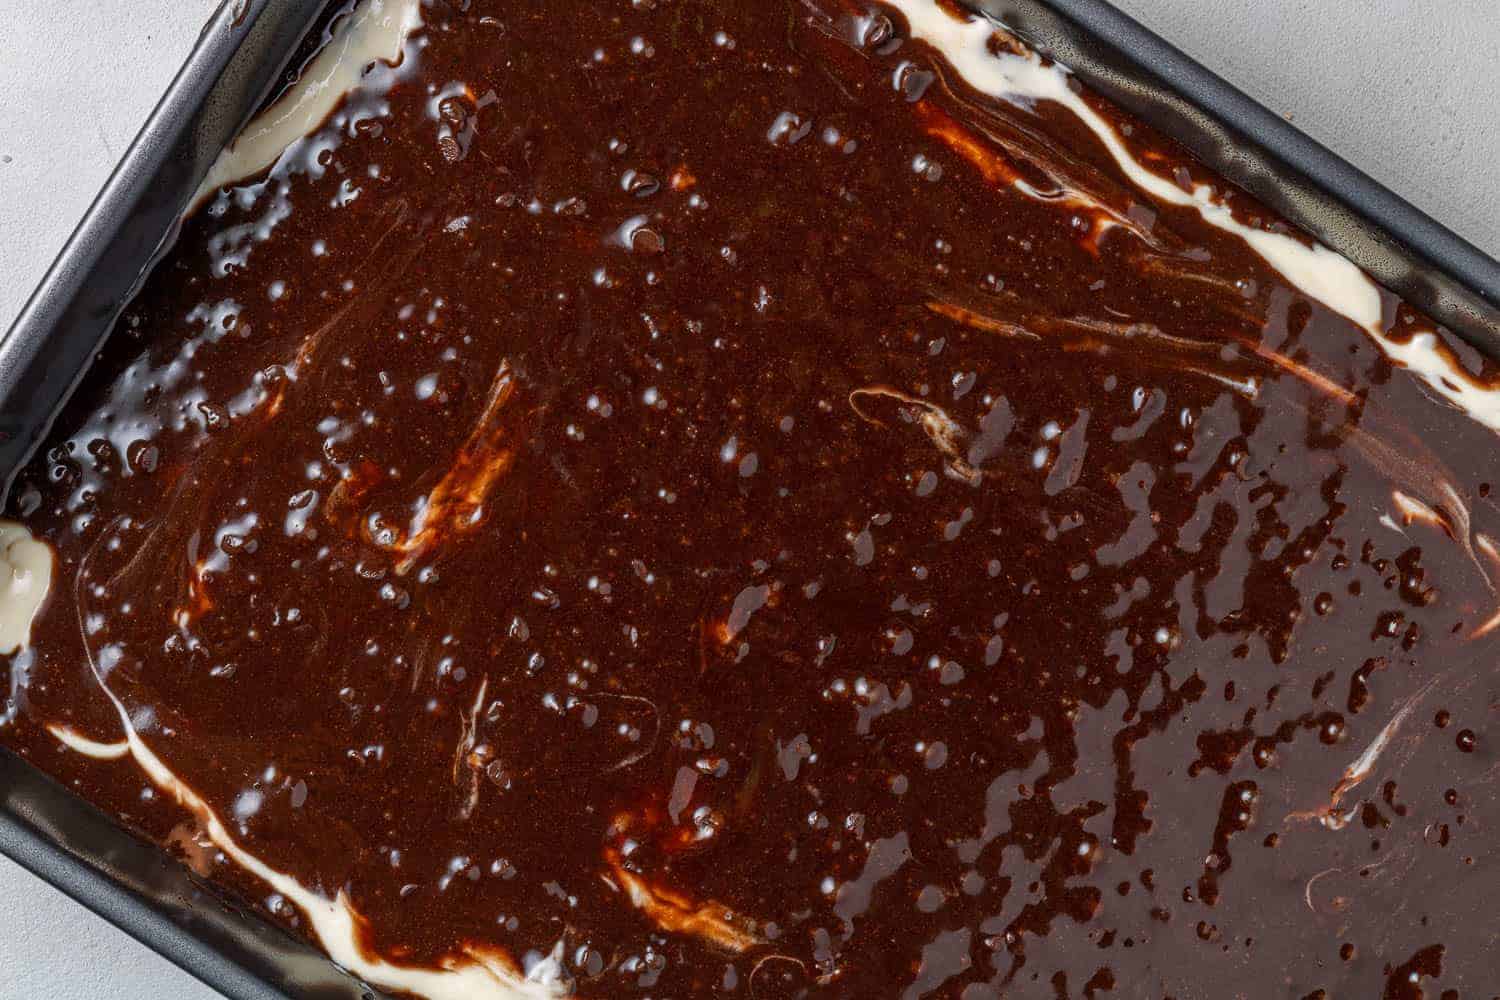
Put first layer in pan. Spread half the batter into the prepared pan. You don’t have to measure it so it’s exactly half, just take a guess. Don’t worry if it looks a little uneven. Just spread it out as well as you can.
Make the filling. In the other mixing bowl, combine the cream cheese, another egg, flour, sugar, and vanilla.
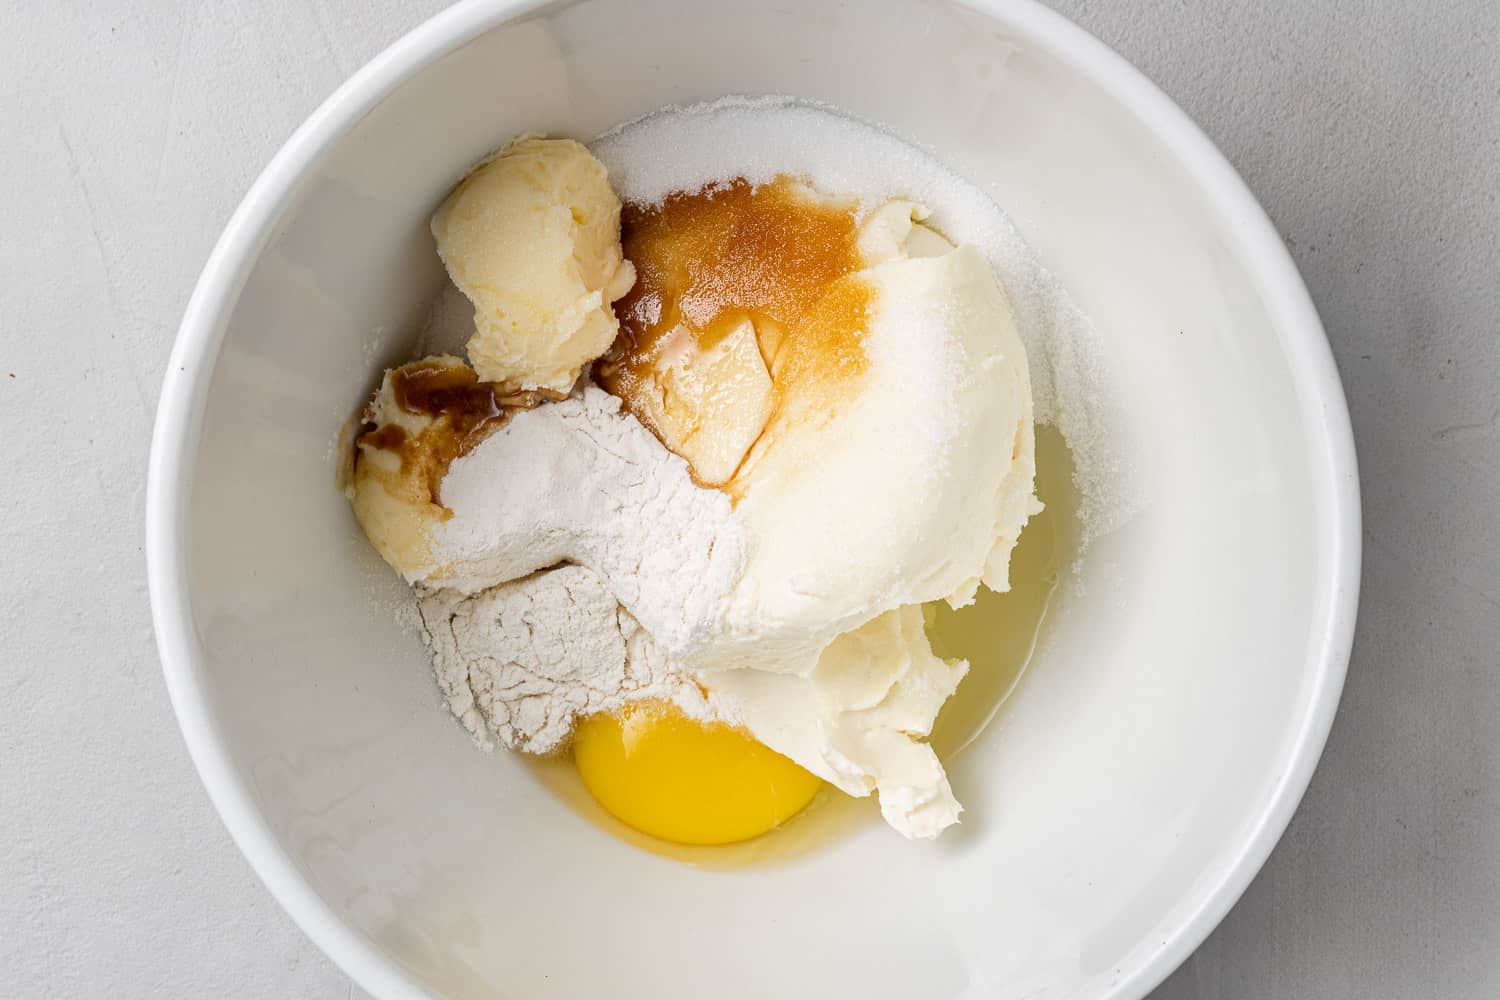
Use an electric mixer to blend it really well.
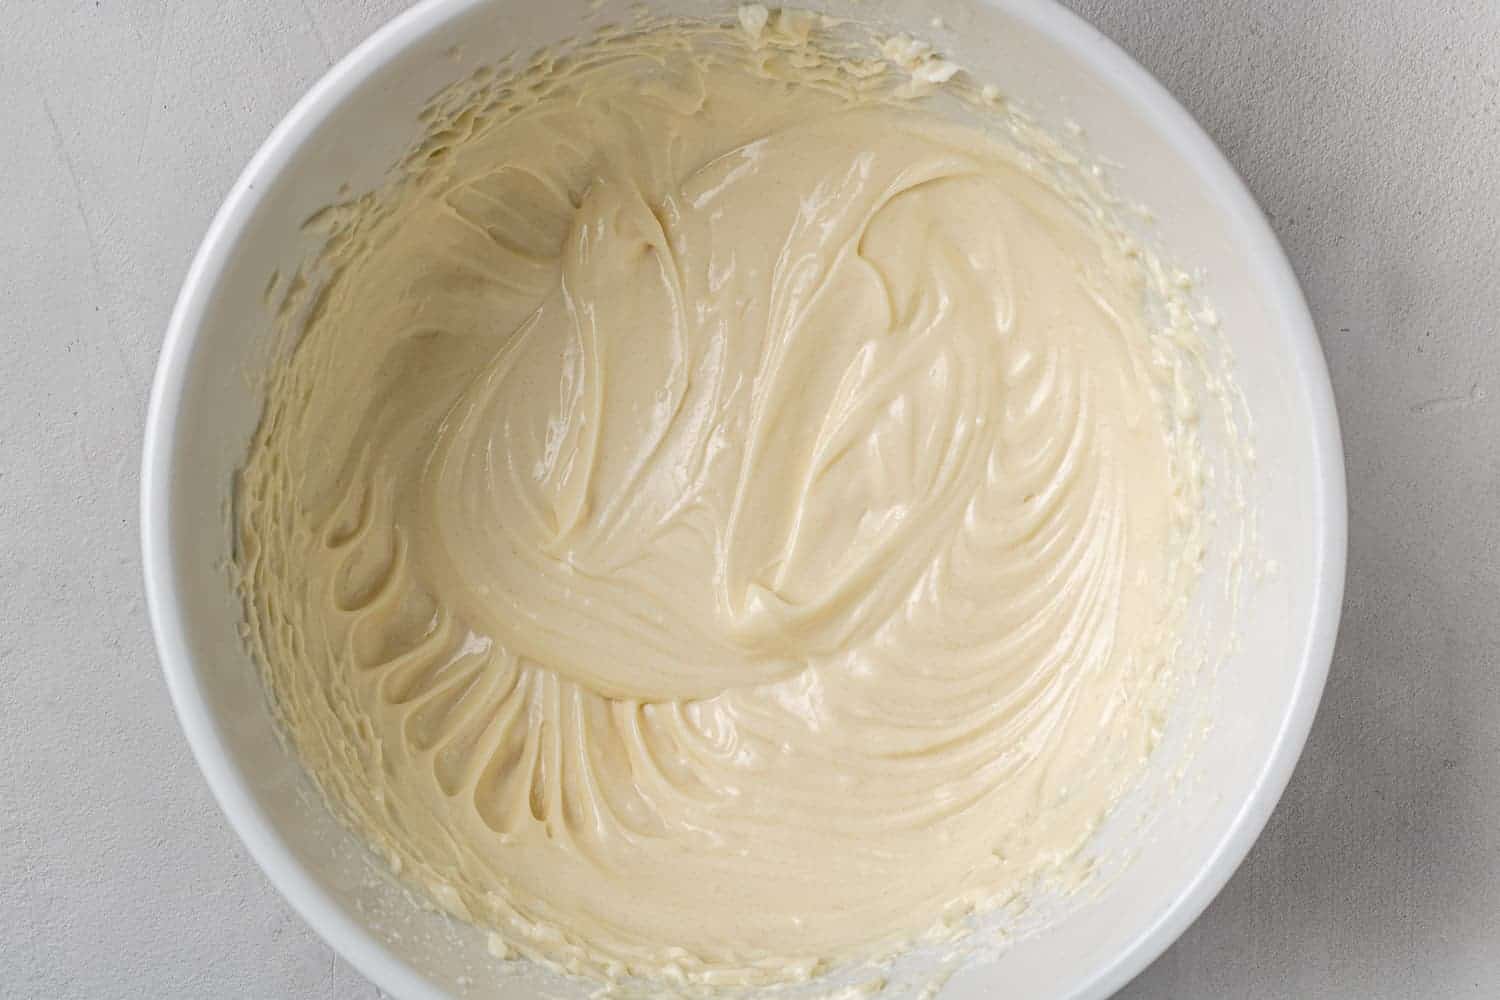
Fold in another half cup of chocolate chips.
Add cream cheese layer to pan. Spread the filling on the layer of batter in the pan. I usually spoon it on in plops and then kind of smooth it out. Again, don’t worry if it’s not exactly even. Try not to blend it into the bottom layer.

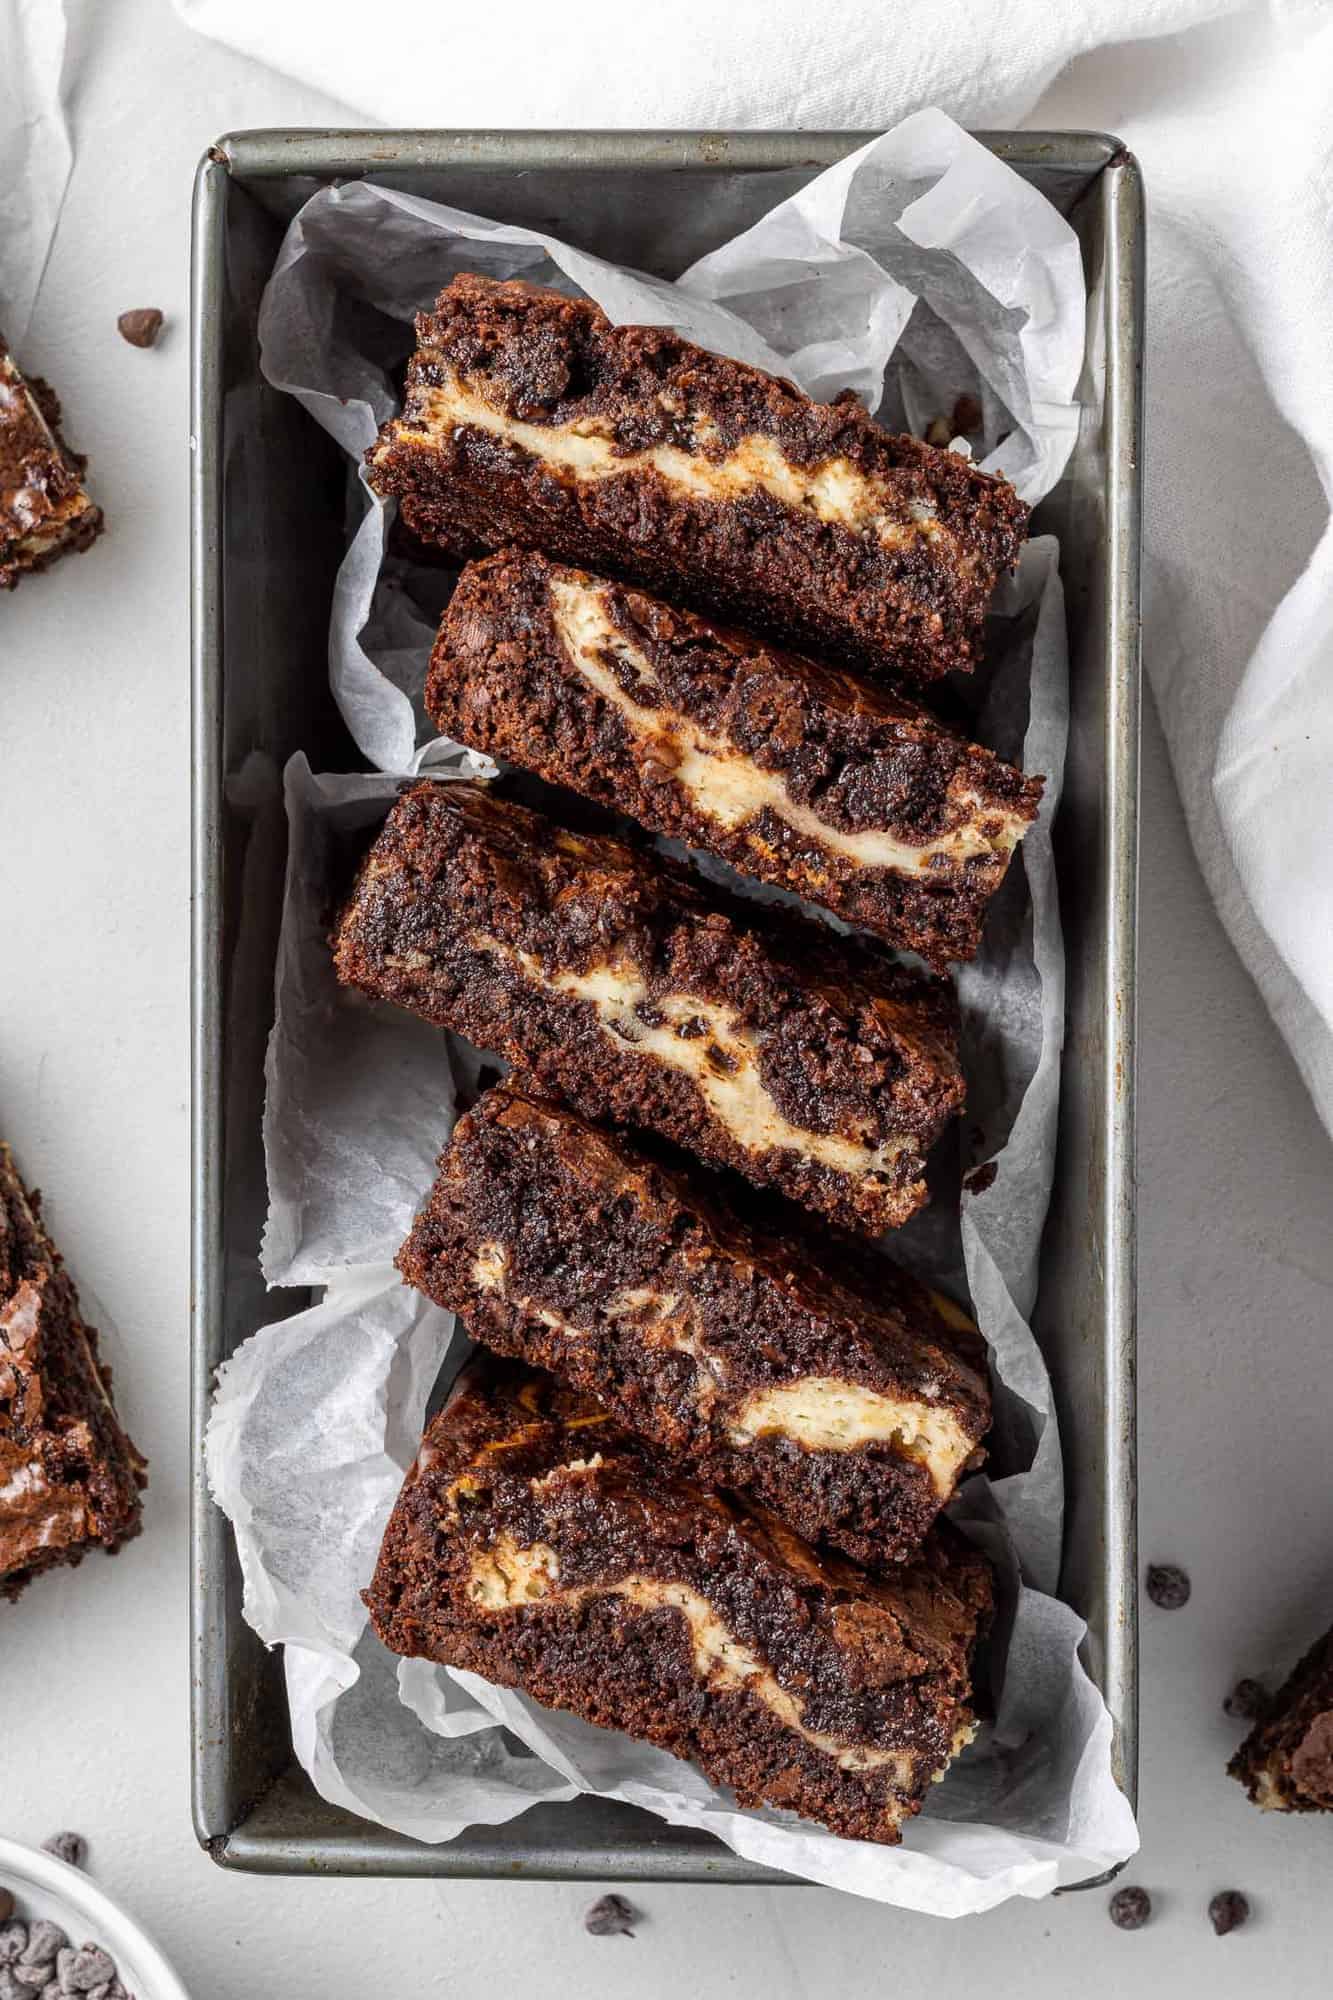
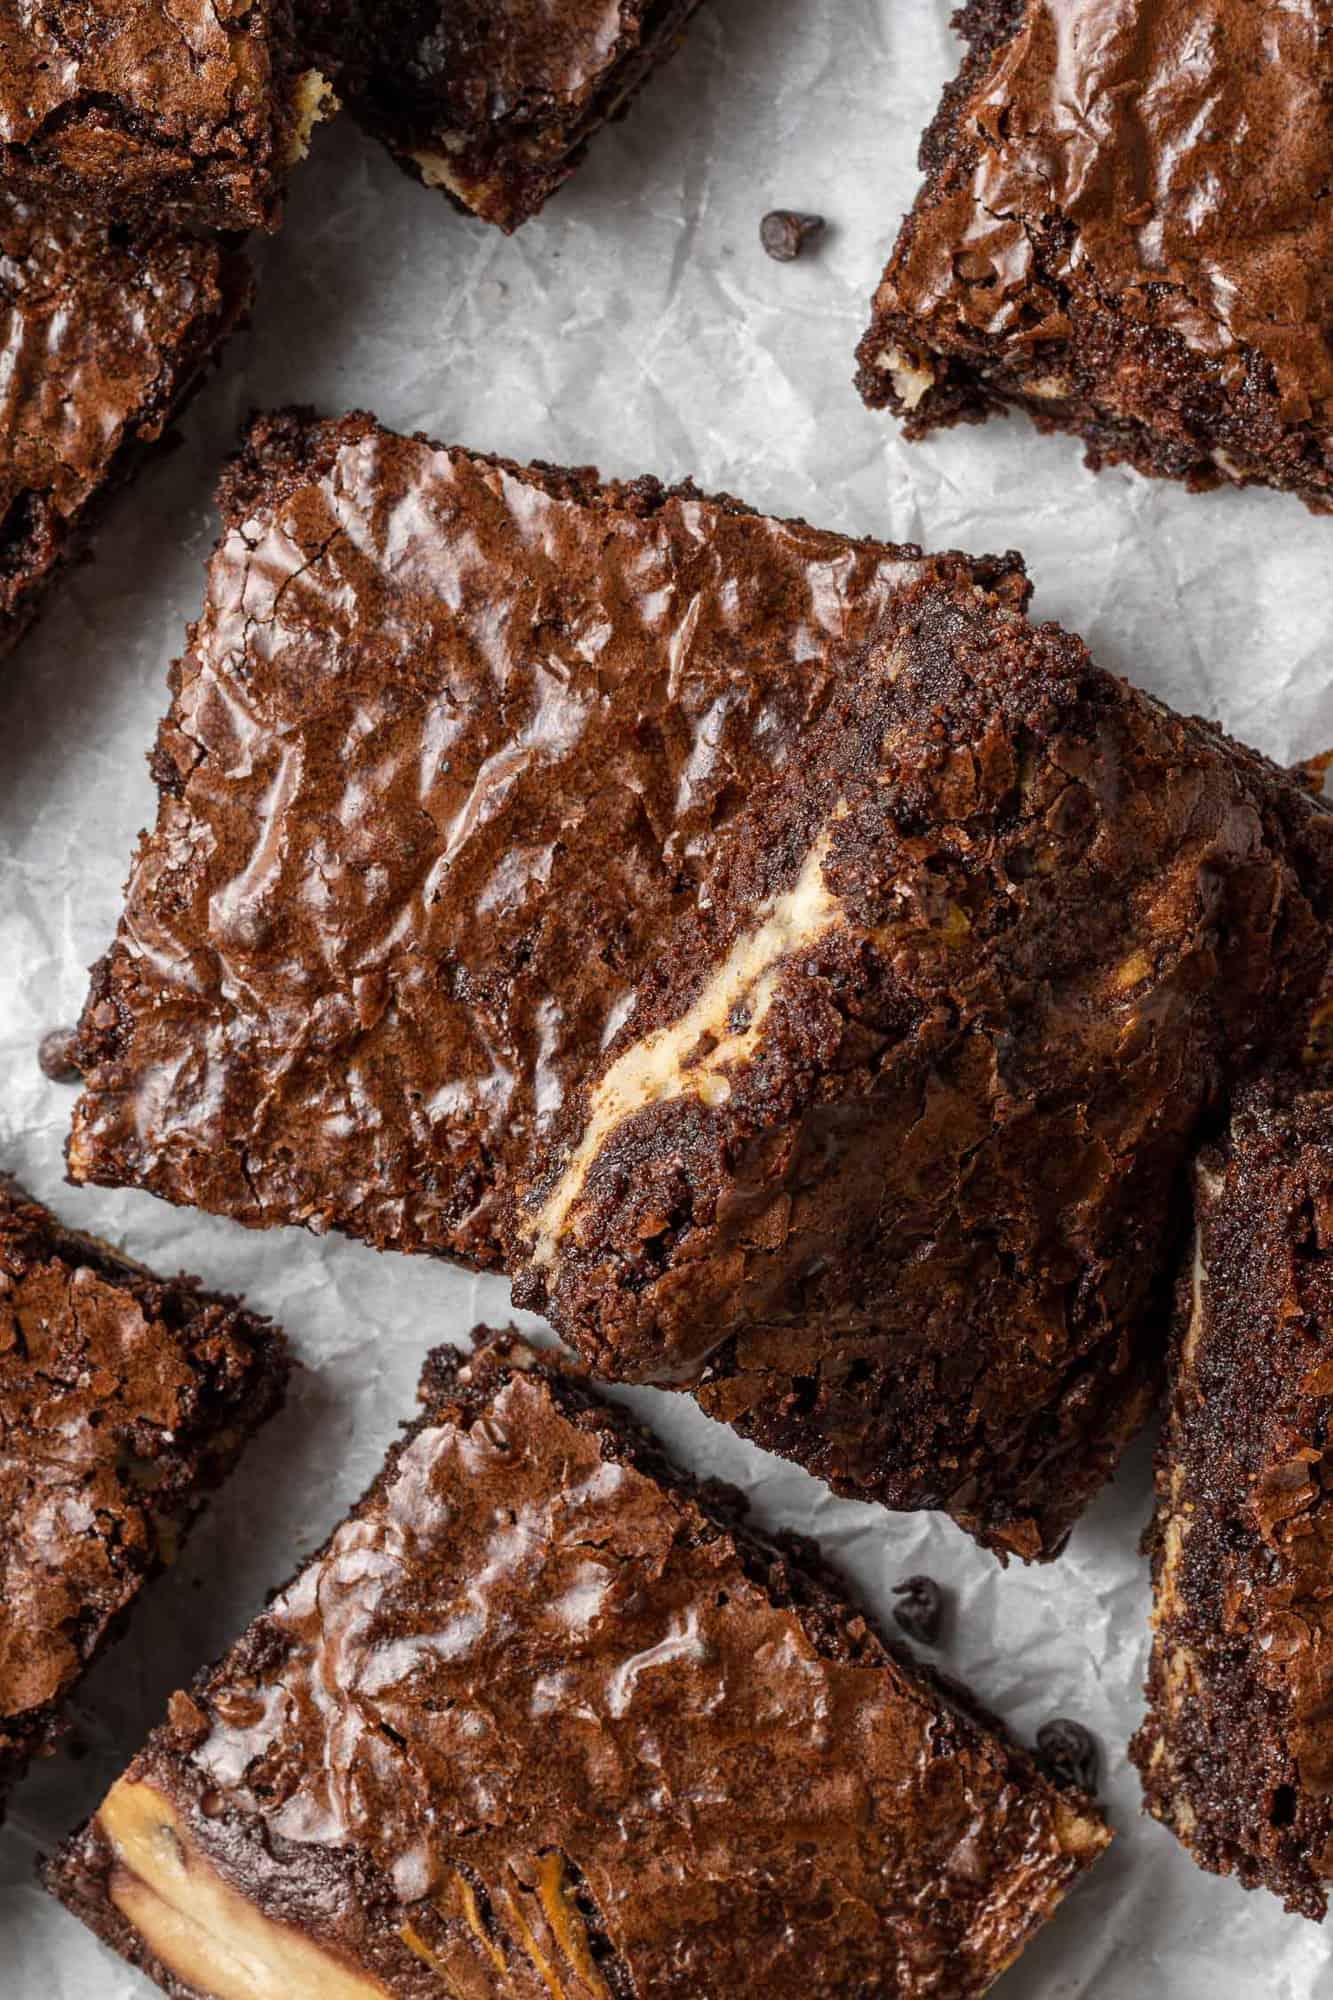
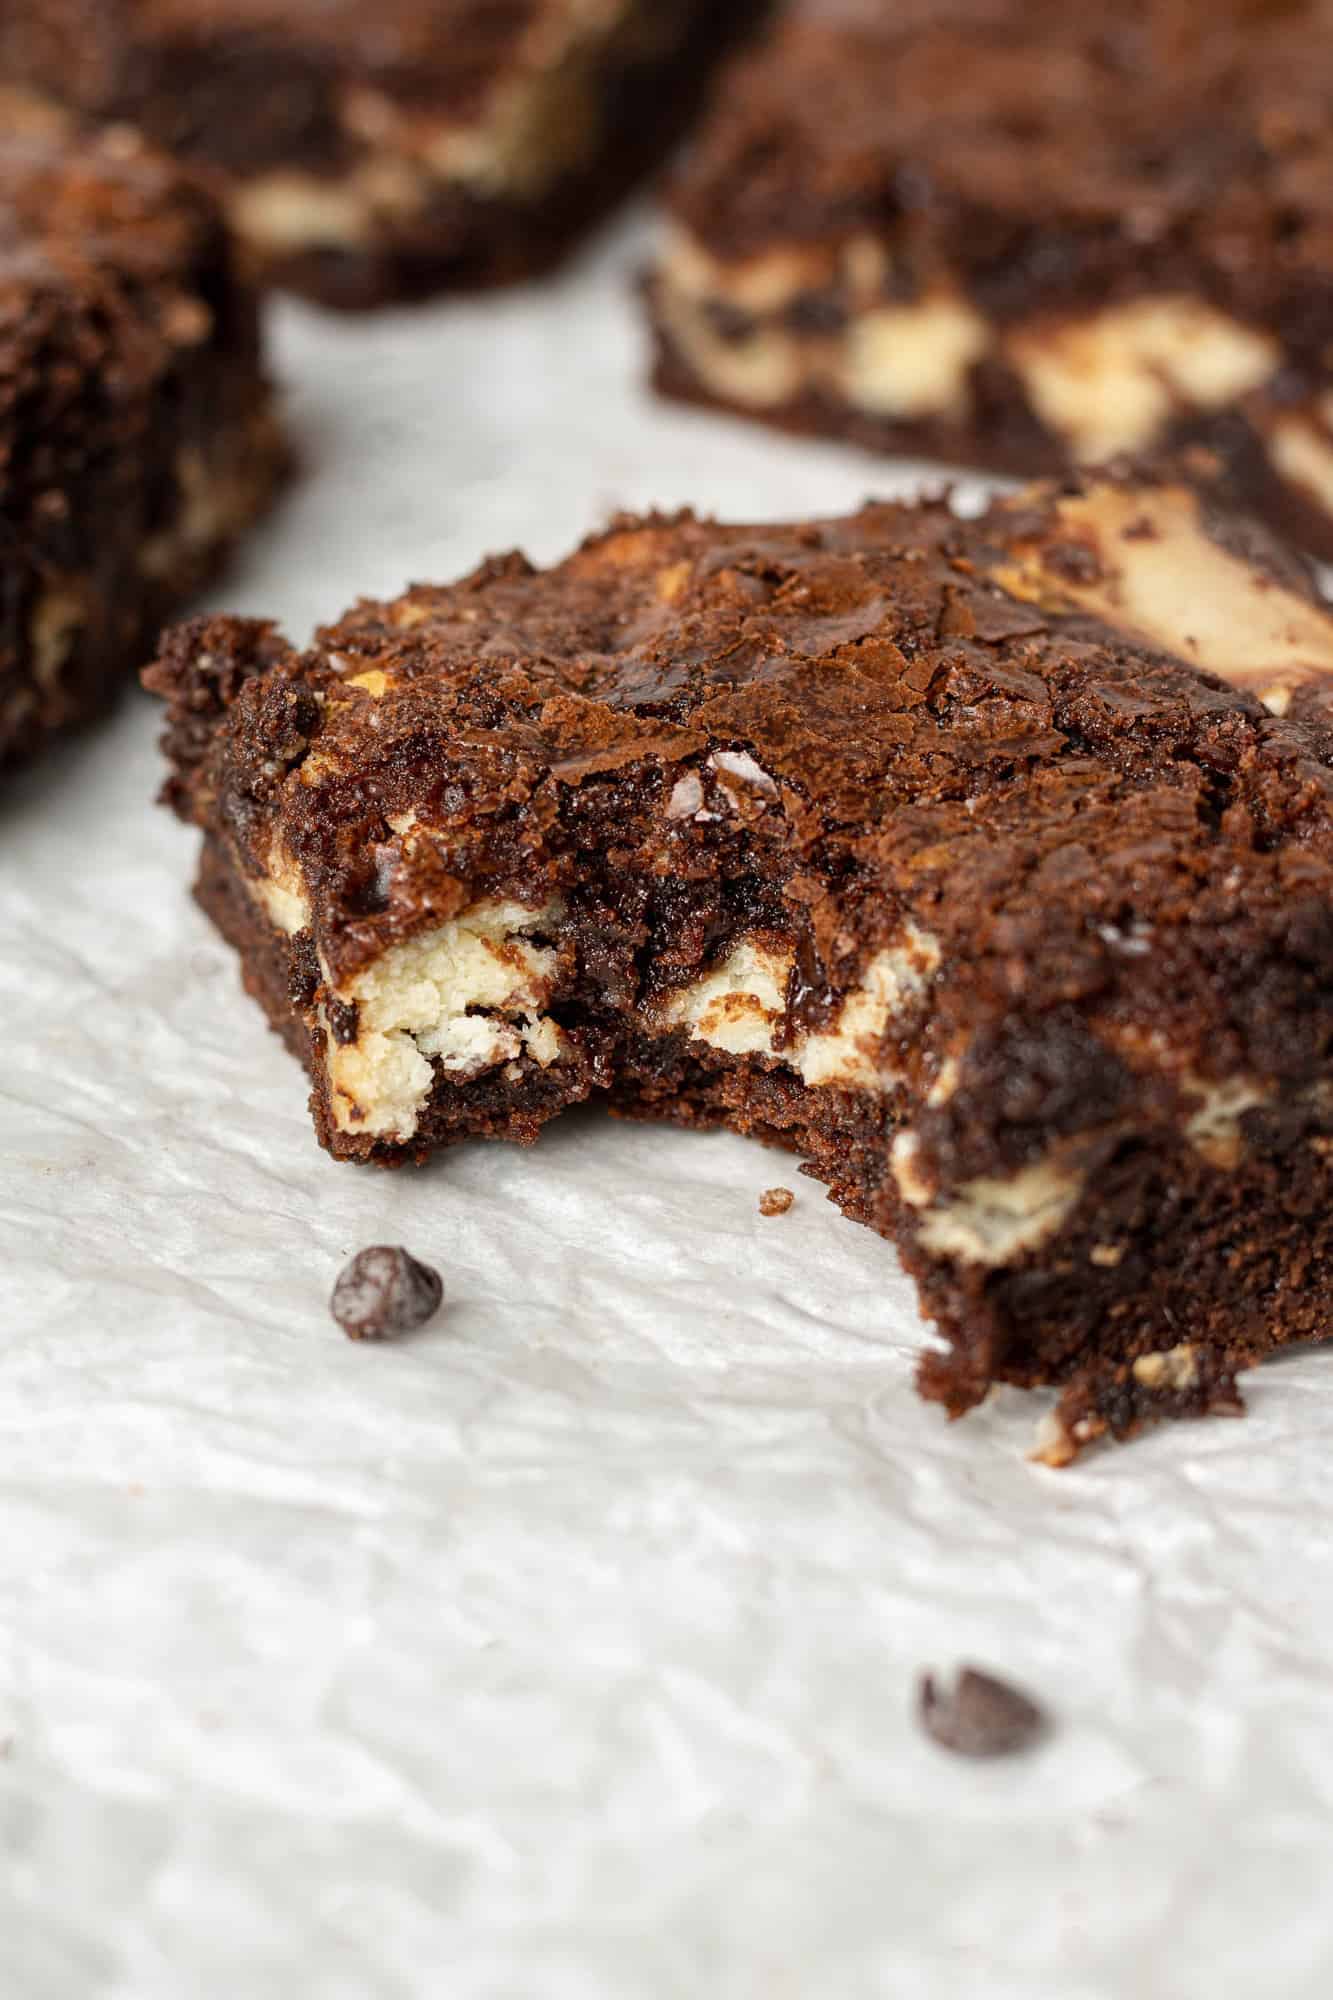
Add second layer of brownie batter. Spread the remaining brownie batter over the filling. It will look like it’s hardly enough but that’s okay. Once the brownies bake, they puff up and spread out. The layers aren’t super distinct and that’s just fine.
Bake. Put the pan into the preheated oven and bake until a toothpick inserted about two inches from the side comes out fairly clean. Why not test the brownies in the center? We’re looking for a certain amount of gooey-ness to our brownies. No one likes brownies that are dry, hard, and overdone.
Serve. Enjoy with a cup of coffee or hot tea. Sometimes I serve the brownies with this homemade ginger spiced hot chocolate. You can make it in the microwave.
For a spectacular dessert, top a brownie with a scoop of vanilla bean ice cream and a drizzle of homemade hot fudge sauce.
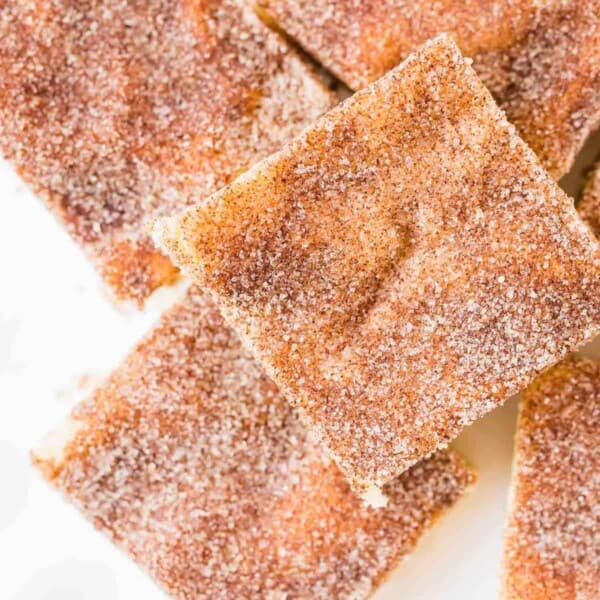
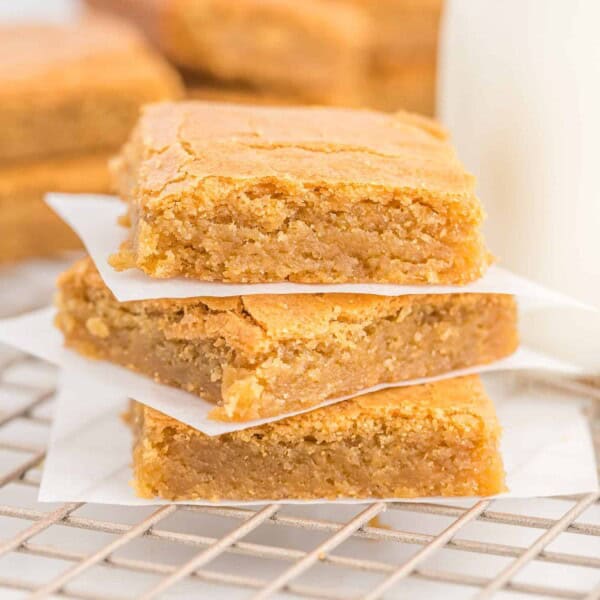
More Brownie Recipes
Not crazy about cream cheese? I have lots more brownies for you! I’m sure you’re going to find at least a few recipes you love.
- Buckeye Brownies
- Kahlua Brownies with Cinnamon
- Mocha Brownies (easy recipe!)
- Black Bean Brownies – no one will ever know!
- Brownie Waffles – Brownies in 3 minutes. Yeah!
If you’d like to get a little jump start on making these cream cheese filled brownies, make the filling up to a day ahead and refrigerate it. Let it come to room temperature so it softens a bit and stir well before using.
Refrigerate: Once the brownies have cooled completely, cover them with plastic wrap or foil, or cut them into squares and put them into an airtight container in a single layer or with parchment paper between layers. Refrigerate for up to a week.
Freeze: To store longer, freeze the brownies for up to 3 months in a freezer safe container.
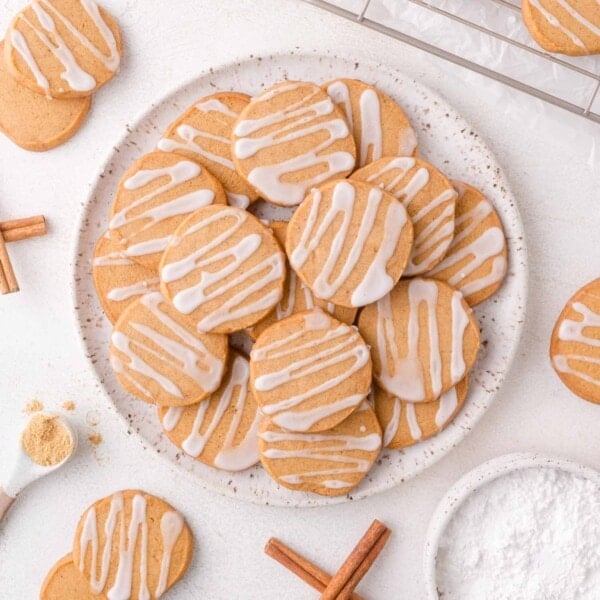
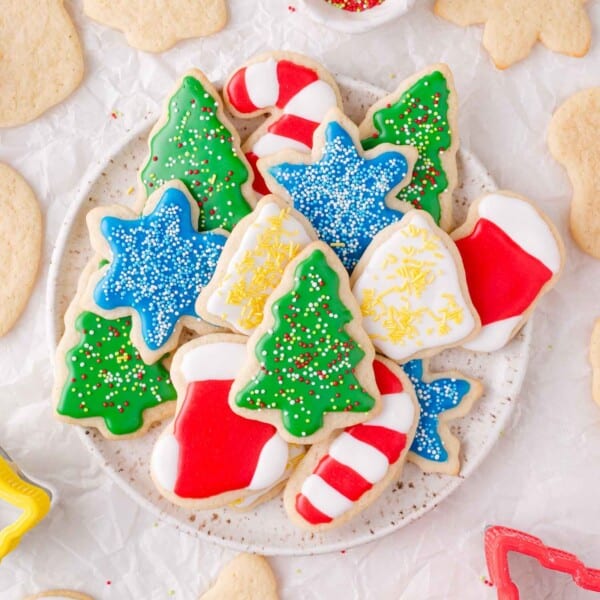
More Bars and Cookies


Cream Cheese Filled Brownies

Ingredients
Brownies
- 1 box (18.3 oz.) brownie mix (Buy the kind that makes a 9 x 13 inch pan)
- 2 large eggs (Follow package directions for the eggs, oil, and water. The measurements are for the brownie mix I purchased.)
- ½ cup oil
- 3 tablespoons water
- 1 tablespoon espresso powder, optional
- 1 cup mini semi-sweet chocolate chips
Cream Cheese Filling
- 1 package (8 oz.) reduced fat cream cheese (see note)
- 1 large egg
- 2 tablespoons unsalted butter, softened
- ¼ cup granulated sugar
- 1 tablespoon all-purpose flour
- 1 teaspoon pure vanilla extract
- ½ cup mini semi sweet chocolate chips
Instructions
- Preheat oven to 350°F. Prepare 9 x 13 inch baking pan by spraying with nonstick spray.
- Prepare brownie mix as directed on the box, stirring in the espresso powder (if using) with the mix before adding eggs, oil, and water. Follow the package directions for your brownie mix. Fold in 1 cup mini chocolate chips.1 box (18.3 oz.) brownie mix, 2 large eggs, ½ cup oil, 3 tablespoons water, 1 tablespoon espresso powder, optional, 1 cup mini semi-sweet chocolate chips
- In another bowl, with electric mixer, beat cream cheese, egg, butter, sugar, flour, and vanilla together until smooth. Fold in ½ cup mini chocolate chips.1 package (8 oz.) reduced fat cream cheese, 1 large egg, 2 tablespoons unsalted butter, softened, ¼ cup granulated sugar, 1 tablespoon all-purpose flour, 1 teaspoon pure vanilla extract, ½ cup mini semi sweet chocolate chips
- To assemble: Pour half of brownie batter into pan. Spoon the cream cheese mixture over the first layer of brownie batter. Spread it out the best that you can so that the cream cheese mixture pretty evenly covers the brownie batter. Spoon on the remaining half of the brownie batter to cover the cream cheese mixture.
- Bake 35 to 40 minutes. Check with toothpick inserted about two inches from the side. There shouldn’t be batter clinging to the toothpick.Serve warm or at room temperature.
Notes
- Full-fat cream cheese can be substituted but don’t use nonfat cream cheese.
- If desired, substitute another variety of chocolate chips, such as mint, peanut butter, or milk chocolate.
- Storage: Store brownies in the refrigerator for up to one week or in the freezer for up to 3 months.
Video
Nutrition
Nutrition information is automatically calculated, so should only be used as an approximation.


My daughter and I made these brownies together. She’s 13, so it was nice to spend some time together. She’s loves cream cheese and brownies. These were a win!
I love that! I’m glad you guys liked them. Thanks for taking the time to leave a comment!
Made these for a work party and everyone loved them. Easy to make and so so yummy
So glad you enjoyed them! Thank you for leaving a review!
Easy to follow and swoon-worthy delicious!
I stuck them in the frig overnight after cooling on the counter – they were even better!
I love a cold baked good! Glad you enjoyed this recipe – thanks for leaving a review!
I tried this recipe for Valentine’s Day treats! Love it!!
I’m so glad! Thank you for leaving a review!